Tecmar Technologies 5525ES User manual
Tecmar Technologies, Incorporated
1900 Pike Road, Bldg. E, Longmont, Colorado 80501
(303) 682-3700 Fax: (303) 776-7706
QIC Tape Drive
Installation and User’s Guide
Models 5525ES, E5525ES,
51000HT, E51000HT,
52000HT, and E52000HT
PN SQICUGM-EN2
qiccover.fm Page i Friday, April 25, 1997 3:41 PM

INSTALLATION NOTE
***NO SOFTWARE UPGRADES REQUIRED***
When installing 52000 or E52000 QIC drives, the drives respond to system inquiries
as model 51000. When selecting drivers for the 52000, use the 51000 driver provided
with the software.
This allows the use of current software and provides the full functionality of model
52000.
qiccover.fm Page ii Friday, April 25, 1997 3:41 PM

SQICUGM-EN2 Rev. A iii
COPYRIGHT NOTICE
Copyright 1996 by Tecmar Technologies, Inc. All rights reserved.
This item and the information contained herein are the property of Tecmar Technologies
Corporation. No part of this document may be reproduced, transmitted, transcribed, stored
in a retrieval system, or translated into any language or computer language in any form or
by any means, electronic, mechanical, magnetic, optical, chemical, manual, or otherwise,
without the express written permission of Tecmar Technologies Corporation, 1900 Pike
Rd., Bldg. E, Longmont, Colorado 80501.
DISCLAIMER
Tecmar makes no representation or warranties with respect to the contents of this
document and specifically disclaims any implied warranties of merchantability or fitness
for any particular purpose. Further, Tecmar reserves the right to revise this publication and
to make changes in it from time to time without obligation of Tecmar to notify any person
or organization of such revision or changes.
LIMITED WARRANTY
Your Tecmar tape drive has a limited warranty which is described in detail in the warranty
documentation received with your tape drive. If you did not receive any warranty
documentation and require information, please contact Tecmar Technologies at the above
address.
Tecmar is a trademark of Tecmar Technologies, Inc.
qiccopy.fm Page iii Friday, April 25, 1997 3:33 PM

SQICUGM-EN2 Rev. A iv
REGULATORY APPROVALS
UNDERWRITERS LABORATORIES INC.
This device complies to UL Bi-national Standard 1950 3rd edition for Safety of
Information Technology Equipment including Electrical Business Equipment.
CANADIAN STANDARDS ASSOCIATION
This device complies to UL Bi-national Standard 1950 3rd edition for Safety of
Information Technology Equipment including Electrical Business Equipment. This
approval is equivalent to CSA C22.2 No. 950-M93.
TECHNISCHE ÜBERWACHUNGS-VEREIN
This device complies to IEC-950 (EN60950), Safety of Information Technology
Equipment including Electrical Business Equipment, by TÜV Rheinland of North
America, Inc.
FEDERAL COMMUNICATIONS COMMISSION
This equipment has been tested and found to comply with the limits for a Class B digital
device, pursuant to part 15 of the FCC Rules. These limits are designed to provide
reasonable protection against harmful interference in a residential installation. This
equipment generates, uses and can radiate radio frequency energy and, if not installed and
used in accordance with the installation guide, may cause harmful interference to radio
communications. However, there is no guarantee that interference will not occur in a
particular installation. If this equipment does cause harmful interference to radio or
television reception, which can be determined by turning the equipment off and back on,
the user is encouraged to try to correct the interference by one or more of the following
measures.
• Reorient the receiving antenna.
• Increase the separation between the equipment and receiver.
• Plug the computer into a different outlet, so that the computer and receiver are on
different branch circuits.
• Ensure that board slot covers are in place when no expansion board is installed and all
screws removed have been replaced.
• Ensure that all brackets and I/O cables are fastened securely to the PC chassis and that
all SCSI cables are shielded type.
CANADIAN DEPARTMENT OF COMMUNICATIONS COMPLIANCE STATEMENT
This equipment does not exceed Class B limits per radio noise emissions for digital
apparatus set out in the Radio Interference Regulation of the Canadian Department of
Communications. Operation in a residential area may cause unacceptable interference to
radio and TV reception requiring the owner or operator to take whatever steps are
necessary to correct the interference.
AVIS DE CONFORMITE AUX NORMES DU MINISTERE DES COMMUNICATIONS DU
CANADA
Cet equipment ne depasse pas les limites de Classe B d’emissionde bruits radioelectriques
pour les appareils numeriques telles que perscrites par le Reglement sur le brouillage
qiccopy.fm Page iv Friday, April 25, 1997 3:33 PM

SQICUGM-EN2 Rev. A v
radioelectrique etabli par le ministere des Communications du Canada. L’exploitation faite
en milieu residentiel peut entrainer le brouillage des reception radio et television, ce qui
obligerait le proprietaire ou l’operateur a prendre les dispositions necessaires pour en
eliminer les causes.
CE COMPLIANCE FOR EUROPE
This device has been tested and found to be in compliance to EN 60950 for information
Technology Equipment to the Low Voltage Directive 73/23/EEC of 19 February 1973 as
Amended by 93/68/EEC, Article 13 of 22 July 1993, and for Radio Interference EN
55022, CISPR 22 Class “B” limits(1987), and for Electromagnetic Compatibility
Directive 89/336/EEC of May 3 1989 as Amended by 92/31/EEC of 28 April 1992 and 93/
68/EEC, Article 5 of 22 July 1993.
qiccopy.fm Page v Friday, April 25, 1997 3:33 PM

SQICUGM-EN2 Rev. A vi
Tecmar Technologies, Inc. Importer’s Name
1900 Pike Road, Bldg. E
Longmont, Co. 80501 USA
Phone (303)682-3741 Fax (303)776-9788
Company Rep. Keith A. Goshia
Declare under sole responsibility that the Model #s 5525ES, E5525ES, 51000HT, E51000HT,
52000HT and E52000HT to which this declaration relate, meet the essential health and safety
requirements and are in conformity with the relevant EC directives listed below using the relevant
section of the following EC standards or normative documents:
Essential health and safety requirements relating to:
Electrical Safety
EN 60950 Information Technology Equipment, for Low Voltage Directive 73/23/EEC of
19 February 1973 as Amended by 93/68/EEC, Article 13 of July 22 1993.
Electromagnetic Compatibility
EN 55022 Radio interference characteristics of Information Technology Equipment, to
Class “B” limits (1987).
EN 50082-1 Electromagnetic Compatibility Directive 89/336/EEC of May 3 1989 as
Amended by 92/31/EEC of 28 April 1992 and 93/68/EEC, Article 5 of 22 July
1993.
IEC 801-2 Electrostatic discharge requirements, 1991
IEC 801-3 Radiated electromagnetic field requirements, 1984
IEC 801-4 Electrical fast transient/burst requirements, 1988
IEC 801-5 Surge immunity test, electromagnetic
The safety issues of this device type have been evaluated by a government accredited European third
party organization, TÜV RHEINLAND GmbH.
The CE marking has been affixed on the device according to Article 5 and 13of the EC directive 93/
68/EEC of July 22 1993.
qiccopy.fm Page vi Friday, April 25, 1997 3:33 PM

SQICUGM-EN2 Rev. A vii
Contents
Chapter 1 Introduction to the QIC Drive.......................................1
Product Description...........................................................2
QIC Model Numbers.........................................................3
Chapter 2 Installation Procedures...................................................5
Unpacking and Handling ..................................................6
Installing an Internal Drive ...............................................7
Preparing the Computer................................................7
Preparing the QIC Drive...............................................8
Setting the SCSI ID and SCSI Bus Termination...........8
Installing the Drive, Cabling and Host Adapter Board.9
Completing the Installation.........................................11
Installing an External Drive ............................................12
Preparing the Computer..............................................12
Preparing the QIC Drive.............................................12
Installing the Cabling and Terminator ........................13
Setting the SCSI ID.....................................................14
Completing the Installation.........................................14
Chapter 3 Using the QIC Drive......................................................15
LED Indicators................................................................16
Data Cartridges ...............................................................17
Recommended Cartridges...........................................17
Handling and Storage..................................................17
Write Protect...............................................................18
Loading a Cartridge....................................................18
Removing a Cartridge.................................................19
Cleaning the Heads.....................................................20
About SCSI Bus Termination..........................................24
About Jumpers and Resistor Packs.................................26
Setting Jumpers...........................................................26
qicman~3.fm Page vii Friday, April 25, 1997 4:03 PM

viii SQICUGM-EN2 Rev. A
Installing/Removing Resistor Packs ...........................26
Setting SCSI ID and Termination Power ........................28
Setting the SCSI ID.....................................................28
Setting SCSI Bus Termination and SCSI Bus
Termination Power ..................................................29
Removing the Cover from an External Drive..................31
Removing and Installing the Bezel.................................34
qicman~3.fm Page viii Friday, April 25, 1997 4:03 PM

SQICUGM-EN2 Rev. A ix
Figures
1 Internal and External QIC Drives .....................................2
2 LED Indicators................................................................16
3 Write Protect Setting......................................................18
4 Docking and Cleaning the Heads....................................21
5 SCSI Bus Termination....................................................25
6 Installing Jumpers on a Pin Block...................................26
7 Removing Resistor Packs................................................27
8 SCSI ID Jumper Locations .............................................28
9 QIC Drive Termination and Terminator Power
Components ....................................................................30
10 Removing the Cover from an External Drive.................32
qicman~1.fm Page ix Friday, April 25, 1997 3:44 PM

x SQICUGM-EN2 Rev. A
Tables 1 SCSI ID and SCSI Bus Termination Default Settings......9
2 LED Indicators................................................................16
3 Recommended Data Cartridges ......................................17
4 Setting the SCSI ID for the 5525ES, 51000HT and
52000HT.....................................................................29
qicman~2.fm Page x Friday, April 25, 1997 4:01 PM

SQICUGM-EN2 Rev. A xi
Preface
Purpose of this Manual
This manual provides step-by-step installation instructions, and information
required for ongoing use and maintenance of the QIC drive. This manual is
written for the installer and user of this equipment.
Organization
The following information is contained in this manual.
Chapter 1, Introduction to the QIC Drive, provides a brief description of the
QIC drives and lists the models covered by this publication.
Chapter 2, Installation Procedures, presents step-by-step procedures for
unpacking and installing the QIC drive in a computer or server.
Chapter 3, Using the QIC Drive, contains tape format information, describes the
controls and indicators, and provides essential maintenance instructions.
Appendix A, Setting the SCSI ID, Termination and Terminator Power,
provides specific jumper, switch, and terminator location and setting information
for each model.
Appendix B, Replacing the Bezel, provides step-by-step procedures for
removing and installing bezels.
Related Documentation
Information contained in the following documents may be required during the
installation and configuration of the tape drive.
• User’s guide for your computer
• Host adapter documentation
• Quick Installation Guide for Internal and External DAT and QIC Tape Drives
qicpref.fm Page xi Friday, April 25, 1997 4:17 PM

xii SQICUGM-EN2 Rev. A
Where to Get Help
Technical support is available from the following sources:
Technical Support: 1 (800) 992-9916
Sales: 1 (800) 422-2587
Fax Back Service: 1 (303) 776-1085
Internet: www.Tecmar.com
FaxBack is a service that allows you to select documents from a catalog, and
receive those documents by fax.
Safety Precautions
Electro-static discharge (ESD) from the human body to the tape drive can
damage or destroy the electronic components in the tape drive. Make sure you
have contacted a grounded surface such as your computer chassis immediately
prior to handling the tape drive.
Do not drop or subject the tape drive to sudden jarring movements. Doing so can
damage the alignment.
Do not subject the tape drive to extreme temperatures or high humidity
conditions. If the tape drive has been stored in a cool area prior to installation,
allow it to warm up to room temperature before beginning the installation to
avoid allowing condensation to form on or in the tape drive.
Make sure all sources of power have been disconnected before beginning the
installation procedure.
qicpref.fm Page xii Friday, April 25, 1997 4:17 PM

SQICUGM-EN2 Rev. A 1
Chapter 1 INTRODUCTION
TO THE QIC DRIVE
This chapter provides a brief description of the QIC tape drive, its intended
applications and the model numbers covered by this manual.
qicc1.fm Page 1 Friday, April 25, 1997 12:36 PM
2 SQICUGM-EN2 Rev. A
Product Description
The Tecmar Quarter-Inch Cartridge (QIC) tape drive is a high-capacity, high-
performance, reliable tape device that provides up to 2.5 gigabytes of removable
data storage on a tape cartridge. The quarter-inch cartridge provides economical
data storage for PCs and servers. QIC drives are ideal for hard disk backup,
archival storage, data file distribution and many other applications.
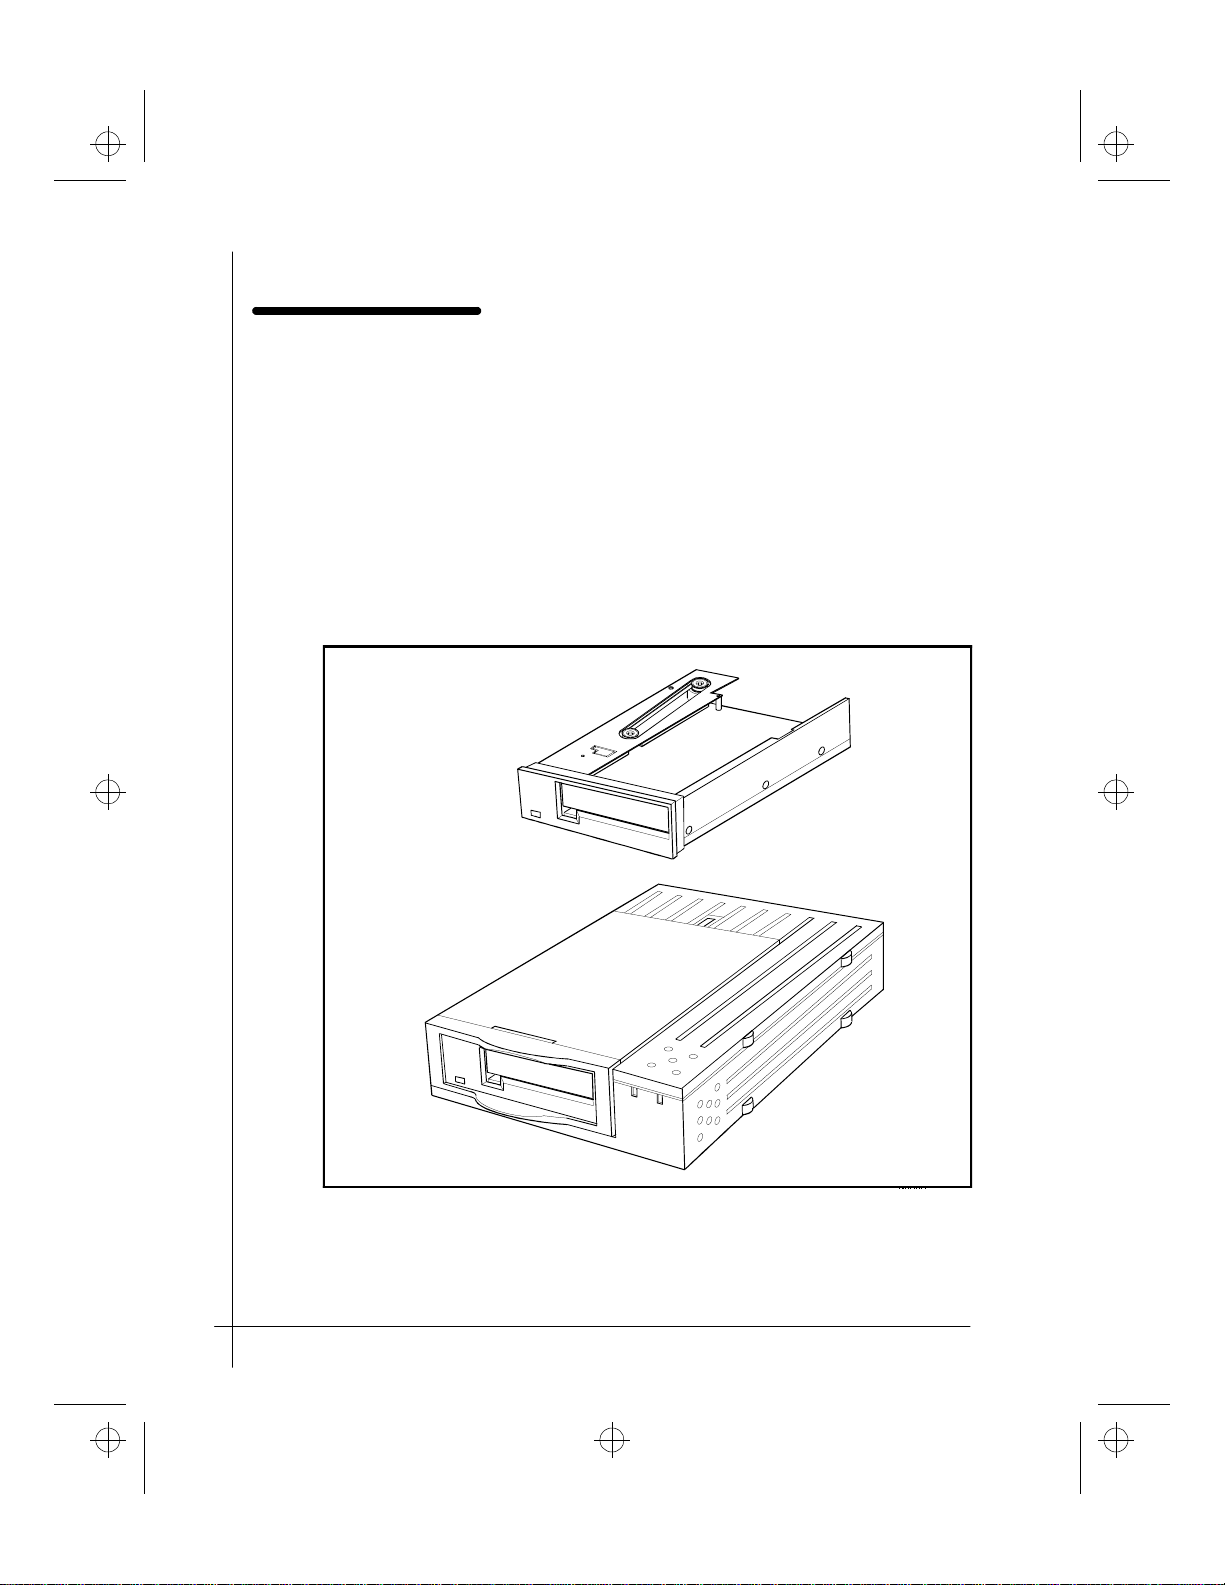
QIC drives can be installed either inside the PC or server, or attached to the PC or
server via an external SCSI cable. Internal and external models are shown in
Figure 1.
Figure 1. Internal and External QIC Drives
qicc1.fm Page 2 Friday, April 25, 1997 12:36 PM

SQICUGM-EN2 Rev. A 3
QIC Model Numbers
Several QIC tape drive models are available. This manual applies to the following
QIC drive models:
• 5525ES
• E5525ES
• 51000HT
• E51000HT
• 52000HT
• E52000HT
qicc1.fm Page 3 Friday, April 25, 1997 12:36 PM

4 SQICUGM-EN2 Rev. A
qicc1.fm Page 4 Friday, April 25, 1997 12:36 PM

SQICUGM-EN2 Rev. A 5
Chapter 2 INSTALLATION
PROCEDURES
This chapter provides step-by-step instructions for 1) unpacking the tape drive,
2) installing an internal tape drive and 3) installing an external tape drive.
qicc2.fm Page 5 Friday, April 25, 1997 12:40 PM

6 SQICUGM-EN2 Rev. A
Unpacking and Handling
CAUTION: Electro-static discharge can damage or
destroy the electronic components in the tape drive.
Make sure you have contacted a grounded surface such
as the computer chassis immediately prior to handling
the tape drive.
The tape drive is shipped inside an anti-static bag and cushioned by foam.
1. Carefully remove the tape unit from its packaging, leaving the drive in its
anti-static bag.
2. Save and store the packaging materials in case the unit needs to be returned.
3. In order to install your new QIC drive, you will need the following.
Internal Drive
Installation SCSI host adapter board
SCSI cable
External Drive
Installation External SCSI cable
Available SCSI port
AC line cord
qicc2.fm Page 6 Friday, April 25, 1997 12:40 PM
SQICUGM-EN2 Rev. A 7
Installing an Internal Drive
Complete all steps in this section to install a QIC drive in your PC or server.
Refer to your computer user’s guide and host adapter documentation as required.
If you have an external model, go to “Installing an External Drive” on page 12.
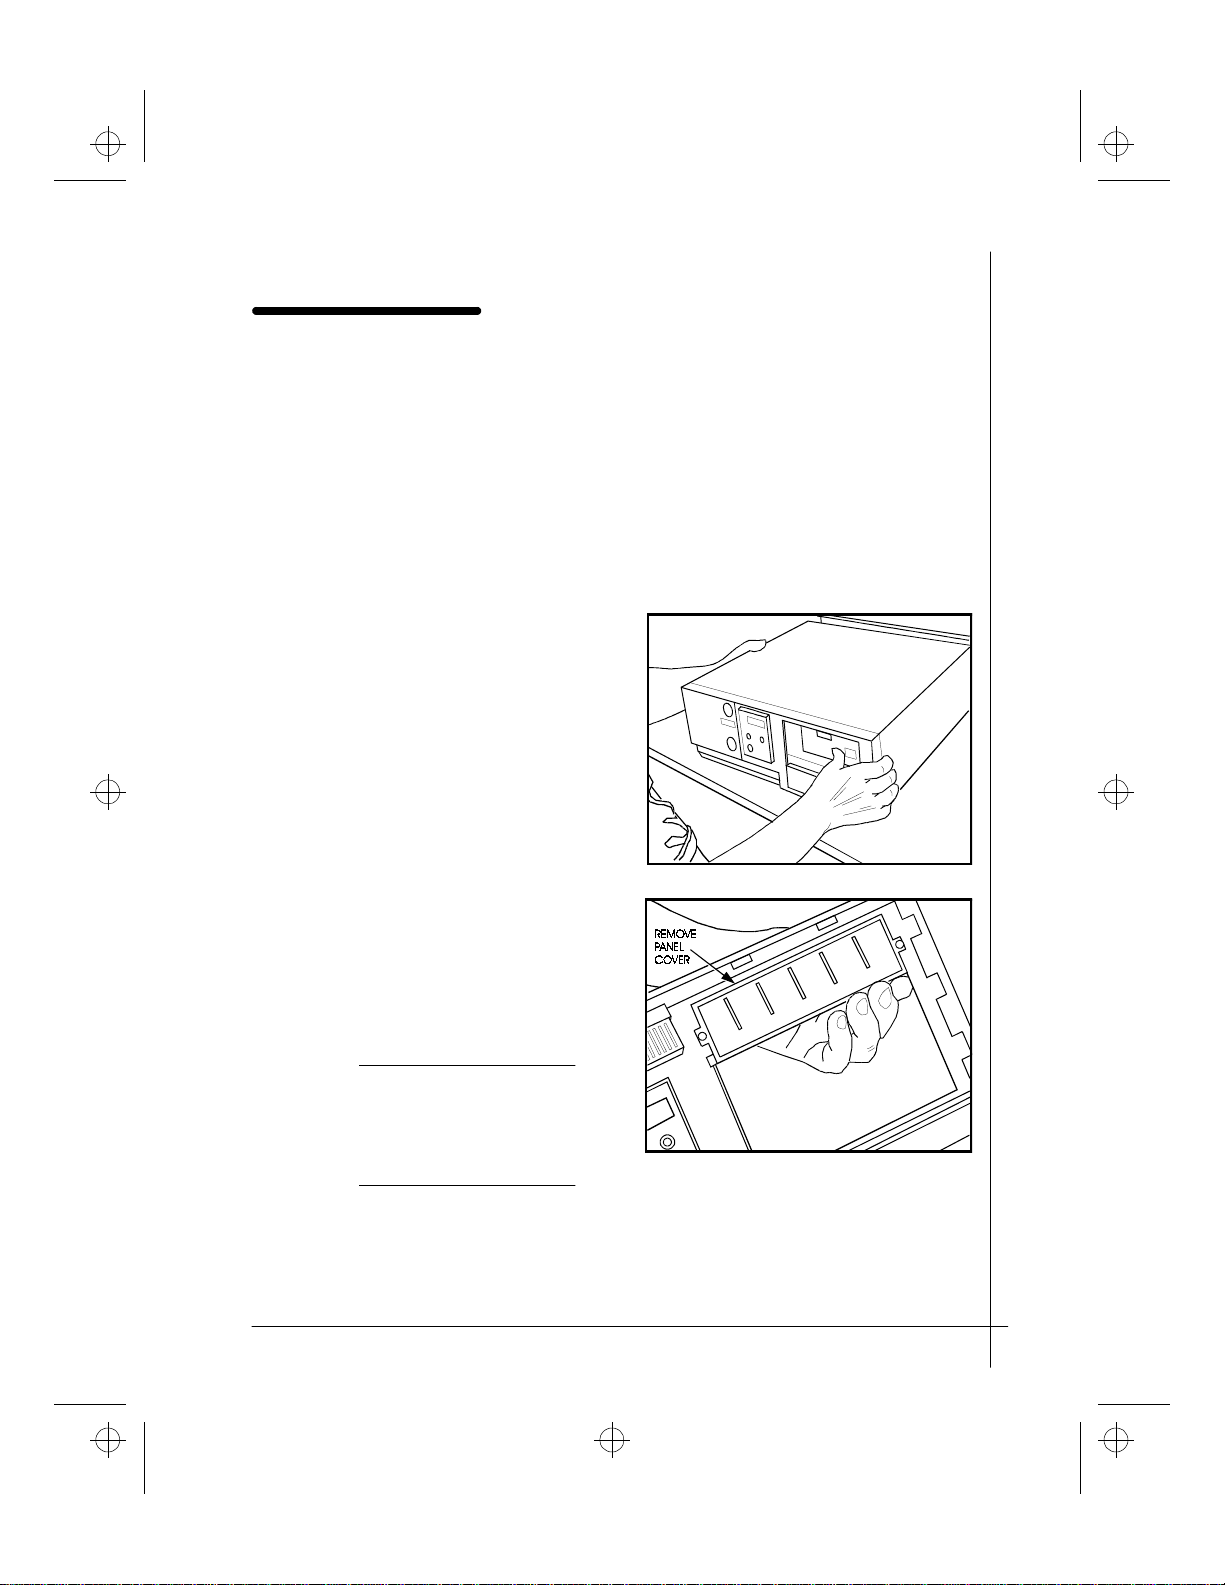
Preparing the Computer
RequiredTools: Phillips screwdriver
1. Turn off power to your
computer and unplug the
power cord.
2. Remove the cover from the
computer.
3. Identify the bay where the
drive will be installed and
remove the front panel cover
from the computer. (Refer to
your computer manual as
required.)
NOTE: In order to gain access to
connectors and cabling inside the
computer, it may be necessary to
move or temporarily remove
other peripheral devices.
qicc2.fm Page 7 Friday, April 25, 1997 12:40 PM
8 SQICUGM-EN2 Rev. A
Preparing the QIC Drive
1. Touch the power supply to discharge any static electricity on your body.
Caution: Handle the drive with care; do not expose the
unit to excessive shock.
2. Remove the drive from its anti-static bag.
3. The QIC drive is shipped with a 5-1/4-inch bezel (plastic front plate and
drive door). If a different bezel is required for installation on your computer,
refer to Appendix B for bezel removal and replacement instructions.
Setting the SCSI ID and SCSI Bus Termination
The QIC drive has been shipped with the standard default configurations shown
in Table 1. In most cases, these settings result in a successful installation. If the
drive does not operate properly after installation, or if you wish to change these
settings, refer to Appendix A for additional information.
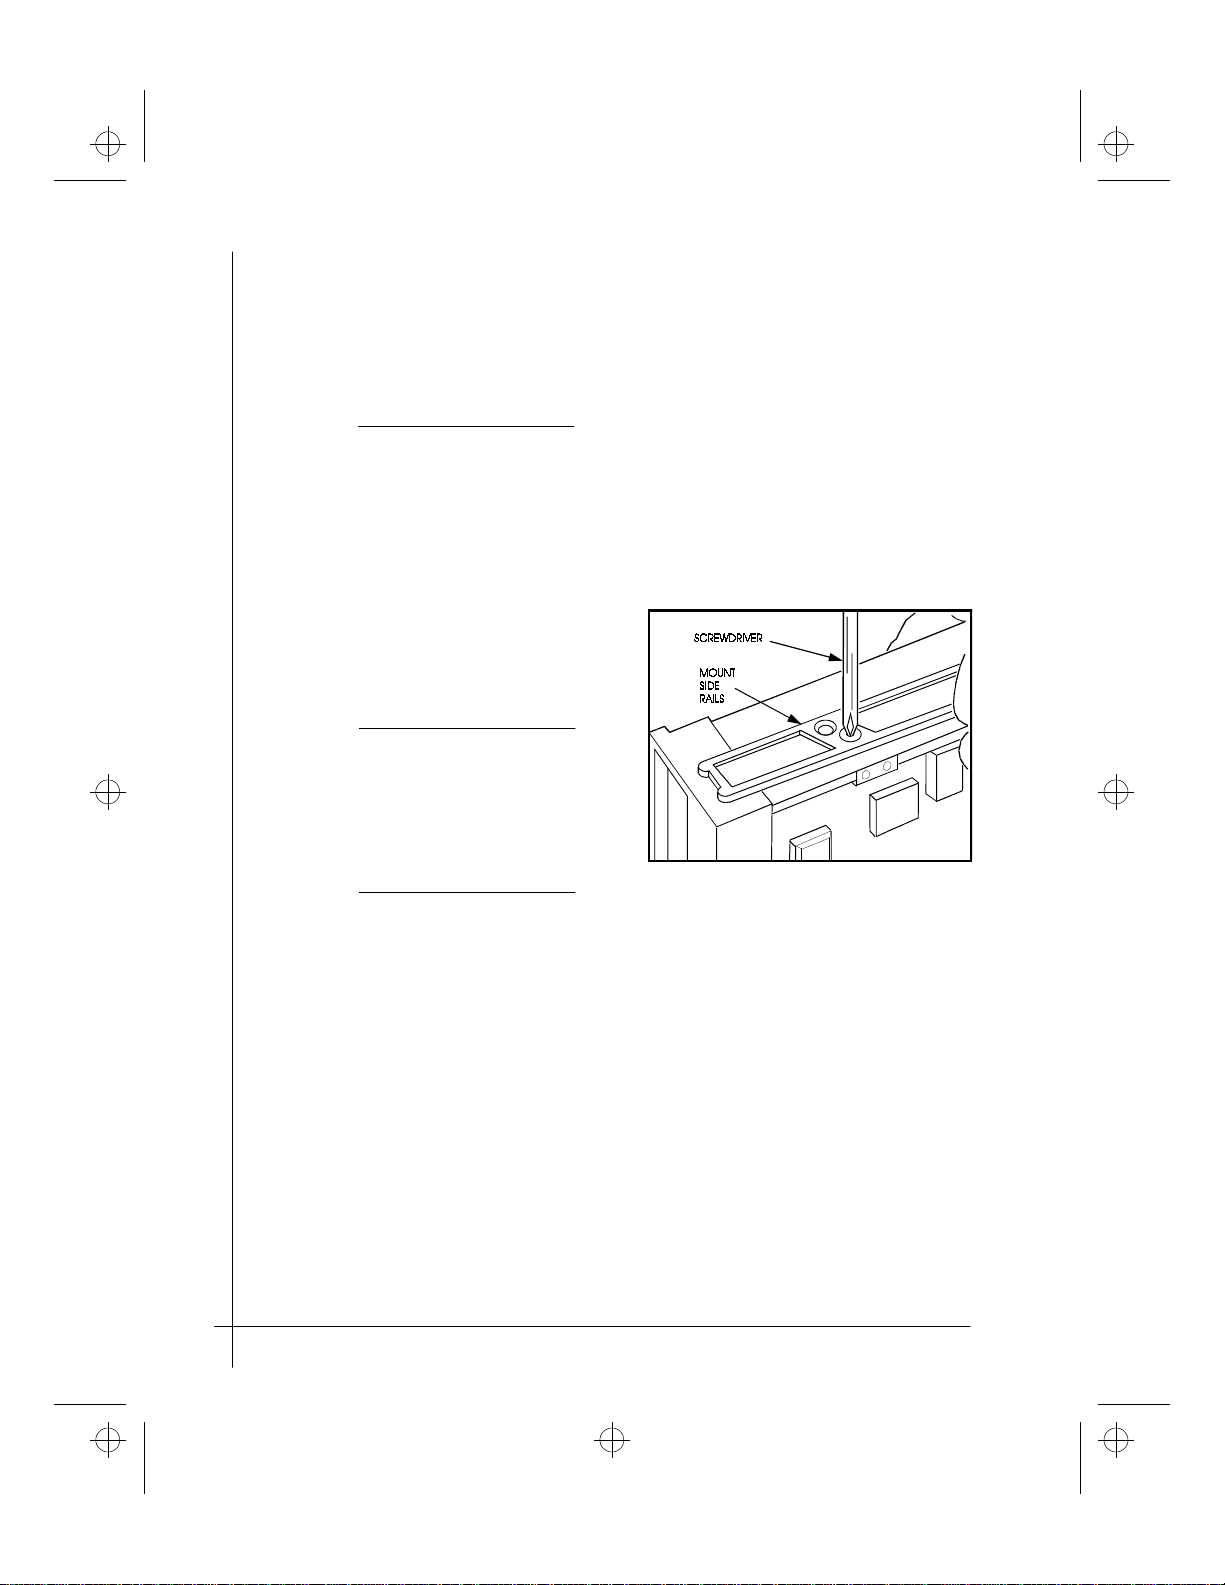
4. If side rails are required to
mount the drive in your
computer, mount the supplied
side rails on the drive.
NOTE: Exact placement of the
rails will depend on your
computer housing. If the supplied
rails cannot be adapted to your
computer, contact your computer
dealer for the correct rails for
your computer chassis.
qicc2.fm Page 8 Friday, April 25, 1997 12:40 PM
This manual suits for next models
5
Table of contents


