TECMASCHIN HU-P1316 User manual

Please read this manual before using the product and follow the instructions it contains!
OPERATING INSTRUCTIONS
Battery hand strapping tool
HU-P1316

2
CONTENT
Foreword 3
Safety instructions 3
Technical data 4
Main components 4
Operating instructions 5
Maintenance and repair 6
Troubleshooting 7
Packing and disposal 7
Warranty 7
GENERAL
MAINTENANCE &
WARRANTY

3
TECMASCHIN
FOREWORD
Congratulations on the purchase of your new HU-P1316 electric hand strapping tool. The easy-to-use battery-powered
device is made of high quality materials, specially designed for durable and reliable use. For your own safety and for the
correct operation of the strapping tool, please be sure to read and follow these operating instructions before using it.
It is best to keep these operating instructions. Check the device for transport damage. Damaged strapping tools should
not be put into use.
The HU-P1316 is used for electrical strapping and packaging of various packages and goods. Improper handling may result
in injury or damage to the machine. The operator / user must ensure correct use, making sure that it is only used by trained
and authorized persons.
SAFETY INSTRUCTIONS
Please read the instructions carefully, failure to do so may result in injury during operation.
• Only trained personnel may use this device.
• Only use the strapping tool if you have a firm footing.
• The device should not be used by mentally or physically impaired persons.
• Only use high-quality strapping tape that is suitable for this device. Pay particular attention
to width, thickness and tensioning force.
• Charge the battery only in dry rooms, at room temperature.
• Keep the device away from water, especially the battery.
• Remove the batteries before any maintenance.
• Use the device only at ambient temperatures between 5 °C - 45 °C.
• Wear safety glasses when using the device.
• Keep fingers away from blade and heating elements during use.
• Do not overstretch the strapping. Torn straps can cause property damage and serious injury.
• Bystanders should keep their distance if possible.
• Contamination of the device or on the strapping band can influence the result.
• Use only fully functional strapping tools.

TECMASCHIN
4
TECHNICAL DATA
No. Name
1 Battery box
2 Lever
3 Welding button
4 Tension knob
5 LED light
6DC5 5 Socket
7 Power-on toggle switch
MAIN COMPONENTS
Type Unit Value
Size (mm) 340 x 130 x 118
Weight (kg) 3,2
Battery (V/Ah) 12 / 4
Tension up to (N) 2800
Tensioning speed (mm/s) 100 – 200
Strip width (mm) 13 – 16
Strip thickness (mm) 0,5 – 1,2
Usable strapping: PET polyethylene / PP polypropylene
1 2
6 7
3 4 5

5
TECMASCHIN
BEFORE THE FIRST USE:
For safety reasons, the HU-P1316 hand strapping
tool and the spare battery pack arrive discharged.
Fully charge the batteries.
1. Pull the battery box cover up in the direction
of the arrow.
2. When the battery is inserted, the current charging
status is briefly indicated by a colored LED light
on the top.
Remove discharged batteries and recharge them to make
the device ready for use again.
If you use PP strapping, replace the internal spring with the
enclosed one. See section „Adjustment of the welding pressure“
for this.
Color Status
Blue Ready for use
Red flashing Low battery power
Red glow Machine error
Violet luminous Work finished
LED STATUS INDICATION
OPERATING INSTRUCTIONS
WELDING TIME ADJUSTMENT
1. Adjust the welding time if the strapping melts too much
or the band does not hold.
2. To do this, turn the right control clockwise to increase
the welding time.
ADJUSTMENT OF THE TENSIONING FORCE
1. Adjust the tensioning force if the strapping is too
loose or too taut.
2. To do this, turn the left control clockwise to increase
the tensioning force.
Start with a low welding time and a low tension force and slowly approach the desired result to avoid damage to the
fabric and injury from tearing straps.
Welding time
Tensioning force

TECMASCHIN
6
1. Wrap the package to be wrapped with the strapping tape so that the
ends overlap.
2. Lift the strap slightly so that you can drive under the strap with
the strapping tool. Hold the lever while doing this. Release the lever when
the tool is in the correct position.
3. Press the tensioning knob. After you have reached the desired clamping
force, release it again.
4. Weld the strap by pressing the welding button. Once the strap is cut,
you can remove the strapping tool.
5. Return the tensioning knob to the upper position by guiding the tensioning
knob upwards and move the device away from the packaging tape.
6. Check the strapping again for any damage or weak points.
Check the functionality of the device regularly. Pay particular attention to correct welding and Tension, as deviations may
occur here during prolonged use. In these cases, adjust the controllers. Remove the battery before any repair work in order
to exclude possible injury hazards.
ADJUSTMENT OF THE WELDING PRESSURE
If the welding pressure is too low or too high, this can
lead to faulty welding.
This circumstance depends on 2 factors:
The material thickness and the strip material itself.
1. Remove the battery from the housing of the device.
2. Open the left cover of the housing by loosening the
3 M4 screws.
3. Move the weld knob to the down position to expose
the silver M6 nut above the tension spring.
4. Tighten the nut to decrease the welding power.
To increase loosen the nut slightly.
STRAPPING PACKAGES
MAINTENANCE AND REPAIR
Correct welding
Welding time too short
Welding time too long
M4 screws
M6 nut
CUTTING FORCE ADJUSTMENT
If the strap is not cut or the blade cuts both strands of the strap,
it is necessary to adjust the cutting force.
1. Remove the battery from the housing of the device.
2. Open the left cover of the housing by loosening the 3 M4 screws.
3. Loosen the M4 screw directly on the blade of the device with
an Allen key.
4. Remove the blade of the device.
5. Replace the spring behind it.
6. Reassemble the device in reverse order.
Tip: The spring, which is already installed in the device, is used for
welding with PET tape. If you use PP tape, replace the spring with
the enclosed one before the first use.

7
TECMASCHIN
Problem Cause Solution
Control lamp does not
light up Battery is empty Replace the battery with a charged one and charge
the dead battery
The device does not
weld properly
Welding time too short Increase the welding time
Welding pressure too low Increase the welding pressure
The tape melts
too much
Welding time too high Reduce the welding time
Welding pressure too high Reduce the welding pressure
The device does not cut
properly Blade does not cut the tape completely Adjust the cutting force
The device cuts the
entire tape Blade moves down too far Reduce the cutting force
Red LED lights up
Tape is stuck in the device Remove the battery, cut the tape.
Open the device and remove the stuck tape
The motor does not turn Contact the manufacturer
TROUBLESHOOTING
PACKING AND DISPOSAL
PACKAGING
The packaging and individual components are made of recyclable materials. In detail these are:
PE (polyethylene) films and bags, cardboard packaging. We recommend keeping the packaging at least
during the warranty period.
DISPOSE OF OLD EQUIPMENT
OLD DEVICES MUST NOT BE DISPOSED OF WITH WASTE!
If the device can no longer be used, every consumer is required by law to dispose of old devices
separately from household waste, e.g., at a collection point in his or her municipality / district.
This ensures that old appliances are recycled properly and that negative effects on the environment
are avoided. For this reason, electrical appliances are marked with the adjacent symbol.
WARRANTY
The warranty of one year from the date of invoice covers material, manufacturing and construction defects.
Damages, which are due to natural wear and tear, improper handling or unauthorized modification are not covered by
the warranty. We grant a voluntary functional guarantee of 6 months from the date of purchase on the accumulator.

V 16.08.21
TOPREGAL UK Ltd.
Carlton Drive Pen Y Fan Industrial Estate
Crumlin Newport | Gwent NP11 4EA
01495 707222 | [email protected]
www.topregal.co.uk
Table of contents
Popular Packaging Equipment manuals by other brands
Transpak
Transpak TP-6000 Technical Questions and Answers
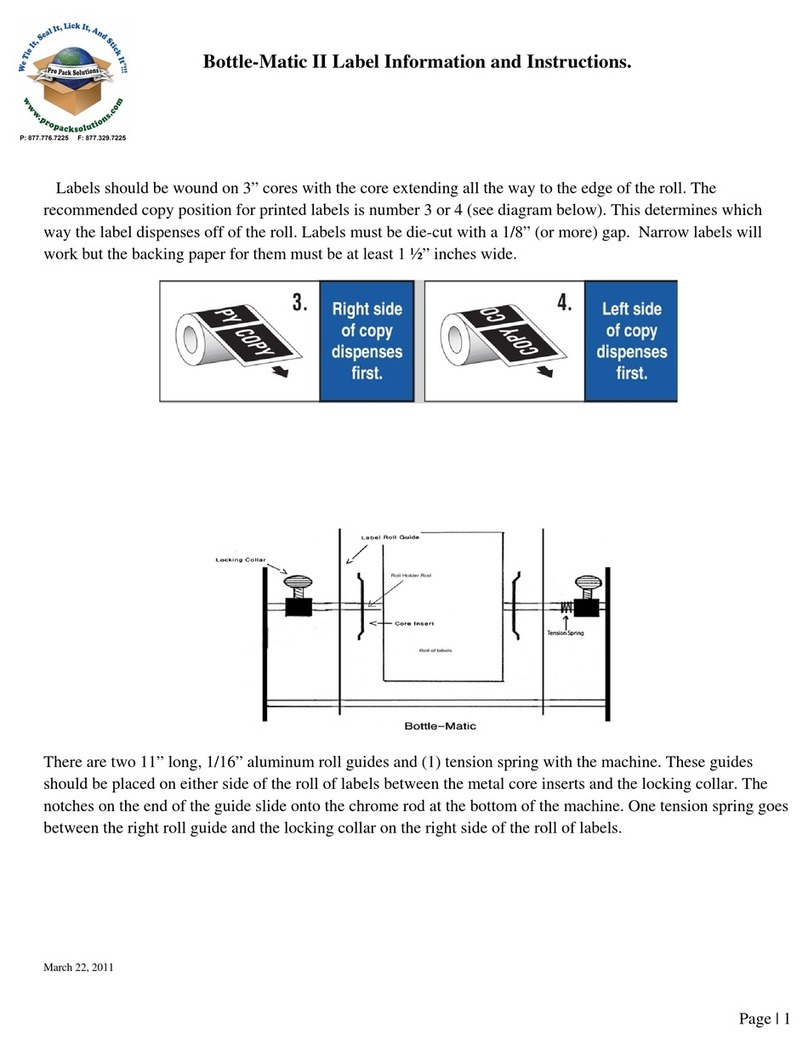
Dispens-a-Matic
Dispens-a-Matic Bottle-Matic II Information and instructions
Polychem
Polychem SP3100 Operation manual and spare parts list

Pregis
Pregis packmaster pro 383 operating manual

hawo
hawo hd 650 D EcoPak operating instructions
M.J. MALLIS GROUP
M.J. MALLIS GROUP SIAT K11R Instructions and Spare Parts List
ITW Mima
ITW Mima Girotec RDL 1800 Service and installation manual
Orgapack
Orgapack OR-H 47 operating instructions

EMGA
EMGA 516.030 manual

vc999
vc999 07P Series Operator's manual
AirSaver
AirSaver F2 Safety instructions, setup & installation manual

Kronos
Kronos H-46 Series Operation, safety and spare parts manual
