Podium – Cable Housing, Switcher & TekTouchPad
TSC7 Cable Housing
Locate a position within comfortable reach from all seated positions at the collaboration table. Using
the included cutout template, cut a hole for mounting the cable housing. Insert the cable housing into
the table or podium and attach the included mounting flanges into the highest accessible slot on each
end of the underside. Turn the thumb-screws until both feet are snug against the underside of the
table, and the cable housing does not move. Run all user cables through the central opening in the
cable housing, using one circular cutout per cable. Once all cables are in, insert the included central
plate and secure at both ends using the provided screws. To protect the cables from damage, snap
one plastic grommet into each hole in the cable housing.
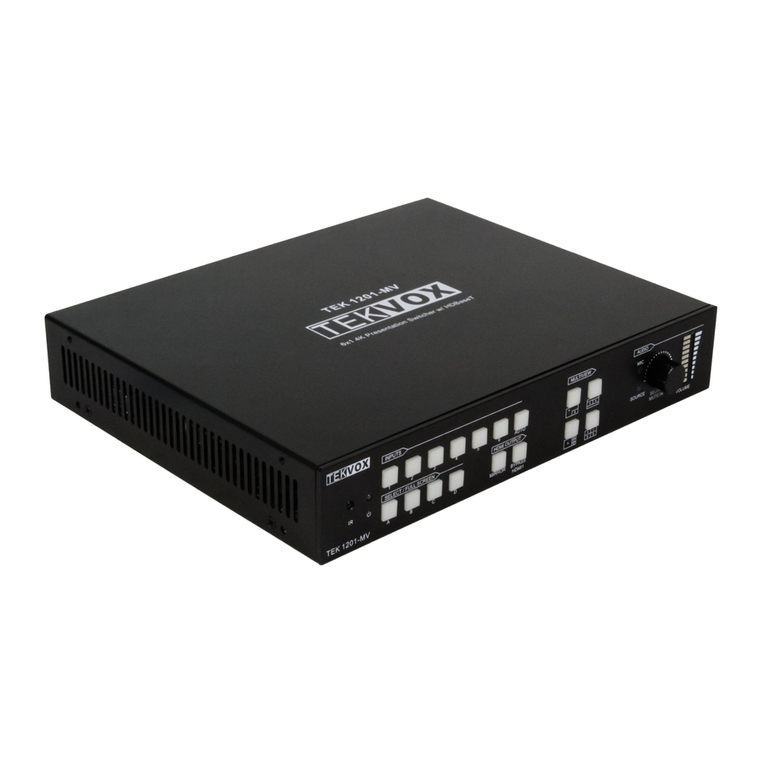
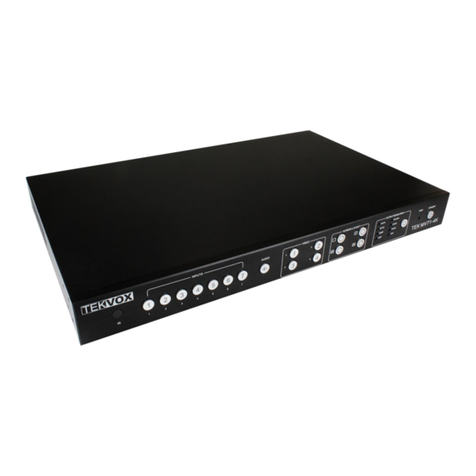
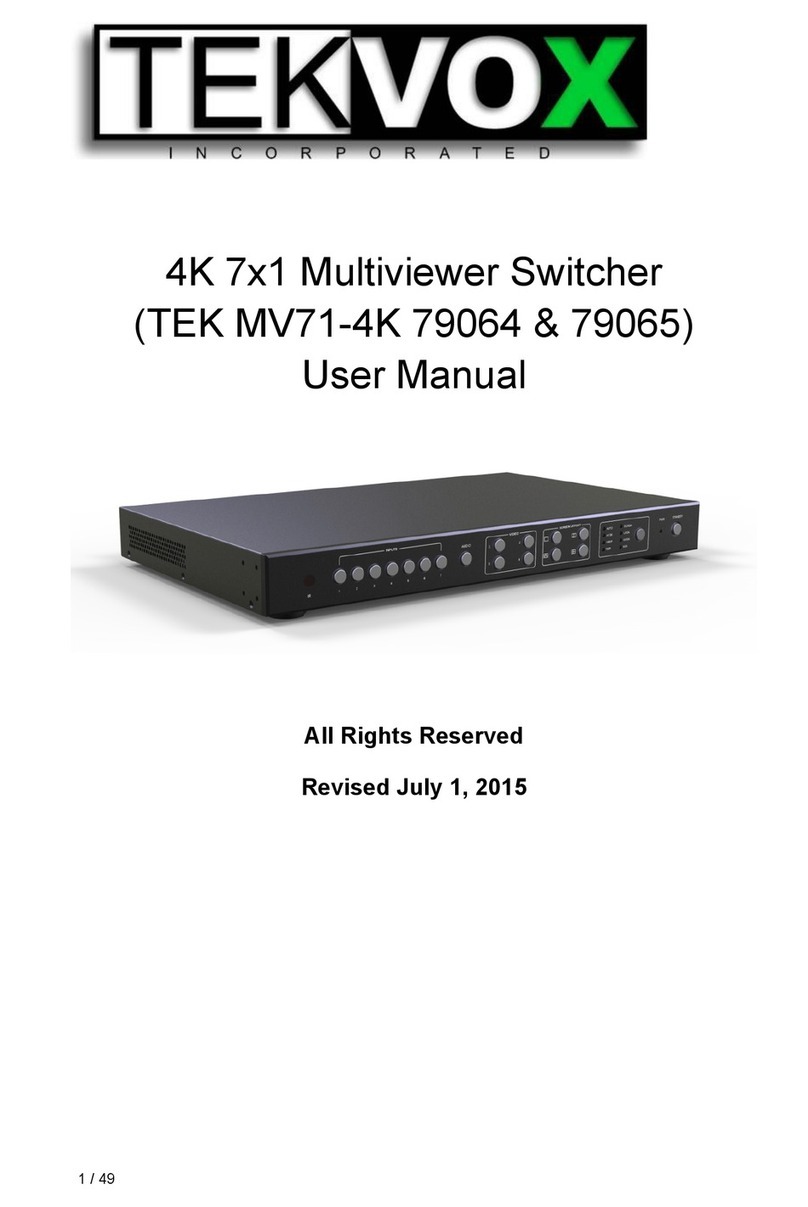
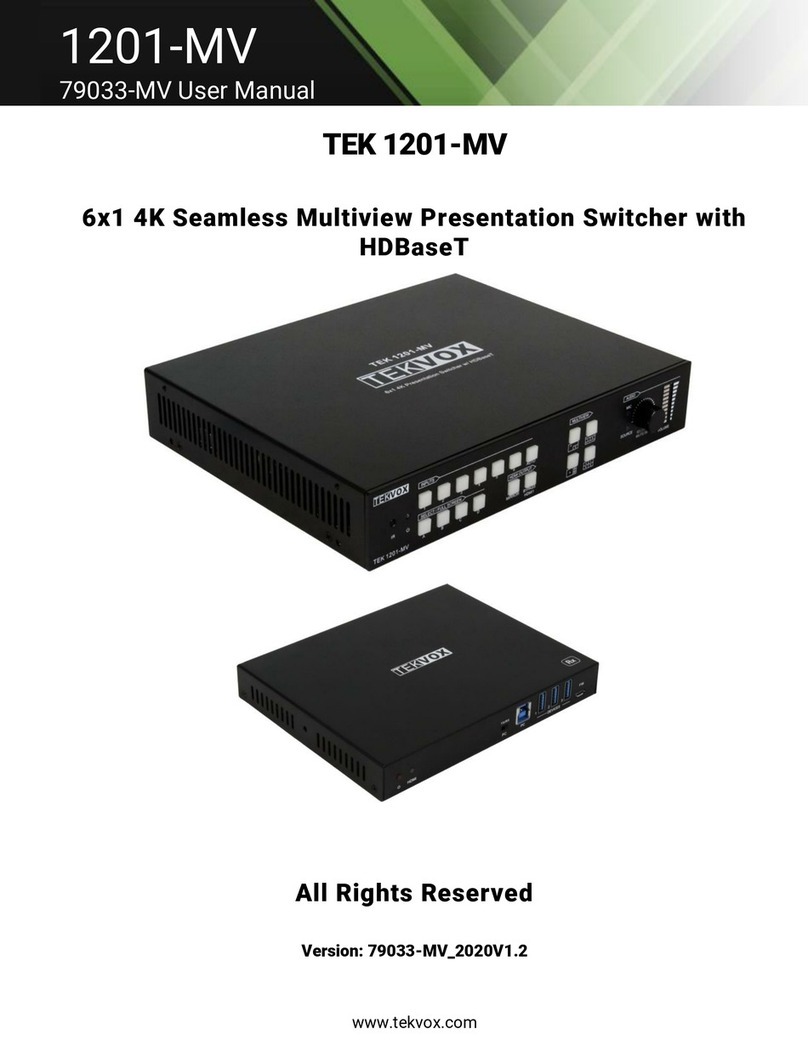
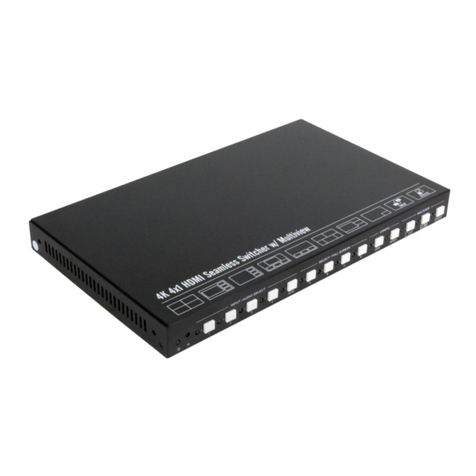
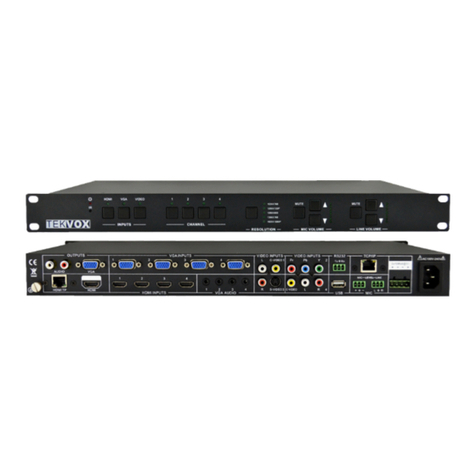
MV-71-4K Multi-View Switcher
Fasten into the equipment rack of the table, or onto the underside near the cable housing. Connect
power cable to rear of MV-71 and run so that the cable does not block other connections. Connect all
user cables to the switcher’s HDMI inputs as labelled.
TekTouchPad
Find a place within comfortable reach from all seated positions at the collaboration table to place the
mounting wedge for the TekTouchPad. Using a pencil, LIGHTLY trace a 4 ¾” tall by 2 7/8” wide
rectangle. In the approximate center of the rectangle, drill a 5/8” diameter hole for the TekTouchPad
cables to pass through. Using the traced rectangle as a guide, attach the wedge to the table using the
4 provided wood screws. Attach the rectangular back plate, with mounting posts facing outward and
“Top ↑” text facing upward, using the two provided flat screws.
Wall – TEK 3, HDMI & Serial Cables
TEK 3 A/V Controller
After the display mounting bracket is securely attached to the wall, but before the display is mounted,
attach the TekBlade with the TEK 3 to the bracket with provided metal ties. Mount the display on its
bracket as indicated on its installation instructions. Connect the display RS232 port to the TEK 3
through the TekSecurity module. Once connected, use the included Velcro pad to adhere the
TekSecurity module to the back of the display. Using a push-rod or fish-tape, run an Ethernet cable
from the ceiling to the TEK 3, and connect to network. Dress all cabling to prevent interference with
mount articulation.
Switcher HDMI and Serial Cables
Connect one end of the HDMI cable to the flat-panel display’s input. Run the HDMI output, switcher
control cable, and TekTouchPad cable together, from the display to the collaboration table. Connect
the HDMI cable to the MV-71’s output, and the serial cable to its RS232 port. Run the TekTouchPad
cable from the underside of the table, up through the previously drilled hole, and connect to the back
of the TekTouchPad. Ensuring wider portion is facing down, press TekTouchPad firmly onto 4
mounting posts. Remove protective film once fully assembled and secure.
