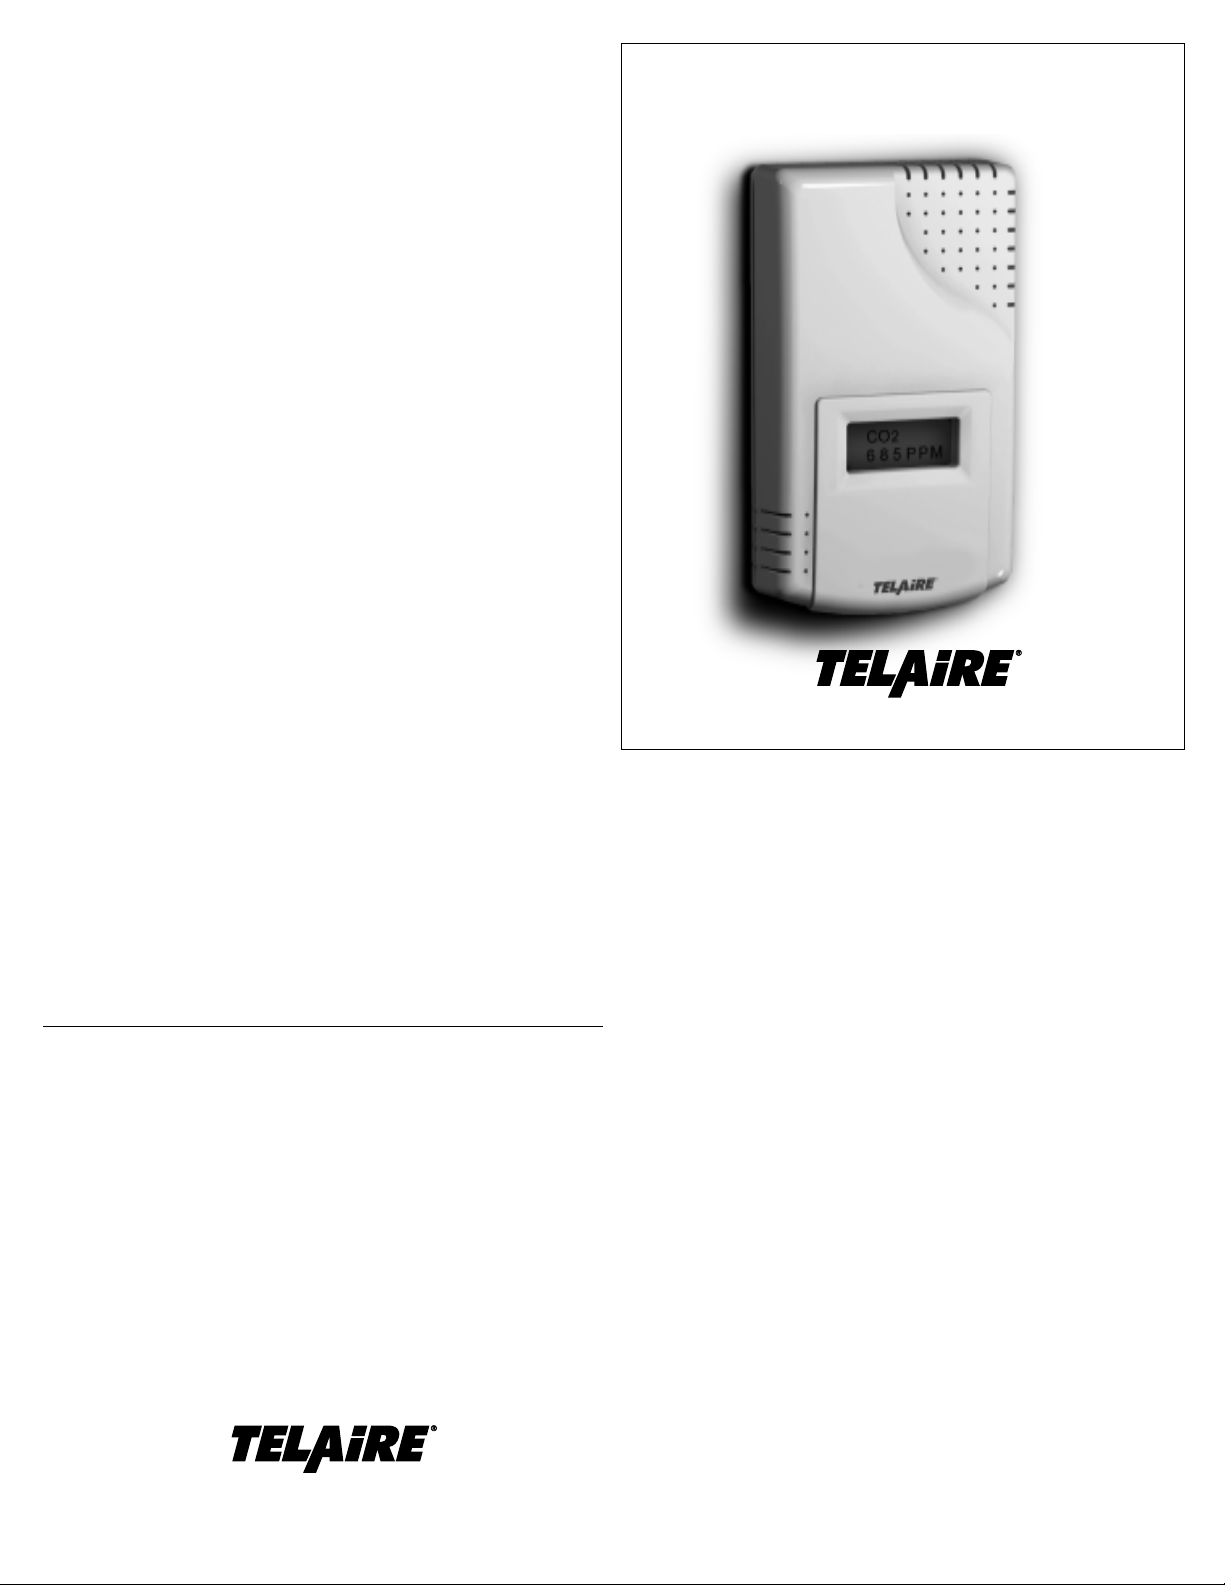
Telaire Ventostat 8000 Series User manual

clear
mode
enter clear
mode
enter
Installing the Sensor
Basic Installation of the Mounting Plate and Sensor
1. 2-3.
4. 5. 6.
1. Prepare for installation by using the mounting holes configured for US or
European junction boxes.
2. Use the mounting plate as a template to mark mounting holes.
3. Secure the Mounting Plate to the wall or junction box and make necessary
wire connections.
4. Mount the Controller on the base by aligning the top clips and then securing
to the bottom clips. A “snap” sound will indicate that the sensor is secure.
The sensor will now have power. A 2 minute warm-up will take place. After 2
minutes, the sensor will stabilize and display the “Normal Mode” (current
CO2readings).
5. At this point one of nine preset programs or one custom channel can be
selected for operation. Refer to “8. Configuring the Sensor.”
6. Finish installation by sliding the cover over the menu keys and secure with
the supplied screw.
Sensor Settings
Sensors with display can be adjusted via keypad and display or the UIP
Software program (model 2072). Sensor without display will need the program
to make any adjustments.
Altitude:
All Telaire 8000 series products are calibrated at sea level. As altitude
increases, the density of the air around us slightly decreases. This natural
phenomenon affects the accuracy of all gas sensors and introduces an error
of approximately -3% of the reading per 1,000 ft of elevation. Much of the
urbanized world is at an elevation of less than 1000 ft meaning that altitude
has very little effect on the reading and no adjustment is necessary. However,
users in locations significantly higher than sea level such as Denver, Colorado
may want to consider adjusting for elevation based on altitude to have the most
accurate reading. The altitude setting can be adjusted on the unit in 500 ft
increments.
ABC Logic™ Self Calibration System:
All Telaire 8000 series sensors are factory set with the ABC Logic™ (ABC =
Automatic Background Calibration) (formerly called TEMA) Self Calibration
feature ON. This feature allows the sensor to continually recalibrate itself
when the indoor concentrations drop to outside levels while the building is
unoccupied. Generally a building must be regularly unoccupied (with the
exception of cleaning or maintenance staff) for 4 hours or more for this self-
calibration system to operate properly. Under these conditions, ABC Logic™
should maintain sensor calibration over the lifetime of the sensor. The ABC
Logic™ should be turned OFF where a building is continuously occupied 24
hours per day, or where there could be significant sources of non-occupant
related CO2such as greenhouses, breweries and other industrial and food
processing applications.
Standard Sensor Settings Available Via the Keypad (Display Units
Only) or PC Based UIP Interface (All Units).
Typeof
Equipment
Interfacew/Standard
BuildingControlSystem
Interfacew/Standard
BuildingControlSystem
Interfacew/Standard
BuildingControlSystem
Economizer(Hvac)
Economizer(Hvac)
Economizer(Hvac)
Economizer(Hvac)
Health&Safety
Parking/AirIntakes/
LoadingDocks
Type
of
Output
Proportional
Proportional
Exponential
Proportional
Proportional
Exponential
Exponential
Proportional
Proportional
Ventilation
Rate
(cfm/
Person
Any
Any
Any
15
20
15
20
NA
NA
Analog
Output
0-10V
4-20mA
2-10V,
7-20mA
0-10V
4-20mA
0-10V
4-20mA
0-10V
4-20mA
0-10V
4-20mA
0-10V
4-20mA
0-10V
4-20mA
0-10V
4-20mA
CO2
Control
Range
(ppm)
0-2000
0-2000
0-2000
0-1100
0-900
0-1100
0-900
0-9999
0-2000
Optional
Relay
Setpoint
(ppm)
1000
1000
1100
1100
900
1100
900
5000
700
Relay
Hysteresis
(ppm)
50
50
50
50
50
50
50
500
50
Setting
No
1
2
3
4
5
6
7
8
9
Sensor Setting
The standard factory settings are the typical settings used when a CO2
sensor is connected to a building control system. If the installation is
somewhat unique or specialized, the user can customize certain characteris-
tics of the sensor. For example, non-factory settings may be applicable when
the sensor is being connected to equipment that has a fixed input range (e.g
actuators used with economizer systems).
Outlined below are the adjustable parameters of the sensor and the factory
setting. In addition to these adjustable features, the programming interface
allows for a fast and simple adjustment of sensor calibration.
8000 Series Adjustment Parameters and Factory Settings
Range
0-10,000Ft
On/Off
1to 9
0-10,000
4-20mA/0-10V
SelectOne
0-10,000PPM
0-10,000PPM
FactorySetting
0Ft
On
1
0-2,000
4-20mA/0-10V
Proportional
1000PPM
50PPM
Adjustment
AltitudeAboveSeaLevel
ABCLogic™
SelectStandardSetting
CustomizeSetting
PPMRange
OutputRange
Proportional/
ExponentialOutput
RelaySetpoint
RelayHysteresis
Standard Pre-Programmed Settings:
There are 9 Standard settings that can easily be selected using the keypad
(display units only) or the PC based UIP Program. The chart below describes
each of the settings. The definitions for some of the terms used in the chart
are described in more detail as part of the custom settings section to follow.
Settings 1, 2 and 3 are applicable for automated or computerized building
control systems.
Settings 4 to 7 are specifically designed for operation with economizer controls
and actuators where a 0-10 VDC signal will provide 0-100% outside air modula-
tion. These control settings provide different modulation ranges depending on the
target cfm-per-person ventilation rate desired. As described below the exponential
setting is best used in applications that have large volumes of air and people
such as auditoriums, gyms and large conference areas.
Setting 8 is intended for use in applications related to occupational health and
safety where users may want to measure concentrations in relation to the
5000 ppm 8 hour exposure levels established by OSHA (Occupation Safety
and Health Administration).
Setting 9 is intended for use in parking garages where CO2can be used as an
indicator of the presence of combustion fumes. As part of most types of
combustion, CO2is generated at a rate that is 50 times or more of other more
harmful contaminants. This is particularly the case with the extensive use of
catalytic converters that tend to remove most of the carbon monoxide from
vehicle exhaust. The 700 ppm setting should maintain levels of other exhaust
contaminants well below levels of concern.
Custom Settings:
In addition to the 9 standard settings programmed into the 8000 series, users
can also custom program the sensor for their own application. Outlined below
is a brief description of each of the adjustable custom settings:
62332-007 09/08/2004
Specifications
Method
Dual Beam Absorption Infrared
Diffusion sample method
Performance
Measurement Range
0-2000 ppm factory default
Adjustable to 10,000 ppm with UIP
Software
Accuracy
@60-90°F (15-32°C)
±50 ppm or 5% whichever is greater
(7% for levels over 1500 ppm)
@32-122°F (0-50°C)
±100 ppm or 7% whichever is greater
Elevation (Pressure) Correction
Add 0.13% of reading per mm Hg
decrease from 760 mm Hg (On-board
correction, user set with UIP
software), preset at sea level
Response Time 0-90%
<1 minute
Warm-Up Time @ 25oC
<2 minutes
Operating Conditions
0 – 50oC (32-120oF)
0 – 95% RH, non-condensing
Storage Temperature
-40 – 70oC
Agency Certification
FCC Part 15 Class B / CE
Plastic Case - UL94-5V Rated
Input/Output
Power
18-30 VAC RMS, 50/60 Hz -half-wave
rectified
18-42 VDC polarity protected
1.75 VA maximum average power
2.75 VA peak power
Analog Output
0-10 VDC (100 Ohms output
impedance)
4-20 mA (RLmax = 500 Ohms)
Both outputs available simultaneously
Relay Output
Normally Open and Normally Closed
(wire either way), gold bifurcated, 2A
max. @ 24VAC. Adjustable setpoint
(with UIP software kit), factory set at
1000 ppm, 50 ppm hysteresis
Wiring
18-28 AWG stranded copper wire
only. 2 wires each for power, analog
output, relay
Digital I/O
RS-232 interface for use with optional
PC software and cable in UIP kit
2072
Warranty/Other
Warranty
18 months parts and labor
Calibration
5-year calibration guarantee
Adjusting Sensor (Display Units Only)
Button Features [CLEAR] - Resets Menu
- Returns to Normal Mode
[MODE] - Toggles to Next Menu Item
[ENTER] - Press to Lock Menu
[UP/DOWN] - Increase/Decrease Selection Value
Altitude Correction and ABC LogicTM (On/Off):
1. After 2 minute warm-up period, press [CLEAR] + [MODE] and hold (at least
5 seconds) until the sensor enters the edit mode.
2. The first menu will be the Altitude correction. The adjustments will increase/
decrease in 500 ft. increments. To do this use the UP/DOWN Rocker Button
to adjust to the proper altitude.
3. Press ENTER to lock in value then press MODE to proceed to ABC LogicTM.
4. Use the UP/DOWN Rocker Button to switch to ON or OFF.
5. Press ENTER to lock in value then press MODE to proceed to Normal Mode.
Note: It is recommended that the ABC LogicTM feature be left ON for the best
sensor operation.
Selecting a Pre-Programmed Setting:
The pre-programmed settings shown in Table 3 are factory set and cannot be
changed. These settings can be selected from the Standard Settings
(STDSET) menu. The Altitude and ABC Logic™ features can be changed
without entering the Standard Settings (STDSET) menu.
1. After 2 minute warm-up period, press CLEAR + MODE and hold (at least 5
seconds) until the sensor enters the edit mode.
2. Press MODE 2 times. You will enter the STDSET menu.
3. Use the UP/DOWN Rocker Button to select the desired pre-programmed
number. Refer to “Configuring the Sensor” for the appropriate setting number.
4. Press ENTER to lock in selection then press MODE to return to Normal Mode.
For Non-Standard (Custom) Settings:
The non-standard (custom) settings can be changed at any time after the
sensor is powered up. The 7 variables are: PPM Range, Scale (proportional or
exponential), Output (V or mA), Output Range V, Output Range mA, Relay
Setpoint, and Relay Hysterisis. The Altitude and ABC Logic™ features can be
changed without entering into the Non-Standard (NONSTD) menu.
1. After 2 minute warm-up period, press [CLEAR] + [MODE] and hold (at least
5 seconds) until the sensor enters the edit mode.
2. Press [MODE] 2 times. You will enter the STDSET menu.
3. Use the [UP/DOWN] Rocker Button to toggle to the NONSTD menu.
4. Press [MODE] to move through the variables. Use the [UP/DOWN] button
to toggle to desired setting.
5. Press [ENTER] to lock in the selection then press [MODE] to continue to
the next variable.
Dual Channel CO2Ventilation Controller
Ventostat®8000 Series
Warranty
6860 Cortona Drive, Suite B - Goleta, California 93117
P- 805-685-4000 F- 805-685-0015 www.telaire.com
Telaire seeks to present reliable information concerning the composition, properties and use of its
products, however; (1)All advice concerning selection and use of any product is provided at no
charge and with no warranty. (2) No warranty is made hereby. Products described herein are
warranted to conform to Telaire specifications only at the time of sale. All sales are subject to
Telaire standard terms and conditions, which are reproduced on the reverse side of each invoice.
All warranties of merchantability and fitness of purpose are disclaimed and remedy for any breach
of warranty is limited to replacement of the defective product. (3) Telaire assumes no responsibil-
ity for any patent liability arising from the use of any product in a process, manner or formula not
designed by Telaire. ©Copyright 1999-2004
62332-007 09/08/2004
6860 Cortona Drive, Suite B - Goleta, California, 93117
P- 805-685-4000 F- 805-685-0015
NOTICE!
Use of cellular telephones or radio transceivers within two (2) feet of the
sensor during calibration process could cause sensor interference, calibration
errors and affect sensor accuracy. Please refrain from using these devices
during sensor calibration.
Other Telaire Controllers manuals


