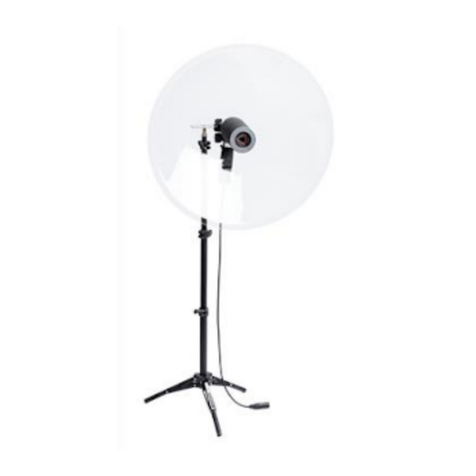
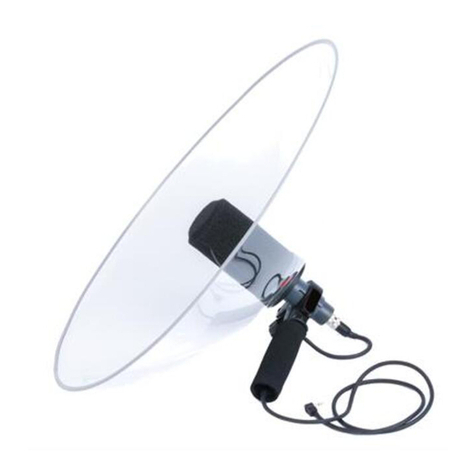
Telinga TELINGA MODULAR User manual

TELINGA MODULAR V 1.0 USER MANUAL (PDF)

2
Thank you for purchasing the Telinga Modular!
Before using it - please read the complete manual.
Some important information:
1) This parabolic dish/reflector does not contain any electronics and comes
without microphone & cable. Therefore: It is not compatible with Telinga
microphones but its design allows you to find a favorite setup with your own
microphones (or sensors) & cables. We recommend to start with an omni
pencile style microphone if you have not used a parabolic reflector before. The
Telinga Modular is not designed for a particular microphone, depending on
which “sound” you are looking for it allows many different microphones (or
sensors) to be used in the included dish basket/foam holder “suspension”.
If you ask us? We love SCHOEPS microphones and PRIMO electrets (for stereo
PZM configurations in the dish).
2) Folding the 22” Telinga parabolic dish. Please only store the dish folded
temporarily when travelling. If you fold the dish away for longer periods of
time, weeks or months the dish will deform over time. If the dish deforms after
travelling please let it rest on a flat surface for 24-48 hours to regain shape.
Please keep any loose small parts and bags secured in a safe place away from
children.
3) Never point the parabolic dish directly towards the sun! The sunrays
collected by the dish onto the focus of the dish might cause the foam to burn.
It is possible to use the RYCOTE TELINGA OEM DISH HWC (optional) to prevent
sunrays from entering the dish. Please see:
https://www.telinga.com/products/accessories/rycote-telinga-dish-hwc/
4) When using your own cable coming out of the gray tube (please see
installation instructions) the cable might cause handling noise when the cable is
moving and twists. It sounds similar to microphone touching the foam inside
the basket. To prevent this you must then hold the cable or secure it around
the handle. Please see page. 7.
5) If you wish to use the Telinga Modular on a Tripod Stand you will need the
optional Telinga Tripod Mount, please see: www.telinga.com

3
TELINGA MODULAR MOUNTING AND INSTALLATION
PLEASE MAKE SURE ALL PARTS ARE SECURED FIRMLY BEFORE USE!

4
The Telinga Modular includes:
1) Handle incl. mounting kit (gray tube, black ring, gray ring) already
mounted in handle & black NEOPRENE cable holder cylinder (removable)
found in the gray tube.
2) 22” Telinga Modular Parabolic Dish to be placed in the mounting kit, in-
between the black ring and gray ring. The gray ring with thread should
always be secured INSIDE the dish while the black ring without thread
supports the dish from BEHIND. Please see above picture.
3) Rycote Telinga OEM Basket with the “MONO” foam suspension the
foam holds your mic/sensor while you can place your cable in the sliced
cable lane of the foam, when using a cardioid or omni microphone facing
the dish. 16.04.2021 (BETA)-STEREO FOAM ALSO INCLUDED. Please
contact us for installation instructions: [email protected]
4) Rycote Telinga Windjammer (“fake fur”) to be placed over the basket in
windy conditions.
5) NEOPRENE CABLE HOLDER (black cylinder) comes preattached in the
gray tube (removable) We recommend using the neoprene cable holder
with sliced cable channel whenever possible (microphone not too long).
If your microphone is too long to attach the neoprene cable holder, and
you use a cable coming directly out of the gray tube remember you will
need to hold your cable around the handle or secure it (with temporary
cable ties for example) or cable noise might appear. Please see page. 7.
Using the Telinga Modular with your
microphone/sensor/cable (GETTING STARTED!)
(A) Please begin with removing the gray front cap of the Rycote Telinga
OEM Basket. Then mount the complete dish as above picture (PAGE 3)
the 22” dish should be attached before inserting microphone/sensors.
(B)If you wish to use a microphone or sensor with its capsule facing the
dish (all cardioid mics!) please take out the removable black foam which
sits inside the basket. If you want to use your omni microphone or sensor
forward, please leave the black foam inside the basket.
PLEASE SEE PHOTOS BELOW (PAGE 5 & 6)

5
USING A SHORTER MICROPHONE (OMNI OR CARDIOID) FACING THE DISH:
1. Please take out the black (removable) foam from the basket.
2. Allocate the sliced cable lane of the foam and place your cable (NOT MIC)
thru the cable lane of the foam. We recommend a angled low profile cable as
photo. After placing the cable in the foam cable lane - INSERT THE FOAM with
cable AGAIN. Adjust cable length as above photo by pulling cable.
3. If possible, place the cable also thru the cable lane of the BLACK
(REMOVABLE) NEOPRENE CABLE HOLDER found in the GRAY TUBE. Secure
with handle knob.
4. Adjust cable length so its not too long inside the basket (causing handling
noise) or too short coming out of the dish to attach to your recorder. After
cable length is adjusted please find a suitable microphone or sensor (omni or
cardioid) shorter length that you wish to use.
5. Attaching your microphone: connect your cable to microphone with its
capsule placed inside the center hole of the foam facing dish. On top of the
basket you can find a silver sticker focus indicator. Place your microphone
capsule close to the focus indicator inside the center hole of the foam. It is not
critical where your microphone is placed as long as its capsule is close (+/- 10
mm) to the focus, you can experiment until you find a “sound” you prefer.
AFTER INSERTING YOUR MIC LET THE FOAM ADJUST TO THE SIZE OF THE MIC
aprx 5-10 seconds. That also applies if changing microphone position.

6
USING A LONGER MICROPHONE TYPE (OMNI MICS ONLY!) FORWARD
1. Please mount complete dish as picture page 3. Please leave the foam
inside the Rycote Telinga OEM basket after removing the front cap. (Do
not remove the foam.)
2. Remove the black cylinder shaped Neoprene cable holder out of the
GRAY TUBE of the handle. Remember: dish should be attached already!
3. Please attach your cable to your microphone and insert the microphone
from the back of the dish thru the gray tube -> into the foam of the
basket. Please see above photo: you should be able to see your
microphone capsule thru the foam center hole.
4. DISH FOCUS: On top of the basket you can find a silver sticker focus
indicator. Place your microphone capsule close to the focus indicator
inside the center hole of the foam. You can change position easily simply
by pushing the microphone inwards or outwards. It is not critical where
your microphone is placed as long as it is close (+/- 10 mm) to the focus
of the dish, you can experiment until you find a “sound” you prefer.
AFTER INSERTING YOUR MIC LET THE FOAM ADJUST TO THE SIZE OF THE MIC
aprx 5-10 seconds before recording . That also applies if changing microphone
position inside the foam.

7
5. If using a microphone that is too long to use the included black Neopren
cylinder cable holder (found in the tube) please remove it - so the cable
instead can come out of the gray tube (as above photo).
IN THIS CONFIGURATION IT IS IMPORTANT TO HOLD YOUR CABLE AROUND
THE HANDLE WHILE RECORDING or fasten it around the handle with cable ties
(that you can easily remove at a later stage.)
A cable that is moving around by itself – not held – or that cannot be placed in
the Neopren cable holder while using the dish often create a handling noise
sound that is similar to touching the foam of the basket while recording. Most
often this handling noise is caused by the cable itself as it twists slightly when
moving, especially with thicker cables.
If you are still experiencing handling noise from your cable, please remove the
cable and mic. Connect cable and mic (ONLY) without the Telinga Modular - to
your recorder. Hold your microphone with one hand and move the cable with
the other to find out if your cable or mic needs to be replaced.

8
6. FINAL STEP BEFORE RECORDING:
CLOSE THE TELINGA RYCOTE BASKET WITH ITS GRAY FRONT CAP.
RECOMMENDED! PLEASE DO NOT LEAVE YOUR MICROPHONE INSIDE THE
FOAM OF THE BASKET WHEN NOT RECORDING. REMOVE IT TO LET THE FOAM
GO BACK TO SHAPE BY REMOVING THE FRONT CAP AND TAKE OUT YOUR MIC
OR SENSOR FROM THE FOAM.
SYSTEM AFTER ASSEMBLING – READY TO USE.
Please make sure all parts are secured firmly to avoid handling noise.

9
+ After assembling the system as above photos and pictures please connect to
your recorder/preamp. Make sure input and output levels are set low before
recording and attaching your headphones. The parabolic dish operates only by
acoustical amplification. Only your microphone/sensors and headphones are
operating with your recorder electronically (by input and output levels). Please
use your Telinga Modular outside, inside there are too many reflections
acoustical feedback might occur. Please watch your ears!
+ If your microphone or sensors requires +48V (Phantom Power) or PIP (Plug In
Power) please enable this on your recorder.
+ In windy conditions please always use the included TELINGA RYCOTE OEM
BASKET (“FAKE FUR”) WINDJAMMER. It is also recommended to use a TELINGA
DISH RYCOTE HWC: https://www.telinga.com/products/accessories/rycote-
telinga-dish-hwc/ This HWC protects your dish from both sunrays entering the
dish and from insects buzzing around inside the dish while recording.
+ Do not use in stationary (permanent) installations without using a dish high
wind cover such as: https://www.telinga.com/products/accessories/rycote-
telinga-dish-hwc/
Please contact Telinga Microphones for any further information:
[email protected] or by phone: +46 (0) 702 979 979.
Made in Sweden by TELINGA MICROPHONES.
www.telinga.com
COPYRIGHT © TELINGA MICROPHONES.
Errors and omissions excepted.
PLEASE SEE NEXT PAGE.

10
SPECIFICATIONS:
POLAR (TYPICAL) CARDIOID FACING THE DISH

11
Last edited 2021-05-12
Table of contents
Other Telinga Microphone manuals
Popular Microphone manuals by other brands
Sennheiser
Sennheiser Evolution E865 instruction manual
LY International Electronics
LY International Electronics M-2588 user manual
Electro-Voice
Electro-Voice PC Boundary Sat Brochure & specs
Audix
Audix M40 installation guide
Karma
Karma SET 6090 instruction manual
M-Audio
M-Audio PRO TOOLS VOCAL STUDIO user guide
