7
PLACEMENT OF
YOUR HANDSET
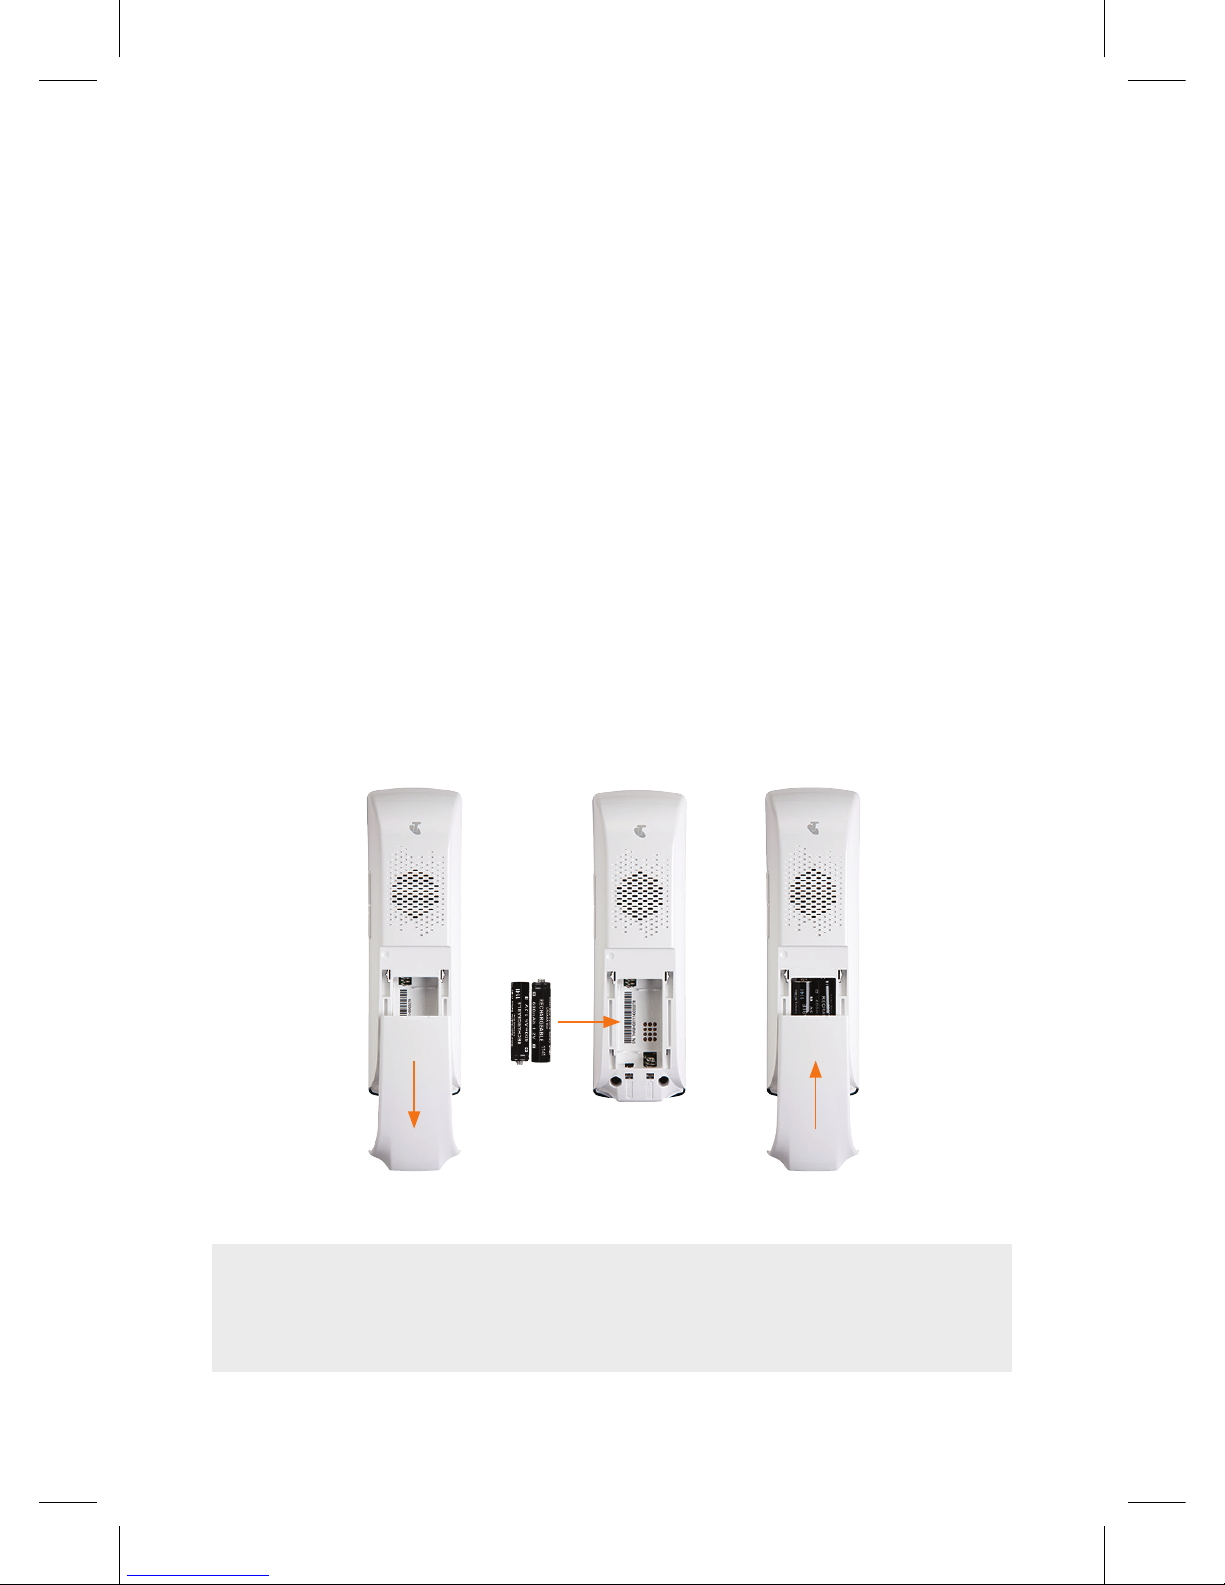
Important Note
Care should be taken when using the handset when it
has been left off the handset dock. The handset includes
a magnetic coupling feature in the receiver for use with
hearing aids and, as a result, may also pick up and retain
small pins and staples and other small magnetic items
near the receiver.
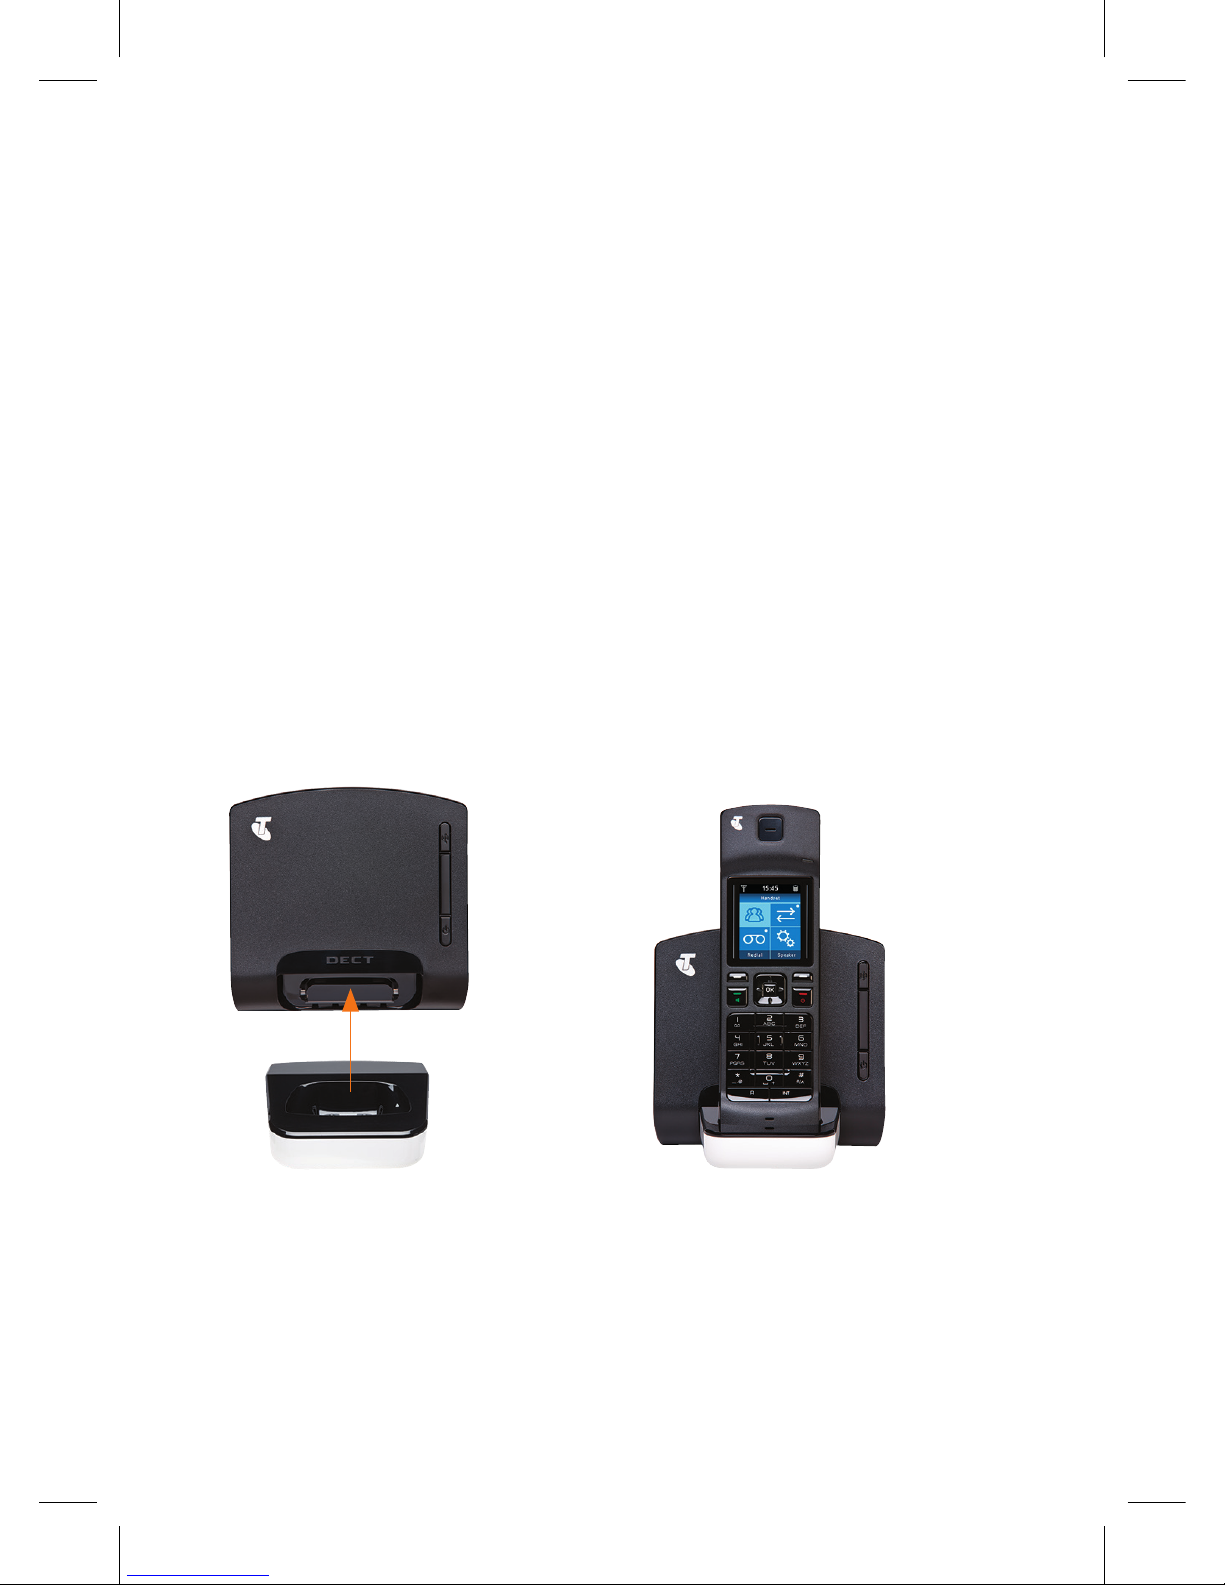
You can choose to place your new handset anywhere in
your home – either docked together with your base station
or T-Gateway™ – or in another location of your choice.
The advantage of docking your handset with your base
station or T-Gateway™ is that you only need one power
supply (which saves on clutter).
If you want to place your new handset separately to your
base station or T-Gateway™ – simply choose a location
for your handset dock near any power point, and plug it in.
Otherwise if you want to dock your new handset together
with your base station or T-Gateway™, choose from the
following options.