8
SAFETY
PRECAUTIONS
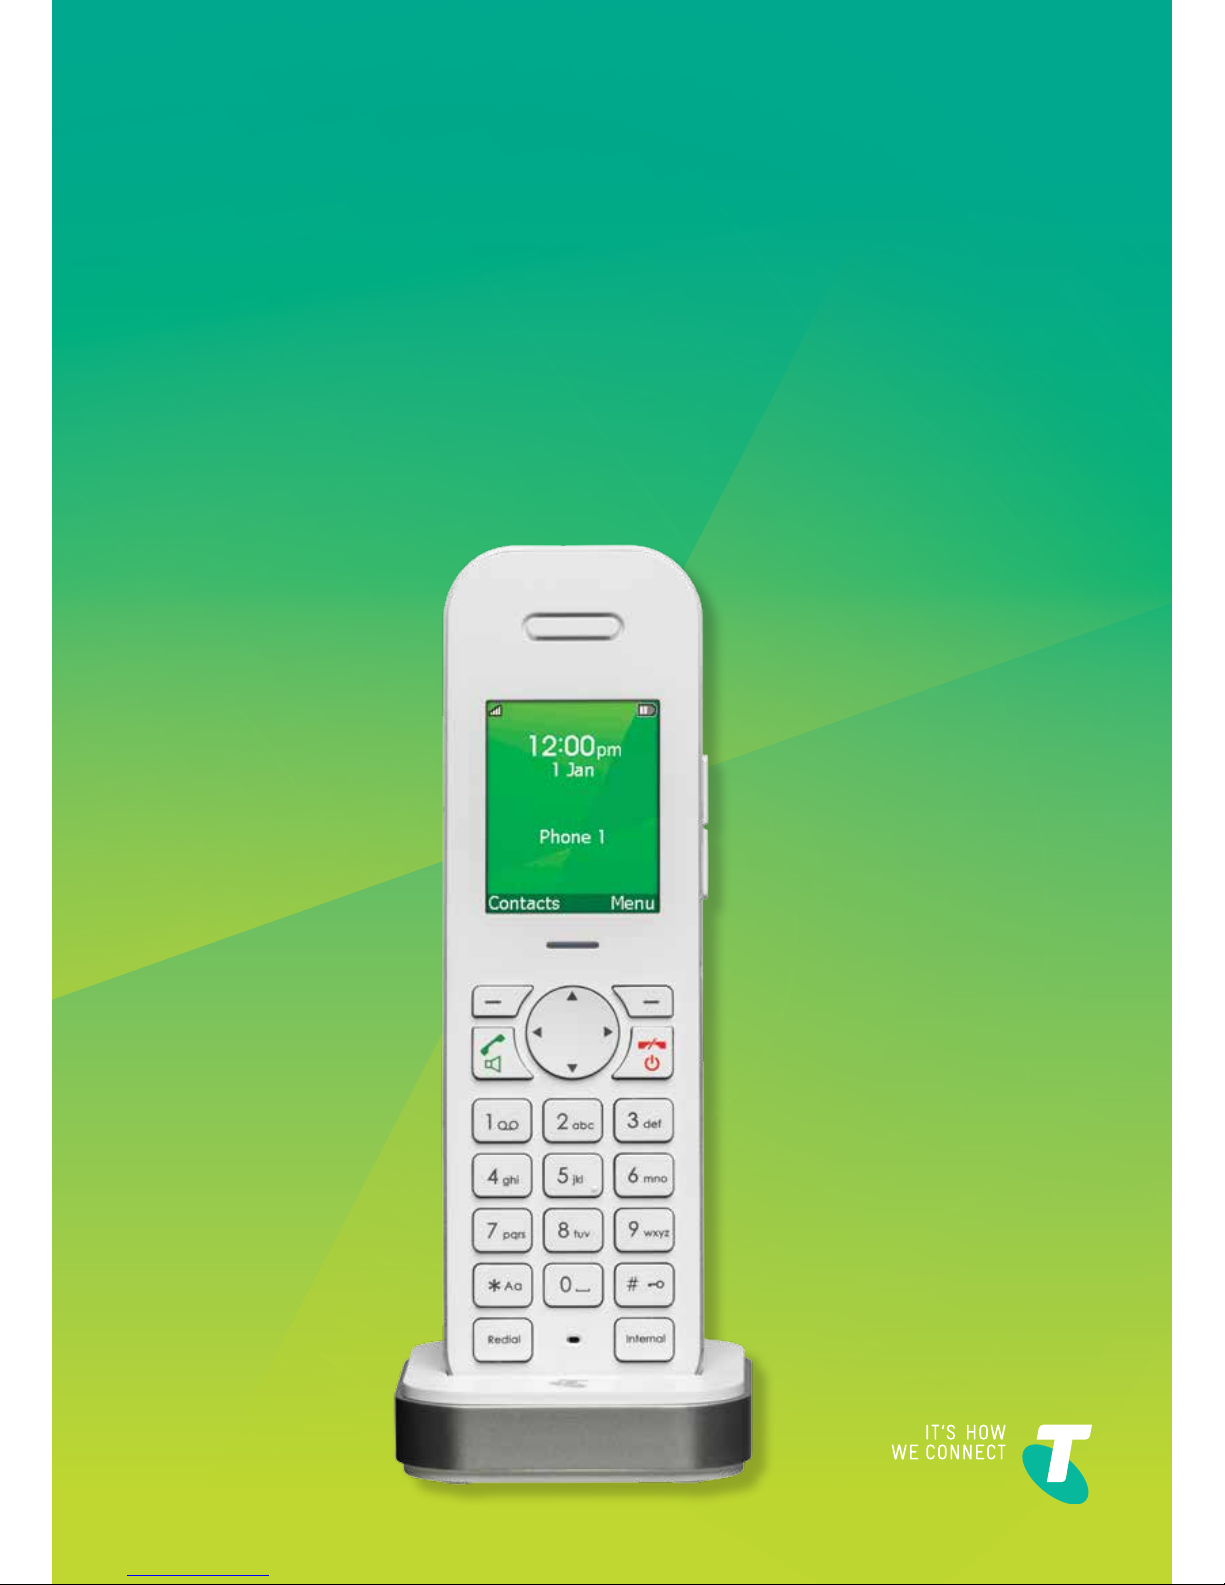
Your new Telstra T-VOICE 502 handset is intended for use within Australia for connection to
the public telephone network and Telstra’s NBN or ADSL Service, paired with a compatible
Telstra gateway (T-Gateway®or Telstra Gateway Max™). Please read the safety precautions
and user guide carefully before installing the telephone.
The user guide is a part of the product package and must be passed on to a new owner.
Caution: Warning/danger statement, follow safety precautions!
• The ambient temperature must be between 5 °C and 40 °C.
• Please note that the ringer for incoming calls as well as signal tones are emitted on
the handset loudspeaker. Do not therefore hold the handset close to your ear while
one of these functions is on, otherwise your hearing may be affected.
• Use only the following supplied power supply:
- MN-A002-A145 ; 7.5 V, 300mA from MEIC
• This product requires an electrical supply of 100-240 volts AC.
• The mains power plug must always be easily accessible.
• To disconnect the device from mains, separate the plug from the wall socket first.
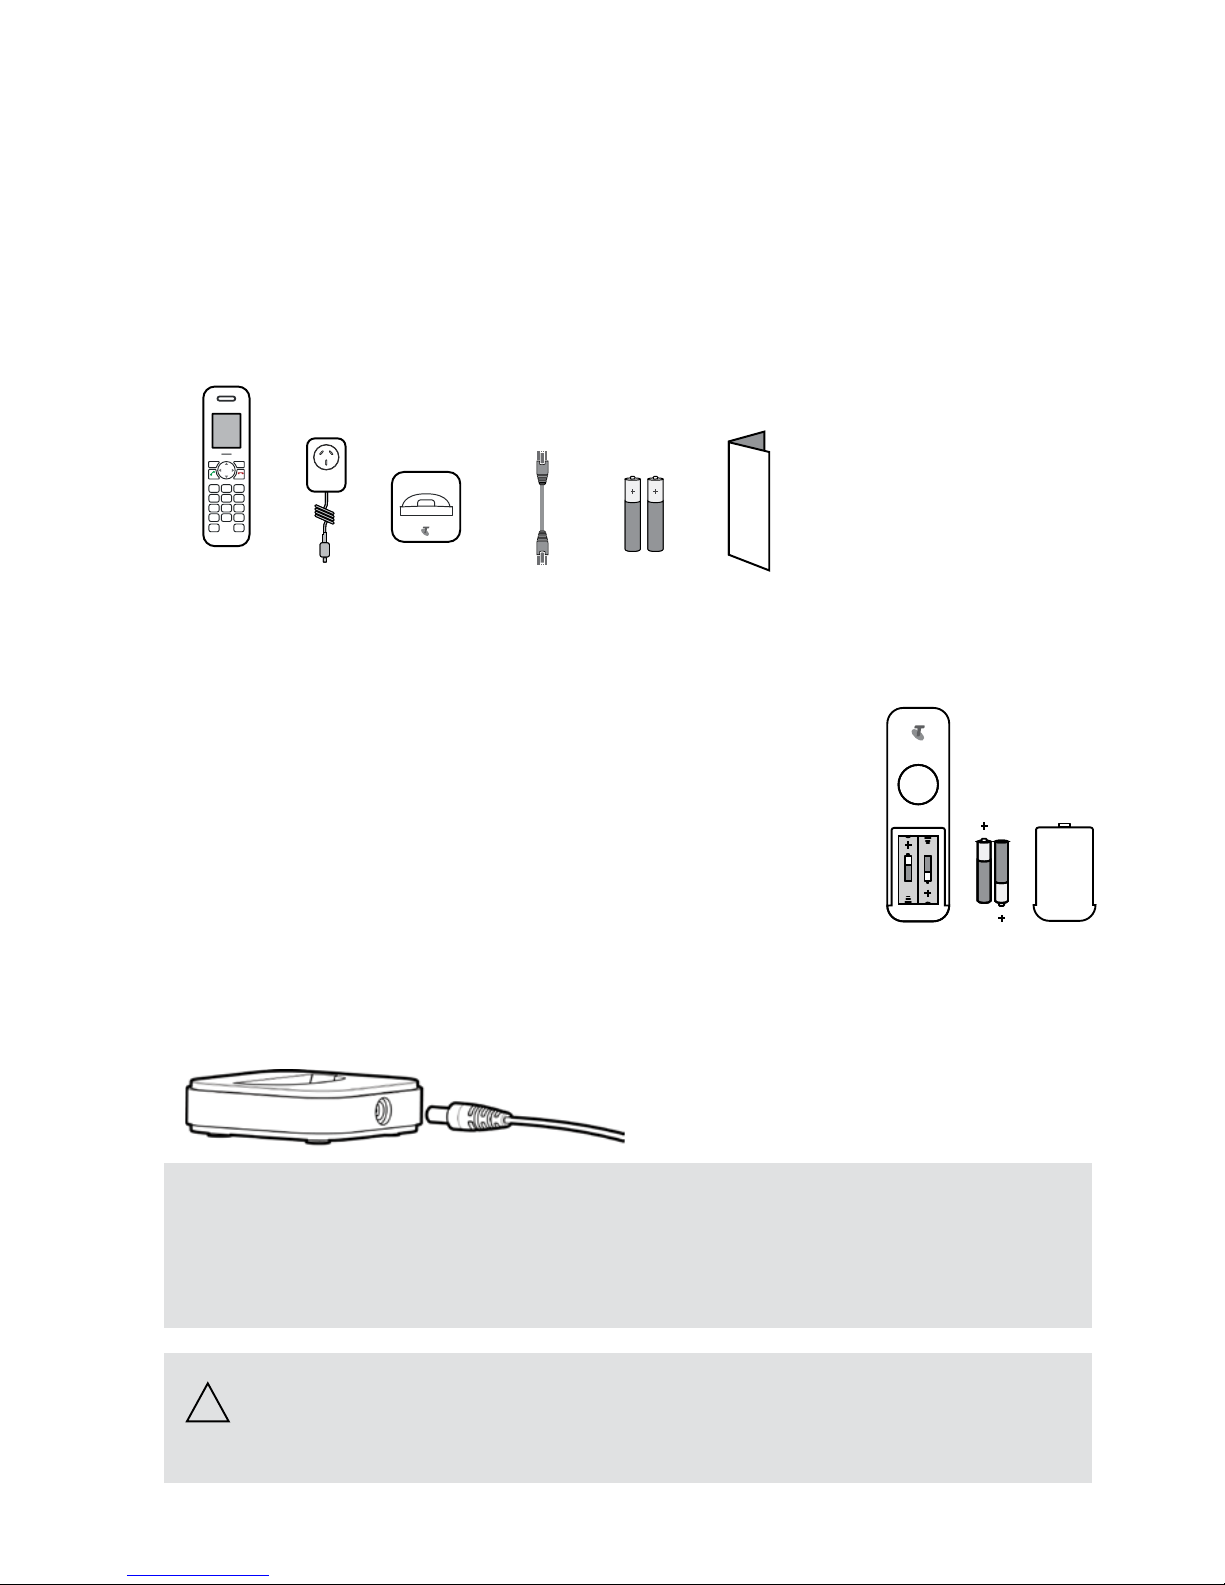
Rechargeable batteries
Use the two supplied rechargeable batteries:
- HFR-44AAAJ800 from HIGHPOWER
Using other rechargeable batteries or non-rechargeable batteries/primary cells can
be dangerous and cause malfunctions in or damage to the telephone.
Product dimensions and weight
168 x 51 x 21.5 mm / 140g
Please note:
• Do not immerse batteries in water or throw in the fire.
• Rechargeable batteries can become warm while recharging.
This is normal and not dangerous.
• Do not use any other type of charger since this may damage the batteries.
• Before using the telephone, wearers of hearing aids should note that radio signals can be
picked up by the hearing aid and cause an unpleasant buzzing noise.
• Do not use your cordless telephone in environments at risk from explosion (e.g.
paintworks, petrol stations etc.)
• Do not position the telephone in bathrooms or showers.
• The radio signals may influence the working of medical equipment.
• In the event of a power cut or if the batteries are discharged, your cordless telephone will
not function!
• The handset must not be charged up without batteries or the battery cover in place.
• Do not touch open contacts.
!