OPERATION EN
Tennant 2550 (02--01) 9
WHILE OPERATING MACHINE
1. Always operate with caution when burnishing
around walls and obstacles.
2. Always reduce speed to maintain control when
turning.
3. Stay clear of floor obstructions, such as electrical
plates or grates, they will destroy pad. Tilt machine
back to avoid floor obstructions.
NOTE: When machine is tilted back completely,
power to pad motor automatically shuts off.
4. Change or turn pads over when soiled.
5. Check battery meter’s discharge level periodically.
Recharge when needle drops to the red zone.
ATTENTION: Do not operate machine in red zone,
floor damage and brush motor overload may
result.
6. If pad motor circuit breaker trips, reduce pad
pressure and/or replace soiled pad.
FOR SAFETY: Before leaving or servicing
machine, stop on level surface, turn off machine
and set parking brake.
FOR SAFETY: When transporting machine, do not
lift machine if batteries are installed.
EMERGENCY STOP SWITCH
To stop machine during an emergency, hit the red
emergency stop switch located at rear of control
console. The emergency stop switch immediately
stops all power to machine.
To reset emergency stop switch, shut off all switches
and turn red button to the right. Resume to normal
operation.
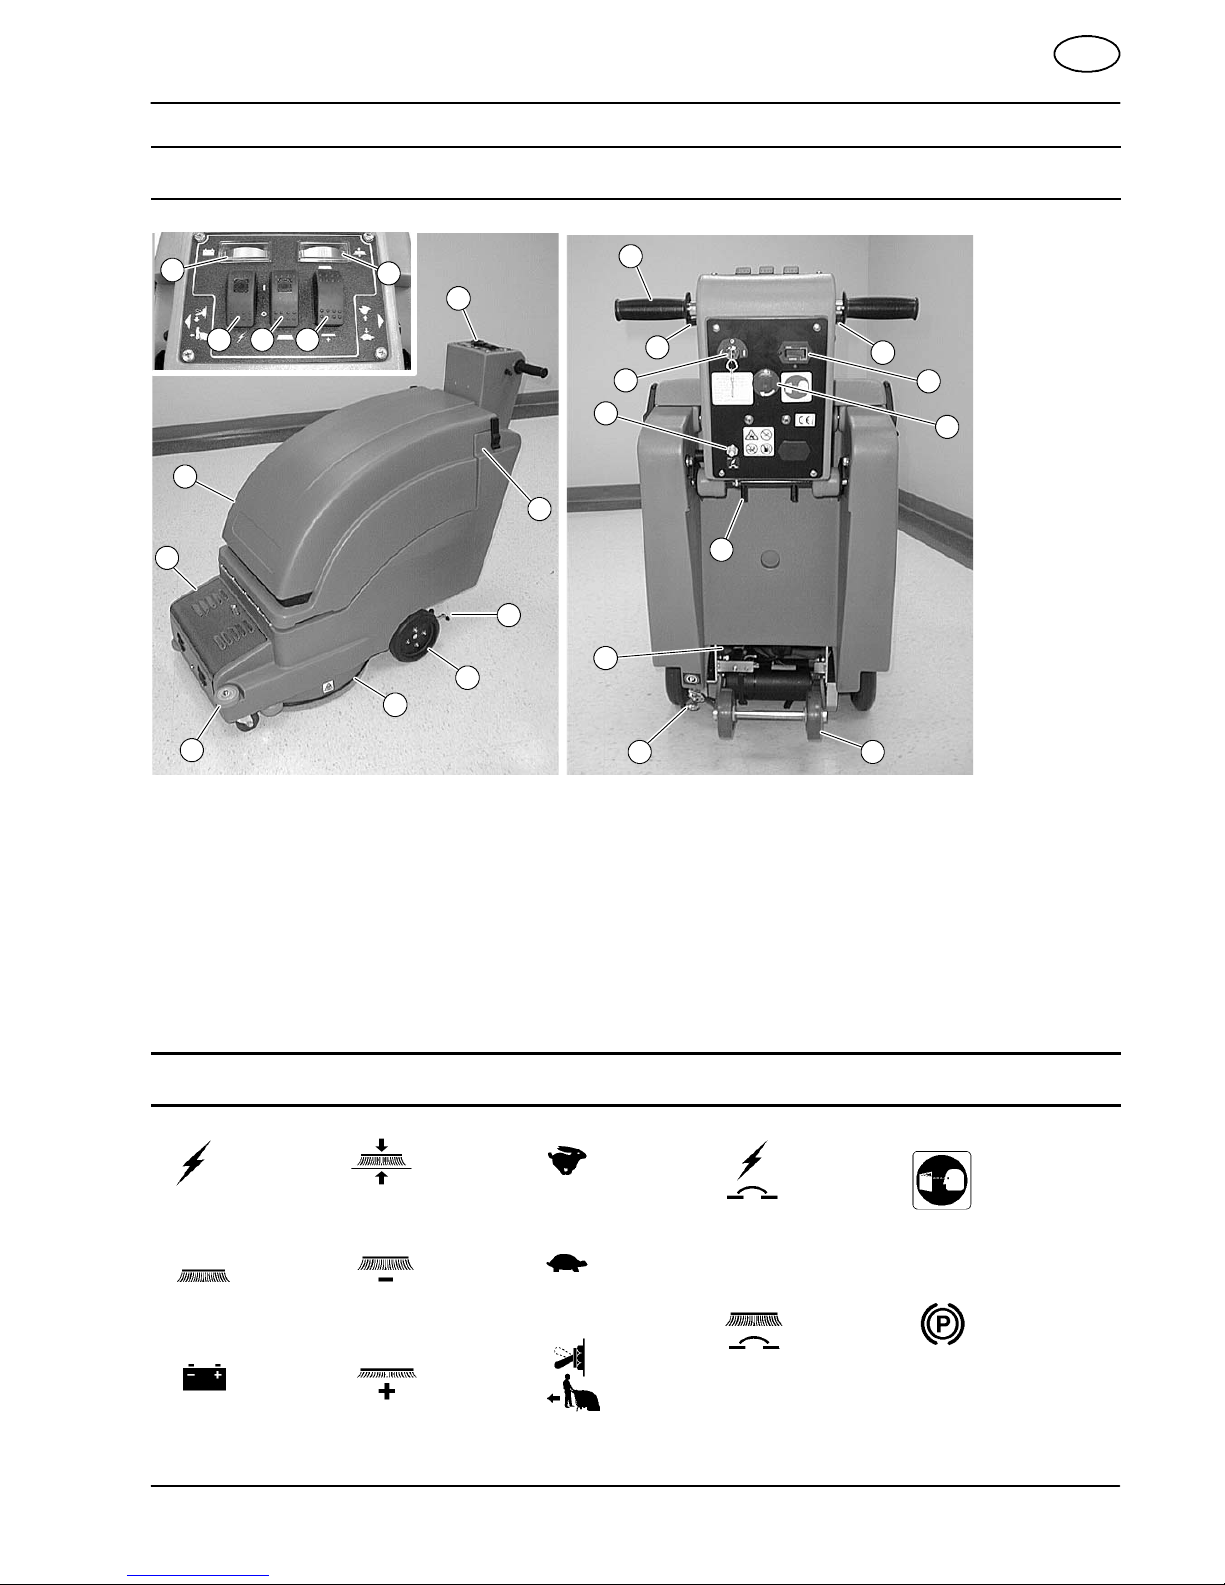
Emergency Stop Switch
CIRCUIT BREAKERS
Machine is equipped with two resettable circuit
breakers, Main (15A) and Pad Motor (80A), to protect
machine from damage. If pad motor circuit breaker
should trip, determine cause, allow motor to cool, then
reset. Pad circuit breaker will trip due to excessive pad
overload. Change pad or reduce pad pressure if
breaker should trip. Pad motor circuit breaker button is
located under battery hood at front of machine.
Resettable Circuit Breakers
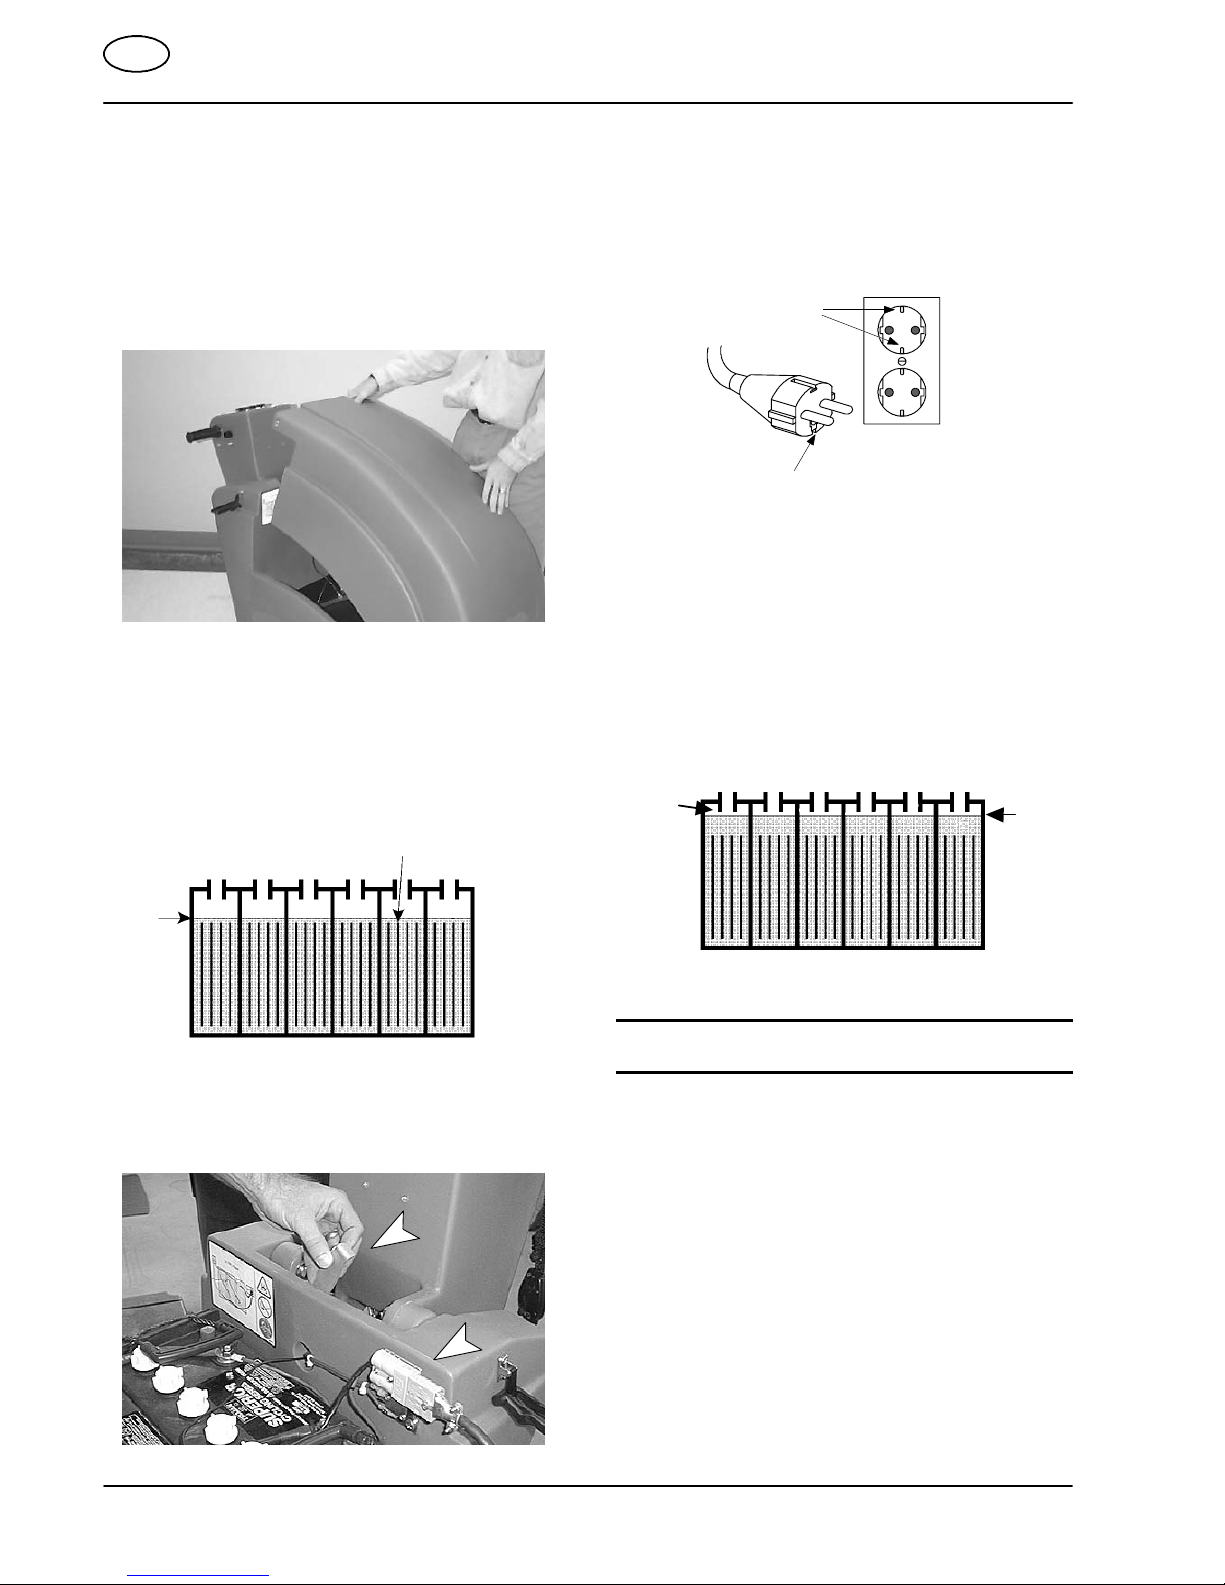
CHARGING BATTERIES
NOTE: Recharge batteries ONLY after a total of 30
minutes of use or more. This will prolong battery life.
The following charging instructions are intended
for supplied 36V chargers only. Only use a
charger with the following specifications to
prevent battery damage.
CHARGER SPECIFICATIONS:
SOUTPUT VOLTAGE - 36 VOLTS
SOUTPUT CURRENT - 25 AMPS MAXIMUM
SAUTOMATIC SHUTOFF CIRCUIT
SFOR DEEP CYCLE BATTERY CHARGING
NOTE: For optimum machine operation, keep
batteries charged at all times. Never let batteries set in
a discharge condition for lengthy periods.
WARNING: Batteries emit hydrogen gas.
Explosion or fire can result. Keep sparks and
open flame away. Keep battery compartment open
when charging.
FOR SAFETY: When servicing machine, wear
protective gloves when handling batteries or
battery cables. Avoid contact with battery acid.