manuals.online logo
Brands
  1. Home
  2. •
  3. Brands
  4. •
  5. TentCraft
  6. •
  7. Tent
  8. •
  9. TentCraft 15x15 E Series User manual

TentCraft 15x15 E Series User manual

15x15 Frame Tent Instructions
15x15 Frame Tent Parts List
3-Way Connector x4 Foot x4
Perimeter Pole Coupler x4
84.5” Perimeter Pole x8
107.25” Leg Pole x4
72.02” Peak Pole Assembly x1
Cable Assembly x2
36” Ground Stake x4
Thank you for purchasing your 15x15 E-Series Frame Tent from TentCraft, an American manufacturer and
Veteran Owned Small Business (VOSB). In the event that you have any questions or need assistance with
your Frame Tent, please contact your sales rep or you can reach us at (877) 922-8450.
Not Pictured:
Outguy Ratchet Strap x4
Top Tie Down Strap x4
2
Step 1:
Carefully inspect the tent site for obstacles, such as: underground and overhead wires, pipes, water,
etc. If you are unsure, consult with your local utility company prior to installation.
Step 2:
Lay out the tent pieces rst by placing the 3-Way Connector at each corner. Place two Perimeter Poles
with a Perimeter Pole Coupler between two adjacent 3-Way Connectors. Repeat for each side until a
square shape is created. Reference the diagram below for assembly. Do not install legs at this time.
3
113” Perimeter Pole
113” Perimeter Pole
Perimeter Pole Coupler
3-Way Connector
Step 3:
Begin assembly of the frame by inserting the Perimeter Pole Couplers into the Perimeter Poles.
Then connect the assembled Perimeter Poles into the 3-Way Connectors. Continue this process
until the perimeter framework is assembled.
4
Step 4:
Attach the Cable Assembly to opposite corners of the structure per the diagram below. When you bolt
and u-shaped bracket to the 3-way connectors, you need to make sure you insert the bolt rst through the
unthreaded side of the u-shaped bracket, then through the hole and into the threaded side of the u-shaped
bracket so it can tighten properly. If you rst try to insert the bolt through the threaded part, you won’t be
able to get through the other side and it will stop after a few turns.
Use the Turnbuckle on the cables to tighten them. In order to keep your tent square and to assure proper
tension, gradually tighten each Turnbuckle. It helps to partially tighten one and then partially tighten the
other and repeat until each Cable Assembly is fully tightened.
Note: The bottom cable should be between 5” to 5 ½” o of the ground (in a level ground situation).
Anything under 5” will cause the Peak Pole Assembly to sag and can cause damage to your frame and
canopy.
Caution! Over-tensioning will cause the Perimeter Poles to bow in towards the center of the tent.
5

Step 5:
Unroll the vinyl canopy top across the frame making sure the extra peak material is centered on
top of the frame. Stretch the corner webbing loops (sewn into the tent corners) over the cast hook
on the outside of the 3-Way Connector.
Note: the last corner may be dicult to stretch over the corner hook, especially in cold conditions
6
Step 6:
Attach the Feet to two Leg Poles. Then install the two Leg Poles to the two adjacent 3-Way Connectors by
raising the frame on one side. Make sure that the hook on the Feet are pointing outward and in-line with
the 3-Way Connector hook.
Note: It is important to note the wind direction at this point and lift the legs opposite the direction of the
wind).
7
Step 7:
Locate the Peak Pole Assembly and release the Bottom Stainless Steel Cotter Ring and pull the entire Pin
out. Do not remove the top Pin (this is the Pin with the Spacer).
Part A: Insert the Peak Pole Crown end into the Grommet at the peak of the canopy. Then place the Spacer
Pin end on the top cable (it’s ok if this is at an angle to start, it doesn’t need to be exactly at center, yet).
Part B: Then slide the Peak Pole Assembly towards the intersection of the cables.
Part C: Once the Peak Pole Assembly is close to the center (or nearly centered) push down the bottom
cable to lock it in place.
Part D: After it’s centered, insert the Pin and attach the Bottom Stainless Steel Cotter Ring.
8
Step 8:
Attach the remaining two Feet onto the Leg Poles. Again, make sure that the cast hook on the Feet are
pointing outward and in-line with the 3-Way Connector hook.
9
Step 9:
Part A: Attach the canopy to the frame using the Top Tie Down Strap. Bring the “Y” straps through the
metal rings on each of the tent top valances, making sure that the strap is on the outside of the leg.
Secure the looped end of the “Y” straps into the carabiner. Fold the valance ap over the “Y” straps
where the strips of Velcro line-up to nish the corner. Repeat this step for the remaining legs.
Warning! Do not hook the carabiner directly to the metal valance rings
10
Step 10:
Part B: Attach the bottom looped end of the Top Tie Down Strap to the hook on each Foot.
Part C: Locate the ratchet in the middle of the strap and tighten until the strap is taut enough to secure
the canopy. Repeat this step for the remaining legs. Once the top is secured on all corners, fold the extra
strap length into the vinyl covers with the Velcro closure.
11
Step 11:
Locate the Outguy Straps and connect the carabiner at the top of the strap to the 3-Way Connector hook that is on
the outside of each of the corner brackets.
12
Step 12:
Locate the 36” Stakes and loop the strap (at the bottom end of the Outguy Straps) around the head of the
stake, see diagram below. Drive the Stake into the ground at least 3.6’ (or more) away from the hole in
each Foot (directly in line with the hole) and ratchet the strap until it is taut. Repeat this step for each of
the remaining corner legs. *See Note on next page.
13
Note: Do not place the stake beyond the direct line of the hole. Meaning you do not want it to the right
or left of the hole in the Foot, see diagram on next page.
14
Step 13: Once all stakes have been secured and straps have been ratcheted taut, fold all extra Outguy
Strap length into the vinyl covers and secure with the Velcro closures.
15

Other TentCraft Tent manuals

TentCraft X-Series Manual

TentCraft

TentCraft X-Series Manual

TentCraft S-Series Manual

TentCraft

TentCraft S-Series Manual

TentCraft X Series Manual

TentCraft

TentCraft X Series Manual

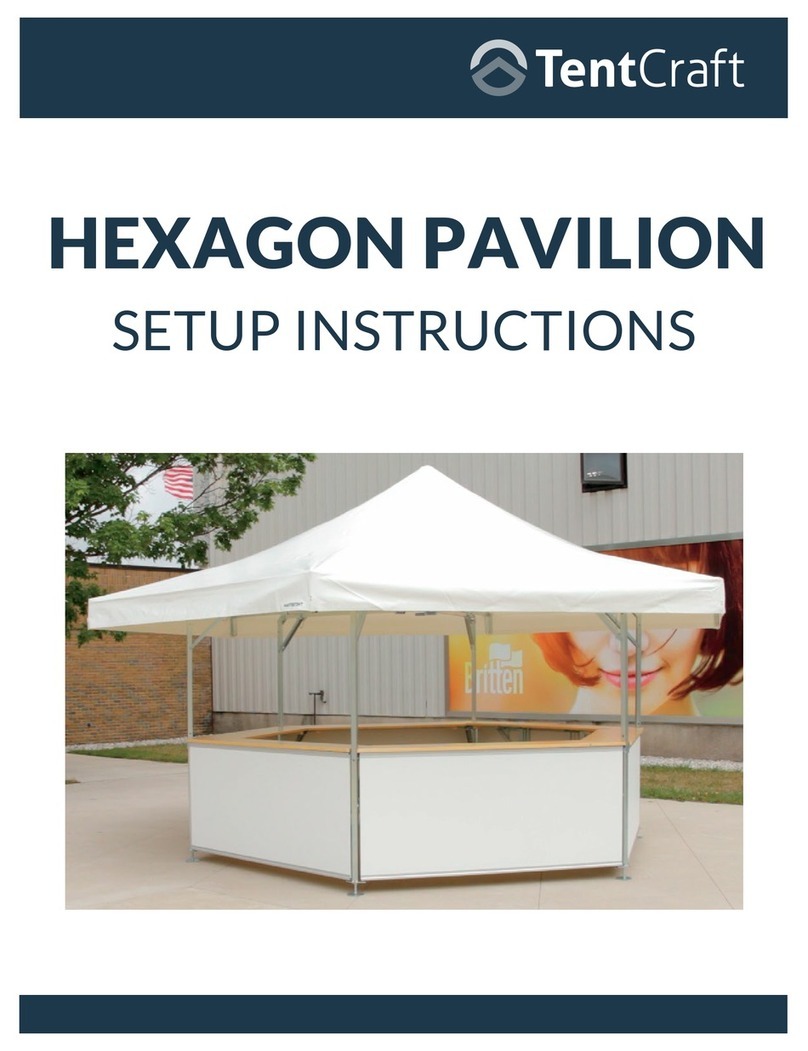
TentCraft HEXAGON PAVILION Manual

TentCraft

TentCraft HEXAGON PAVILION Manual

TentCraft X-Series Manual

TentCraft

TentCraft X-Series Manual

TentCraft X Series Manual

TentCraft

TentCraft X Series Manual

TentCraft GYBE Manual

TentCraft

TentCraft GYBE Manual

TentCraft MONARCHSTALL Manual

TentCraft

TentCraft MONARCHSTALL Manual

TentCraft MONARCHSTOREFRONT Setup guide

TentCraft

TentCraft MONARCHSTOREFRONT Setup guide

TentCraft GYBE FUSION PANEL Manual

TentCraft

TentCraft GYBE FUSION PANEL Manual

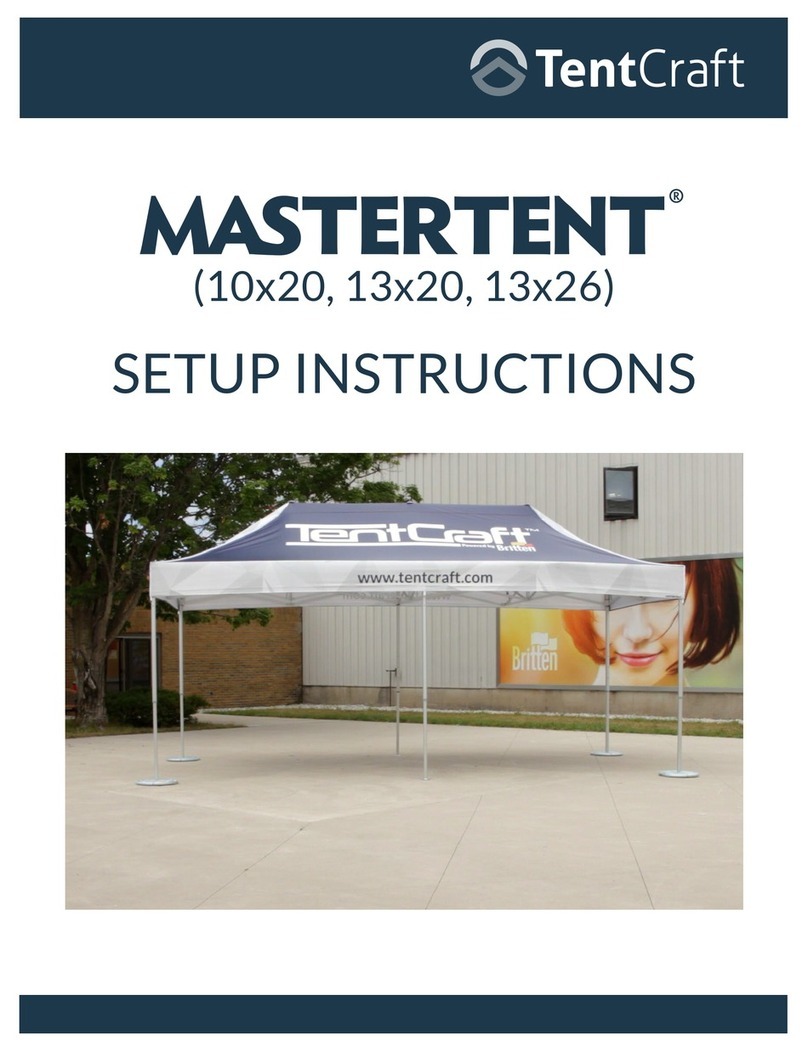
TentCraft MASTERTENT Manual

TentCraft

TentCraft MASTERTENT Manual

Popular Tent manuals by other brands

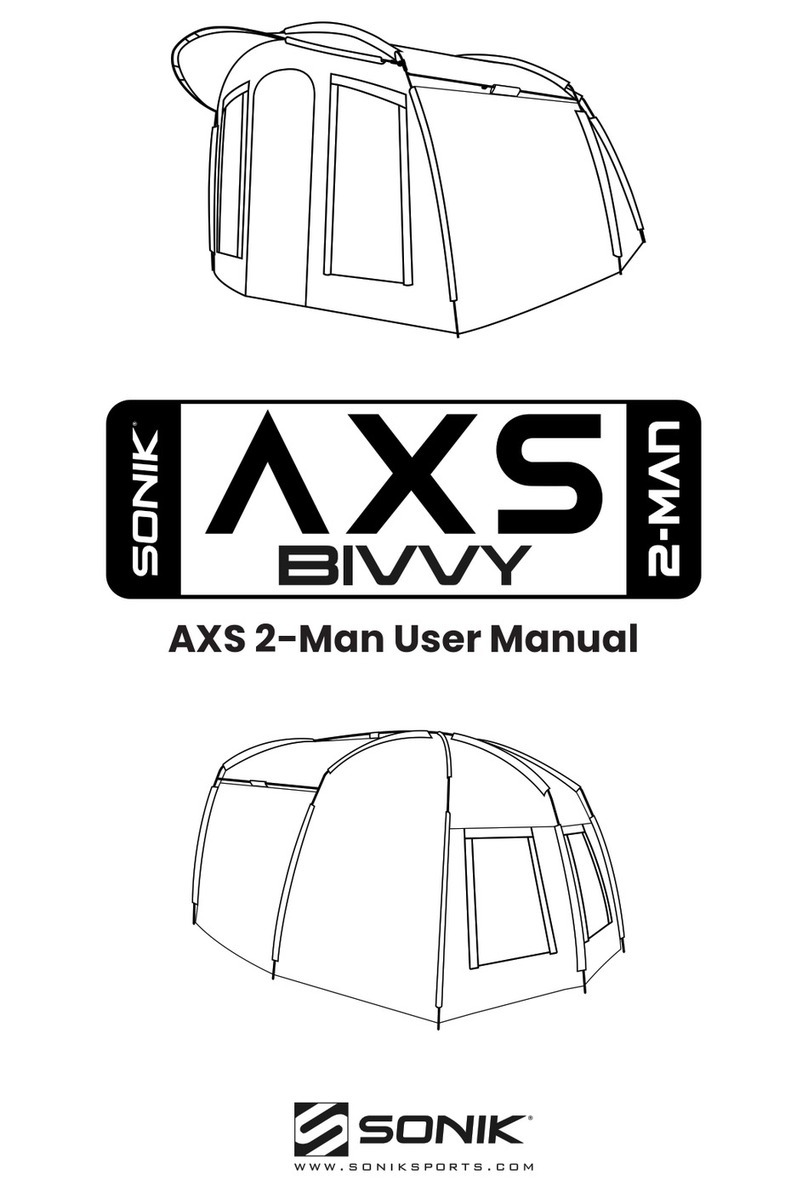
Sonik AXS BUVVY 2-MAN user manual

Sonik

Sonik AXS BUVVY 2-MAN user manual

Skandika SIMO 5 quick start guide
Skandika

Skandika SIMO 5 quick start guide
Bohemian Travel Gear 30167 quick start guide

Bohemian Travel Gear

Bohemian Travel Gear 30167 quick start guide

Bestway 58612 owner's manual

Bestway

Bestway 58612 owner's manual

Crua Outdoors Loj TT6 Pitching instructions

Crua Outdoors

Crua Outdoors Loj TT6 Pitching instructions

Trailside Long Star 3 Assembly instructions

Trailside

Trailside Long Star 3 Assembly instructions

Clam 8842 instructions

Clam

Clam 8842 instructions

Wenzel 36512 Assembly instructions

Wenzel

Wenzel 36512 Assembly instructions

Khyam AIRTEK KAMPER PRO 1 Pitching & Striking Instructions

Khyam

Khyam AIRTEK KAMPER PRO 1 Pitching & Striking Instructions

PNH Canada Series user manual

PNH

PNH Canada Series user manual

Costway NP10836WH manual

Costway

Costway NP10836WH manual

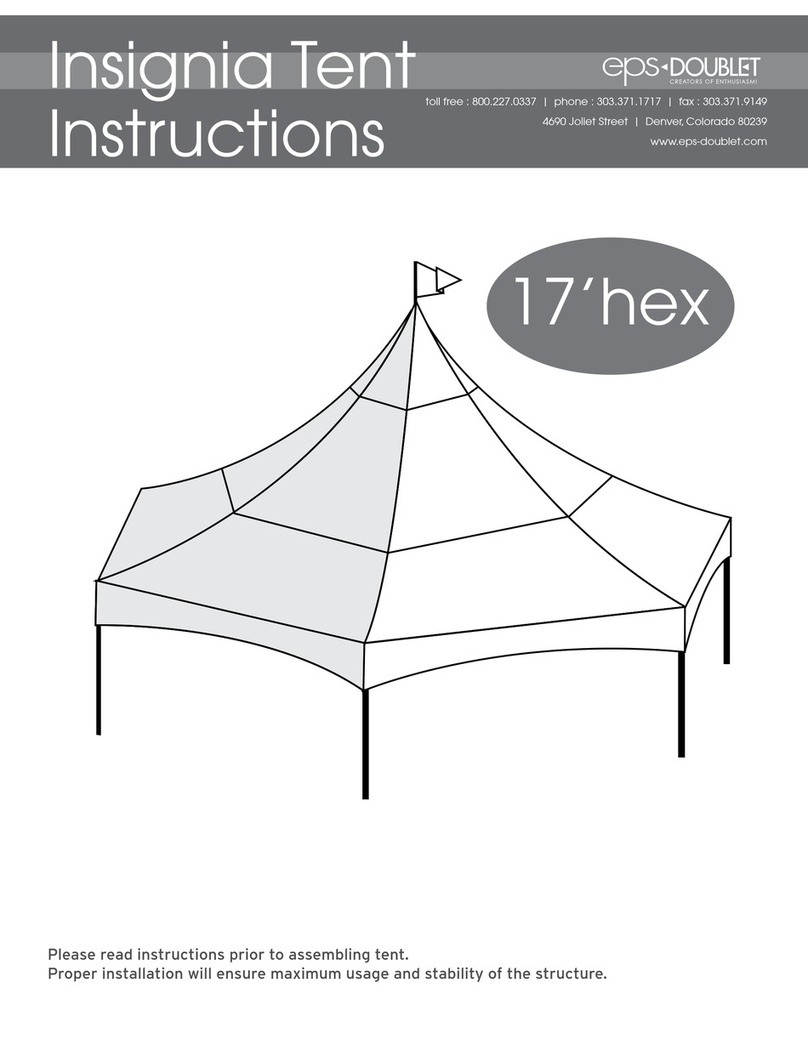
EPS 17'hex instructions

EPS

EPS 17'hex instructions

Alpkit AXIOM 4 quick start guide

Alpkit

Alpkit AXIOM 4 quick start guide

MSR Mutha Hubba NX Assembly instructions

MSR

MSR Mutha Hubba NX Assembly instructions

NuImage Series 2700 Assembly and installation instructions

NuImage

NuImage Series 2700 Assembly and installation instructions

OZtrail FAST FRAME BLOCKOUT owner's manual

OZtrail

OZtrail FAST FRAME BLOCKOUT owner's manual

Wechsel Forum Pitching instructions

Wechsel

Wechsel Forum Pitching instructions

Tempo Fitness S11 manual

Tempo Fitness

Tempo Fitness S11 manual

manuals.online logo
manuals.online logoBrands
  • About & Mission
  • Contact us
  • Privacy Policy
  • Terms and Conditions

Copyright 2025 Manuals.Online. All Rights Reserved.