Tepui HyBox User manual

HYBOX OWNER’S MANUAL
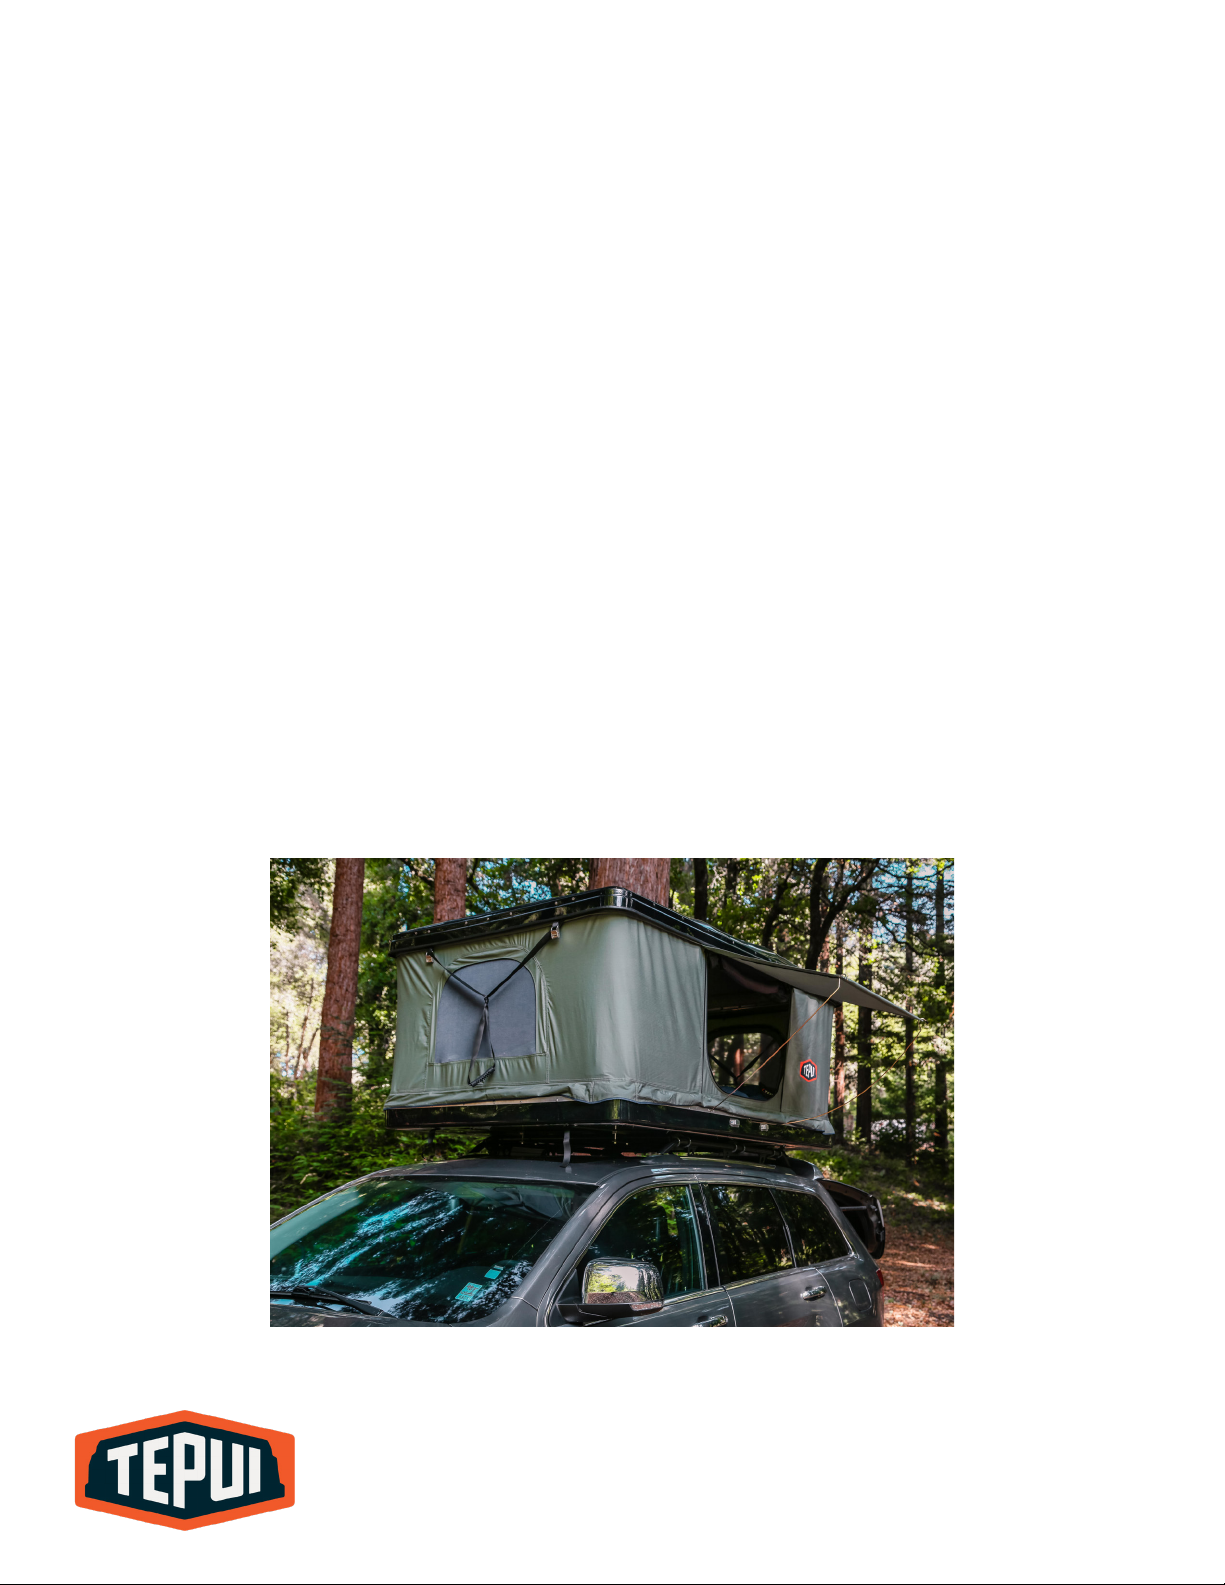
Congratulations on your purchase of a Tepui
HyBox. We strive to provide the ultimate
camping experience for every camper. Your
top quality, durable HyBox mounts directly to
your roof rack or aftermarket roof bars and
can be fully setup in just a few minutes. It can
be left on your vehicle year-round.
The Tepui HyBox is made with the most
durable materials that stand up to the most
extreme conditions. High quality ripstop
fabrics with superior ventilate coating
provide excellent water and wind protection,
yet are more breathable than other tent
brands on the market.
The Tepui HyBox components have been
fully assembled at the factory. Installation is
composed of unpacking, then mounting your
Tepui HyBox onto your roof rack or aftermarket
roof bars. All of the tools and hardware
required for installation are included.
Should you have any questions, please email
1-800-301-9874.
FOR A DETAILED INSTRUCTIONAL VIDEO ON HOW TO INSTALL YOUR
ROOFTOP TENT VISIT: WWW.TEPUI.COM/INSTALLATION
WARNING
Improper installation or use of your tent may result in serious injury or death.
Follow these installation instructions carefully to ensure proper installation
on your vehicle and safe use of your tent. Please check with your vehicle
manufacturer for specified loading capacity of your roof rack. Not all factory
roof racks or aftermarket roof bars can safely accommodate tent models.
Updated 1.29.19

2
TABLE OF CONTENTS
GETTING STARTED 3
HARDWARE IDENTIFICATION CHART 4
ATTACHMENT TO ROOF RACK 5
HYBOX SETUP 6-7
CONVERSION TO CARGO 8-9
CONVERSION TO TENT 10
STORAGE AND HANDLING 11
LIMITED WARRANTY 12
Conversion to cargo: pg 8-9

3
GETTING STARTED
This installation manual supports the Tepui HyBox.
1. Remove HyBox from box and place on a clean surface (preferably waist high) with the
mounting rails face down.
2. Undo cam buckles by using thumb to press center, then pullling strap out from buckle.
3. Repeat on all four corners.
4. Push tent top up from center on one side (front or back) and then the opposite side.
5. Open zippered canvas door and mesh door.
6. Remove hardware bag and ladder bag.
7. Close top shell by pulling down on pull strap (front or back). Loosely attach the two cam
buckles. Repeat on other side.
8. Make sure excess canopy fabric is tucked in, then securely fasten all four latches.

4
HARDWARE IDENTIFICATION CHART
13mm Steel Bolt
13mm Nylock Nut
Metric Wrench 13mm/15mm
Channel Slider
Steel Mount Plate
ITEM QUANTITY
8
8
1
8
4
TOOLS
All of the tools you need to install your tent are included. You may wish to use the following
optional tools during installation: box cutter, 13mm/10mm ratchet wrench.

5
ATTACHMENT TO ROOF RACK
1. Place the HyBox on top of your vehicle rack
system, ensuring the mounting tracks are
perpendicular to the bars they will mount
to, and the tent is centered on the roof rack.
Position the tent so that the Tepui T hardshell
badge faces the front of the vehicle
2. Place a 13mm bolts into one side of each
channel sliders, ensuring they’re set flush into
the channel slider sides. Place a steel mount
plate onto the bottom of the bolt, securing
with a nylock nut.
3. Begin to slide each channel slider into the
mounting tracks.
4. Lift one side of the tent to position one set of
channel sliders on the inner side of the roof
rack bar and an additional set on the outer
side. Repeat on all four points where the tent
touches the mounting bars.
5. Use the remaining nyloc nuts to attach the
other side of the mount plate to the second
bolt. Tighten all eight bolts/nut securely with
the included wrench. Check all the mounting
bolts and brackets periodically during use to
ensure they are always securely fastened to
your rack system. Cross bar goes here
5.
2.

1. Using thumb, depress center of cam
buckle, pull strapping to free from buckle.
Repeat on all four corners. Release center
spring clips.
3. Raise Top Shell– Push shell up on ladder
side and then repeat on the other side.
5. Retrieve rain fly poles from pocket under
passenger side door.
7. Release inside bungee straps (which keep
the canopy taught for ease of closing
tent), and store in a side pocket.
6
HYBOX SETUP
OPENING TENT
2. Retrieve ladder from ladder bag and
attach to ladder brackets by hooking
on to lower portion of brackets. Fold
and store bag.
4. Climb up ladder and unzip door and
zipper door.
6. Locate the fabric slits in the tent skirt.
Pre-drilled holes are located
underneath each slit. Insert each
rainfly rod at a 45° angle into the hole
and bend slightly to hook the other
end through the grommet of the
canopy door. Repeat this process for
the holes on the other side of the
HyBox.
You have now completely setup your HyBox for camping!

7
1. Remove rainfly rods and store in pocket located under passenger side door.
2. Close front and rear windows.
3. Retrieve and attach bungees in a crisscross pattern between both side doors.
4. Remove ladder from brackets and place in ladder bag. Store in HyBox if desired.
5. Close and zip mesh door, leaving canvas door rolled up (this allows air to exit the
tent while closing).
6. Pull down rear side of hardshell top using pull down strap.
7. Loosely secure back cam buckles.
8. Pull down front side of hardshell top using pull-down strap.
9. Loosely secure front cam buckles.
10. Tuck in canopy and pull-down straps, and fully close the tent from both ends.
11. Secure front and rear cam buckles.
12. Engage center spring clips in front and back.
CLOSING TENT
HYBOX SETUP, CONT’D
You have completely put away your HyBox and are ready for your next destination.
Remember to check the HyBox mounting throughout your
journey to ensure it hasn’t come loose.

8
1. Retrieve stabilizer strap at each corner of lower base.
2. Attach stabilizer strap to upper corner brace (where hinge mounts) using Velcro. Ensure
placement is on outside of hinge, next to the canopy fabric. Then press down on upper
hardshell to release tension on canopy fabric, and re-tighten straps. Repeat for all four
corners.
3. Store bungees in a canopy pocket.
4. Zip close all doors and windows.
5. Locate lower canopy zipper pull at front of tent and unzip all the way around, detaching.
6. Locate upper canopy zipper pull at back of tent and unzip all the way around, detaching.
7. Carefully lift canopy over upper top. Fold and store in cool dry space.
8. From the rear, fold inward and remove the mattress. Store in a cool dry space.
9. For ease of use, keep the front cam buckle loosely latched and open the rear at full height.
This gives maximum access space.
CONVERSION TO CARGO
To convert to a Cargo Carrier from a Rooftop Tent:

9
CONVERSION TO CARGO, PHOTOS
10
1. Retrieve mattress and fold lengthwise, placing into the tent from the back end.
2. Release all four cam buckles and push hardshell top up, so that all four hinges are
extended and the top hardshell is parallel to the bottom.
3. Retrieve canopy and orient it so that the doors are on each side. Locate the upper canopy
zipper, this will be at the back end of the tent.
4. Lift canopy over the top hardshell so it is loosly around the four hinges.
5. Connect the top ZipperGimp™ to the top hardshell at the back of the tent and zip all the
way around.
6. Ensure stabilizer straps are pulled tight enough to allow canopy to reach top and bottom
shells with ease.
7. Connect the bottom ZipperGimp™ to the bottom hardshell at the front of the tent and zip
all the way around.
8. The tension on the stabilizer straps can now be released.
9. Zip open doors and windows as needed.
CONVERSION TO TENT
To convert to a Rooftop Tent from a Cargo Carrier:

11
STORAGE AND HANDLING
1. Open the tent fully and brush/vacuum inside.
2. Clean the fabric as needed using a mild detergent, warm water, and a soft to medium
brush.
3. Rinse fabric of all detergent prior to drying.
4. Dry tent in the sun with all windows open. The tent must be completely dry before
storage, or mildew and mold may occur. This is especially necessary after camping in rain
or wet conditions.
5. Using a small brush, remove dirt from zippers. Use a silicon spray to keep zippers
lubricated.
6. Wash mattress pad and hang to dry.
Clean and dry your tent after each camping trip:

12
LIMITED WARRANTY
WHAT IS COVERED
Tepui Outdoors, Inc., producer of Tepui Tents, warrants to the original purchaser that its products
are free from defects in material and workmanship, for the term described, except as qualified
below. The life of the product is determined from the date of purchase until such time as the
product is no longer serviceable due to normal wear and tear.
WHAT IS NOT COVERED
Tepui Outdoors, Inc. shall not be responsible for the natural breakdown of materials that occurs
inevitably with extended use (e.g., Ultra Violet (UV) light damage on tents, exhausted zippers), or
defects caused by accident, abuse, alteration, animal attack, storm damage, misuse or improper
care.
THERE ARE NO OTHER EXPRESS WARRANTIES BEYOND THE TERMS OF THIS LIMITED
WARRANTY. IN NO EVENT SHALL Tepui Outdoors, Inc. BE LIABLE FOR INCIDENTAL OR
CONSEQUENTIAL DAMAGES.
Some states do not allow the exclusion or limitation of incidental or consequential damages, so
the above limitation or exclusion may not apply to you.
WHAT TEPUI OUTDOORS, INC. WILL DO
If after inspection we find that a product failed due to a manufacturing or material defect, we will
repair or replace the product, at our option, without charge.
HOW TO OBTAIN WARRANTY SERVICE
Return the product, freight prepaid, to the Tepui Dealer from whom it was purchased; or, contact
Tepui’s Customer Satisfaction Department for return authorization: toll free 1-800-301-9874.
Collect shipments or shipments without return authorization cannot be accepted.
REPAIRS
If your tent needs service or repair due to normal wear and tear, animal attack, accident or some
other reason that is not covered under the warranty, we will provide the necessary service for a
reasonable charge, plus shipping and handling. We require that products accepted for any repair
be properly cleaned according to our recommended care instructions. Please send your product
or component that requires repair (e.g., tent fly), postage prepaid, along with a description
of what needs attention. For service and repairs, please contact our Customer Satisfaction
Department: toll free 1-800-301-9874.
HOW STATE LAW RELATES TO THIS WARRANTY
This warranty gives you specific legal rights. You may have other rights that vary from state to
state.
WARRANTY TERM
Limited 2 year warranty applies to all tent components including base, aluminum poles, ladder,
fabric and seams.

13
Tepui Outdoors, Inc.
2500 Rosedale Avenue
Soquel, CA 95073
1-800-301-9874
Table of contents


