TERAFLEX 1365000 User manual
Jeep JT 3.5” Spring Lift
www.TERAFLEX.com
1
Revision B 999376
Tools Needed:
- Metric Sockets and Open End Wrenches - Factory Service Manual
- Torque Wrench - General Mechanics Tools
Maintenance Note:
After the rst 300 miles and every 3,000 miles after that, re-torque all the suspension
components and bolts.
Important Notes:
Prior to beginning this install, or any installation, read the instructions thoroughly to familiarize yourself with
the required steps. Evaluate if you are experienced and capable to personally perform these modications.
A factory service manual should be used in conjunction with these installation instructions.
This product will change the highway handling characteristics of your vehicle, exercise caution. After
altering the suspension it is always advisable to have an alignment done by a competent 4 wheel drive
shop or by an alignment shop that is experienced with lifted 4 wheel drive vehicles.
Refer to the parts list to ensure that all necessary components and hardware has been included. If any
parts are missing please contact your local TeraFlex dealer for assistance.
# 1365000
# 2013000
# 2023000
# 2033000
www.TERAFLEX.com 2
Revision B 999376
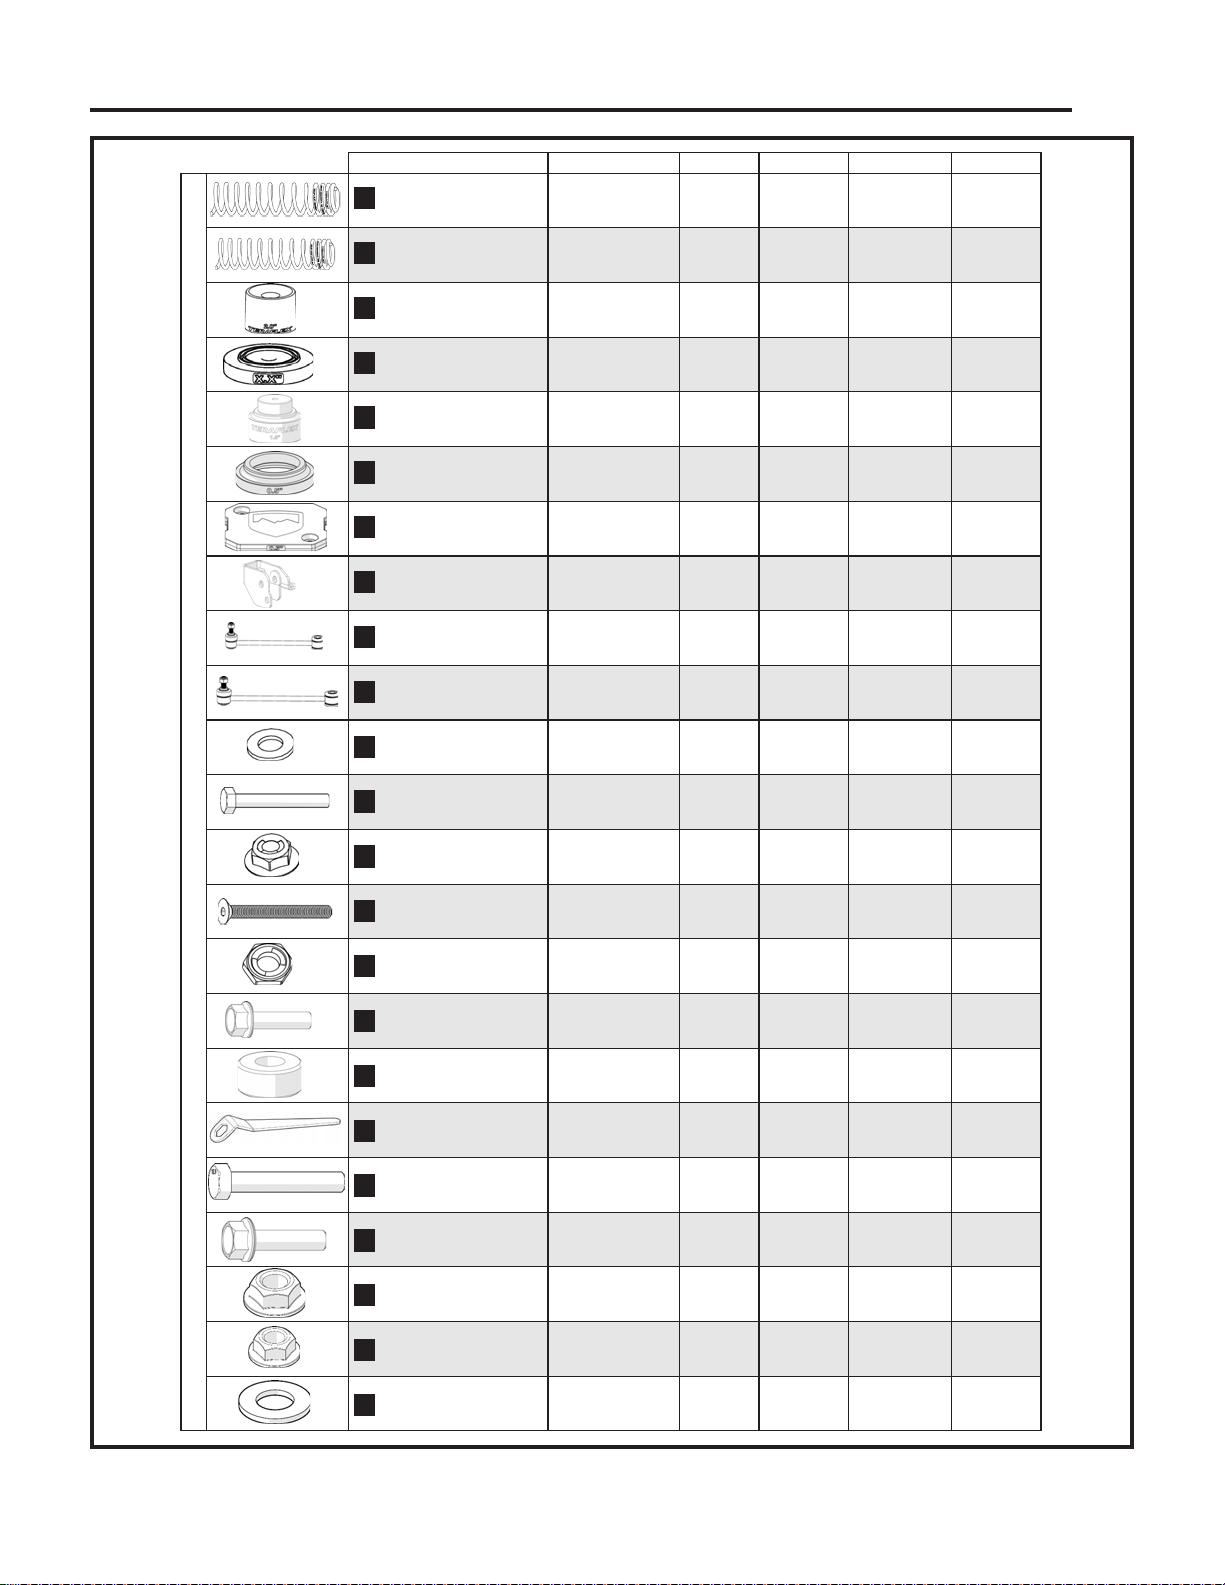
Description Item #
RT3 Alpine CT3 Sport ST3 Base Lift
Front Spring 02-21-401-400-1 2 2 2 2
Rear Spring 02-23-401-150-1 2 2 2 2
Front Bumpstops 12-01-109-200 - 2 2 2
Front Bumpstop Spacer 12-02-109-050 - 4 4 4
Rear Top Bumpstop
Spacers 1.5" 12-01-309-150 2 2 2 2
Rear Top Bumpstop
Spacer Rings .5" 12-01-309-050 2 2 2 2
Rear Bumpstop Spacers 12-02-309-050 4 4 4 2
Front Track Bar Bracket 1953250 1 1 1 1
Front Swaybar link 11.50" 21-01-001-115 - - - 2
Rear Swaybar Link 13.0" 21-01-001-130 - - - 2
M10 x 30mm OD
Flat Washer 45-10-003-003 4 4 4 4
M10 X 1.50 X 70mm
Hex Head Bolt 45-21-001-001 2 2 2 2
M10 x 1.5 Fuji Nut 23-07-03-001 2 2 2 2
M10 x 1.5 x 100mm
Flat Socket Cap Screw 45-04-003-001 - 2 2 2
M8 x 1.25mm
Yellow Zinc Fuji Nut 23-07-03-002 - 4 4 4
M8 x 1.25 x 30mm
Hex Flange Bolt 45-02-003-016 4 4 4 4
Rear Upper Bumpstop
Spacer 56-10-05-044-1-1 2 2 2 2
Nut Wrench Tool 600271 - 1 1 1
M14 x 1.5 x 80mm
Hex Cap Screw 45-01-005-002 1 1 1 1
M12 x 1.75 x 25mm
Hex Flange Bolt 45-02-005-003 2 2 2 2
M14 X 1.5 Flange
Top Lock Nut 45-08-004-005 1 1 1 1
M12 X 1.75 Flange
Top Lock Nut 45-08-004-006 1 1 1 1
M14 x 28mm OD
Flat Washer 45-10-005-004 1 1 1 1
Spring Box Components
1
2
3
4
5
6
7
8
9
10
11
12
17
16
15
14
13
18
19
20
21
22
23
www.TERAFLEX.com 3
Revision B 999376
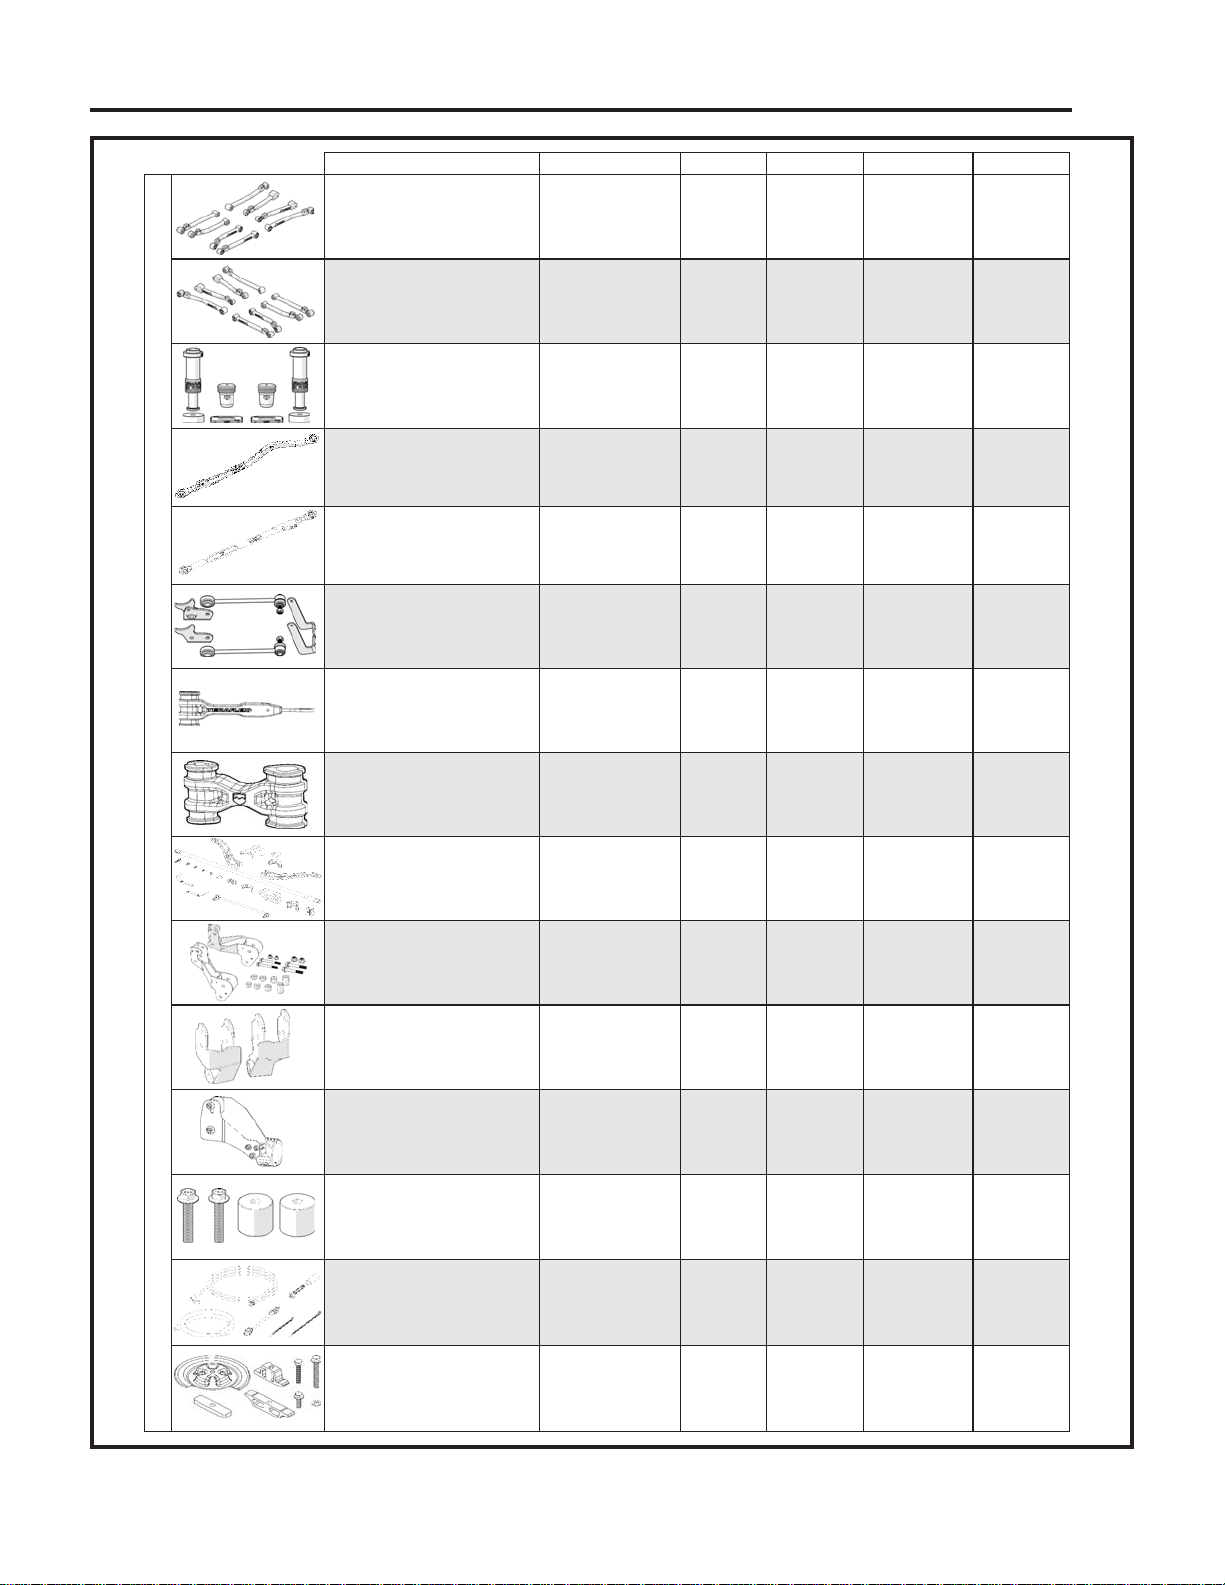
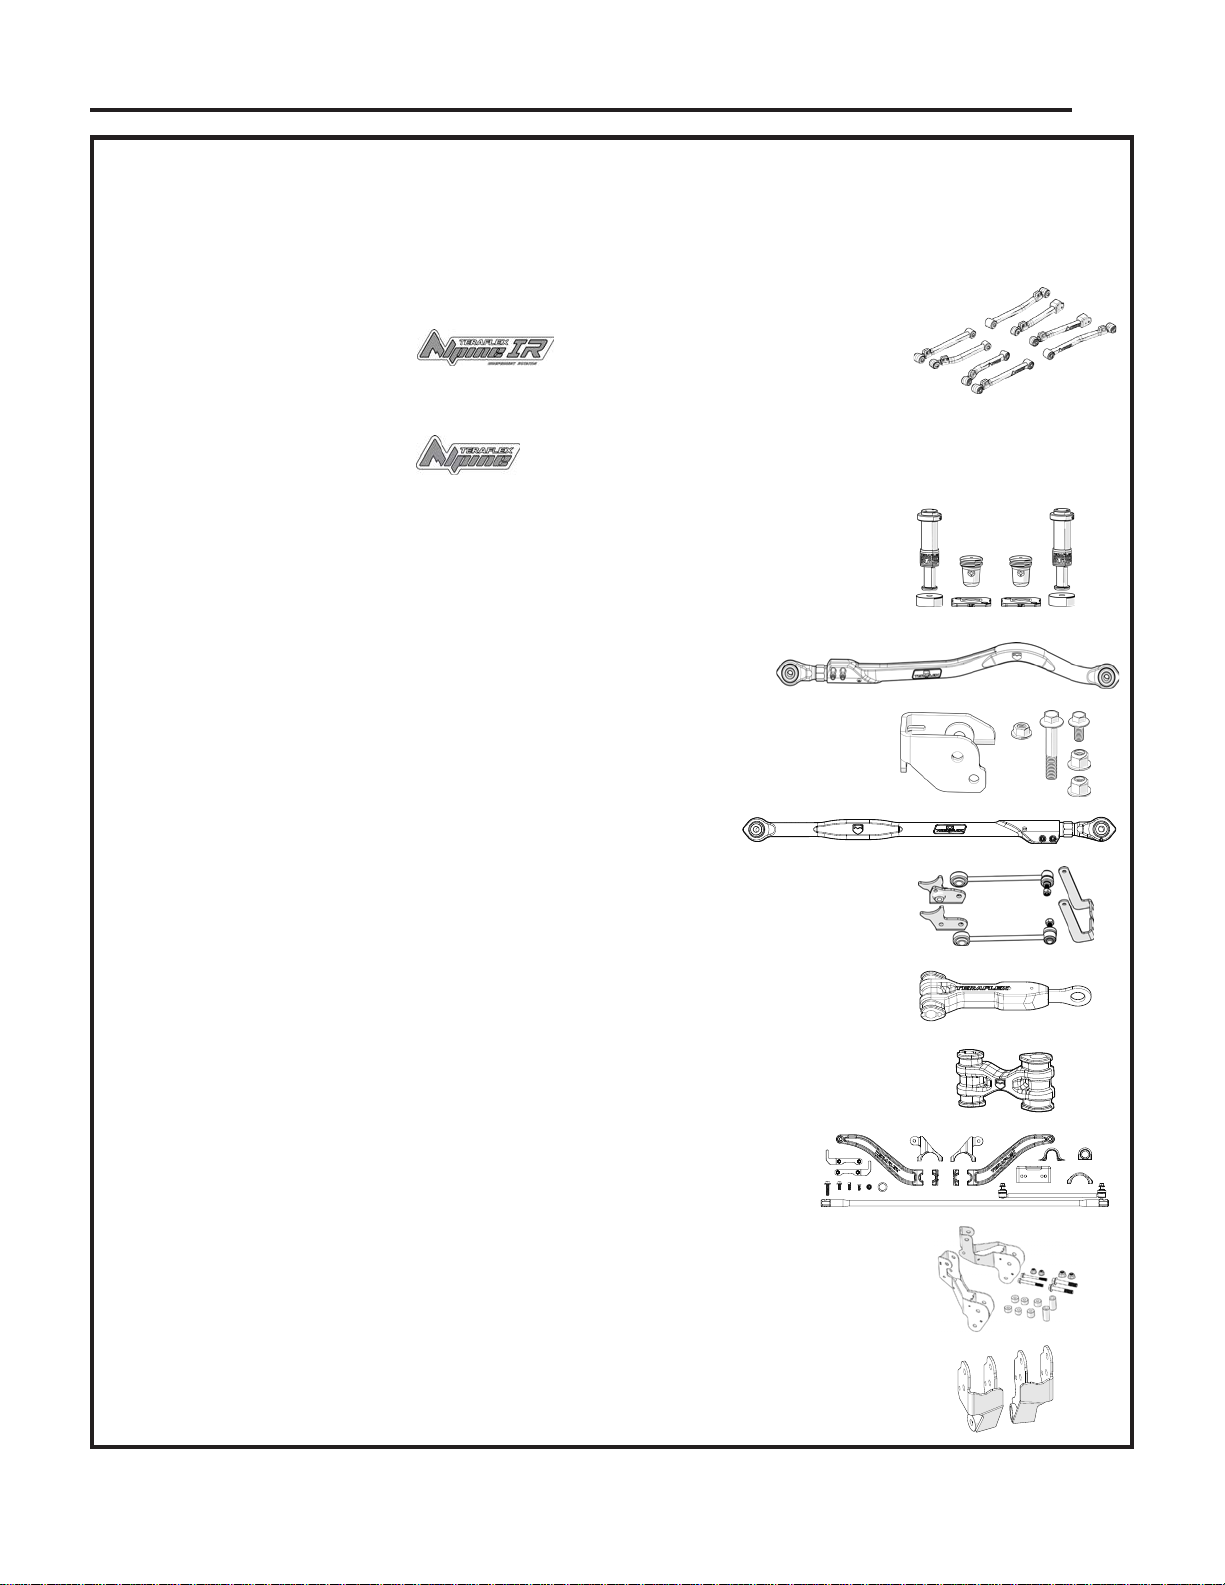
Description Item #
RT3 Alpine CT3 Sport ST3 Base Lift
Alpine Control Arm Kit 1417500 - 1 - -
Alpine IR Control Arm Kit 1417550 1 - - -
SpeedBump Kit 2" 1968352 1 - - -
Front Track Bar 1753420 1 1 - -
Rear Track Bar 1764420 1 - - -
Front Sway Bar
Quick Disconnect 1764000 1 1 1 -
Front Brake Line Anchor Kit 1101255 1 1 1 -
Rear Brake Line Anchor Kit 1101455 1 1 1 -
Rear Trail Rate Forged S/T
Swaybar Kit 1774700 1 1 1 -
Front Drop Bracket Kit 1938125 - - 1 -
Rear Control Arm Bracket Kit 1938225 1 1 1 -
Rear Track Bar Bracket 1963600 1 1 1 -
JT Driveline Spacer Kit 4801000 1 1 1 -
JT Extended Travel Accessory
Kit 4834100 1 1 1 -
JT Rear Upper / Lower Spring
Retainer Kit 4954000 1 1 1 -
Other Boxed Kits
www.TERAFLEX.com 4
Revision B 999376
www.TERAFLEX.com 4
*NOTES*
*FOR ALPINE & ALPINE IR CONTROL ARM KITS: Before continuing
refer to Instruction #999373
-CONTROL ARMS WITH ALPINE IR BUSHINGS can be torqued
with the Jeep raised in the air.
-CONTROL ARMS WITH ALPINE BUSHINGS Will need to leave
the control arms loose until the end of the installation.
*FOR SPEEDBUMP KITS: Before continuing refer to Instruction
#999370
*FOR FRONT TRACK BAR: Refer to Instruction #999340
*FOR FRONT TRACK BAR BRACKET: Refer to Instruction #999341
*FOR REAR TRACK BAR: Refer to Instruction #999384
*FOR FRONT QUICK DISCONNECTS: Refer to Instruction #999372
*FOR FRONT BRAKE LINE ANCHORS: Refer to Instruction #999267
*FOR REAR BRAKE LINE ANCHORS: Refer to Instruction #999396
*FOR REAR TRAIL RATE FORGED S/T SWAYBAR: Refer to
Instruction #999404
*FOR FRONT DROP BRACKETS: Before continuing refer to
Instruction #999309
*FOR REAR CONTROL ARM BRACKET: Before continuing refer to
Instruction #999398

www.TERAFLEX.com 5
Revision B 999376
LIFT AND SUPPORT AT FRAME
REMOVE FRONT TIRES
1 2
FRONT INSTALLATION
*NOTES*
*FOR REAR TRACK BAR BRACKETS: Refer to Instruction #999391
*FOR JT DRIVELINE SPACER KIT: Refer to Instruction #999401
*FOR JT EXTENDED TRAVEL ACCESSORY KIT: Refer to
Instruction #999402
*FOR JT REAR UPPER & LOWER SPRING RETAINERS: Before
continuing refer to Instruction #999389
This manual suits for next models
3
Table of contents
Popular Automobile Accessories manuals by other brands


ULTIMATE SPEED
ULTIMATE SPEED 279746 Assembly and Safety Advice

SSV Works
SSV Works DF-F65 manual

ULTIMATE SPEED
ULTIMATE SPEED CARBON Assembly and Safety Advice

Witter
Witter F174 Fitting instructions

WeatherTech
WeatherTech No-Drill installation instructions

TAUBENREUTHER
TAUBENREUTHER 1-336050 Installation instruction