TERRATLANTIS IN001 Manual
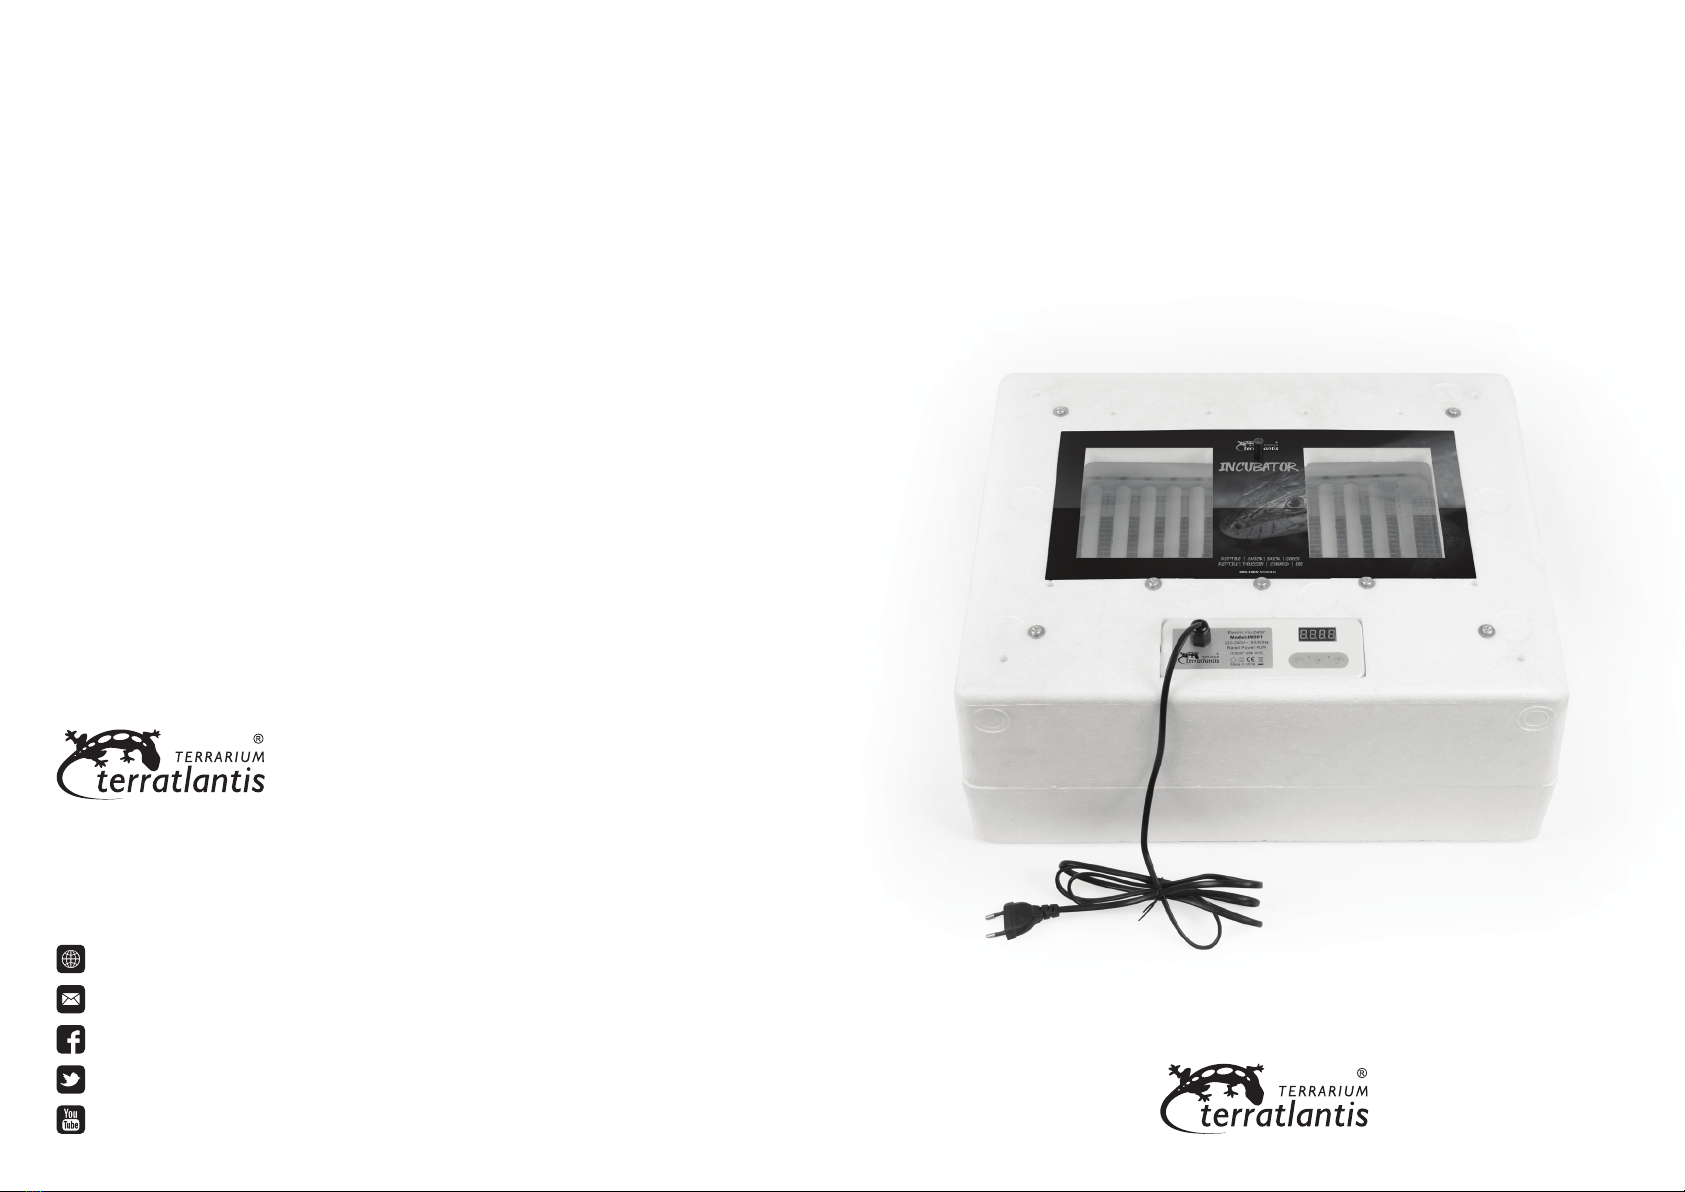
ELECTRIC INCUBATOR
NOTICE D’UTILISATION | INSTRUCTION GUIDE
AQUATLANTIS, SA
Rua Vasco da Gama, nº2 Apartado 42
4816-908 Lordelo, Guimarães - Portugal
www.aquatlantis.com
/aquatlantis
/aquatlantis
/aquariumaquatlantis

FRANÇAIS
Merci d’avoir choisi un produit TERRATLANTIS.
Veuillez lire et suivre toutes les instructions dans
cette notice, pour assurer le bon fonctionnement de
ce produit. Pour plus d’information, visitez notre site
Web www.aquatlantis.com.
Ce produit convient à l’incubation de diérents types
d’œufs. La structure est faite de matériau thermique
et isolant, et la température dans celle-ci peut être
contrôlée par un processeur intelligent de manière
à rester stable afin d’atteindre un taux d’incubation
élevé, lorsqu’il est utilisé correctement. Il comprend
une fenêtre en haut pour une visualisation facile.
Spécifications techniques
Dimensions extérieures: 50x41x21 cm
Dimensions intérieures: 47x37x14 cm
Tension: AC220-240V 50/60Hz
Courant: 40W
Echelle de contrôle de la température: 20-40ºC
Echelle d’aichage de la température: 0-50ºC
Précision de la température: 0.1ºC
Ce produit a la fonction de mémorisation.
Température aichée sur l’écran LED.
Température de travail du produit: dessous 26 ºC.
Contenu
Incubateur, Réseau d’acier inoxydable, Plateau en
PVC, Notice d’utilisation
Guide d’installation
1. Placez l’incubateur à l’endroit approprié, en le
protégeant des rayons du soleil et des sources de
chaleur, car cela aectera la température à l’inté-
rieur de l’incubateur. Gardez l’incubateur horizontal
et dans un endroit avec l’air frais.
2. Branchez l’incubateur au courant. Appuyez sur le
bouton “SET”. L’écran LED montrera la température
actuelle à l’intérieur.
3. Appuyez sur « + » ou « - » pour ajuster la tem-
pérature désirée. Appuyez sur « SET » pour sortir
du mode de configuration. L’écran LED montrera la
température à l’intérieur de l’incubateur.
4. Si nécessaire, remplissez le plateau de PVC avec
de l’eau (les trois partitions) pour ajuster l’humidité
à l’intérieur de l’incubateur.
5. Déposer les œufs sur le support uniformément.
6. Vérifiez la position de la sonde de la températu-
re. Vous pouvez ajuster la hauteur de la sonde en
ajustant la barre de connexion. Selon la situation,
l’ajustement nécessitera une distance d’environ 1
cm entre la sonde et l’œuf.
7. Pendant l’incubation, et chaque fois que nécessai-
re, vérifiez les œufs.
Instructions de Sécurité
1. Placez le produit à au moins 50 cm du sol.
2. Si le cordon d’alimentation est endommagé, veuillez
contacter le magasin où vous avez acheté le produit.
3. Après que l’incubateur a fonctionné pendant une
journée entière, assurez-vous qu’il continue à fonc-
tionner normalement, avant de l’utiliser à nouveau.
4. Assurez-vous toujours que le plateau a de l’eau.
Le manque d’humidité à l’intérieur de l’incubateur
peut aecter les œufs.
5. Pour de meilleurs résultats, mettre toujours des
œufs de la même espèce et de la même taille. De
plus, les œufs doivent être propres et ne peuvent pas
être lavés avec de l’eau. Les œufs à écorce rugueuse
ne peuvent pas être utilisés car un excès de calcium
entraînera la mort durant le processus d’éclosion.
6. Les œufs les plus appropriés pour l’incubation sont
ceux qui sont placés un à trois jours après la naissan-
ce. S’ils sont trop jeunes, il sera diicile de survivre,
et s’ils sont très vieux, ils seront moins énergiques.
Places les œufs à couver dans une chambre dont la
température se situe entre 8º et 12ºC, à un maximum
de 15ºC, étant donné que la température élevée
entraînera la perte d’eau des œufs.
7. Après l’incubation, nettoyer l’incubateur. Ne pas
oublier de débrancher avant de nettoyer. Un chion
humide peut être utilisé pour nettoyer la surface de
l’incubateur. N’utilisez pas d’eau ou de liquides agressifs.
8. Pour éviter les accidents, ne touchez pas les par-
ties chaudes du produit.
9. Veuillez débrancher le produit pendant l’installa-
tion, l’entretien et le transport.
10. Ce produit ne doit pas être utilisé par des per-
sonnes ayant des capacités limitées ou un manque
d’expérience/connaissance, à moins d’être supervisé
par une personne responsable de leur sécurité. Les
enfants doivent être surveillés pour s’assurer qu’ils
ne jouent pas avec ce produit.
11. Tout accessoire ne doit pas être utilisé avec
d’autres produits.
12. Utilisez ce produit seulement en intérieur. Ne pas
utiliser à des températures inférieures à 0ºC.
RECYCLAGE
Ne jetez pas ce produit avec les déchets communs. Il
contient des matières qui peuvent être dangereuses
pour l’environnement.
Exemple d’incubation d’œufs de reptiles
L’incubation des reptiles varie selon plusieurs fac-
teurs. Nous prendrons l’exemple de l’incubation des
lézards. Les œufs destinés à l’incubation doivent être
du même type, tandis que l’incubation de diérents
types d’œufs pourra ne pas avoir de résultats souhai-
tables. Pendant le processus d’incubation, l’humidité
devrait être mesurée et surveillée régulièrement.
Utilisez de la vermiculite et de la perlite pour l’incuba-
tion car ce sont des minéraux très absorbants qui
favorisent une incubation naturelle, en garantissant
que lorsque les œufs éclosent, il n’y a pas d’humidité
excessive. La vermiculite et la perlite peuvent être uti-
lisées séparément ou peuvent être mélangées. Avant
l’utilisation, placez les produits dans un récipient
propre, vaporisez avec un peu d’eau, puis placez au
micro-ondes pendant 1 minute pour la désinfection.
Après la stérilisation, laisser refroidir avant utilisation.
La vermiculite et la perlite doivent être conservées au
froid pour assurer une épaisseur d’au moins 4 à 5 cm.
Le plus épais sera le mieux. Ensuite, ajoutez de l’eau
à la préparation jusqu’à ce qu’elle recouvre. Veuillez
également vous reporter aux recommandations
concernant le niveau d’humidité recommandé pour
chaque espèce.
En référence au tableau ci-dessous, réglez la
température de l’incubateur. Dans ce cas, il est de
25-31°C. Laisser l’incubateur pendant 24 heures à la
température appropriée. Placez les œufs soigneuse-
ment dans le récipient avec la vermiculite et la perlite.
Puis placez le récipient dans l’incubateur. Tout le
processus devrait être observé. L’œuf doit toujours
rester dans la même position. Les niveaux d’humidité
tout au long du processus d’incubation doivent rester
stables. Cependant, il ne devrait pas y avoir d’humidi-
té excessive, sinon cela pourrait causer des infections
fongiques ou bactériennes. Pendant l’incubation, la
couleur des œufs va changer. C’est une procédure
normale. Avec cette approche et cette température, le
processus d’incubation durera entre 52 et 91 jours.
ENGLISH
Thank you for choosing a TERRATLANTIS product.
Please read and follow all the instructions in this
manual, in order to ensure the proper functioning of
this product. For more information visit our website
www.aquatlantis.com.
Technical Specifications
This equipment is suitable for dierent kind of eggs ha-
tching. The structure is made of thermal and insulation
material and the temperature therein can be controlled
by an intelligent CPU so as to remain steady in order to
achieve a high hatching rate, when used correctly. It has
a visible window on top for easier observation.
Technical data
Product outside dimensions: 50x41x21 cm
Product inside dimensions: 47x37x14 cm
Input voltage: AC220-240V 50/60Hz
Supply power: 40W
Range of temperature control: 20-40ºC
Temperature display range: 0-50ºC
Temperature accuracy: 0.1ºC
This product has memory function.
LED screen will show the temperature.
Product working environment temperature: under 26ºC
Content
Incubator, Stainless steel mesh, PVC tray, Instruction
manual
Installation Guide
1. Put the incubator in an appropriate place to
protect from sunlight and heat sources, because it
can aect the incubator’s interior temperature. Keep
the incubator horizontal and in a place with fresh air.
2. Connect the incubator to the mains. Press the
“SET” button. The LED display will show the current
temperature inside.
3. Press “+” or “-“ to adjust the temperature. Press
“SET” to exit setting mode. LED monitor will show
incubator inside temperature.
4. Whenever necessary, fill the PVC tray with water
(the three dividers) to ensure the humidity inside the
incubator.
5. Put the eggs inside and place them evenly in the
holder.
6. Adjust the temperature probe position. You can
adjust its highness by adjusting the connecting
rod. According to the situation, the adjustment will
require a distance of about 1 cm between the probe
and the egg.
7. During incubation, and as necessary, check the eggs.
Safety Instructions
1. Place the product at least 50 cm from the ground.
2. If the supply cord is damaged, please contact the
store where you bought the product.
3. Aer the incubator works a whole day, make sure
it is working normally, then begin the hatching.
4. Please always check if the tray has water. The lack of
humidity inside the incubator may aect the eggs.
5. In order to get better results, always place same egg
species and of same size. The eggs must be cleaned and
cannot be washed with water. The eggs with rough shell
cannot be used because too much calcium will lead to
the death of the eggs during the hatching process.
6. The most suitable eggs for hatching are those
placed one to three days aer birth. Too young
eggs are diicult to live and too old eggs will be less
energetic. Placing the hatching eggs in a room with
temperature within 8 and 12ºC, 15ºC at most, as high
temperature will result in the eggs’ water loss.
7. Aer completing the hatching, please clean the
incubator. Turn o the equipment before cleaning
it. Use a wet cloth to clean the incubator surface. Do
not use water or corrosive liquid.
8. To avoid accidents, please do not touch heating parts.
9. Please turn o the product during installation,
maintenance or transport.
10. This appliance is not intended for use by people
with reduced capabilities or lack of experience/
knowledge, unless they are supervised by someo-
ne responsible for their safety. Children should be
supervised to ensure that they do not play with this
product.
11. Any accessory is not allowed to be used with
other products.
12. For indoor use only. Do not use in temperatures
below 0ºC.
DISPOSAL
Do not throw away this product with common
garbage. It contains materials that can be dangerous
to the environment.
The Incubation of Reptile’s Eggs
Reptiles’ hatching has a variety of ways of procedure.
We take as an example the lizard’s hatching instruc-
tions. Hatching eggs should be the same type, while
hatching dierent type of eggs will lead to poor results.
In the hatching process, you need to measure and
monitor the air humidity regularly. Use vermiculite
and perlite cushion for incubation, as they are very
absorbent materials that will help to achieve a natural
incubation, ensuring that when the eggs hatch, there
is no excessive moisture. Vermiculite and perlite can be
used in separate or can be mixed. Before the use, place
the products in a fresh container, spray with water and
then put on the microwave for 1 minute to disinfection.
Aer sterilizing the products, let them cool before use.
Vermiculite and perlite should be conserved in the frid-
ge to ensure that there is at least 4-5 cm thickness. The
thicker, the better. Then, add water to the preparation
until it covers. Consult the suggestions about the humi-
dity levels about each specie recommendations.
With reference to the table below, adjust the tem-
perature of the incubator. In this case it is 25-31 ° C.
Leave the incubator on for 24 hours at the appro-
priate temperature. Place the eggs carefully in the
container with the vermiculite and perlite beds.
Then place the container in the incubator. The entire
process should be noted. The egg must always
remain in the same position. Humidity levels throu-
ghout the incubation process should remain stable.
However, there should not be excessive moisture,
otherwise it may cause fungal or bacterial infec-
tions. During incubation, the color of the eggs will
change. It’s a normal procedure. With this approach
and temperature, the incubation process will last
between 52 to 91 days.
Other TERRATLANTIS Accessories manuals


