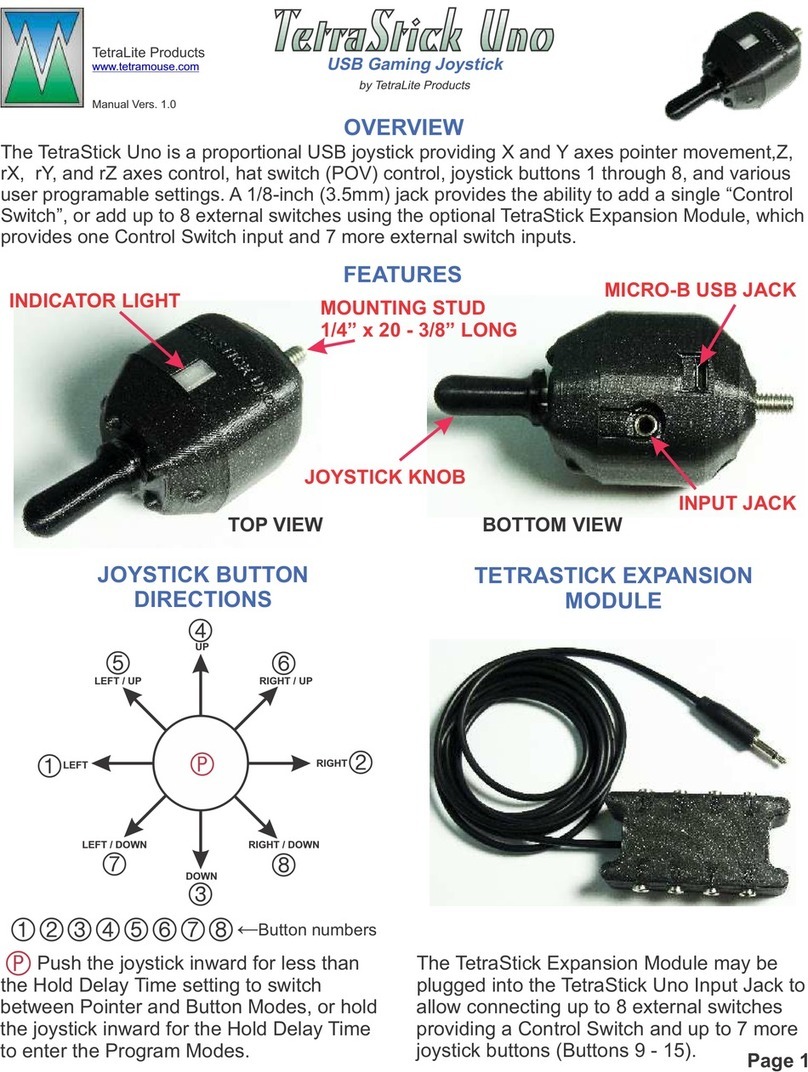
TetraLite TetraStick Duo Installation guide

TetraStick DuoTetraStick Duo
USB Gaming Joystick
by TetraLite Products
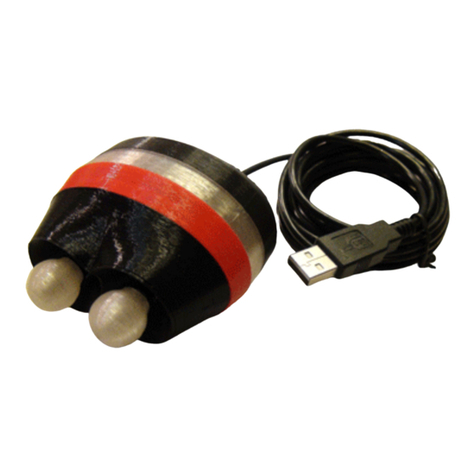
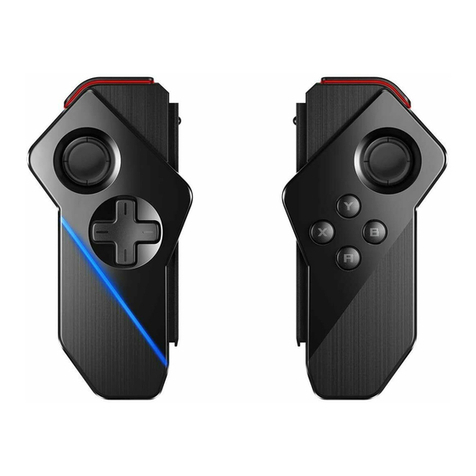
The TetraStick Duo is an 8-button analog USB joystick with dual mouth-, chin-, finger-operated
control joysticks. The right joystick controls pointer movement, and the left joystick controls the 8
joystick buttons, Program Mode selections of left joystick 4- and 8-button mode, 4 pointer speed
selections, 4 button hold time selections, audio indicator enable/disable, and right joystick center
calibration. Indicator lights (LEDs), and audio ‘chirps’ indicate various states and functions.
TetraLite Products
23708 Locust Way Unit 38
Bothell WA 98021-9258
206-362-3139
www.tetramouse.com
LEFT JOYSTICK FUNCTIONS
TETRASTICK DUO OVERVIEW
RIGHT JOYSTICK FUNCTIONS
UP
RIGHT / UP
RIGHT
LEFT / UP
LEFT
LEFT
JOYSTICK
RIGHT / DOWNLEFT / DOWN
DOWN
12
3
4
56
78
P
P
←Hold for one second to enter Program Mode
←Joystick Buttons
12345678
Move the left joystick to perform any of the eight joystick button presses. A button function is
activated when the joystick is pushed in the directions shown below. Holding the left joystick on
Button 1, 2, 3, 5, 6, 7 or 8 for more than the current button hold time setting latches that button’s
held state, as though you were still holding the stick in that button’s position. The hold is released
by doing a quick push on the same button. Any combination of the seven hold-able buttons may
be set to the held state. Button 4 is the exception. Hold Button 4 for fully 1 second to enter
Program Mode. Entering, then exiting Program Mode will release all held buttons at once. Button
4 can be used for quick (less than 1 second) pushes, but it can’t be held. See more about
Program Mode, light and sound indicators and other features on the following pages of these
instructions.
The right joystick moves the pointer in the direction it is pushed. The speed of the pointer
movement is proportional to the distance the right joystick is pushed away from its center
position.
TMTSD - V1.17
Page 1

Enter Program Mode by holding a Button 4 press (left joystick up) for one second. Indicator lights scan
left to right twice, with 1 chirp. In Program Mode, the right joystick can be calibrated (in case the pointer
starts to drift), the maximum pointer speed can be set to one of four speed settings, the button hold time
setting can be changed, the audio ‘chirps’ can be toggled on and off, and the joystick mode can be set to 4-
button or 8-button modes. The TetraStick remains in Program Mode until exited by a down push (Button 3).
Exit Program Mode by pushing the left joystick down (Button 3). Indicator lights scan right to left twice
with 2 chirps and normal joystick operation is resumed.
The Calibrate Right Joystick function is performed in Program Mode by pushing the left joystick up. One
chirp, indicator lights scan left to right, then right to left, then one more chirp. This function re-calibrates
the right joystick in the event the pointer should begin to drift. Be certain the right joystick is centered, and
that nothing is keeping the joystick from returning to center, and the joystick is not being touched while
performing calibration. Calibration is performed automatically on power-up and therefore, the right joystick
should be centered and not being touched when powering up.
The Pointer Speed can be set to one of four ranges when in Program Mode. These ranges set the
maximum pointer speed. Push the left joystick left to make the pointer move slower, or push the left joystick
right to make the pointer move faster. When a speed change is made, the corresponding indicator light
flashes and the audio chirps 1, 2, 3 or 4 times to indicate which speed is selected. The blue indicator is for
the slowest speed, next is green, then yellow, and the fastest speed is red.
Buzzer Enable/Disable - In Program Mode, hold the left joystick up and left (Button 5) to toggle the buzzer
sounds on or off. Indicator lights scan left to right with 2 chirps when enabling sounds, and right to left
with 1 chirp when disabling sounds.
The Left Joystick Mode Select toggles the function of the left stick between 8-button and 4-button
operation. In 4-button mode only joystick buttons 1, 2, 3 and 4 are enabled. In 8-button mode all 8 buttons
are enabled. Switch modes by pushing the left joystick diagonally right/up (Button 6) while in Program Mode.
Indicated by a long chirp, followed by either 4 chirps and indicator light scan right to left to indicate 4-
button mode entered, or 4 double-chirps and indicator lights scan left to right to indicate 8-button
mode.
The Button Hold Time sets the amount of time a button push (all buttons except Button 4) is held before
the button is put into a held state. Push the left stick diagonally right/down (Button 8) while in Program Mode.
A long chirp is heard. Then push the left joystick left to decrease the hold time, or push the left joystick right
to increase the hold time. When a hold time change is made, the corresponding indicator light flashes and
the audio chirps 1, 2, 3 or 4 times to indicate the selected hold time setting.
The blue indicator flashes 1 time with 1 chirp, setting a hold time of 1/2 second (500 milliseconds).
The green indicator flashes 2 times with 2 chirps, setting a hold time of 3/4 second (750 milliseconds).
The yellow indicator flashes 3 times with 3 chirps, setting a hold time of 1 second (1000 milliseconds).
The red indicator flashes 4 times with 4 chirps, setting a hold time of 1-1/4 second (1250 milliseconds).
NOTE: Exit Button Hold Time settings by pushing the left joystick down (Button 3). The indicator lights scan
right to left, then left to right, followed by 3 chirps. This takes you back to Program Mode where other
settings may be changed, or you may then exit Program Mode by pushing the left joystick down (Button 3)
again, as described above in “Exit Program Mode”.
NOTE: The current pointer speed, left joystick mode, button hold time and buzzer enable settings are saved
in memory when changed, or on power-down, and are restored on power-up.
PROGRAM MODE
Page 2

Four LED indicator lights, Blue, Green, Yellow and Red, and a buzzer provide indications of Program
Mode functions.
TetraStick Power-up: Auto-calibration scans LEDs left to right and right to left, audio chirps and
flashes the associated LED 1, 2, 3 or 4 times to indicate current speed setting, then flashes the
associated LED 1, 2, 3 or 4 times to indicate current button hold time setting.
Indicator Button Speed Setting Hold Delay
Blue LED 1 Pointer speed 1 Hold delay 1
Green LED 2 Pointer speed 2 Hold delay 2
Yellow LED 3 Pointer speed 3 Hold delay 3
Red LED 4 Pointer speed 4 Hold delay 4
Blue LED 5
Green LED 6
Yellow LED 7
Red LED 8
All Program Mode functions are indicated by ‘cricket’ chirps,
and/or LED indicators as follows:
Enter Program Mode: LEDs scan left to right twice, 1 chirp.
Exit Program Mode: LEDs scan right to left twice, 2 chirps.
Calibrate Right Joystick: 1 chirp, LEDs scan left to right, then right to left, then 1 more chirp.
Left Joystick Mode Select: Long chirp, followed by either 4 chirps and LED scan left to indicate 4-
button mode entered, or 4 double-chirps and scan LED right to indicate 8-button mode.
Pointer Speed: Flashes associated LED and chirps 1, 2, 3 or 4 times to indicate current speed
setting.
Button Hold Time: Long chirp on entry, then flashes associated LED and chirps 1, 2, 3 or 4 times to
indicate current hold time setting. On exit (return to Program Mode), LEDs scan right to left, then left
to right with 3 chirps.
Buzzer Enable/Disable: LEDs scan left to right with 1 chirp when enabling sounds, and right to left
with no chirp when disabling sounds.
Button Hold: The button’s associated LED indicator remains on. One chirp indicates when the hold
state has begun, after which the joystick can be released with the hold maintained. If two buttons that
use the same LED indicator color are held, the LED will stay on until both holds are released.
LIGHT & SOUND INDICATORS
1/4-20 THREADED
MOUNTING STUD
MICRO USB CONNECTOR
(USB CABLE INCLUDED)
→
→
LEFT JOYSTICK
RIGHT JOYSTICK
INDICATOR LIGHTS
BLUE GREEN YELLOW RED
→
→
→
→
→
→
Page 3

TetraStick Duo
XAC Left USB
XAC Right USB
Right Joystick Up
Pointer Up
Pointer Up
Right Joystick Down
Pointer Down
Pointer Down
Right Joystick Left
Pointer Left
Pointer Left
Right Joystick Right
Pointer Right
Pointer Right
Left Stick Button 1
X1
View
Left Stick Button 2
X2
Menu
Left Stick Button 3
LS
RS
Left Stick Button 4
LB
RB
Left Stick Button 5
A
X
Left Stick Button 6
B
Y
Left Stick Button 7
View
X1
Left Stick Button 8
Menu
X2
XBOX ADAPTIVE CONTROLLER DEFAULT MAPPINGS
NOTES ON USAGE
Table showing the default mappings of the TetraStick Duo functions when connected to the the left USB port
or the right USB port on the Xbox Adaptive Controller. Re-mapping the button functions is strongly
recommended to achieve practical and efficient usage.
Page 4
Re-mapping: In order to take full advantage of the TetraStick Duo it is strongly recommended that the
buttons be re-mapped for function and ease of use. The functions most often used should be assigned to
buttons that are easiest for the user to activate.
This manual suits for next models
1
Table of contents
Other TetraLite Video Game Controllers manuals
