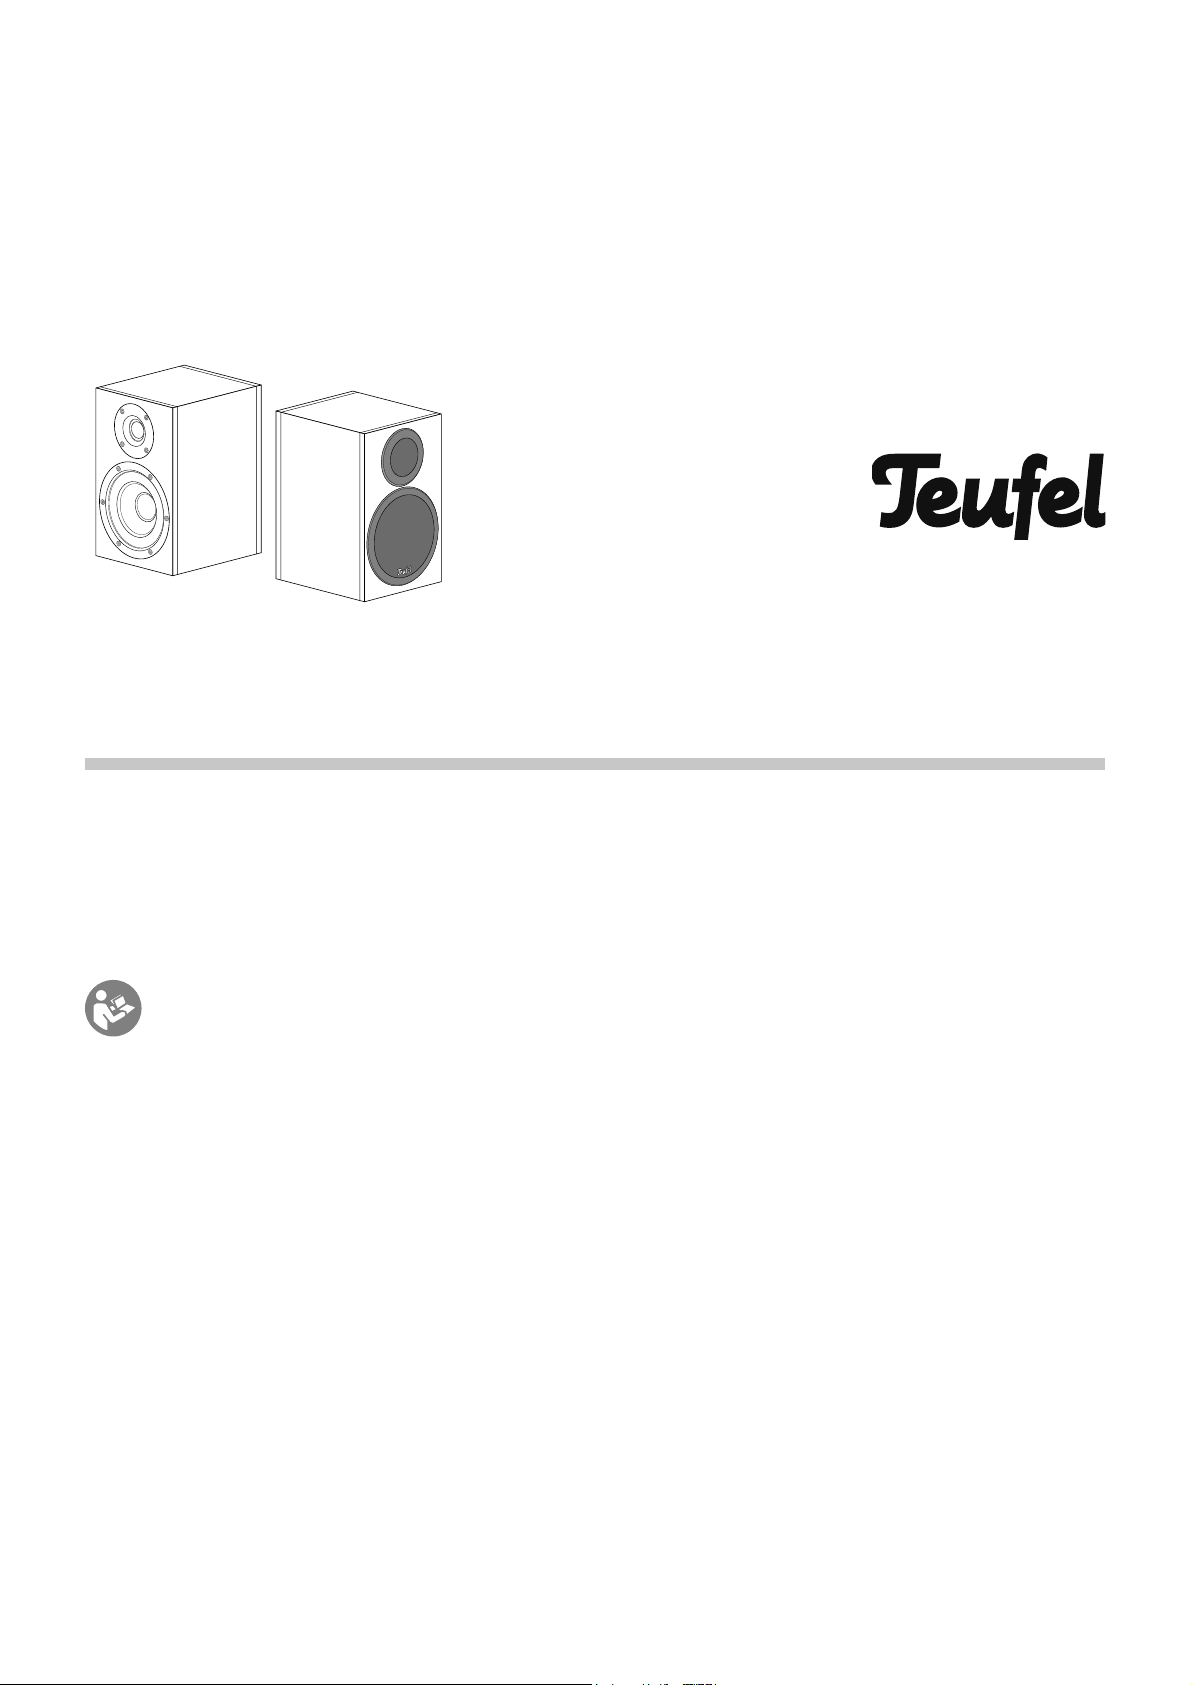
Unpacking, Setup and Connection
Unpacking
• Carefully open the boxes, remove the speakers together
with the EPE foam parts and remove the foam parts without
touching the diaphragms.
Setup
Note
Our website contains comprehensive notes for correct setup.
• Select a stable, level base.
• Make sure that the environment is clean and free from dust.
• Avoid placing the unit close to sources of heat or in direct
sunlight.
• Arrange the connector cables so that they do not pose a trip
hazard.
• Do not place any heavy objects on the cables or the speak-
ers.
• Pay attention to a solid state of the speaker to avoid vibra-
tions.
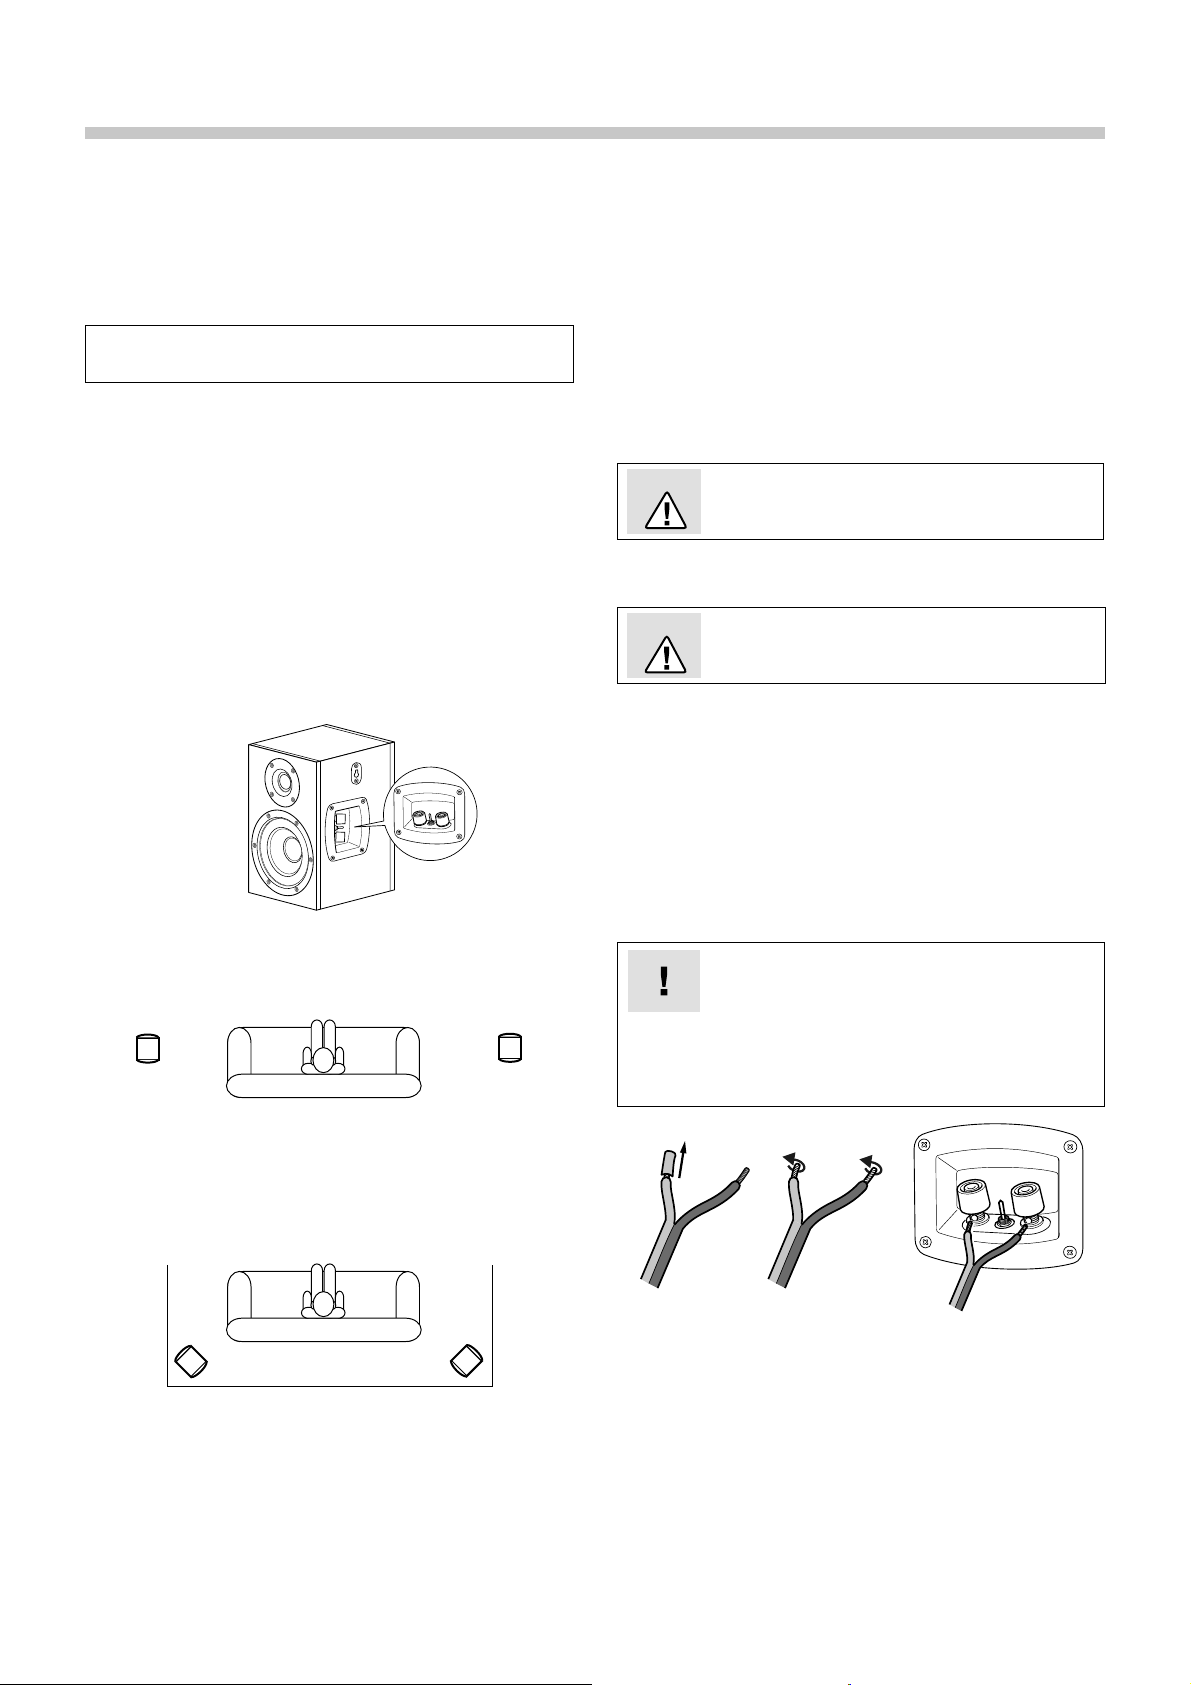
• A toggle switch, with which you can switch between normal
and dipole mode, is located between the connector termi-
nals of the T 130 D rear speakers. The sound is emitted from
the front and back in dipole mode.
front
rear
Possible arrangements
There are two possible arrangements for these speakers:
Normally, the dipole rear speakers are set up or hung up at head
height (140 to 210 cm) to the side of the listener. In the process,
the speakers are switched to dipole mode and project sound to
the front and back. The distance to the rear wall should be no
less than 10 cm.
The second arrangement possibility is suitable for narrow
rooms. In this case, the rear speakers are placed at a height of
140 to 210 cm behind the listener and situated at a 45 degree
angle. This way, the speakers project sound towards the walls
and produce the desired spatial diffusion in dipole mode. The
distance to the walls should not be less than 10 cm in this case
Mounting
You can find special assembly materials (cords, speaker
stands, wall brackets and resonance dampers) adapted to
these speakers in our webshop.
Removing the protective grids
The protective grids are secured by magnets on the front of
the speaker and can be easily removed. When the protective
grids are removed, high frequency output becomes clearer in
particular.
To remove the protective grids, reach behind them and slowly
pull them off to the front.
Attention Risk of damage!
Make sure that you do not touch the highly sensi-
tive diaphragms.
Connecting
Danger Danger of injury/damage!
Arrange the cables so that they do not pose a
trip hazard.
1. Pull the power plug of your amplifier/AV receiver out or multi-
channel active subwoofer of the outlet.
2. Lay the speaker cables from your amplifier/AV receiver or
multi-channel active subwoofer to each speaker. These
cables should be high-quality double-wire speaker cable with
marked strands. The diameter should amount to at least
1.5 mm2.
3. A connector comprising two terminals is located on the
back side of each speaker, to which you have to connect the
speaker cables.
The terminal clips are each marked red (+) and black (-).
Make sure the polarity is correct!
Connect the like coloured terminals. Otherwise the
sound quality will suffer.
The speaker connections of your
amplifier/
AV receiver or
multi-channel active subwoofer
should be marked similarly.
The strands of the speaker cables are marked with different
colours or shapes.
4. Split the single wire down to approx. 30 mm on both ends
and strip approx. 10 mm of insulation off of each cord.
5. Twist the stripped single wire ends together so that no wire
protrudes. Tin coating is not necessary.
6. Turn the connector terminal counterclockwise until loose.
Run the stripped cable end into the now visible hole. Close
the terminal by turning it counter clockwise. The cable has
now been clamped in place.
7. Connect the cables to the other speaker in the same way.
8. Connect the speaker cables to your amplifier/AV receiver or
multi-channel active subwoofer. The operating instructions of
the appliance should contain notes on this.
9. Reinsert the power plug of your amplifier/AV receiver or
multi-channel active subwoofer into the outlet.