After Sales Support TEL: 1300 663 907 After Sales Support TEL: 1300 663 907
19 8
Programming the
Remote Control
Programming Device Codes
To program this remote to function with your Tevion,
Bauhn or Vivid brand device, please refer to the learning
function on page 13 of this product manual.
To be able to control a device with your universal remote
control, you must first set up the corresponding device
codes. For the PC device selection, please see “Controlling a
PC” under the special features section.
There are different ways to setup the device codes.
• Search for your device by manufacturer.
• Use the code book to program the remote control.
• Use automatic search to locate the suitable device code.
This type of programming is recommended if your device
is not contained in the list of preset codes.
• The learning function can be used to learn the functions
and features of any IR remote.
Programming the Device Code by
Manufacturer Name
Switch on the device for which you want to program the
remote control. If your device is a VCR or a CD or DVD player,
please insert a tape or CD/DVD.
To cancel the following programming at any time, press
EXIT (23) to return without saving any changes. Press the
EXIT button (23) multiple times until the remote control
has returned to standard mode.
Proceed as follows to program the device codes (this
example refers to programming a TV set).
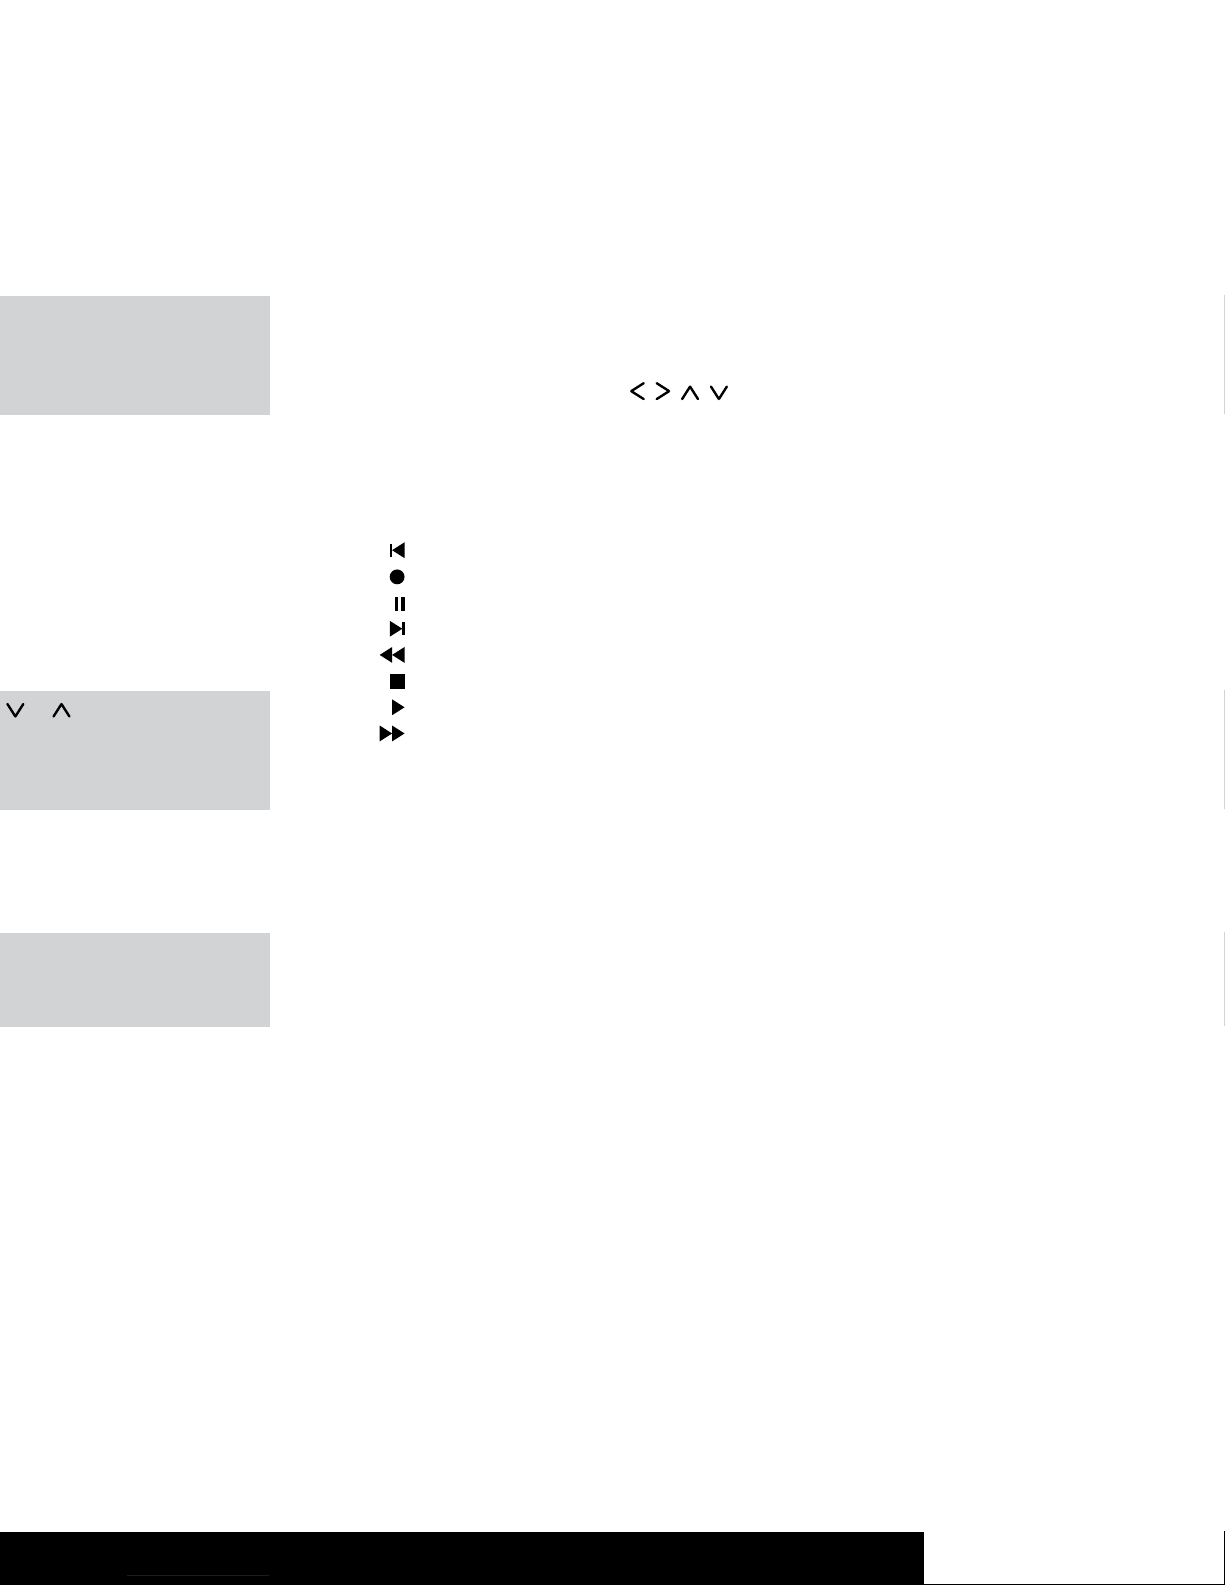
1. Point the remote control to the TV set while entering the
commands.
2. Press the source device selection button of the device
you want to program. In this example, it is the TV button
(2). The display shows [TV].
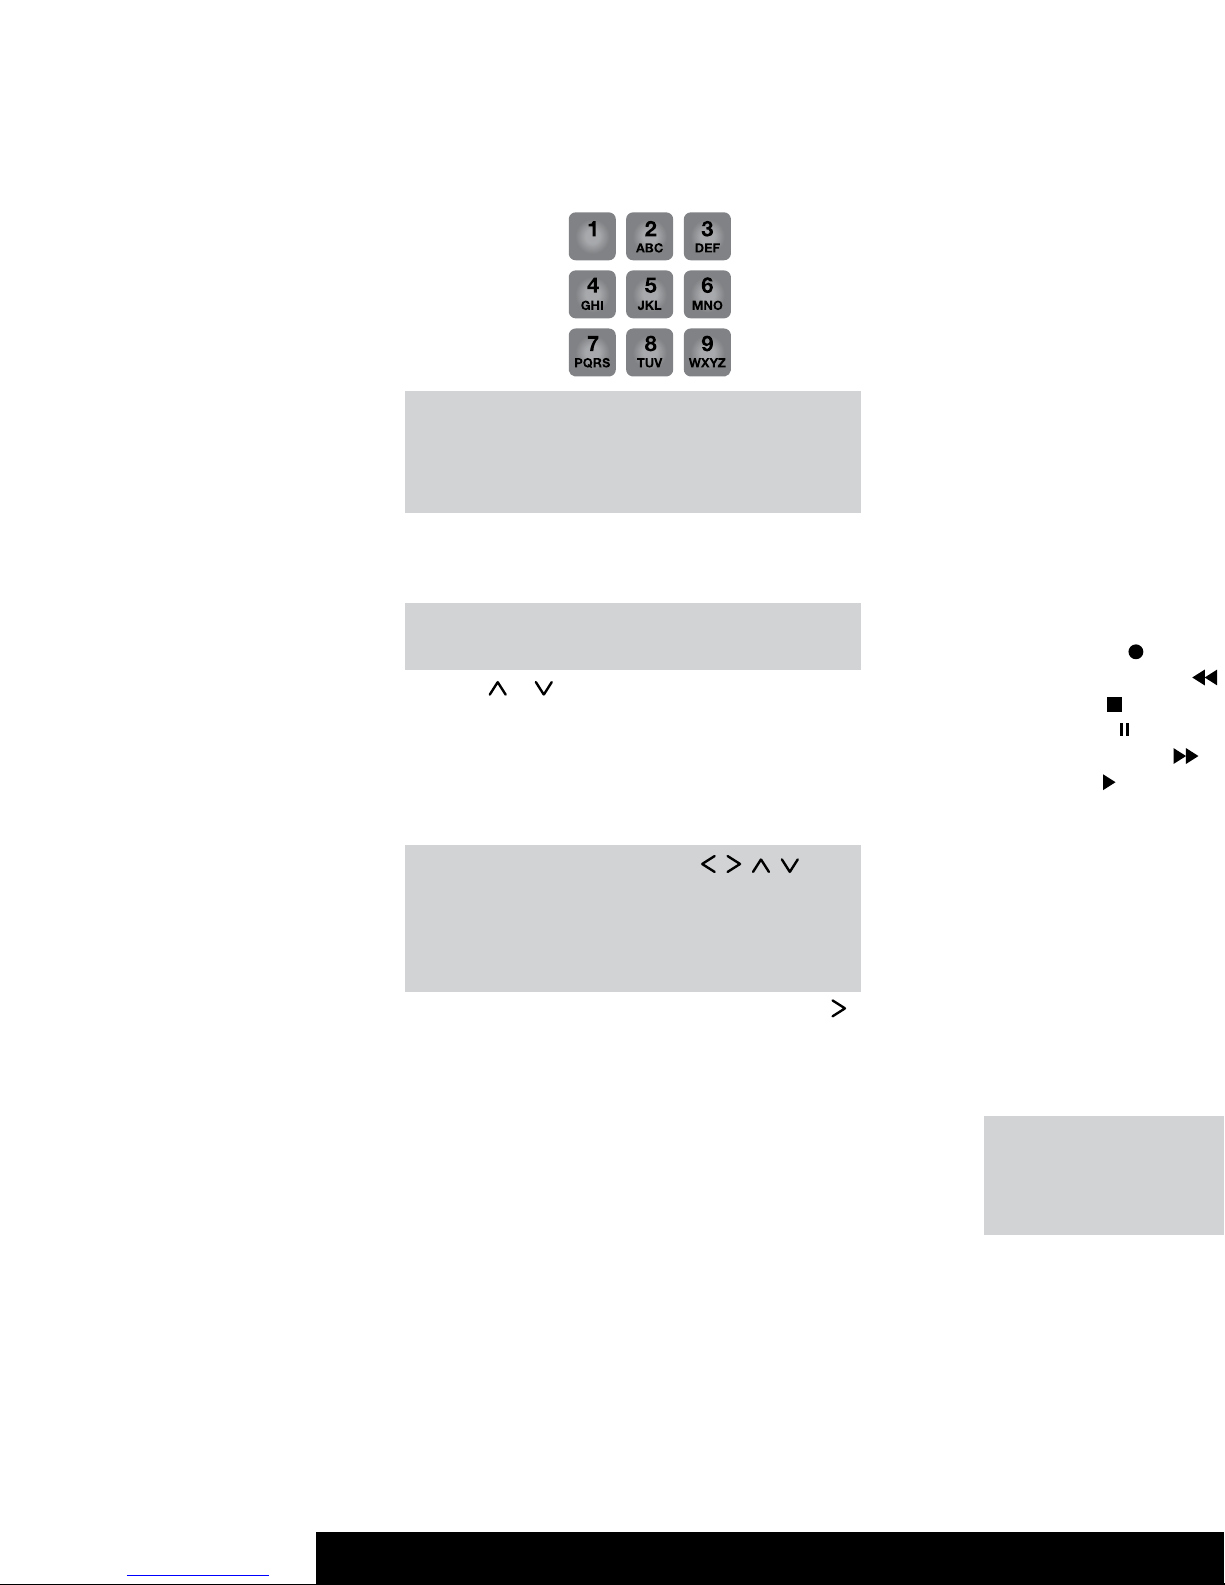
3. Press and hold the SET button (21) for at least 3 seconds.
The display shows [CODE SETUP]. Then release the SET
button (21).
4. Press the OK button (22). The display shows [BRAND
SRCH].
5. Press the OK button (22). The display shows the
first preset manufacturer name, e.g. [A R SYSTEM].
Underneath the device code of the displayed
manufacturer appears.
Consistent Volume Control
The (VPT–Volume Punch Through) volume control guarantees
that the volume control is always made for the TV set or Hifi
equipment regardless of the sound source that you have
selected. Therefore, you will not have to press the TV or
AUDIO source buttons before you set the volume with the
VOL+ (10), VOL- (11) or MUTE (7) buttons.
Example:
The remote control is programmed for your TV
set and your DVD player. You play a DVD and the
remote control is set to the DVD (2) source. This
allows you to control the DVD playback using the
remote control. But you can control the TV set
volume without having to press the TV source
selection button first.
NB: The PC mode does not support consistent
volume control.
Switching VPT between TV and AUDIO
VPT is set to TV as default. For any source that you select,
the volume control will always control the TV set. But if
you’re using a home cinema and you output the sound via
Hifi equipment, you can switch the volume control to the
Hifi equipment.
Proceed as follows:
1. Press the AUDIO source selection button (2).
2. Press and hold the SET button (21) for at least 3 seconds.
The display shows [CODE SETUP]. Then release the SET
button (21).
3. Press (8) twice. The display shows [BASIC VPT].
4. Press the OK button (22). The message [SUCCESS]
will appear for a few seconds on the display.
5. Quit the process by pressing the EXIT button (23).
VPT is now set to the device that is controlled via the AUDIO
source selection button.
If you want to use the TV for sound output again,
repeat the above steps by using the TV source
selection button (2) in the first step.