www.theonelights.com
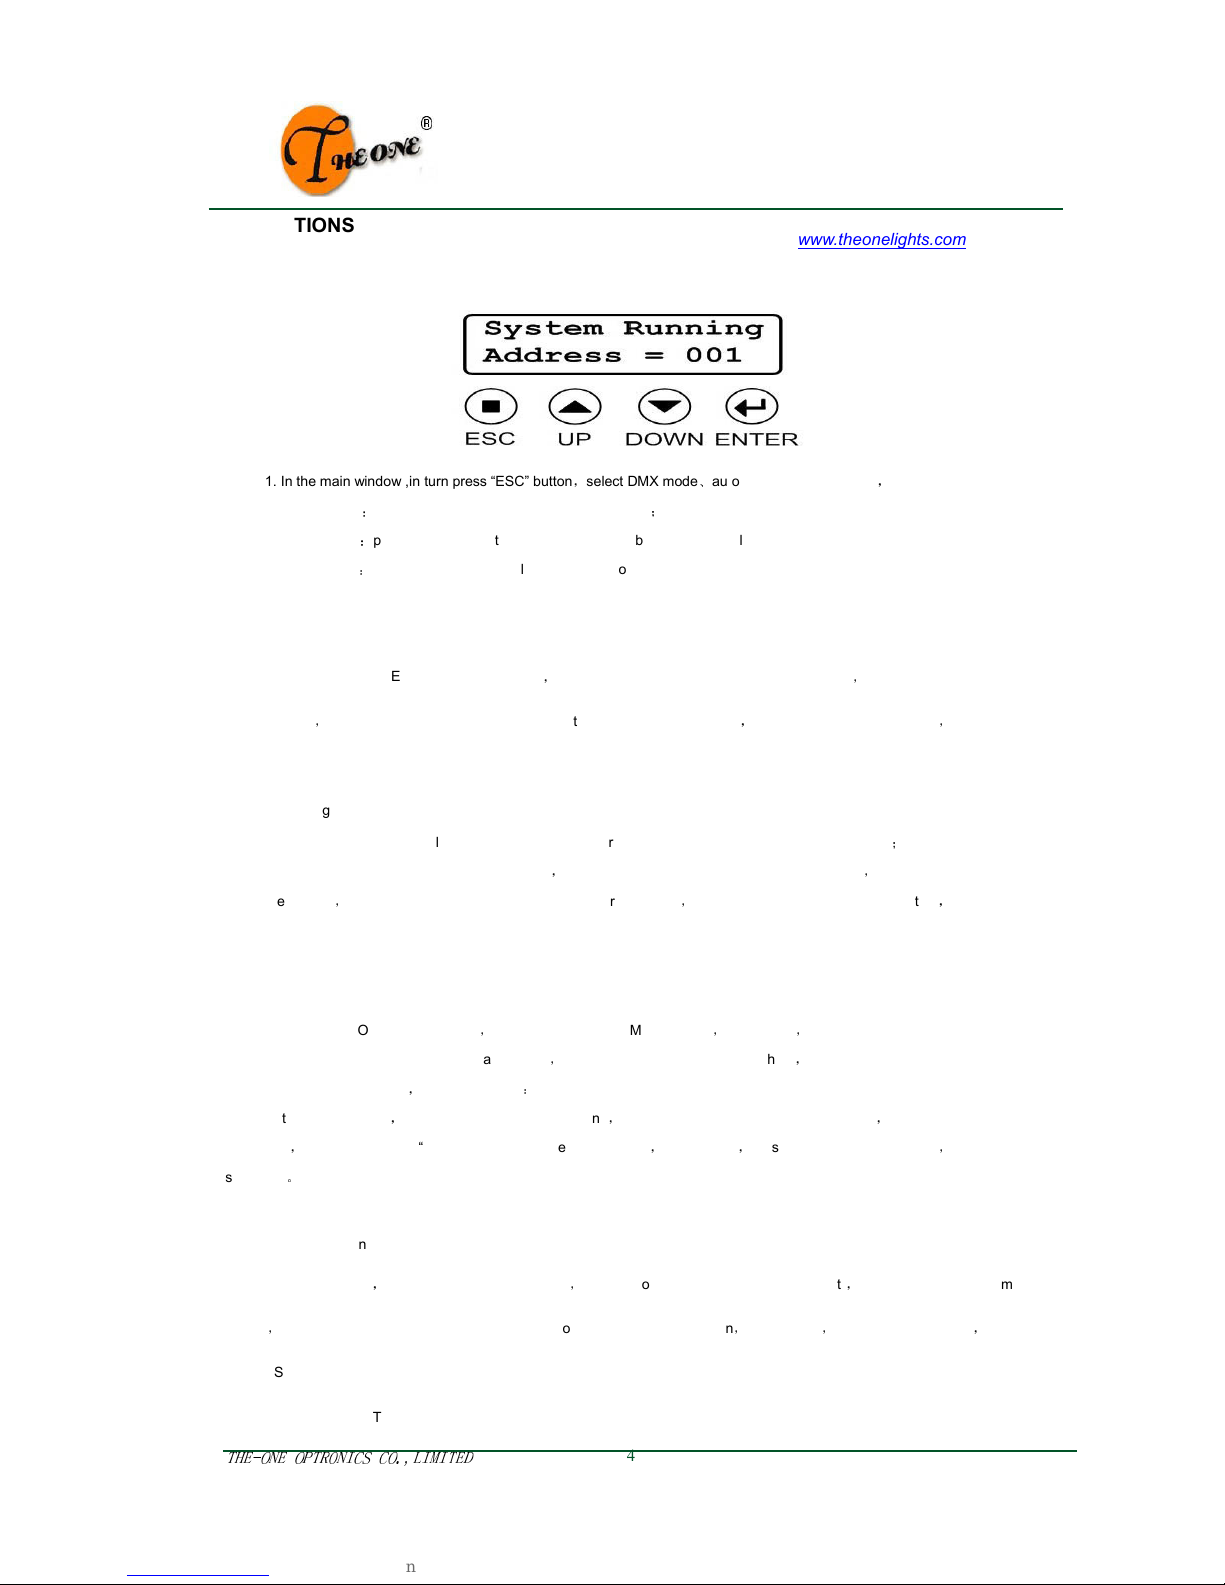
In the main window
,
press“ENTER”into main menu
,
press“UP”or“DWON”to select“5.Tilt Invert”
,
press“ENTER”into parameter
setting
,
and then“UP”or“DOWN”to select TILT forward rotating or inversion
,
after setting
,
press“ENTER” to save
,
press“ESC”to
surrender.
1.6 Reset or parameter
Reset system
In the main window
,
press“ENTER”into main menu
,
press“UP”or“DWON”to select“7.Reset System”
,
press“ENTER”into
parameter setting
,
then press“UP”or“DOWN”to select“[DEVICE]”
,
press“ENTER” can immediately reset the device
,
press“ESC”to
surrender.
Reset parameter
In the main window
,
press“ENTER”into main menu
,
press“UP”or“DWON”to select“7.Restem System”
,
press“ENTER”into
parameter setting
,
press“UP”or“DOWN”to select“[PARAM]”
,
press“ENTER”the unit can be reset to factory parameter value
,
press“ESC”to surrender.
1.7 Senior parameter setting
Senior parameter is not commonly used parameters
,
can set up as below
:
Setting LED mixing color proportion
(
color temperature
)
In the main window
,
press“ENTER”into main menu
,
pree“UP”or“DWON”to select“6.Advance Cfg”
,
then press“ENTER”into
parameter setting
,
press“UP”or“DOWN”to select“COL MIX”
,
press“ENTER”into color mix setting
,
press“UP”to select color
(
R
、
G
、
B or W
),
press“DOWN”to adjust the brightness of corresponding color proportion
,
after setting
,
press“ENTER” to save set
,
press“ESC”to surrender.
Setting up cool fan working mode
In the main window
,
press“ENTER”into main menu
,
press“UP”or“DWON”to select“6. Advance Cfg”
,
then press“ENTER”into
parameter setting
,
and then press“UP”or“DOWN”to select“FAN CTL”
,
press“ENTER”into setting
,
press“UP”or“DOWN”to
select“[ALWAYS]” to star the fan always or as“[AUTO]”according to the unit on to start the fan,after setting
,
press“ENTER”to
save
,
press“ESC”to surrender.
Setting PAN rotation rate
In the main window, press“ENTER”into main menu
,
press“UP”or “DWON”to select “6. Advance Cfg”
,
then press“ENTER”into
parameter setting
,
and then press “UP”or "DOWN" to select“X ANGLE”
,
press“ENTER”to set,and then press“UP”or “DOWN”to
select “[540]” or“[630]”
,
after setting
,
press“ENTER”to save setting
,
press “ESC”to surrender.
Setting PAN the initial offset position
In the main window, press “ENTER”into main menu, press “UP”or “DWON”to select“6. Advance Cfg”
,
then press“ENTER”into
parameter set
,
and then press “UP”or “DOWN” to select “Pan Offset”
,
press “ENTER”to set
,
and then press “UP”or “DOWN”to set
PAN initial offset in after reset, after set, press“ENTER”to save set
,
press“ESC”to surrender.