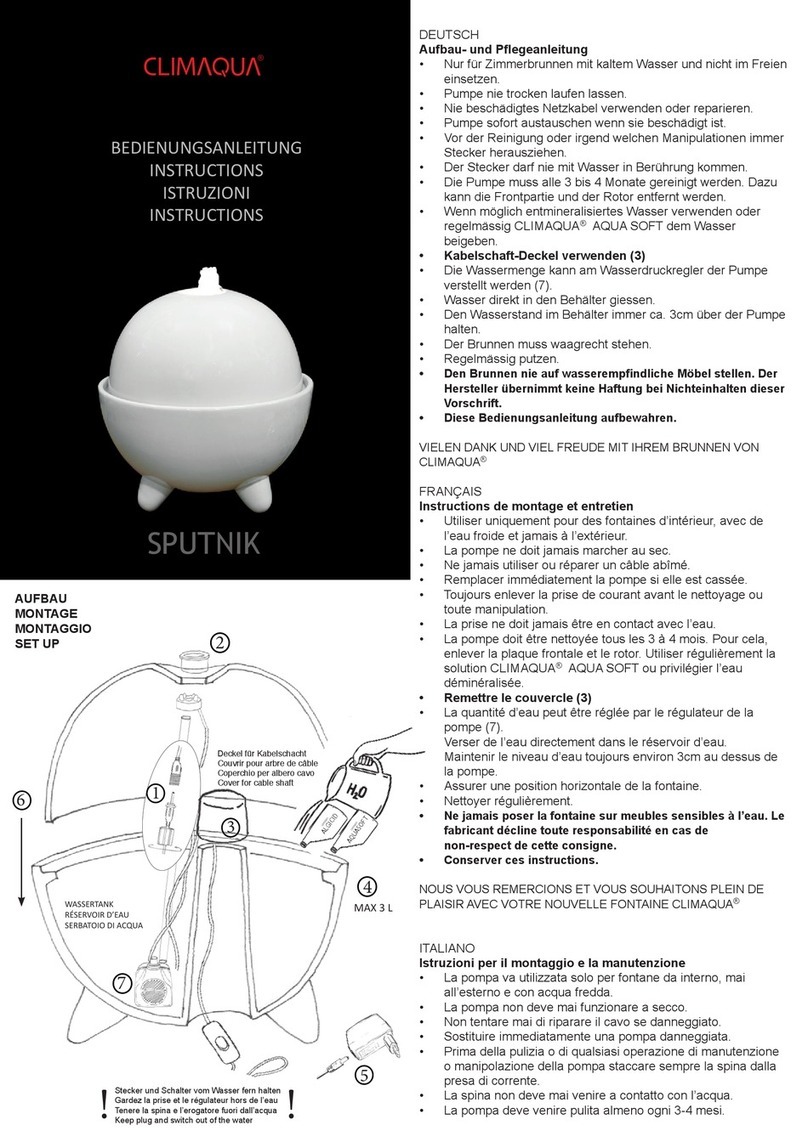
ThePondguy 120377 User manual

FOUNTAIN
INSTALLATION MANUAL
1 OF 2
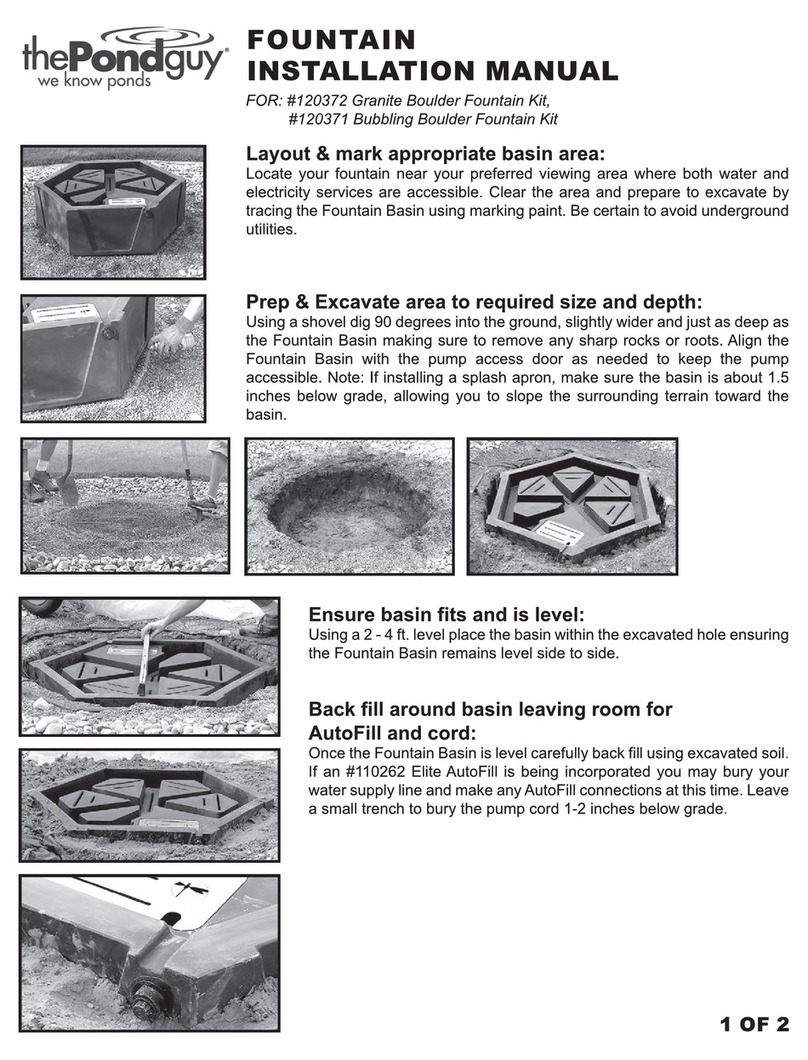
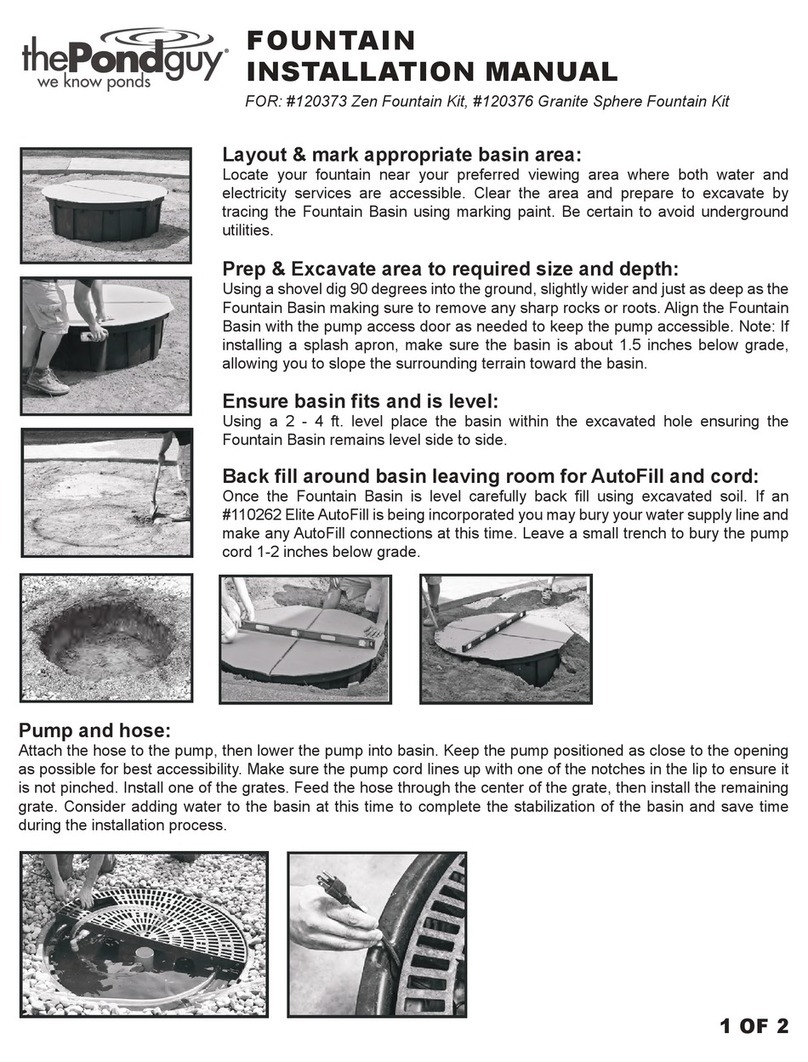
Layout & mark appropriate basin area:
Locate your fountain near your preferred viewing area where both water and electricity
services are accessible. Clear the area and prepare to excavate by tracing the Fountain
Basin using marking paint. Be certain to avoid underground utilities.
Prep & Excavate area to required size and depth:
Using a shovel dig 90 degrees into the ground, slightly wider and just as deep as the
Fountain Basin making sure to remove any sharp rocks or roots. Align the Fountain Basin
with the pump access door as needed to keep the pump accessible. Note: If installing a
splash apron, make sure the basin is about 1.5 inches below grade, allowing you to slope
the surrounding terrain toward the basin.
(QVXUHEDVLQ¿WVDQGLVOHYHO
Using a 2 - 4 ft. level place the basin within the excavated hole ensuring the
Fountain Basin remains level side to side.
%DFN¿OODURXQGEDVLQOHDYLQJURRPIRU$XWR)LOODQGFRUG
2QFHWKH)RXQWDLQ%DVLQLVOHYHOFDUHIXOO\EDFN¿OOXVLQJH[FDYDWHGVRLO,I
a PondBuilder Elite AutoFill is being incorporated you may bury your water
supply line and make any AutoFill connections at this time. Leave a small
trench to bury the pump cord 1-2 inches below grade.
Grate setup:
Remove the marked sections of the grate for the hoses. These marked sections represent optimal
SODFHPHQWRIWKHFROXPQV<RXPD\FXWKROHVLQGLႇHUHQWORFDWLRQVVKRXOG\RXZDQWDGLႇHUHQW
layout. In that case, mark the locations of the fountains, then utilize a 1-1/2” hole saw to cut
holes where you need them. Be careful not to place holes too close to basin edges, as this may
compromise the strength of the grate. If the basin has a sediment screen in place, use a knife to
cut the screen before drilling. Make sure the center support is installed.

FOUNTAIN 2 OF 2
INSTALLATION MANUAL
Pump and hoses:
Lower the pump into basin. Keep the pump positioned as close to the
opening as possible for best accessibility. Make sure the pump power
cord lines up with one of the notches in the lip to ensure it is not pinched.
Install one of the grates. Feed the hoses through the grate, then install
the remaining grate. Ensure the grates are aligned with the sticker on
the lip. Consider adding water to the basin at this time to complete the
stabilization of the basin and save time during the installation process.
,QVWDOOLQJ5RFNV
Place the rock on the basin, and feed the hose into the fountain, until the hose
is within a half inch from the top of the fountain. Carefully stand the fountain up.
Once completed, place the stainless steel access panel back over the opening.
Add water and test:
If you haven’t already added water to the Fountain Basin, add water until the
basin is full. Test your fountain by adjusting the valve with the red valve key.
6SODVKVKRXOGEHNHSWWRDPLQLPXPWRDYRLGH[FHVVLYHUH¿OOLQJ3RVLWLRQWKH
YDOYHWRDOORZIRURSWLPDOZDWHUFRYHUDJHVRXQGDQGDHVWKHWLFZDWHUÀRZ8VH
WKHLQFOXGHGVKLPVWROHYHOWKHIRXQWDLQVRWKDWZDWHUÀRZVHYHQO\RYHUWKHVLGHV
Finish:
Add decorative gravel or stone to the top of the basin, to complete your fountain setup.
Fountain System & Maintenance:
• )LOOHYDSRUDWHGZDWHUDVQHFHVVDU\RUFRQVLGHULQJLQVWDOOLQJDQDXWR¿OOYDOYHNLW/*
• $GG0XFN%XVWHU3%WR%DVLQWRHQVXUHPXFNGRHVQ¶WEXLOGXSRYHUWLPHDQGFORJSXPS
• ,IDOJDHIRUPVRQIRXQWDLQXVH$TXD)L[/LTXLG3%
• It is OK to run pump continuously 24/7 or you may connect it to a timer.
:LQWHUL]LQJ
• If you live in a climate that experiences prolonged freezing conditions then we recommend removing the pump from the
basin. Place the pump in a bucket of water and store it in a place that will not freeze.
• Do not drain the basin during the winter months- allow the water to freeze in the basin so that the ground doesn’t cause the
basin to rise or “pop up” from expansion of the freezing soil around it.
• We recommend covering the fountain during the winter months or moving it inside.
6SULQJ6WDUW8S
• Once everything has thawed in the spring we recommend draining the water in the basin and replacing it with fresh, clean
water.
• Reconnect the pump and plug it in.
• Add Muck Buster to remove any remaining muck that was not able to be removed manually.
)RUPRUHLQIRUPDWLRQYLVLWEOXHWKXPESRQGVFRPRUE\FDOO
Table of contents
Other ThePondguy Outdoor Fountain manuals
Popular Outdoor Fountain manuals by other brands

Astonica
Astonica 40201030 Assembly instruction

Campania International
Campania International FT-265 Assembly instructions

Kompernaß
Kompernaß E-4573 operating instructions
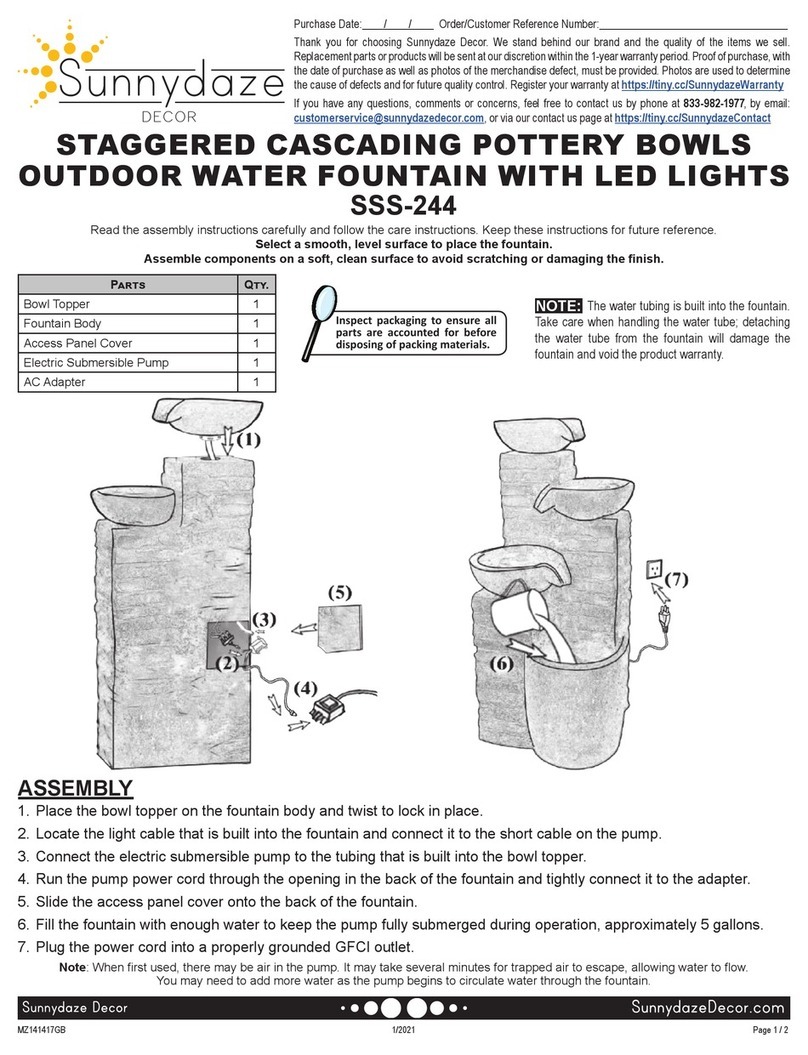
Sunnydaze Decor
Sunnydaze Decor SSS-244 manual

Kasco
Kasco EJ Series Operation & maintenance manual

Alpine
Alpine TZL226 quick start guide
