Theralux Theraflo S-Series Supplement
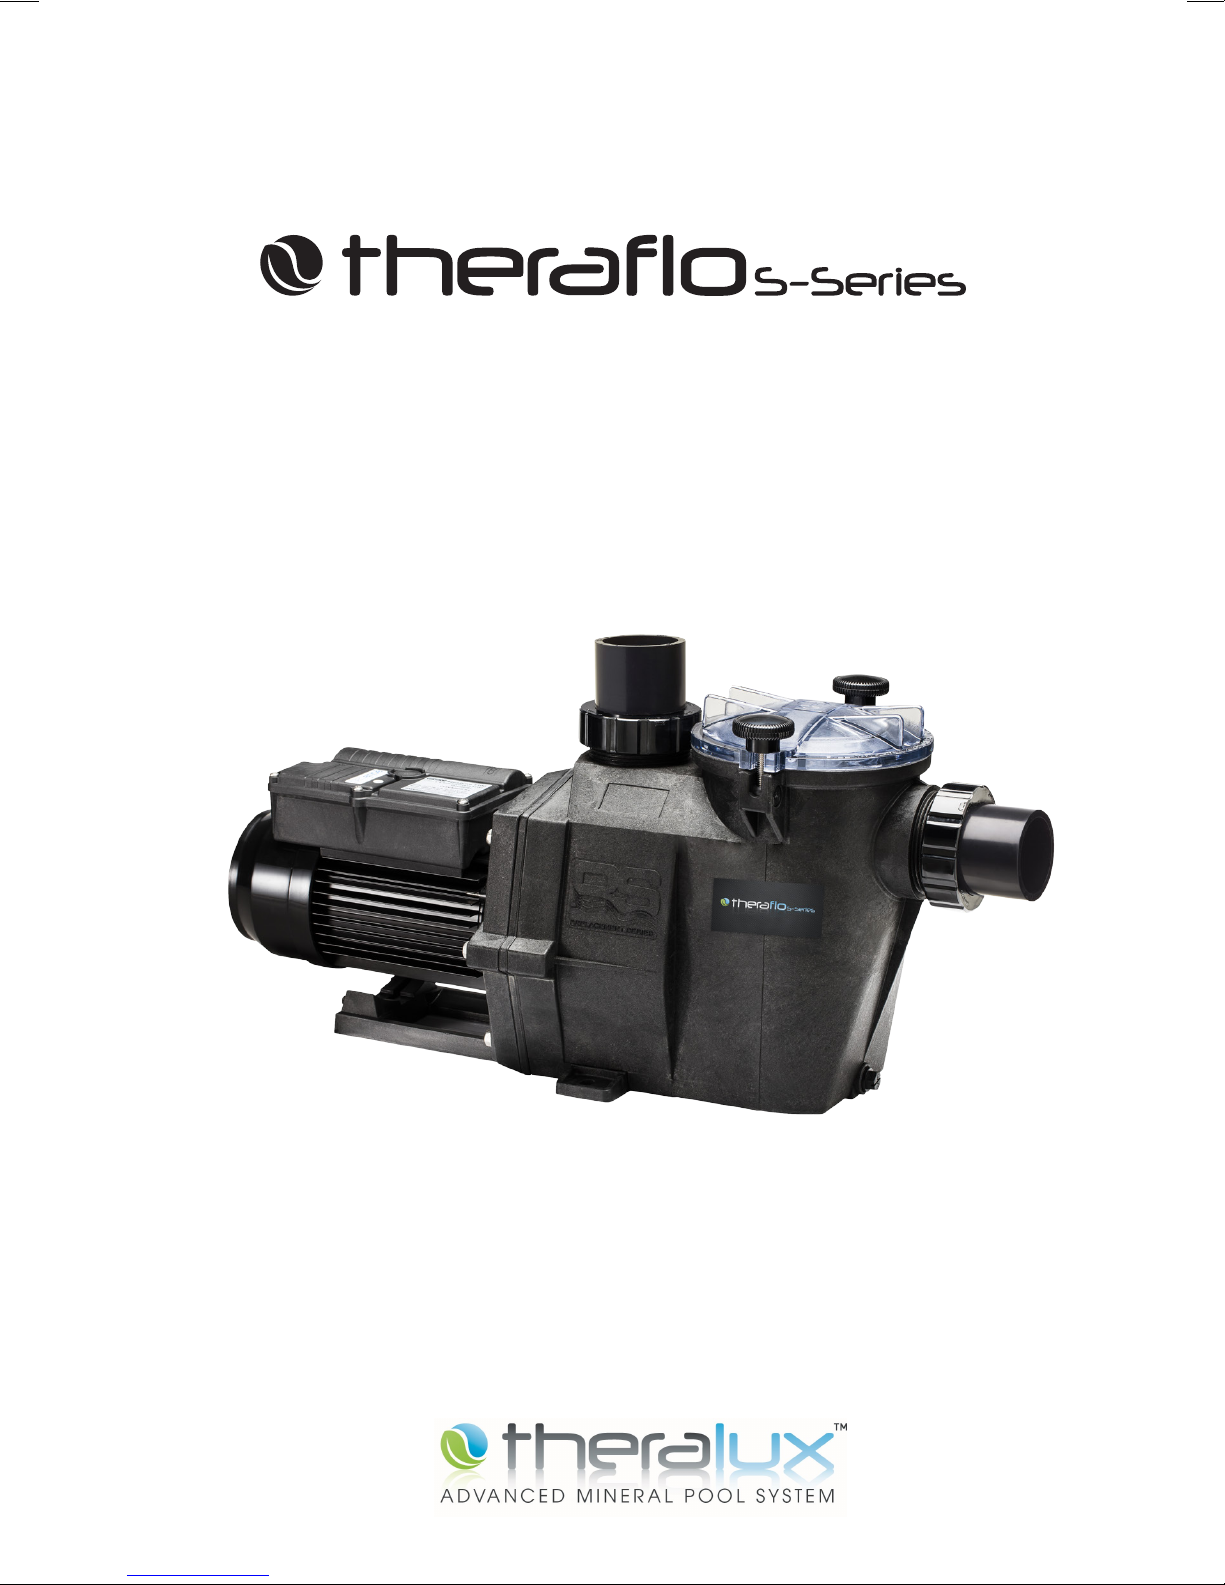
SELF-PRIMING SWIMMING POOL PUMP
INSTALLATION AND OPERATING INSTRUCTION MANUAL
Your Theralux self-priming centrifugal pump has been quality-built
and engineered to give you many years of ecient, dependable,
corrosion free service. The advanced design reduces operation and
maintenance to simple, common-sense procedures.
IMPORTANT
*This appliance is not intended for use by young children!
unless they have been adequately supervised by a responsible
person to ensure they can use the appliance. Young children should
be supervised to ensure that they do not play with the appliance*

GENERAL TIPS ON PUMP INSTALLATION
Locate the pump as close to pool as practical and run suction line as direct
as possible. Secure pump to base with screws or bolts to reduce vibration
and pipe stress. Never overtighten pipe connections – use only pipe
sealants formulated specifically for plastics, i.e., Teflon tape, Permatex No.
2, etc.
Suction line should have continuous slope from lowest point in line. Make
sure suction joints are tight. Suction pipe should be as large or larger than
discharge pipe. Damp, non-ventilated locations should be avoided. Motors
require free circulation of air to aid in cooling.
Ensure that the electrical supply available agrees with motor’s voltage and
is 50 Hz, and that wire size is adequate for the KW rating and distance from
power source. Motor must always be properly earthed. Electrical circuits
must be supplied through a Residual Current Device- RCD (safety switch),
with a rated residual operating current of 30mA. All electrical wiring must
be performed by qualified electrical contractor and must conform to
electrical regulations and AS3000 wiring rules.
STARTING AND PRIMING INSTRUCTIONS
Fill strainer/housing with water to suction pipe level. Never operate the pump
without water. Water acts as a coolant and lubricant for the mechanical shaft
seal.
Open all suction and discharge lines and valves, as well as air bleed
(if available) on filter. (The air that is to be displaced from the suction line
must have some place to go).
CAUTION: All suction and discharge valves must be open when starting the
system. Failure to do so could cause severe personal injury and/or property
damage.
STARTING AND PRIMING INSTRUCTIONS
Turn on power and allow a reasonable time for priming. Five minutes is not
unreasonable. (Priming time depends on suction lift and horizontal length
of suction piping). If the pump will not start, or will not prime, see TROUBLE
SHOOTING GUIDE on back page.
NOTICE FOR SOLAR APPLICATIONS
A check valve must be fitted to the discharge of the pump when installed
with solar system.

SHAFT SEAL CHANGE INSTRUCTIONS
IMPORTANT SAFETY INSTRUCTIONS- PLEASE READ AND FOLLOW ALL
INSTRUCTIONS
When servicing electrical equipment, basic safety precautions should always
be observed including the following. Failure to follow the instructions may
result in injury.
• Disconnect the pump motor power cord from the power outlet before
beginning the shaft seal replacement.
• Only qualified personnel should attempt to replace the shaft seal. Contact
your local Authorised Theralux Service Centre if you have any questions.
• Exercise extreme care in handling both the rotating and stationary sections
of the two-part replacement seal. Foreign matter or improper handling will
easily scratch the graphite and ceramic sealing surfaces.
• See the “Parts Diagram” on page 5 for the pump component locations.
Removing the Motor Assembly
1. Remove the six (6) 3/8” x 2” hex head bolts (item 14), which hold the motor
assembly to the pump/strainer housing (item 1), using a 1/2” AF spanner or
socket.
2. Slide the motor assembly out of the pump/strainer housing (item 1),
exposing the diffuser (item 6). Pull the diffuser off of the seal plate (item
10), exposing the impeller. (The diffuser may remain in the pump/strainer
housing. To remove, pull it straight out of the pump/strainer housing.)
Removing the Impeller
1. To prevent the motor shaft from turning, insert a flat blade screwdriver
through the centre hole in the fan cowling and into the slot on the end of the
motor shaft and hold it.
2. Remove the impeller (item 8) by rotating it counter- clockwise. The spring
portion of the seal assembly is now exposed. Note carefully the position of
the spring seal, and remove it. Also remove the impeller ring (item 7) from the
impeller and note the way it was installed.
Removing the Ceramic Seat
1. Remove the seal plate (item 10) from the motor mounting plate (item 13).
2. Press the ceramic seat with rubber cup out of the seal plate (item 10). If
tight, use a small screwdriver to tap the seal out from the back side of the
seal plate.
IMPORTANT - Clean all recesses and parts to be reassembled.
Inspect gaskets and replace if necessary.

SEAL, IMPELLER AND DIFFUSER INSTALLATION
1. Clean and lightly lubricate the motor shaft and seal recess in the seal plate
(item 10) with a dilute solution of non granulated liquid type soap. Gently wipe
the polished face of the ceramic seal with a soft, lint free cotton cloth.
Lubricate the rubber cup on the ceramic seat and press it firmly into the recess
of the seal plate (item 10), with the polished ceramic surface facing towards
you. Ensure the motor shaft slinger (item 12) is slid all the way down the shaft.
2. Place the seal plate (item 10) onto the motor mounting plate (item 13), align
the tabs on the seal plate with the grooves on the motor mounting plate. The
outside profile of the two parts should be the same.
3. Gently wipe the black, polished surface of the carbon spring seal assembly
(item 9) with a soft, lint free cotton cloth.
4. Clean and lubricate the impeller (item 8) and press the carbon spring seal
assembly (item 9) onto the impeller hub with the black, polished surface
facing away from the impeller.
5. Screw the impeller (item 8) onto the motor shaft in a clockwise direction
and tighten snugly by holding the motor shaft with the flat blade screwdriver
as explained earlier. Place the impeller ring (item 7) back onto the impeller
(item 8), with its flange facing towards the diuser (item 6)
6. Place the diuser (item 6) over the impeller (item 8) and onto the seal plate
(item 10), aligning the word “TOP” and the arrow to the top of the motor, or,
the top ridge of the seal plate. Give it a tap with the heal of your hand to make
it seat into position on the seal plate. Ensure the diuser gasket is fitted to the
diuser to the outside of the diuser inlet.
7. Replace the motor assembly into the pump/strainer housing in the reverse
order of the removal steps. Ensure the housing gasket (item 5) is lubricated
and tighten the housing bolts (item 14) in a cross pattern and evenly.
MAINTENANCE
1. Clean strainer basket regularly. Do not strike basket to clean.
2. Inspect strainer cover O-ring regularly and replace as necessary. Keep
cover O-ring lubricated.
3. This pump has self-lubricating motor bearings and shaft seals. No
lubrication is necessary.
4. Keep motor clean. Ensure air vents are free from obstruction.
NB: Do not use petroleum based lubricants on gaskets, O-rings or plastic
components. Use only silicone based lubricants.
MODEL MAX TOTAL
METRES HEAD
MAX PRES-
SURE kPA
MODEL MAX TOTAL
METRES HEAD
MAX PRES-
SURE kPA
Theraflo .75hp 16.3 159 Theraflo 1.5hp 19.7 193
Theraflo 1hp 16.5 161 Theraflo 2hp 22.1 217
Theraflo 1.25hp 18.3 179
MAXIMUM TOTAL HEAD - IMPORTANT INSTALLATION INFORMATION

THERAFLO S-SERIES REPLACEMENT PARTS
REF NO. PART NO. DESCRIPTION
1 THERAF4301 Pump Housing/Strainer - 50mm, w/Drain Plugs, threaded style
2 THERAF4302 Basket
3 THERAF4303 Strainer Cover O-Ring
4 THERAF4304 Strainer Cover, Hand- Knob Style, Clear
5 THERAF4305 Housing Gasket
6 THERAF4306A Diuser (suit Theraflo .75hp, Theraflo 1hp)
THERAF4306B Diuser (suit Theraflo 1.5hp, Theraflo 2hp)
THERAF4323 Diuser Gasket - not shown
7 THERAF4307A Impeller Ring (suit Theraflo .75hp, Theraflo 1hp)
THERAF4307B Impeller Ring (suit Theraflo 1.5hp, Theraflo 2hp)
8 THERAF4308A Impeller (suit Theraflo .75hp)
THERAF4308B Impeller (suit Theraflo 1hp)
THERAF4308D Impeller (suit Theraflo 1.5hp)
THERAF4308E Impeller (suit Theraflo 2hp)
9 THERAF4309 Seal Assembly
10 THERAF4310 Seal Plate
11 THERAF4311 Motor Cap Screw
12 THERAF4312 Slinger
13 THERAF4313 Motor Mounting Plate
14 THERAF4314 Housing Cap Screw
15 THERAF4315A Motor (suit Theraflo .75hp)
THERAF4315B Motor (suit Theraflo 1hp)
THERAF4315D Motor (suit Theraflo 1.5hp)
THERAF4315E Motor (suit Theraflo 2hp)
16 THERAF4316 Mounting Bracket with Adaptor and 2 Cap Screws
17 THERAF4317 Mounting Foot Cap Screws (set of 2)
18 THERAF4318 Drain Plug with O-Ring
THERAF4320 Hand Knob Kit for Strainer Cover (inc Hand Knob & Swivel Nut)- not shown
THERAF4321 Union Kit (2) 40mm - 50mm - not shown
THERAF4322 Union Gasket (T-Seal) - not shown

A DIVISION OF
This user manual shall not be reproduced without
the prior permission of International Quadratics.
International Quadratics
www.theralux.com.au
1300 131 788
sales@interquad.com.au
WARNING
The Pump Motor is an electrical device and as such, should not be dis-
assembled or serviced by anyone other than an Authorised Theralux
Service Technician or qualified Electrical Service
Company. An experienced Pool Service Technician should attend to all
problems that routine maintenance cannot correct.
hand nuts.
2. Make sure all suction and discharge
valves are open and unobstructed,
and that pool water level is above all
suction openings.
E. LOW FLOW-
Generally, check for:
1. Clogged or restricted strainer or
suction line;
2. Plugged or restricted discharge
line of filter (high discharge gauge
reading).
3. Air leak in suction (bubbles issuing
from return fittings).
F. NOISY PUMP
Check for:
1. Air leak in suction causing rumbling
in pump.
2. Cavitation due to restricted or
undersized suction line and restricted
discharge lines.
3. Vibration due to improper
mounting, etc.
4. Foreign matter in pump housing.
5. Motor bearings made
unserviceable by wear, rust, or
continual overheating. Refer to
Authorised Theralux Service Agent.
G. If SUPPLY CORD IS DAMAGED, it
must be replaced by the
manufacture, its service agent or
similarly qualified persons in order
to avoid a hazard.
TROUBLESHOOTING
A. MOTOR WON’T START
1. Check open switches, relays,
blown circuit breakers or fuses.
2. Ensure power cord is plugged in
and power is switched on
(240v Models only).
3. Refer to Theralux Authorised
Service Agent or qualified technician.
B. MOTOR CUTS OUT
NOTE: Your Theraflo pump
motor is equipped with
Automatic Thermal Overload
Protection. Motor automatic
shut-o, under normal conditions,
before heat damage buildup, due
to an improper operating condition.
The motor will auto-restart when
safe heat level is reached. If motor
fails to restart switch power o and
contact an Authorised Theralux
Service Technician or service com-
pany.
C. MOTOR HUMS, BUT DOES NOT
STAR T
If motor fails to start, switch
power o and contact an
Authorised Theralux Service
Technician or other qualified
service company.
D. PUMP WON’T PRIME
1. Make sure pump/strainer is filled
with water, and that cover gasket is
clean and properly seated. Tighten
Table of contents
Other Theralux Swimming Pool Pump manuals


