2
GENERAL SAFETY INFORMATION
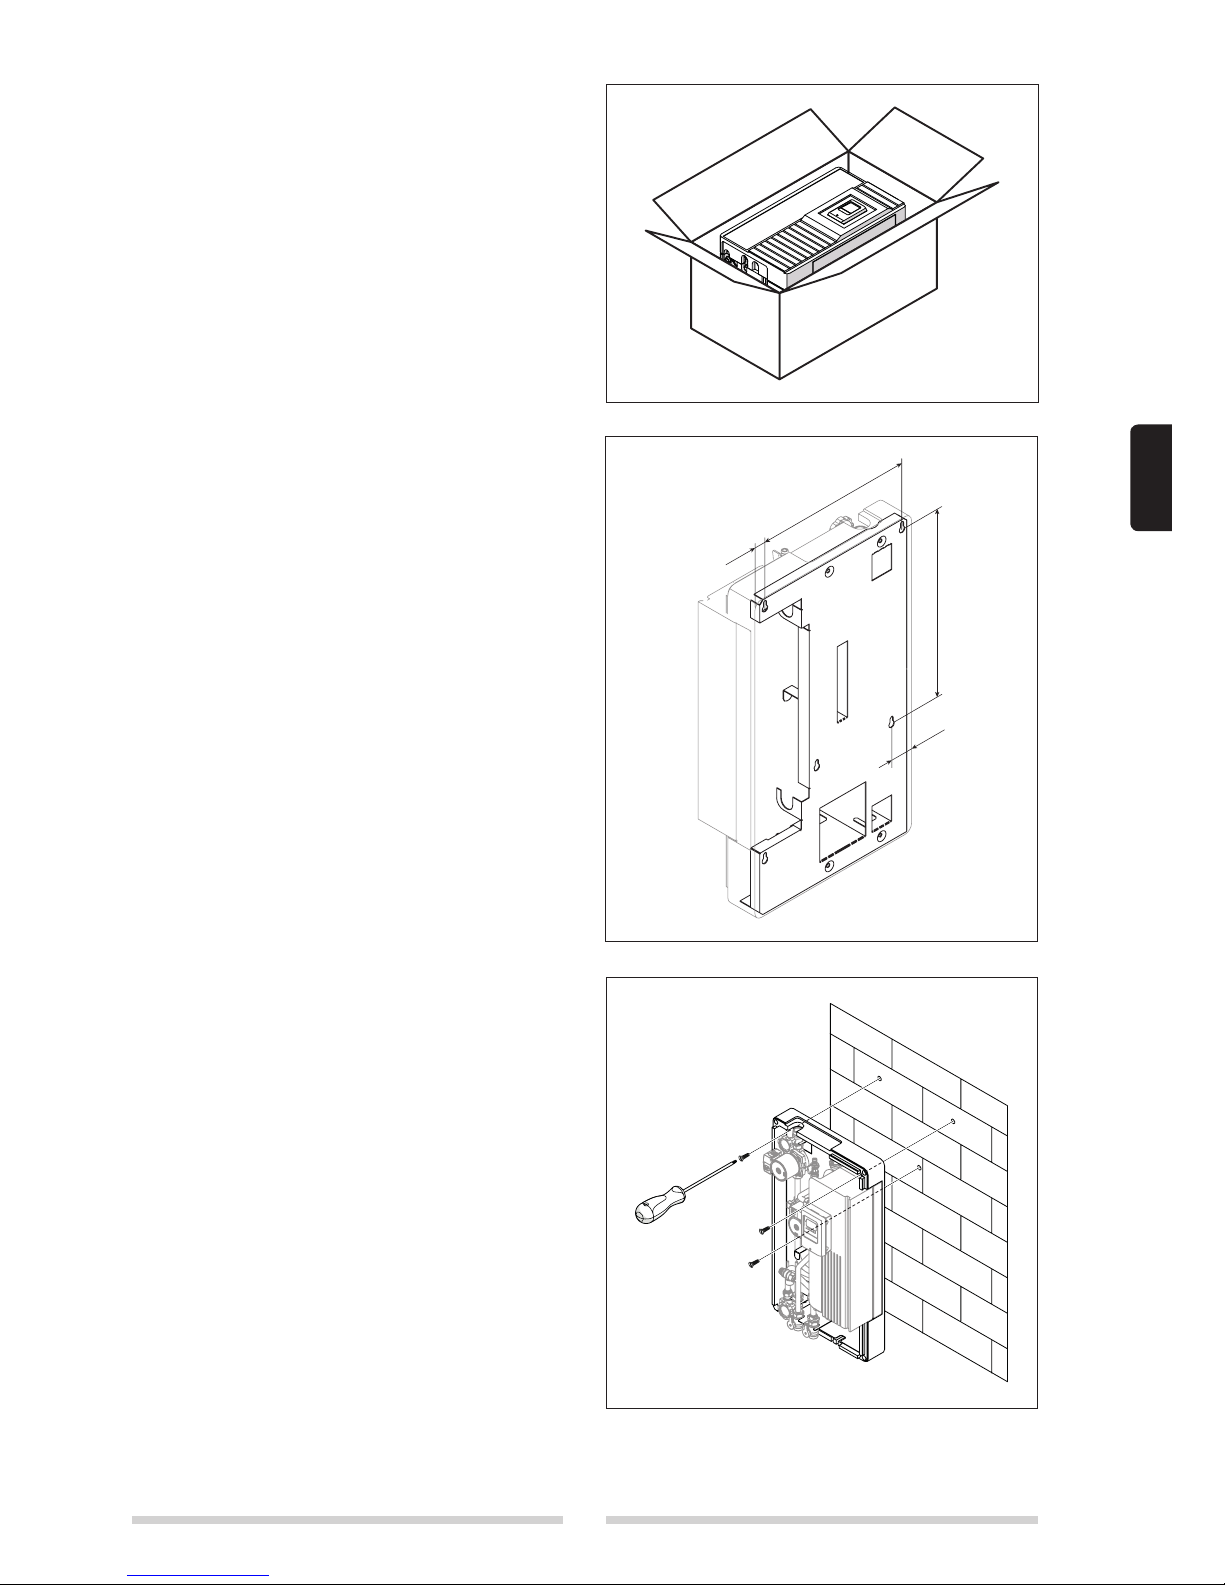
INSTALLATION
Disconnect the product from the mains power supply before commencing any work on it.
The product must be installed in conformity to the laws and standards applicable in the country of installation.
The manufacturer’s responsibility ends with the supply of the product. The product must be installed using best professio-
nal practices, in conformity to applicable standards, by suitably qualified persons employed by a company that assumes
full responsibility for the completed installation.
The manufacturer cannot be held responsible for consequences deriving from the unauthorised modification of the pro-
duct or from the use of non-original spare parts.
b Do not expose the product to the elements. It is not designed for use outdoors
ELECTRICAL CONNECTIONS
The product must be installed and all electrical connections made by suitably qualified personnel in conformity to appli-
cable standards.
The product’s mains power cable must be connected to a fused, two-pole switch (power supply 230 VAC, 50 Hz). The
product must be correctly connected to ground.
b The product must be connected to the mains power supply via an earth leakage breaker in accordance with appli-
cable standards. Correct functioning is only guaranteed provided the product is used with the pump for which it is
designed. The manufacturer cannot be held responsible for the consequences of improper uses.
WATER CONNECTIONS
On completion of all transport or handling operations, always check the tightness of the water fitting ring nuts.
Take particular care when connecting the product to the water supply. When tightening a fitting, always hold the opposite
fitting steady with a second tool to avoid twisting the copper pipes.
b The product must be installed, connected and tested by suitably qualified persons, in conformity to applicable
standards and in accordance with the instructions provided in the documentation supplied with it. N.B. All pipes
must be insulated in conformity to applicable standards.
It is essential to respect the following precautions when using the product:
- Do not touch hot parts of the product such as the water inlet and outlet pipes. Contact with hot parts can cause painful
burns.
- Do not splash water or any other liquid over the product.
- Do not rest any objects on top of the product.
- Do not expose the product to steam from a cooking hob.
- Do not allow children or inexperienced persons to operate the product.
- Do not touch the product when barefoot or wet.
- Do not pull on the electrical cables.