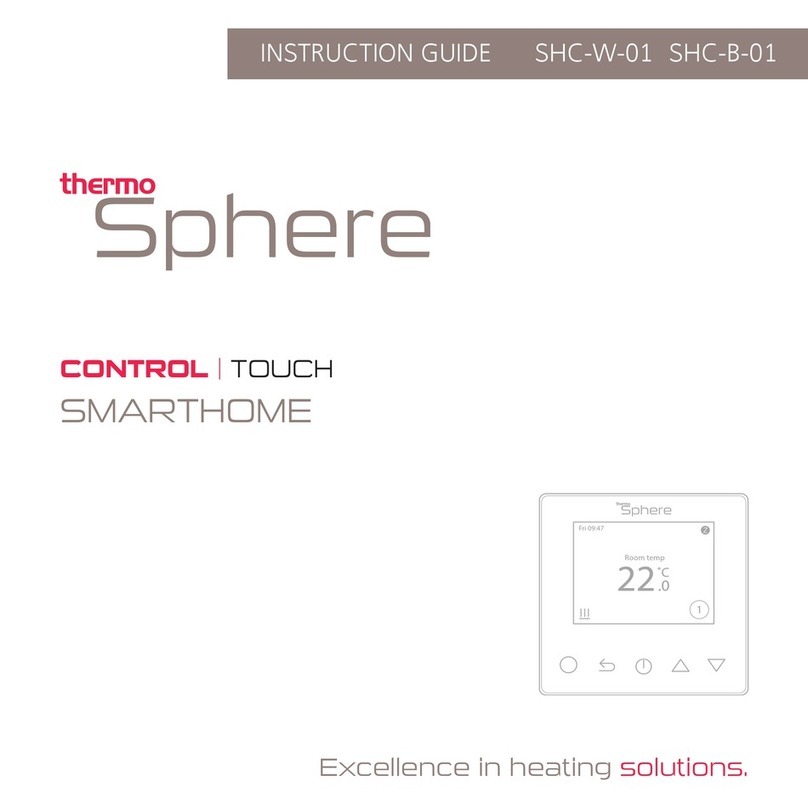
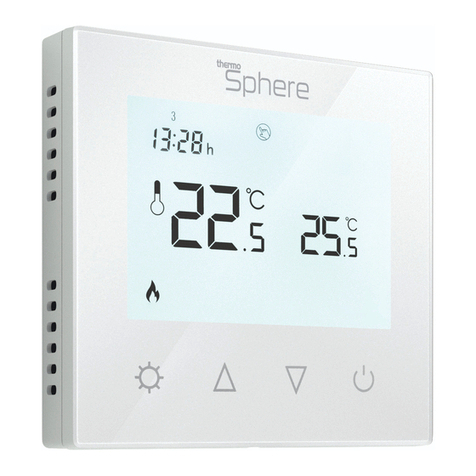
Thermo Sphere BT21 User manual

BT21INSTRUCTION GUIDE
Live well...
BT21 Bluetooth Programmable Thermostat
Installation and User Guide
Scan to watch the
quick setup guide

2
Contents
Sensor compatibility ..................................................... 3
What's in the box? ....................................................... 4
Before you start ........................................................... 5
Installing your thermostat .............................................. 6
Wiring diagram .............................................................. 9
What‘s on the thermostat? ......................................... 13
User interface .............................................................. 14
Setting up your thermostat ........................................ 15
Manual mode .............................................................. 18
How to set up a heating schedule with the app ........... 19
Change your settings on the app ................................ 22
Error codes .................................................................. 30
Technical data .............................................................. 31

3
Sensor compatibility
This thermostat is compatible with the most popular oor sensor probes.
There is an NTC10k sensor included in the box. You can change the oor
sensor type in the BT21 app.
• 2k
• 10k (Default)
• 12.5k
• 15k
• 33k
If you have an existing oor probe from another thermostat that is not
compatible, set your thermostat to ambient temperature sensing mode.
(Not advisable for timber or other temperature sensitive oors).

4
What’s in the box?
Check you've got everything:
• BT21 Bluetooth Programmable Thermostat
• Floor sensor probe (3m)
• Fixing screws
You will also need:
• Floor sensor conduit (2m)
• Electrical screwdriver
• Electrical back box

5
Before you start
Your thermostat should be:
• Installed 1.2 - 1.5m from the oor
• On an internal wall
• Outside any wet zones (IP21)
• Installed on an RCD protected circuit
• Away from drafts or other heat inuences
• Installed so that the oor sensor probe can be laid in a heated
area of the oor

6
Installing your thermostat
Switch off mains power
You will be installing your thermostat as part of a
mains electrical circuit. To ensure your safety and
to protect the thermostat, isolate the circuit from
mains power.
Fuse Box Fused Switch
CAUTION
Mains Voltage
Cables
!
OFF
ON ON ON ON ON
OFF

7
Installing your thermostat
Maximum distances
Your thermostat can be installed up to 50m away from the underoor
heating system it is controlling, provided that the oor sensor is used
to control the temperature.
Underoor heating cold tails and oor sensor probes can be extended
up to 50m.
Connect multiple heaters in parallel.
50m max.

8
Installing your thermostat
Unlock the fascia plate
NO TOOLS NEEDED!
Push the dial in and twist anti-clockwise to unlock the fascia plates.
Remove the inner fascia rst and then the outer plate.
Scan to see
how its done

9
Installing your thermostat
Wiring diagram
Connect the underoor heating cold tail, power supply and oor
temperature sensor. Don‘t leave any copper exposed.
The oor temperature sensor is not polarity sensitive.
Scan to watch
the wiring video

10
Installing your thermostat
Fix mounting plate in position
Push the power block into the back box and use a screwdriver to securely
x the mounting plate in position.

11
Installing your thermostat
Replace and lock the fascia plate
NO TOOLS NEEDED!
Grip the dial, push in and turn it clockwise into the LOCK position.
Locate the outer fascia rst and then “click” the inner fascia into position.

12
Installing your thermostat
Switching on your system
It is important that all adhesives and grouting is dry
and fully cured before you switch on your underoor
heating.
Most adhesives take between 7 to 10 days to cure.
Follow manufacturer guidelines.
The temperature of your underoor heating should
be increased gradually to avoid thermal shock in
the oor. Start at 15°C and work up to your desired
temperature by 2-3°C per day.
Observe any maximum temperature guidelines from
your oor manufacturer.
Wait for
7 - 10 Days
before you
switch on
!

13
What‘s on the thermostat?
22
5
COM
E
CO
Set button
• Enter the menu
• Select a setting
Mode indicator Heating indicator
Dial
• Activate display
• Adjust temperature
• Cycle through menu
• Conrm app settings
The BT21 is a bit different to other thermostats. It‘s the fastest and easiest
thermostat to program and once you‘ve set it up you shouldn‘t need to
ddle with it too much!

14
User interface
22
0
COM ECO
1
6
0
E
COCOM
COM
Comfort mode
set point
Eco mode
set point

15
What can you do on the thermostat dial and screen?
• View the measured temperature
• Adjust the Comfort set point temperature
• Adjust the Eco set point temperature
• Turn the thermostat off
• View the active sensor mode
• Access support documents via a QR code
The unique thing about the BT21 is that, apart from adjusting the
temperature, you do everything else on the app.
The thermostat dial

16
The thermostat dial menu
To access the menu, turn the dial to activate the display and then press the
“SET” button at the top of the screen. You can then use the dial to cycle
through the menu. Press “SET” to select one of the modes, power off or to
exit.
eco
B
OOS
T
1 hour
Comfort mode
Set to a comfortable warm temperature. 22°C to
25°C is a good comfort temperature.
Eco mode
Set to a lower temperature to use less energy or set
to around 10°C if you would like your heating off.
Boost mode
You can boost your heating to a higher temperature
for 1 hour without editing your heating schedule.
After the hour has elapsed, the thermostat will return
to your heating schedule.

17
floor
room
du
a
l
p
w
m
melt
EXIT
Power off
This is how you turn the thermostat off. Turn the
dial to switch it back on again.
Sensor mode
This screen shows you which sensor mode is active.
You can change sensor modes in the BT21 app.
Floor - Floor temperature, Room - Air temperature,
Dual - Air temperature with oor limit, PWM - Sensor is disabled,
Melt - Snow melting mode (requires external wireless sensor)
QR code
Scan this code with your phone to access our
support documentation and tutorial videos.
Exit
Takes you back to the main screen..

18
Using the BT21 as a manual thermostat
If you want a simple manual dial thermostat then you can use the BT21 in
this way.
Simply use the dial to set the temperature that you want your heating to
get to and the thermostat will maintain that temperature until you change
it. It is best to use Comfort mode for this application.
We recommend using the BT21 app to set up a simple heating schedule
that will save you money on your heating bills and help the environment by
using less energy.
The BT21 is the fastest and easiest thermostat to set up. So give it a go!

19
Setting up a heating schedule
This is going to be so much easier than you‘re expecting!
First you need to use the dial on the thermostat to set your Comfort and Eco
temperatures. With the BT21 you only have to set the temperatures once.
1. Turn the dial to activate the display.
3. Tap the SET button to enter the
thermostat menu.
2. Turn the dial to set the Comfort
temperature. This is the temperature
you‘d like your heating to reach.
22
0
COM ECO
Scan here to watch the schedule set up and
app settings guide video

20
4. Turn the dial clockwise to select
Eco mode.
5. Tap to conrm.
7. Tap to conrm.
6. Turn the dial to set the Eco
temperature. Set this to 10°C if
you‘d like your heating to be off.
eco
1
6
0
E
COCOM
COM
Table of contents
Other Thermo Sphere Thermostat manuals
Popular Thermostat manuals by other brands
Honeywell
Honeywell YRTH7500D1009 - 5 Day Program Thermostat quick start guide
Robertshaw
Robertshaw 9600 user manual
ICM Controls
ICM Controls SC3000L Installation, operation & application guide
Julabo
Julabo MV-4 manual
Lauda
Lauda RP 3050 C operating instructions
Saunier Duval
Saunier Duval Exabox 7D manual
Crestron
Crestron CHV-THSTAT Operation and installation guide
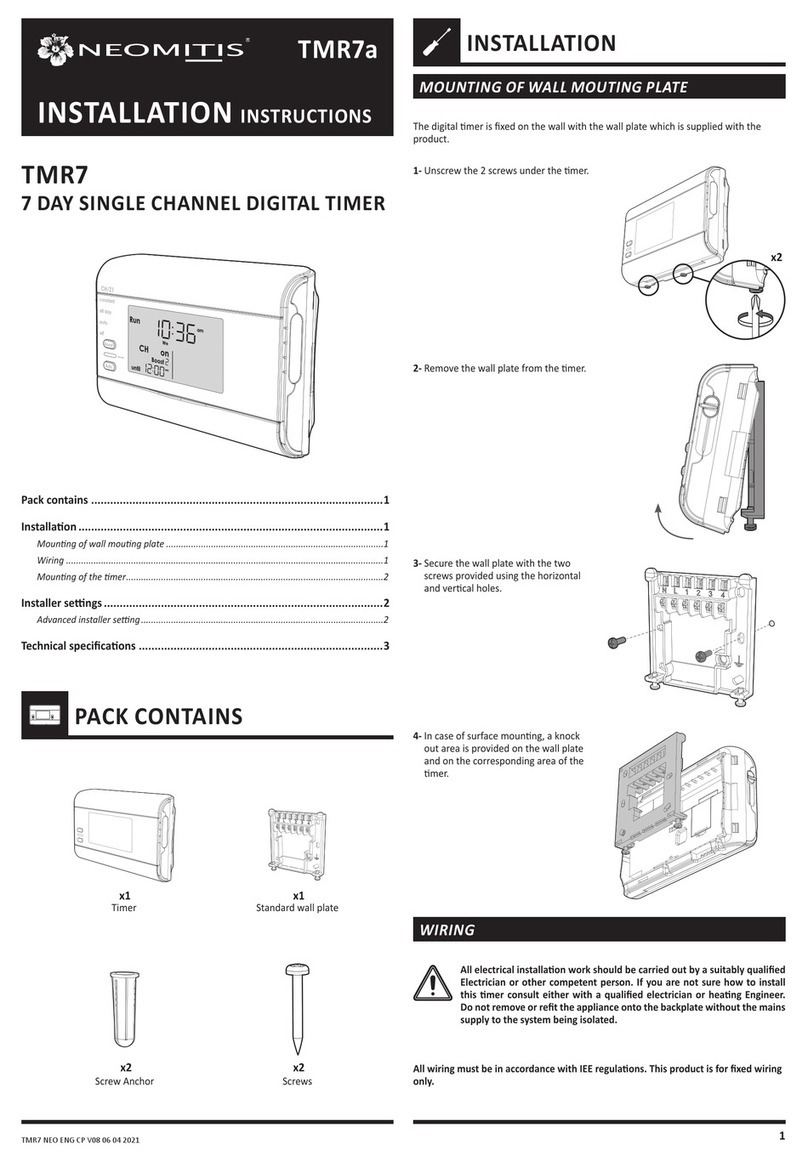
Neomitis
Neomitis TMR7 installation instructions

White Rodgers
White Rodgers 1F97-0671 Installation and operating instructions

Hitachi
Hitachi ATW-RTU-01 Installation and operation manual

Honeywell
Honeywell FocusPRO TH6320WF1005 user guide
MrPEX
MrPEX 5115024 Installer manual
