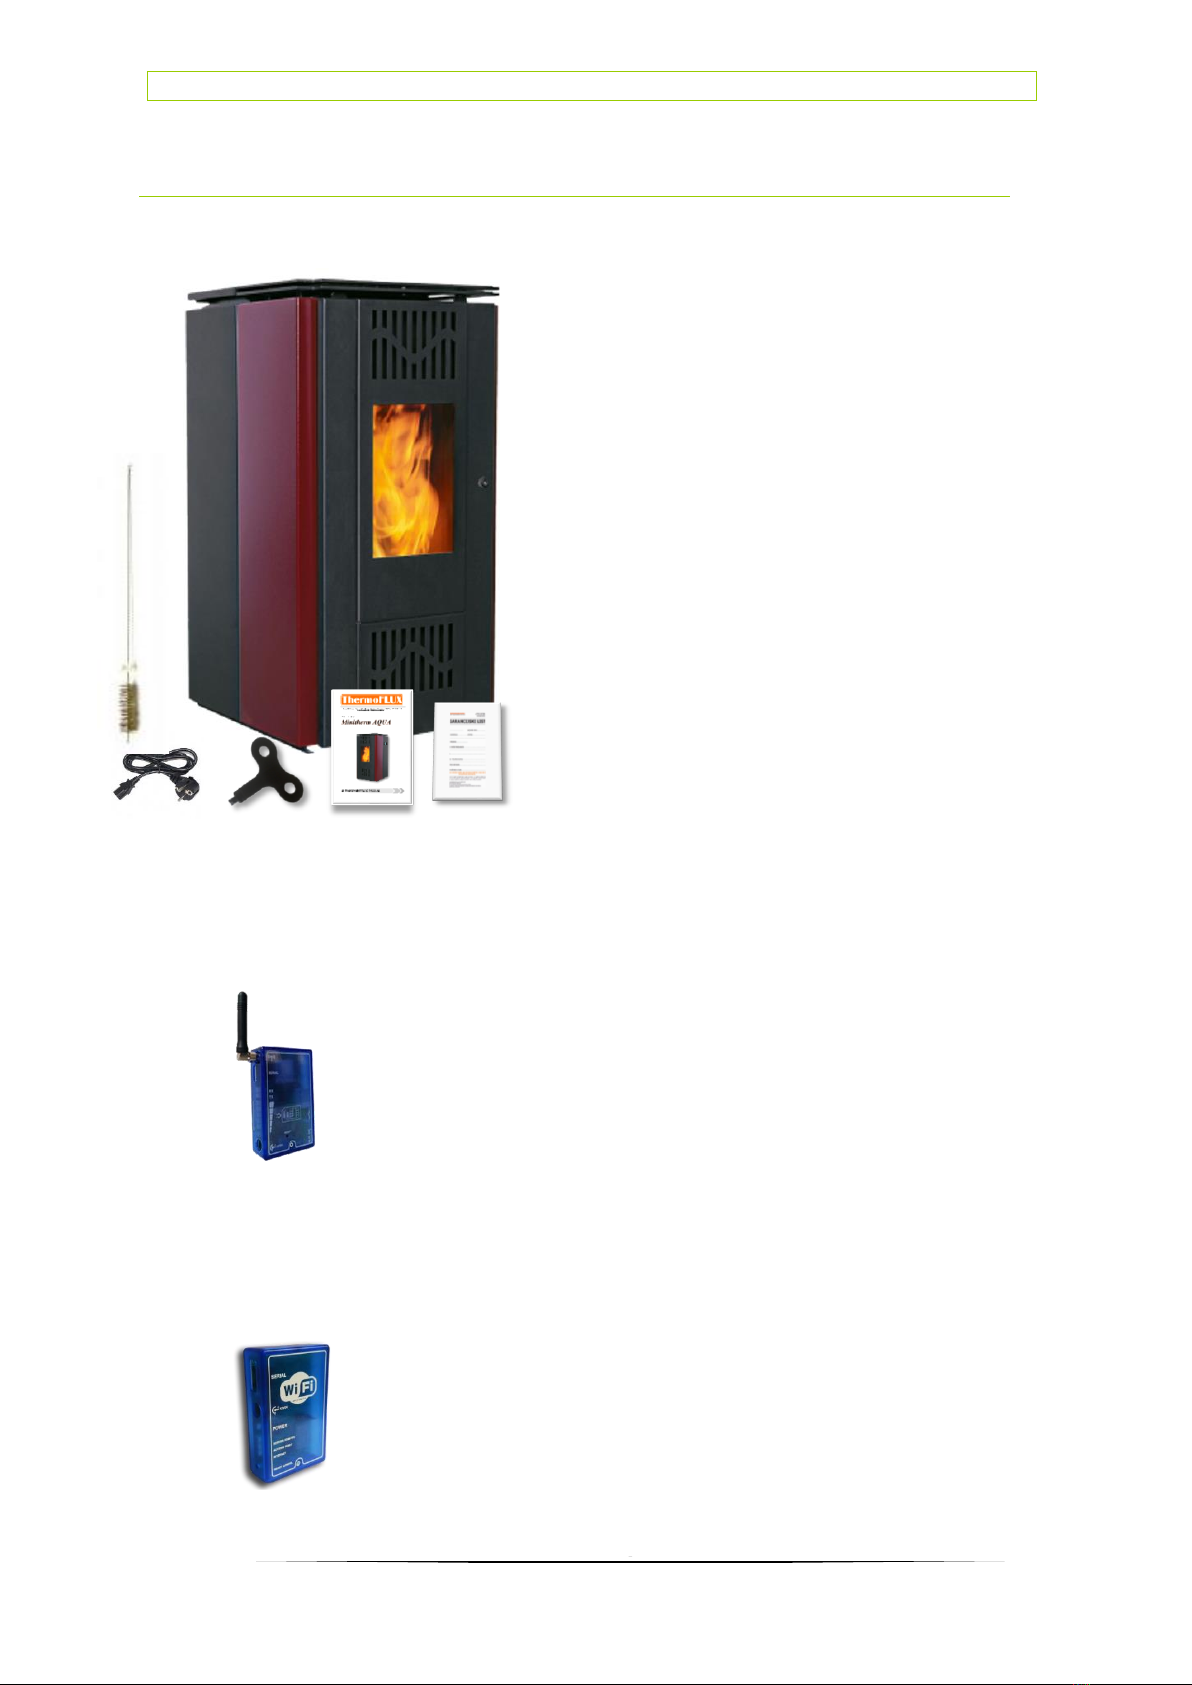
ThermoFLUX Minitherm AQUA Operating instructions

2

3

2
Content:
1Notes on the manual .................................................................... 6
1.1 Easy and safe operation .......................................................................................6
1.2 Reading the manual ............................................................................................6
1.3 Technical changes...............................................................................................6
1.4 Copyright ..........................................................................................................6
2Safety instructions ....................................................................... 7
2.1 Proper use .........................................................................................................7
2.2 Basic principles and operation ...............................................................................7
2.3 Using the stove ..................................................................................................8
2.4 Recommended wood pellets and standards..............................................................8
2.5 Unallowed fuels ..................................................................................................8
2.6 Warnings and safety symbols used.........................................................................9
2.7 Other risks of the side effects................................................................................9
2.8 Obligatory informing.......................................................................................... 10
2.9 Local standards ................................................................................................ 10
2.10 Safety instructions for the heating room ............................................................... 10
2.11 Fresh air supply................................................................................................ 10
2.12 Safety devices.................................................................................................. 10
3General overview ....................................................................... 12
3.1 GSM modem .................................................................................................... 12
3.2 WI-Fi module ................................................................................................... 12
3.3 Technical data .................................................................................................. 13
4Installation and commissioning of the stove .................................. 14
4.1 Installation conditions........................................................................................ 14
4.2 Chimney and flue gas pipes ................................................................................ 15
4.3 Hydraulic schemes for connection ........................................................................ 18
4.4 Electrical wiring diagram .................................................................................... 19
4.4.1 Power supply ................................................................................................ 19
4.4.2 Room thermostat........................................................................................... 19
5Function of stove ....................................................................... 20
5.1 Overview of the controls and display and their basic functions .................................. 20
5.2 Principle of stove operation................................................................................. 21
5.3 Schematic representation of the menu control ....................................................... 22
5.3.1 Clock adjustments ......................................................................................... 24
5.3.2 Adjustments of the programmed on and off mode ............................................... 25
5.3.3 LANGUAGE OPTIONS...................................................................................... 27

Minitherm AQUA
5
5.3.4 STAND BY mode ........................................................................................... 27
5.3.4.1 STAND BY mode with installed sensor for air temperature ................................. 27
5.3.4.2 STAND BY mode with room thermostat connected............................................ 28
5.3.5 Option Buzzer ............................................................................................... 28
5.3.6 Filling of spiral dispenser................................................................................. 28
5.3.7 STATE OF THE STOVE..................................................................................... 29
5.3.8 Technical settings .......................................................................................... 29
5.3.9 FUEL TYPE.................................................................................................... 29
6Ignition and shutting down of stove.............................................. 30
6.1 Ignition ........................................................................................................... 30
6.2 Shutting down of stove ...................................................................................... 31
6.3Stove power adjustments................................................................................... 31
6.4 Adjustment of water temperature ........................................................................ 32
6.5 Modulation....................................................................................................... 32
6.6 Cleaning of FIRE-POT......................................................................................... 33
7Cleaning and maintenance .......................................................... 34
7.1 Daily cleaning................................................................................................... 34
7.2 Weekly cleaning................................................................................................ 34
7.3 Cleaning the tube heat exchanger........................................................................ 35
7.4 Cleaning the flue gas chamber ............................................................................ 35
8Alarms...................................................................................... 37
9Instruction about safety removal and proper disposal of stove ......... 39
9.1 Disposal .......................................................................................................... 39
10 Guarantee.............................................................................. 40
10.1 Guarantee period .............................................................................................. 40
10.2 Guarantee terms............................................................................................... 40
10.3 Exemption from the guarantee ............................................................................ 40
11 EU Label ................................................................................ 41

Minitherm AQUA
6
1Notes on the manual
1.1 Easy and safe operation
This manual contains important information for proper and safe operation of the
Minitherm Aqua stove. Following the instructions in this manual, the stove will work
properly and you will avoid the danger, the costs of repairing failures, and at the same
time the lifetime of the stove continues.
1.2 Reading the manual
This manual must be read and applied by everyone who operates or works on the
Minitherm AQUA stove.
1.3 Technical changes
ThermoFLUX continuously develops and improves its stoves. The information in this
version is correct at the time of going to press.
All details in this manual on standards and regulations should be checked before use
and should be compared with the installed stove.
We reserve the right to make changes which may then deviate from the technical
details and illustrations in this manual.
1.4 Copyright
Written agreement is required from Thermo FLUX d.o.o. for any reprints, storage in a
data–processing system or transmission by electronic, mechanical or any other means,
for copies and publications, in whole or in part.

Minitherm AQUA
7
2 Safety instructions
2.1 Proper use
Minitherm AQUA stove was built in accordance with safety regulations.
EMC (2004/108/EC)
LVD (2006/95/EC)
RoHS 2 (2011/65/EU)
The stoves fulfill other specified standards and specifications: EN 55014; EN 60335-1;
EN 55014-2; EN 60335-2-102; EN 61000-3-2; EN 50366; EN 61000-3-3.
Improper use of the stove can result in bodily injury, leading ultimately to the death
of users and/or others as well as damage to the stove itself or other property.
2.2 Basic principles and operation
The Minitherm pellet stove is a special space heater intended exclusively for domestic
use and intended only for burning wood pellets of 6mm diameter and 300mm length.
During operation, the integrated heat exchanger produces hot water which is delivered
to a central heating system. The integrated pump only switches ON when the preset
water temperature in the system (50°C) is reached. For normal operation, it is only
necessary to start the stove and select the desired power value or temperature. By
installing the room thermostat, I t is possible to automatically ignite and control the
stove. The pellets automatically fall into the burn pot and then are ignited with an
electric heating cartridge. Depending on the set value of the power, the pellet conveyor
automatically adds the required amount of pellets. The required air supply for
combustion into the combustion chamber is controlled. The resulting heat energy in
the combustion chamber is supplied to the central heating. At the end of the
combustion chamber there is an exhaust fan, which releases the flue gases created in
the chimney. Every day it is recommended to clean the ashes.
Every 1-2 months or after consumption of approx. 500kg Enplus (A1) pellets a cleaning
of the flue gas chamber and the pipe heat exchanger is required. The devices are
designed and tested so that they can be installed in homes and have the necessary
approvals. For the combustion air is needed. For this reason, the combined use of
kitchen exhaust systems, and the ventilation in the same room with a stove is not
allowed.
The stove was designed to burn wood pellets. The manufacturer will accept no
responsibility for any damage resulting from improper use. Proper use includes
maintaining the installation, operation and maintenance specified by the manufacturer.
Minitherm stove was built in accordance with safety regulations. However, its
use can result in the injury or death of the user and/or third part and in
impairments to the stove itself or to other material goods.

Minitherm AQUA
8
2.3 Using the stove
Use the stove only when it is in perfect condition. Use it properly, as described in this
manual. Use the stove as described in this manual. Get to know security measures and
possible hazards. Remove any faults that could affects the safety. The operation of a
faulty stove can cause fire or explosion. The stove is intended for comustion of wood
pellets. Any other use is incorrect. It is forbidden to burn any other fuel other than
pellets. The manufacturer will not assume responsibility for any damage caused by
improper handling. Proper use impies maintenance of the installed stove, operation
and maintenance conditions prescribed by the manufacturer.
The user can enter or change only the values specified in this manual. Any
other value of the parameters will affect the control program, and the
operation of the stove, which can ultimately lead to the termination of the
correct operation. In that case, the stove is not subject to warranty anymore.
2.4 Recommended wood pellets and standards
Thermo FLUX d.o.o. recommends wood pellets with a diameter of 6mm and a length
of 10-30mm. Other requirements on the fuel result from either standard
O-Norm M 7135
DIN plus 51731
UNI CEN/TS 14961.
Pellets quality arises from Standard pellets C1 to EN 303-5: 2012 Table 7; Water
content less than 12% according to DIN 51731 - HP 5, DINplus certification program
and ÖNORM M 7135 - HP 1 or EN PLUS - UNI EN 14961 - 2 (UNI EN ISO 17225-2)
class A1 or A2, 6 mm diameter, length 10-30 mm.
Pay particular attention to the wood pellet quality of wood pellets. Low-grade
pellts can cause malfunction of the stove.
The pellets not consisting the standards mentioned in this manual is not allowed to
burn in a stove. Using a bad quality pellet or any other material can lead to damaging
your stoves's important functions and may result in the termination of the warranty
and associated liability.
2.5 Unallowed fuels
The pellets not consisting the standards mentioned in this manual is not allowed to
burn in a stove. Using a bad quality pellet or any other material can lead to damaging
your stoves's important functions and may result in the termination of the warranty
and associated liability.

Minitherm AQUA
9
2.6 Warnings and safety symbols used
2.7 Other risks of the side effects
Despite the precautions taken there are also certain risks of side effects:
DANGER OF CARBON MONOXIDE.
If the stove is running during cleaning time may occur
transmission of CO through the open door. Do not open
the door longer than necessary.
DANGER OF ELECTRIC SHOCK.
Work on areas marked with this symbol may only be done by
a qualified electrician.
WARNING!
Warning about a dangerous location. Work on areas marked
with this symbol can lead to serious injuries or to extensive
material damage.
CAUTION!
Hand injuries. Work on locations marked with this symbol can
lead to hand injuries.
CAUTION!
Hot surface. Work on locations marked with this symbol can lead
to burns.
CAUTION!
Danger of fire. Work on locations marked with this symbol can
lead to a fire.
CAUTION!
Frost danger. Work on locations marked with this symbol can
lead to frost damage.
Notes on disposal.

Minitherm AQUA
10
2.8 Obligatory informing
Everyone who operates with the stove must read the instructions before using it, in
particular, the chapter ‘’Safety Instructions’’. This applies especially to persons who
occasionally work on a stove, for example, cleaning and maintaining stoves. This
manual should always be kept near the installed stove.
Pay particular attention to the applicable local standards and guidelines.
2.9 Local standards
All local laws must be respected during installation, as well as standards and
norms that are in force in the country where the stove is installed even though
it is not listed in this manual.
During the first installation of the stove or in the event of changes on central heating
system, it is necessary to inform the competent authority in charge for control, and
provide all the necessary permits.
2.10 Safety instructions for the heating room
The heating room must be made according to current regulations, especially regarding
fire protection. Storage of flammable materials, cleaning agents and similar materials
must not be stored in the boiler room. The stove should not be exposed to colds or
freezing temperatures. Extreme low temperatures can cause malfunction and
unexpected behavior of electronic components.
The room where the stove is installed must be frost-resistant.
2.11 Fresh air supply
For combustion of pellets and normal work the stove needs fresh air. The room in
which the stove is installed must have an opening for fresh air supply. The
recommended minimum dimension is 30x15 cm.
2.12 Safety devices
The stove is equiped with safety devices that in case of unexpected
situations stop the power supply and therby stop the operation stove.
Microprocessor control on the stove: Intervenes directly and turns off the stove
until it cools down. In case of failure of exhaust fan, malfunction of the dispenser
engine, or failure of the ignition.
Fuse F4A 250V: Fast fuse, protects the stove from large voltage changes of electricity
and short circuits inside the stove.

Minitherm AQUA
11
Safety limit Thermostat (STB): intervenes by breaking the circuit in the stove
(automatically stops motor of the auger and exhaust gasses fan) if the stove
temperature reaches the limit of 95°C.

Minitherm AQUA
12
• Set default phone numbers
• Set up the communication languages between
the modem and the phone
• Tun on the boiler / stove
• Switch off the boiler /stove
• Change the default temperature
• Change work power
• Reading the status of the boiler / fireplace
3General overview
3.1 GSM modem
By using the cell phone and by sending an appropriate SMS message, you can perform
the following functions:
3.2 WI-Fi module
Designed for communication and control of boiler operation via the Internet.
Compatible with Android, IOS and Windows devices. The user can have full control
over boiler via the application:
The Minitherm Aqua stove is compact and
requires less than 1m2for installation, so it
can be installed in smallest space. The 18kg
capacity pellet store, a weekday digital
controler, a cast iron pot, pump, an
expansion vessel and safety valve make it
easy to use the stove for cetral heating use.
The stove is delivered with the
accompanying material:
Tools for the pipeline and firebox
cleaning
Door key
Power supply cable
Instruction (manual)
Guarantee
Enable/disable
Change the power of work
Change the temperature and
To program delayed ignition and shutdown times

Minitherm AQUA
13
3.3 Technical data
Minitherm - AQUA
1.
Power range
kW
3-8,5
2.
Heat transfer to the water
kW
6,5
3.
Heat in room
kW
2
4.
Water content
L
23
5.
Recomended draught ratio
Pa
5-12
6.
Inlet/outlet pipe
''
3/4''
7.
Flue gas max.temperature
oC
129,5
8.
Max working temperature
oC
80
9.
Max working pressure
bar
2,5
10.
Height to center of flue pipe
mm
198,5
11.
Depth
mm
575
12.
Width
mm
480
13.
Height
mm
945
14.
Color
-
red/black
15.
Flue pipe diameter
mm
80
16.
Inlet/outlet height
mm
321/321
17.
Pellet storage cappacity
kg
18
18.
Electrical consumption nominal/max
W
80/330
19.
Min/max water temperature
oC
55/80
20.
Glass dimensions
mm
330x220x4
21.
Min/max pellet consumption
kg/h
0,6–1,7
22.
Fuel
-
Pellet
23.
Flue pipe direction
-
back

Minitherm AQUA
14
4Installation and commissioning of the
stove
Commissioning system in the operation is performed by personnel authorized
by ThermoFLUX Ltd or autorized seller (importer).
The Warranty will not be valid if the stove has not been commissioned by an
authorized repairer.
Commissioning includes referral to operation with the basic operations and
maintenance of the stove. Authorized service for the first start, must control the
functioning of the stove at least during one full operating cycle. In some countries, it is
obligatoy for first commissioning to be controled and autorizied by chimney sweep or a
person authorized to control.
Danger from material and body due to improper
commissioning. If the commisioning is performed by
unautorished personel, it may cause damage to the stove
and heating system.
4.1 Installation conditions
A–minimum distance front - 100 cm
B–minimum distance from side - 20 cm
C–minimum distance back side- 20 cm
D–minimum distance from side - 20 cm

Minitherm AQUA
15
The following conditions must be fulfilled before the system is put into operation. Turn
OFF power supply.
Check mechanical connections
Check that all components are properly connected
Check that all mechanical components are securely attached
Check whether combustion chamber (pot) is properly seated.
Check hidraulical connections
Check whether the circulation pump and the mixing valve is properly connected.
Check whether the safety equipment properly connected.
4.2 Chimney and flue gas pipes
The chimney should be calculated and constructed in accordance with the EN
13384-1 standard.
The venting of flue gas must be done in accordance with all applicable laws including
those related to dimensions of the chimney and materials used for its production. Flue
gas channel should be made of adequate materials, such as steel tubes, with various
sealing. In any case, materials that could potentially catch fire, e.g. wooden planks,
beams, cloth, should be adequately protected with non-combustible material. For the
sake of parity of dimensions, chimneys that are round in shape of the inner part should
have an advantage over the rectangular-shaped chimneys. Too small inner zone can
cause irregular flow from the stove to the top which could lead to poor stove
performance and excessive exhaust gas production that discharges the exhaust gas to
the environment. Gas flue pipe should be permanently installed and it would be good
to make safety door which would enable the cleaning of inner parts, especially the
horizontal parts. Smoke pipe should be installed fixed. It would be good to leave safety
gates that could do the Minitherm -r cleaning, especially in their horizontal parts. You
should avoid as much as possible horizontal mounting parts. Horizontal parts must
have a slope of at least 3% upwards. Length of the horizontal part should be minimal
and in any case not more than 3 meters.
ALL PARTS OF THE FLUE GASN PIPE NEED TO BE SECURED AND REPLACEABLE
IN ORDER FOR INTERNAL CLEANING. AVOID MULTIPLE HORIZONTAL
DEVIATION AND ANGLES.
The internal cross-section of the exhaust pipes should be smoth and all connections
must be hermetically sealed. Avoid as much horizontal mounting as possible.
Horizontal parts should have a slope of at least 3% upwards. The length of the
horizontal part of the saddle shall be minimum and in any case not more than 2 meters
with the possibility of cleaning and removing the accumulated ash. The connection to
the chimney should be made with a maximum of two exhaust pipes.
For stove operation, a constant negative pressure is required. At reduced power, the
flue gas temperature is low and condensation may occur. It is therefore important that
the chimney is well insulated. The flue pipes should be made of non-combustible
materials that are suitable and resistant to combustion products and their possible
condensation. In any case, the parts or zones that are flammable, must be properly
protected, such as wooden boards or beams.
FOR SMOKE PIPES, DO NOT USE METAL-FLEXIBLE CABLES. ALL PARTS
OF THE SMOKE PIPE SHOULD BE SAFE AND REMOVABLE TO CLEAN
CLEANING. AVOID HORIZONTAL DEVIATIONS.

Minitherm AQUA
16
If the chimney has a too high underpressure (over 20 Pa), the regulation can be
achieved in different ways. One way is to easily open the cleaning door. We
recommend to install the draft regulator.
The pellet stove can not be connected:
To the chimney or the flue pipe to wich another heat source is connected (gas
boiler, pellet boiler, etc.)
Ventilation system

Minitherm AQUA
17
When connecting the pellet stove to the chimney, smoke pipes with a diameter of
80mm and temperature-resistant gakets must be used. It is recommended to install a
T-piece with revision or a knee after the chimney outlet, and a piece of flue pipe of a
length of min. 0.5m and then connect the stove to the chimney. It is not recommended
to connect directly between the stove and the chimney without flue pipes. It is also
not recommended to attach a connection of the flue pipes on the left or right, which
means you do not make knee in the flue pipes in the sides.

Minitherm AQUA
18
4.3 Hydraulic schemes for connection

Minitherm AQUA
19
4.4 Electrical wiring diagram
The pellet stove is supplied with built-in circulation pum, expansion vessel and safety
valve. On the back of the stove is the connection for: power supply 230VAC, 50Hz with
main switch, fuse and room thermostat.
4.4.1 Power supply
The stove needs to be connected to a 230V, 50Hz via a separate fuse 6-10 (FAST)
4.4.2 Room thermostat
The user has the possibility to place the room thermostat in one room and does not
need to be in the same room where the pellet stove is. Operation of the stove with an
external thermostat connected to the room thermostat connection may differ if we
have activated the STAND BY function. The connection for the room thermostat comes
from the factory with a bridged connection, wich means that its contacts are closed.
Only room thermostats with potential-free contacts may be connected. It is
recommended that the installation and connection of the room thermostat be carried
out by an authorized service technician.

Minitherm AQUA
20
5Function of stove
5.1 Overview of the controls and display and their
basic functions
Button
Description
1-
Increasing temperature and program functions (adjusting days,
time...)
2-
Decreasing temperature and program functions (adjusting days,
time...)
3-
Changing –accepting program
4-
ON / OFF, program exit
5 -
Decreasing power, navigate through the menu
6 -
Increasing power navigate through the menu
Table of contents
Other ThermoFLUX Pellet Stove manuals