manuals.online logo
Brands
  1. Home
  2. •
  3. Brands
  4. •
  5. Extraflame
  6. •
  7. Pellet Stove
  8. •
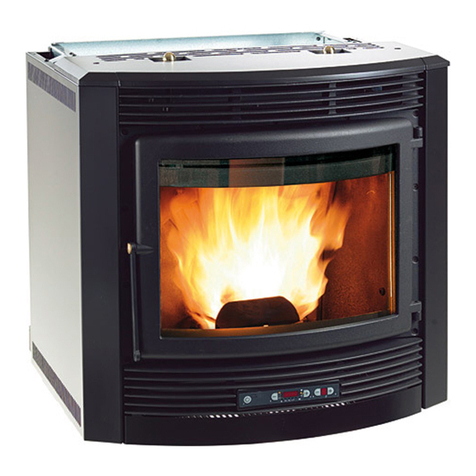
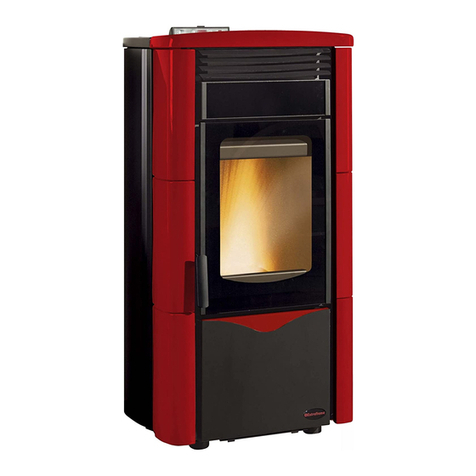
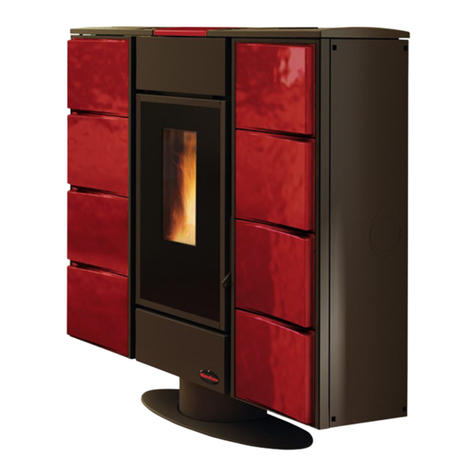
  9. Extraflame EcoLogica Idro User manual

Extraflame EcoLogica Idro User manual

Certificazione
In accordo con la Direttiva 89/106/CEE (Prodotti da Costruzione), con la Direttiva Bassa Tensione
73/23/CEE, con la Direttiva 2004/108/CEE (Compatibilità Elettromagnetica), integrate dalla marcatura
CE secondo la Direttiva 3/68/CEE
According the Construction Products Directive 89/106/EEC, the Low Voltage Directive 73/23/EEC, the
EMC Directive 2004/108/EEC, amended by the CE-marking Directive 3/68/EEC.
Tipo di apparecchio -
Type of equipment
:
Residential space heating appliance fired by w d pellets
Marchio commerciale -
Trademark
:
Modello -
Type designation
:
ECOLOGICA IDRO
Uso -
Use
:
Space heating in residential buildings
Costruttore -
Manufacturer
:
EXTRAFLAME S.p.A.
Indirizzo -
Address
:
M ntecchi Precalcin - Vicenza - Italy
Luogo di produzione -
Factory
:
M ntecchi Precalcin - Vicenza - Italy - 36030
Indirizzo -
Address
:
Via dell’Artigianat , 10
Rendimento alla potenza nominale
Appliance efficiency at nominal output
:
80,8 %
CO misurato alla potenza nominale
Measured CO at nominal output
:
0,024 %
In qualità di costruttore e/o rappresentante autorizzato della società all’interno della CEE, si dichiara sotto la
propria responsabilità che gli apparecchi sono conformi alle esigenze essenziali previste dalle Direttive su
menzionate.
Il presente certificato è relativo solo ed esclusivamente alla stufa e non riguarda in alcun modo l’impianto
che dovrà essere eseguito alla regola dell’arte come da libretto istruzioni allegato all’apparecchio.
As the manufacturer’s authorised representative established within EEC, we declare under out sole
responsibility that the equipment follows the provisions of the Directives stated above.
This certificate refers exclusively to the stove itself and not to the equipment which must be correctly
produced in strict accordance to the instructions manual accompanying the stove.
Firma persona autorizzata
Signature
AVVERTENZE
Prima di gni accensi ne della macchina verificare sempre che il braciere sia c mpletamente
liber e pulit .
E’ ass lutamente vietat intr durre manualmente pellet all’intern del braciere.
All’interno della stufa si trovano 2 confezioni di sali disidratanti da rimuovere definitivamente prima di
accendere la stufa: uno all’interno della camera di combustione (formato sacchetto) l’altro all’esterno della
stufa (formato scatola).
Per un ottimale funzionamento del prodotto, l’azienda invita l’utilizzatore a regolare l’afflusso del pellet in
base al tipo di combustibile utilizzato. Vedi sezione “Regolazione carico pellet” del libretto istruzioni.
L’apparecchio deve funzionare alla potenza 4 o 5 per 2 o 3 giorni in modo tale che le parti meccaniche
abbiano la possibilità di assestarsi.
WARNING
Always check bef re lighting the st ve that the burning p t is c mpletely free and clean.
D n t insert pellet manually int the c mbusti n p t.
2 packagings dehydrating salts will be found in the stove to be removed completely before starting the
heater: one inside the burning chamber (in a small bag) the other on the outside (in a box).
For a correct functioning of this product, the manufacturer kindly asks the final user to set the pellet
feeding according to the type of combustible. Please read the chapter “Pellet Feeding Adjustment” in “Use
and Maintenance Manual”.
This stove must function at middle power (power 4 or 5) for 2 or 3 days in order to allow a better
settlement of the mechanical components.
ACHTUNG
V r jeder Anzündung immer k ntr llieren, dass die Brennschale frei und sauber ist.
Es ist verb ten die Pellet in die Schale mit Händen zu werfen.
Im Pelletsofen sind 2 Packungen Trockensalz zu finden die anlässlich der Inbetriebnahme entfernt werden
müssen: Eine in der Brennkamer (in einer Tüte) die Andere ausserhalb des Ofens (in einer Schachtel).
Zum dem optimalen Betrieb dieses Produktes bittet Der Hersteller den Benutzer darum, die Pelletszufuhr
gëmaβ dem verwendeten brennstoff einzustellen. Lesen Sie bitte den Paragraph „Reglung der Pellets-
Zufuhr“ in der „Bedienungs- und Aufstellungsanleitung“.
Das Gerät soll 2 oder 3 Tage auf Mittelleistung funktionieren (Stufe 4 oder 5) so dass die mechanische
Teile sich einlaufen können.
ATTENTION
Avant d’allumer le p êle t uj urs c ntrôler que le brasier s it c mplètement libre et pr pre.
N’intr duisez pas pellet manuellement dans le brasier.
A l’intérieur du poêle Vous retrouverez deux paquets de sels déshydratants à enlever complètement ,
S.V.P., lors de la mise à feu : dans le chambre de combustion (dans un sachet) l’autre à l’extérieur du
poêle (dans une boîte).
Pour un emploi optimal du produit, le producteur prie l’usager de bien vouloir régler le chargement du
pellet selon le type de combustible. Veuillez lire le paragraphe « Réglage charge Pellet » dans le « Manuel
d’instructions et entretien ».
L’appareil doit fonctionner à puissance 4 ou 5 pour 2 ou 3 jours, de façon que les parties mécaniques
puissent se tasser.
Stufa a pellet m dell /
pellet st ve m del
: Ec l gica idr
06
EN 14785 : 2006
Val re
Caratteristiche
Features
U.M.
Value
Peso
Weight
kg 15
Altezza
Height
mm 55
Larghezza
Width
mm 667
Profondità
Depth
mm 671
Diametro tubo scarico fumi
Outlet fumes pipe diameter
mm 80
Diametro tubo aspirazione aria
Air intake pipe diameter
mm 50
Potenza termica globale max
Max. overall thermal output
kW 16
Potenza termica utile max
Max. useful thermal output
kW 12.5
- potenza resa all’aria
- power given back to air
kW 1.0
- potenza resa all’acqua
- power given back to water
kW 11.5
Potenza termica utile min
Min. useful thermal output
kW 3.5
- potenza resa all’aria
- power given back to air
kW 0.5
- potenza resa all’acqua
- power given back to water
kW 3.0
Consumo orario combustibile min
Min. hourly fuel consumption
kg/h
0.8
Consumo orario combustibile max
Max. hourly fuel consumption
kg/h
3.2
Capacità serbatoio
Tank capacity
kg ~ 30
Tiraggio del camino consigliato
Recommended flue pipe draft
Pa ~ 10
Tiraggio del camino alla potenza termica utile max
Flue pipe draft at max. useful thermal output
Pa 12
Tiraggio del camino alla potenza termica utile min
Flue pipe draft at min. useful thermal output
Pa 10
Potenza elettrica nominale
Rated electric output
W 310
Tensione nominale
Rated voltage
Vac 230
Frequenza nominale
Rated frequency
Hz 50
Diametro tubo entrata/uscita acqua
Water intake/outlet pipe diameter
“ 3/4
Diametro tubo scarico automatico
Automatic discharge pipe diameter
“ -
Prevalenza pompa
Pump head
m 4
Max pressione idrica di esercizio ammessa
Max. admitted operating water pressure
bar 1.5
CO misurato alla potenza termica utile max
CO measured at max. useful thermal output
% 0.024
CO misurato alla potenza termica utile min
CO measured at min. useful thermal output
% 0.033
Rendimento alla potenza termica utile max
Performance at max. useful thermal output
% 80.8
Rendimento alla potenza termica utile min
Performance at min. useful thermal output
% 1.5
Temperatura gas di scarico alla potenza termica utile max
Exhaust gas temperature at max. useful thermal output
°C 214
Temperatura gas di scarico alla potenza termica utile min
Exhaust gas temperature at min. useful thermal output
°C 76.8
Massa dei gas emessi alla potenza termica utile max
Gas mass given off at max. useful thermal output
g/s 15.17
Massa dei gas emessi alla potenza termica utile min
Gas mass given off at min. useful thermal output
g/s 6.38
Prove eseguite usando come combustibile pellet di legno con potere calorifico pari a 4. kWh/kg.
Tests done using wood pellet (as full) with heating power of 4. kWh/kg.
P êle à pellets m dèle /
Pellet fenm dell
: Ec l gica idr
06
EN 14785 : 2006
Valeur
D nnées Eigenschaften
U.M.
Wert
Poids Gewicht kg 15
Hauteur Höhe mm 55
Largeur Breite mm 667
Profondeur Tiefe mm 671
Diamètre tuyau évacuation fumées Durchmesser Rauchabzugsrohr mm 80
Diamètre tuyau aspiration air Durchmesser Luftansaugrohr mm 50
Puissance thermique totale max. Max. globale Wärmeleistung kW 16
Puissance thermique utile max. Max. Nutzwärmeleistung kW 12.5
- puissance rendue à l’air - an die Luft abgegebene Leistung kW 1.0
- puissance rendue à l’eau - an das Wasser abgegebene Leistung kW 11.5
Puissance thermique utile min. Min. Nutzwärmeleistung kW 3.5
- puissance rendue à l’air - an die Luft abgegebene Leistung kW 0.5
- puissance rendue à l’eau - an das Wasser abgegebene Leistung kW 3.0
Consommation horaire combustible min. Mindestbrennstoffverbrauch pro Stunde kg/h
0.8
Consommation horaire combustible max. Maximaler Brennstoffverbrauch pro Stunde kg/h
3.2
Capacité réservoir Aufnahmevermögen Pelletspeicher kg ~ 30
Tirage de la cheminée conseillé Empfohlener Zug des Kamins Pa ~ 10
Tirage de la cheminée à la puissance thermique utile max. Zug des Kamins bei maximaler Nutzwärmeleistung Pa 12
Tirage de la cheminée à la puissance thermique utile min. Zug des Kamins bei minimaler Nutzwärmeleistung Pa 10
Puissance électrique nominale Elektrische Nennleistung W 310
Tension nominale Nennspannung Vac 230
Fréquence nominale Nennfrequenz Hz 50
Diamètre tuyau entrée/sortie eau Rohrdurchmesser Wassereinlass/-auslass “ 3/4
Diamètre tuyau évacuation automatique Durchmesser automatisches Rauchabzugsrohr “ -
Hauteur d’élévation pompe Förderhöhe Pumpe m 4
Pression hydrique de service max. admise Maximaler zugelassener Wasserdruck bei Betrieb bar 1.5
CO mesuré à la puissance thermique utile max. CO-Wert bei max. Nutzwärmeleistung % 0.024
CO mesuré à la puissance thermique utile min. CO-Wert bei min. Nutzwärmeleistung % 0.033
Rendement à la puissance thermique utile max. Leistung bei maximaler Nutzwärmeleistung % 80.8
Rendement à la puissance thermique utile min. Leistung bei minimaler Nutzwärmeleistung % 1.5
Temp. gaz d’échappement à la puissance therm. utile max. Abgastemperatur bei maximaler Nutzwärmeleistung °C 214
Temp. gaz d’échappement à la puissance therm. utile min. Abgastemperatur bei minimaler Nutzwärmeleistung °C 76.8
Masse des gaz émis à la puissance thermique utile max. Ausgestoßene Abgasmenge bei max.
Nutzwärmeleistung
g/s 15.17
Masse des gaz émis à la puissance thermique utile min. Ausgestoßene Abgasmenge bei min. Nutzwärmeleistung g/s 6.38
Le combustible utilisé pour effectuer ces essais ce sont des pellets en bois avec un pouvoir calorifique de 4. kW/H/Kg.
Die Testdaten wurden unter folgenden Bedingungen erhoben:
Brennmaterial: Holz-Pellets
Brennwert: 4. KW/h/kg.
ISTRUZIONI MONTAGGIO PIASTRELLE
ECOLOGICA ED ECOLOGICA IDRO
ASSEMBLY INSTRUCTIONS FOR ECOLOGICA
AND ECOLOGICA IDRO TILES
Fig. 1
•Svitare i 2 pomoli
•Togliere la copertura ceramica
•Svitare le 6 viti delle coperture
laterali
•Togliere le 2 coperture laterali
•Togliere le due lamiere
protezione spigoli
•Unscrew the 2 knobs
•Remove the ceramic cover
•Unscrew the 6 screws in the
lateral covers
•Remove the 2 lateral covers
•Remove the 2 sheet steel edge-
protections
Fig. 2
•Infilare le piastrelle laterali
come indicato nel disegno in
entrambi i lati della stufa
•Insert the lateral tiles as
indicated in the diagram on
both sides of the stove.
SELF
-
TAPPING SCREWS
KNOBS
LATERAL COVERS
COVER
SHEET STEEL EDGE
PROTECTION
LATERAL TILES
Fig. 3
•Infilare poi i 2 profili superiori in
dotazione allo stesso modo delle
piastrelle laterali.
•Riposizionare le 2 lamiere protezione
spigoli e le 2 coperture laterali
fissandole con le 6 viti
precedentemente tolte.
•Then introduce the 2 supplied upper
profiles in the same way as the lateral
tiles.
•Reposition the 2 sheet steel edge-
protections and the 2 lateral covers,
fixing them with the 6 previously
removed screws.
Fig. 4
•Riposizionare la copertura ceramica e
fissare i 2 pomoli
•Reposition the ceramic cover and fix
the 2 knobs.
UPPER PROFILE
INSTRUCTIONS DE MONTAGE DES CARREAUX
ECOLOGICA ET ECOLOGICA IDRO
MONTAGEANLEITUNG FÜR DIE ABDECKUNGEN
BEI „ECOLOGICA” UND „ECOLOGICA IDRO”
Fig. 1
•Dévissez les 2 poignées
•Enlevez le couvercle en
céramique
•Dévissez les 6 vis des bordures
latérales
•Enlevez les 2 bordures latérales
•Enlevez les deux tôles de
protection des arêtes
•Schrauben Sie die 2 Kugelgriffe
ab.
•Entfernen Sie die
Keramikabdeckung
•Schrauben Sie die 6 Schrauben
der Seitenabdeckungen aus.
•Entfernen Sie die 2
Seitenabdeckungen.
•Entfernen Sie die beiden
Kantenschutz-Bleche.
Fig. 2
•Enfilez les carreaux latéraux
des deux côtés du poêle,
comme indiqué dans le schéma
•Führen Sie die
Seitenabdeckungen wie in der
Abbildung auf beiden Seiten
des Ofens ein.
CARREAUX LATÉRAUX
SEITENABDECKUNGEN
POIGNÉES
KUGELGRIFFE
TÔLE
PROTECTION
ARÊTES
KANTENSCHUTZ
-
BLE
CH
COUVERCLE
ABDECKUNG
BORDURES LATÉRALES
SEITENABDECKUNGEN
VIS AUTOTARAUDEUSES
SELBSTSCHNEIDENDE SCHRAUBEN
Fig. 3
•Enfilez ensuite les 2 profils supérieurs
fournis, de la même façon que les
carreaux latéraux.
•Remettez en place les 2 tôles de
protection des arêtes, ainsi que les 2
bordures latérales, en les fixant à l’aide
des 6 vis enlevées précédemment.
•Führen Sie dann die 2 oberen Profile
aus dem Lieferumfang wie die
Seitenabdeckungen ein.
•Positionieren Sie die 2 Kantenschutz-
Bleche und die 2 Seitenabdeckungen,
und befestigen Sie diese mit den 6
Schrauben, die Sie vorher entfernt
haben.
Fig. 4
•Remettez en place le couvercle en
céramique et fixez les 2 poignées
•Positionieren Sie die
Keramikabdeckung, und fixieren Sie
die 2 Kugelgriffe.
PROFIL
SUPÉRIEUR
OBERPROFIL
PARTE RADDRIZZATA
STRAIGHT PART
PARTIE REDRESSÉE
BEGRADIGTER TEIL
PARTE CURVA
CURVED PART
PARTIE COURBE
GEBOGENER TEIL
Sistemazi ne m llette fissa piastrella
Fig.1 Fare pressione con le dita, come da disegno, sui due lati della molletta in modo da raddrizzare la parte
ricurva.
Fig.2 La molletta va poi ruotata come da disegno sempre tenendola premuta con le dita.
Fig.3 La parte raddrizzata va inserita nell’incavo della piantana (vedi disegno) e appena sotto al lamierino Zn
piegate a 0°. A quel punto bisogna togliere le dita dalla molletta. Quest’ultima viene poi riposizionata
tra 2 piastrelle in modo da diminuire le vibrazioni e conseguentemente il rumore.
N.B. Per le mollette Delizia il principio è lo stesso indicato sopra
con l’unica differenza che la molletta è posizionata
approssimativamente
al centro della piastrella.
Adjusting the tile fixing clips
Fig. 1 Apply pressure with your fingers, as shown in the drawing, on the two sides of the clip to straighten the
curved part.
Fig. 2 Then rotate the clip as shown, keeping it pressed between your fingers.
Fig. 3 The straightened part is inserted in the hollow of the upright (see drawing) and just below the Zn plate
bent at 0°. At this point, take your fingers off the clip. It is then re-positioned between two tiles to
diminish the vibrations and consequently the noise.
N.B.: For the Delizia clips, it is the same principle indicated above, with the only difference being that the clip is
positioned approximately at the centre of the tile.
Fixati n des ress rts d’agrafage des planelles
Fig.1 Pincer l’agrafe avec les doigts jusqu’à en redresser sa partie courbe, selon le dessin.
Fig.2 L’agrafe doit être retournée, toujours en la maintenant pincée, selon le dessin.
Fig.3 La partie redressée doit être insérée dans la rainure du montant (selon le dessin) et, juste sous la
lamelle Zn, pliée à 0°. Relâcher la pression des doigts. L’agrafe sera, ensuite, repositionnée entre deux
planelles, afin d’en diminuer les vibrations et le bruit.
N.B. Pour les agrafes Delizia, le principe est le même, avec la variante de leur position médiane, au centre de la
planelle.
Anbringung der Klammern zur Kachelbefestigung
Fig.1 Wie in der Zeichnung gezeigt, mit den Fingern Druck auf die beiden Seiten der Klammer ausüben, um
den gebogenen Teil zu begradigen.
Fig.2 Danach die Klammer drehen, wie in der Zeichnung gezeigt, und sie dabei mit den Fingern gedrückt
halten.
Fig.3 Den begradigten Teil in die Aussparung des Ständers (siehe Zeichnung) und knapp unter dem um 0°
gebogenen Zinkblech einsetzen. Nun die Finger von der Klammer wegnehmen. Diese wird danach
zwischen 2 Kacheln positioniert, um die Vibrationen und daher die Geräusche zu vermindern.
HINWEIS: Für die Klammern Delizia gilt das gleiche, oben angegebene Prinzip, mit dem einzigen Unterschied,
dass die Klammer ungefähr in der Mitte der Kachel positioniert ist.
Fascicolo istruzioni Ecologica Idro
REV 002 08.03.2007

Other manuals for EcoLogica Idro

2

Other Extraflame Pellet Stove manuals

Extraflame Comfort P70 User manual

Extraflame

Extraflame Comfort P70 User manual

Extraflame COMFORT P85 User manual

Extraflame

Extraflame COMFORT P85 User manual

Extraflame COMFORT IDRO User manual

Extraflame

Extraflame COMFORT IDRO User manual
Extraflame COMFORT IDRO User manual

Extraflame

Extraflame COMFORT IDRO User manual

Extraflame SOUVENIR User manual

Extraflame

Extraflame SOUVENIR User manual
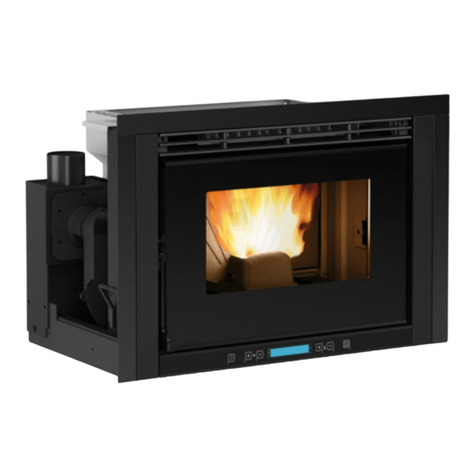
Extraflame COSTANZA IDRO User manual

Extraflame

Extraflame COSTANZA IDRO User manual

Extraflame comfort idro L80 User manual

Extraflame

Extraflame comfort idro L80 User manual

Extraflame Pellet Stoves User manual

Extraflame

Extraflame Pellet Stoves User manual

Extraflame VIVIANA EVO User manual

Extraflame

Extraflame VIVIANA EVO User manual

Extraflame Comfort Mini User manual

Extraflame

Extraflame Comfort Mini User manual

Extraflame Viviana User manual

Extraflame

Extraflame Viviana User manual

Extraflame Viviana User manual

Extraflame

Extraflame Viviana User manual

Extraflame Lucrezia Steel User manual

Extraflame

Extraflame Lucrezia Steel User manual

Extraflame DEBBY User manual

Extraflame

Extraflame DEBBY User manual

Extraflame BABYFIAMMA User manual

Extraflame

Extraflame BABYFIAMMA User manual
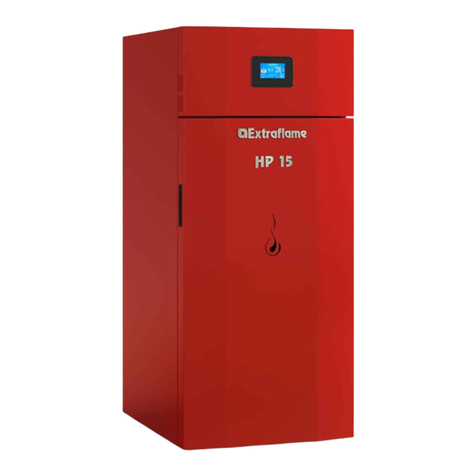
Extraflame EcoLogica Idro User manual

Extraflame

Extraflame EcoLogica Idro User manual

Extraflame HP 22 User manual

Extraflame

Extraflame HP 22 User manual

Extraflame LUCIA User manual

Extraflame

Extraflame LUCIA User manual

Extraflame MARILENA PLUS User manual

Extraflame

Extraflame MARILENA PLUS User manual

Extraflame comfort idro L80 User manual

Extraflame

Extraflame comfort idro L80 User manual

Extraflame Comfort Plus User manual

Extraflame

Extraflame Comfort Plus User manual

Extraflame LUCREZIA IDRO LCD Operating instructions

Extraflame

Extraflame LUCREZIA IDRO LCD Operating instructions

Extraflame LUCREZIA IDRO LCD User manual

Extraflame

Extraflame LUCREZIA IDRO LCD User manual

Extraflame Pellet stove User manual

Extraflame

Extraflame Pellet stove User manual

Popular Pellet Stove manuals by other brands
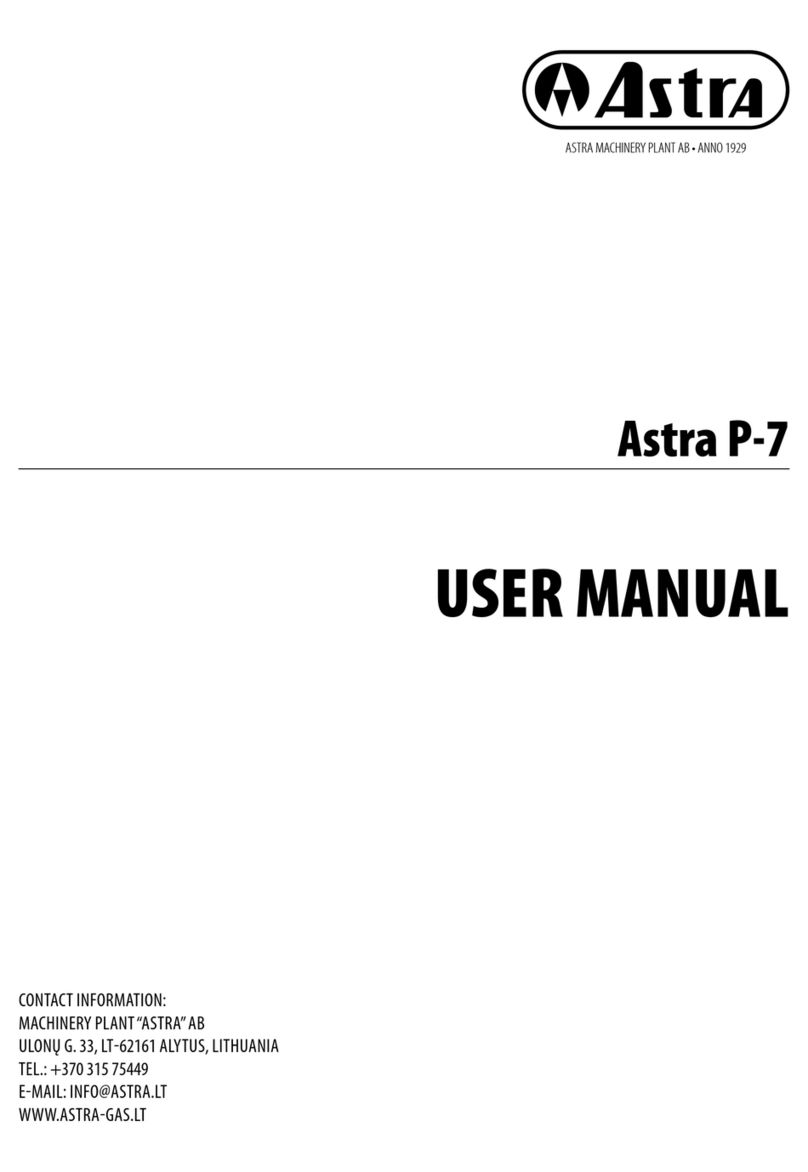
Quadra-Fire MTV-E2-CSB installation manual

Quadra-Fire

Quadra-Fire MTV-E2-CSB installation manual

RIKA PRIMO RAO operating manual

RIKA

RIKA PRIMO RAO operating manual

Cola CHARME CANALIZZABILE Installation, use and maintenance manual
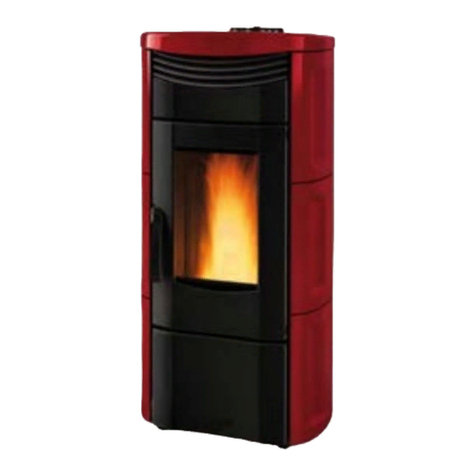
Cola

Cola CHARME CANALIZZABILE Installation, use and maintenance manual

Sierra Products EF-5001UB Installation & operating instructions

Sierra Products

Sierra Products EF-5001UB Installation & operating instructions

Hudson River Stove Works DAVENPORT Owners manual/install guide

Hudson River Stove Works

Hudson River Stove Works DAVENPORT Owners manual/install guide

Lopi Pioneer user manual

Lopi

Lopi Pioneer user manual

Archgard OPTIMA PS1 User's installation, operation and maintenance manual

Archgard

Archgard OPTIMA PS1 User's installation, operation and maintenance manual

Erato Pony PS9 user manual

Erato

Erato Pony PS9 user manual

pleasant hearth PH35PS Series owner's manual

pleasant hearth

pleasant hearth PH35PS Series owner's manual

Enviro Milan owner's manual

Enviro

Enviro Milan owner's manual

Gekas Stoves AMANDA Diva product manual

Gekas Stoves

Gekas Stoves AMANDA Diva product manual

Windhager FireWIN operating manual

Windhager

Windhager FireWIN operating manual

Ravelli RCV1000L brochure

Ravelli

Ravelli RCV1000L brochure

Quadra-Fire SANTAFEI-MBK installation manual

Quadra-Fire

Quadra-Fire SANTAFEI-MBK installation manual

Sierra Products EasyFire MODEL EF 3800 Repair manual

Sierra Products

Sierra Products EasyFire MODEL EF 3800 Repair manual

karmek one ALICE CANALIZZATA Operating and maintenance handbook

karmek one

karmek one ALICE CANALIZZATA Operating and maintenance handbook

Piazzetta P963 THERMO Instructions for installation, use and maintenance

Piazzetta

Piazzetta P963 THERMO Instructions for installation, use and maintenance

klover DEA PLUS manual

klover

klover DEA PLUS manual

manuals.online logo
manuals.online logoBrands
  • About & Mission
  • Contact us
  • Privacy Policy
  • Terms and Conditions

Copyright 2025 Manuals.Online. All Rights Reserved.