10
INDOOR WIFI PLUG
EN
C - USAGE
1.2. If you have an Android smartphone without
Google Assistant or n iPhone
Your devices must be paired on the Thomson At
Home app in order to be controlled with Google
Assistant. They must be connected on the same WiFi
network.
• Connect the devices to Google Assistant
• On your tablet or phone, install and start the
Google Home app and log in to the relevant
account for your Google Home speaker.
• In the bottom right corner, press
Account
• Next, press Set up or Add > Set up device.
• Press Have something already set up?
• In the list that appears, press At Home
• Enter the login and password for the At Home
account for the app by the same name to
authorise Google Assistant to add and interact
with your At Home accessories.
2 - PAIRING OF AN AT HOME CONNECTED
DEVICE AND GOOGLE HOME
This part explains in detail how to pair an At Home
connected device with your Google Assistant. A
smart plug will be used in this example.
Important: your telephone must be connected to the
same 2.4GHz WiFi network as Google Home and the
At Home accessories
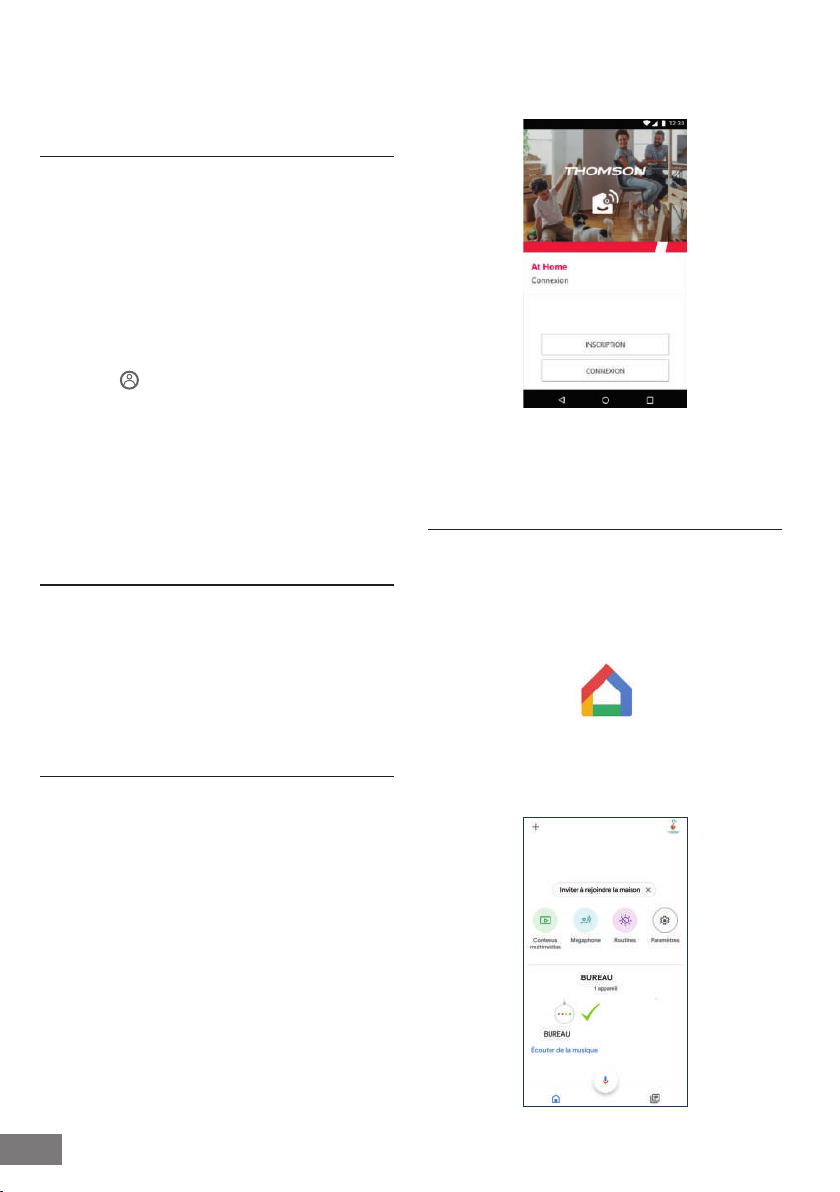
2.1. At Home
Check that an At Home account has been created
beforehand. If you don’t have one, please create
one, referring to the section on page 8 and ensure
that your accessories work through the At Home
app.
It is recommended that a unique name such as
"Aquarium" or "Lounge light" be used, to avoid
issues with your voice command assistant.
2.2. Linking of At Home and Google Home
The following information may vary depending
on updates to the Google Home app or your
operating system.
Ensure that you have congured your Google
Home correctly, then launch the Google Home app.
Open the Google Home app. and ensure that your
Google Home speaker is properly linked to your
account (if not, refer to the speaker's Google Home
user guide or contact Google Home customer
service)