Safety information
Your guarantee
Mains connection
This receiver is suitable for use on A.C. mains supply, 220-240 V - 50 Hz only.
It must not be connected to D.C. mains.
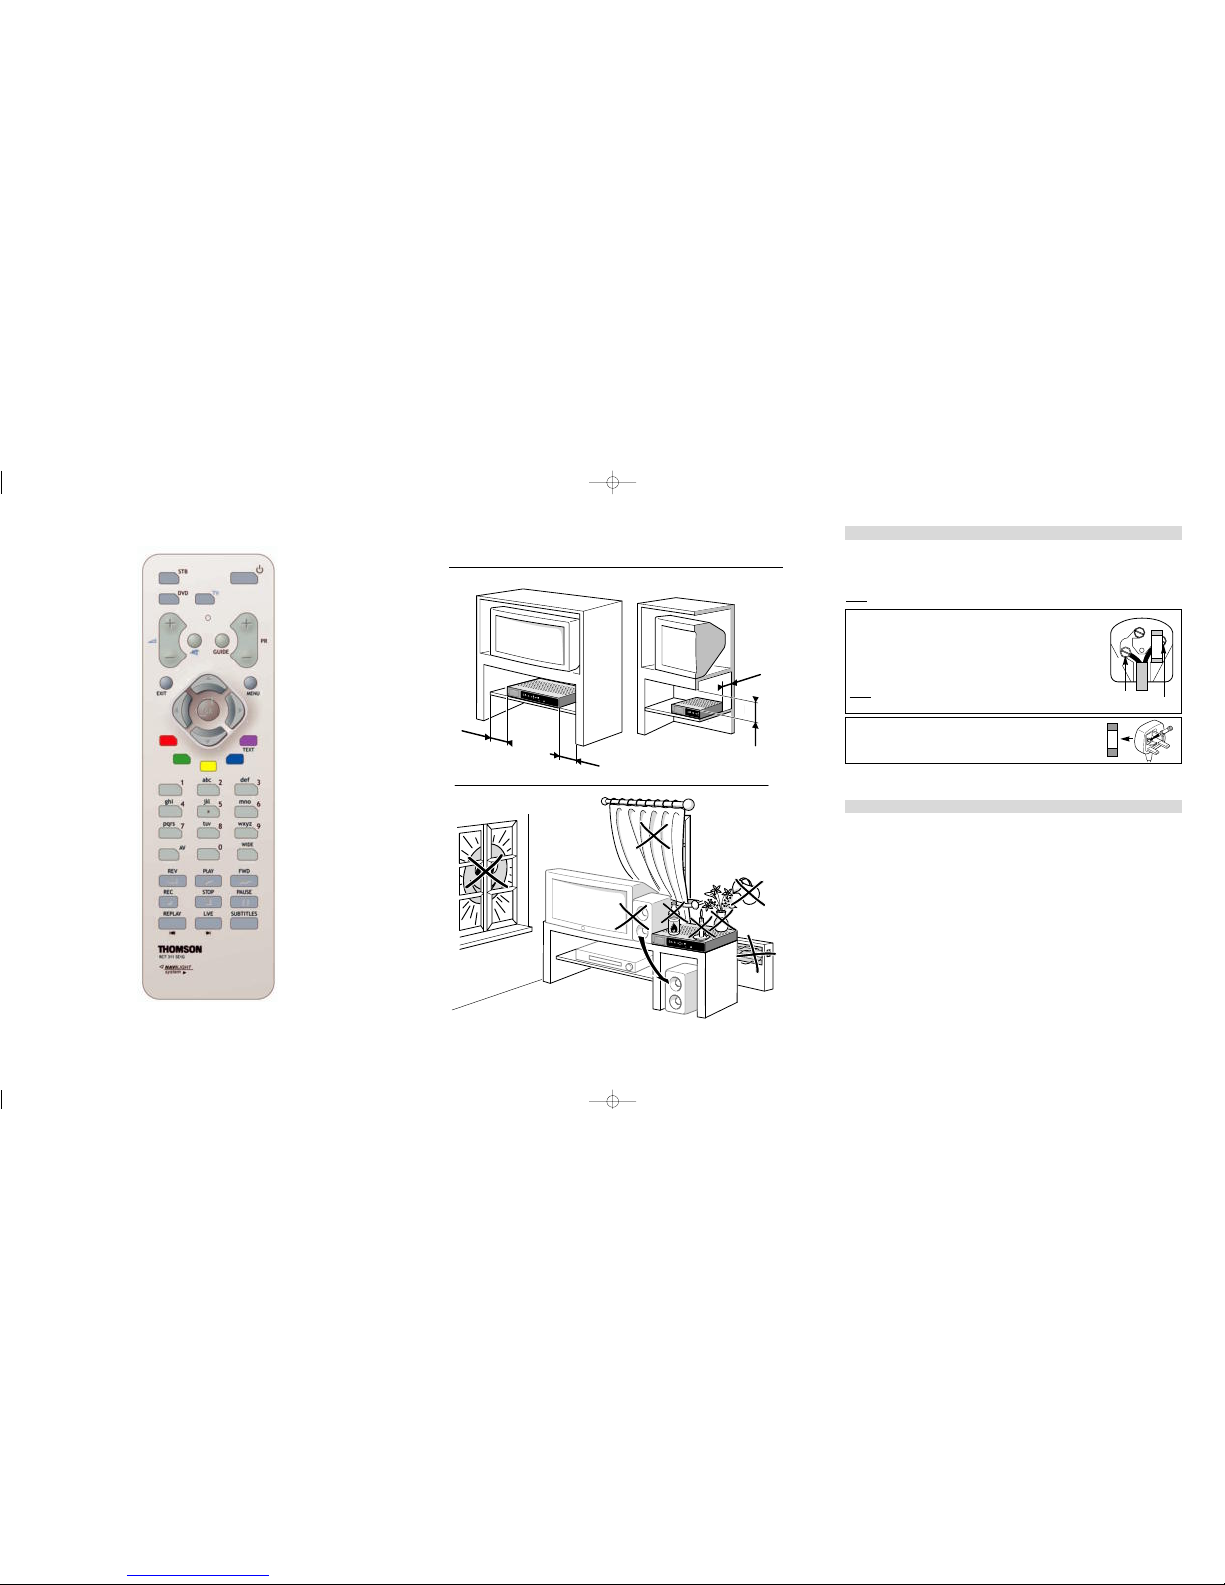
Note: The mains lead of the receiver is fitted with a moulded plug. If the mains sockets are not compatible or if for any reason
the plug is removed please follow the directions below.
The moulded plug cannot be rewired and if removed must be disposed of safely. Remove the fuse to make it safer.
Do NOTunder any circumstances plug the severed plug into any mains socket as this could result in an electric shock.
! The OFF button
B
on the remote control and the receiver does not completely disconnect the unit from the
mains supply, but switches operating power on and off.
Important!
If the plug is removed, rewire new plug as follows: The wires in the mains plug are coloured in
accordance with the following code:
BLUE - NEUTRAL
BROWN - LIVE
As the colours of the wires in the mains lead of this apparatus may not correspond with the
coloured markings identifying the terminals in your plug, proceed as follows:
BLUE wire to the terminal coded N (Neutral) or coloured black.
BROWN wire to the terminal coded L (Live) or coloured red.
Do NOTmake any connection to the terminal in the plug which is marked by the letter E
or by the safety symbol l or coloured green and yellow.
A fused plug must be fitted with a 3A fuse approved by ASTA or BSI to BS 1362 and fuse
covers must always be securely replaced.
If the fuse blows, check the mains cable for damage or call a qualified technician. Do not
try to bridge the fuse or increase its rating!
3A
Dear Customer,
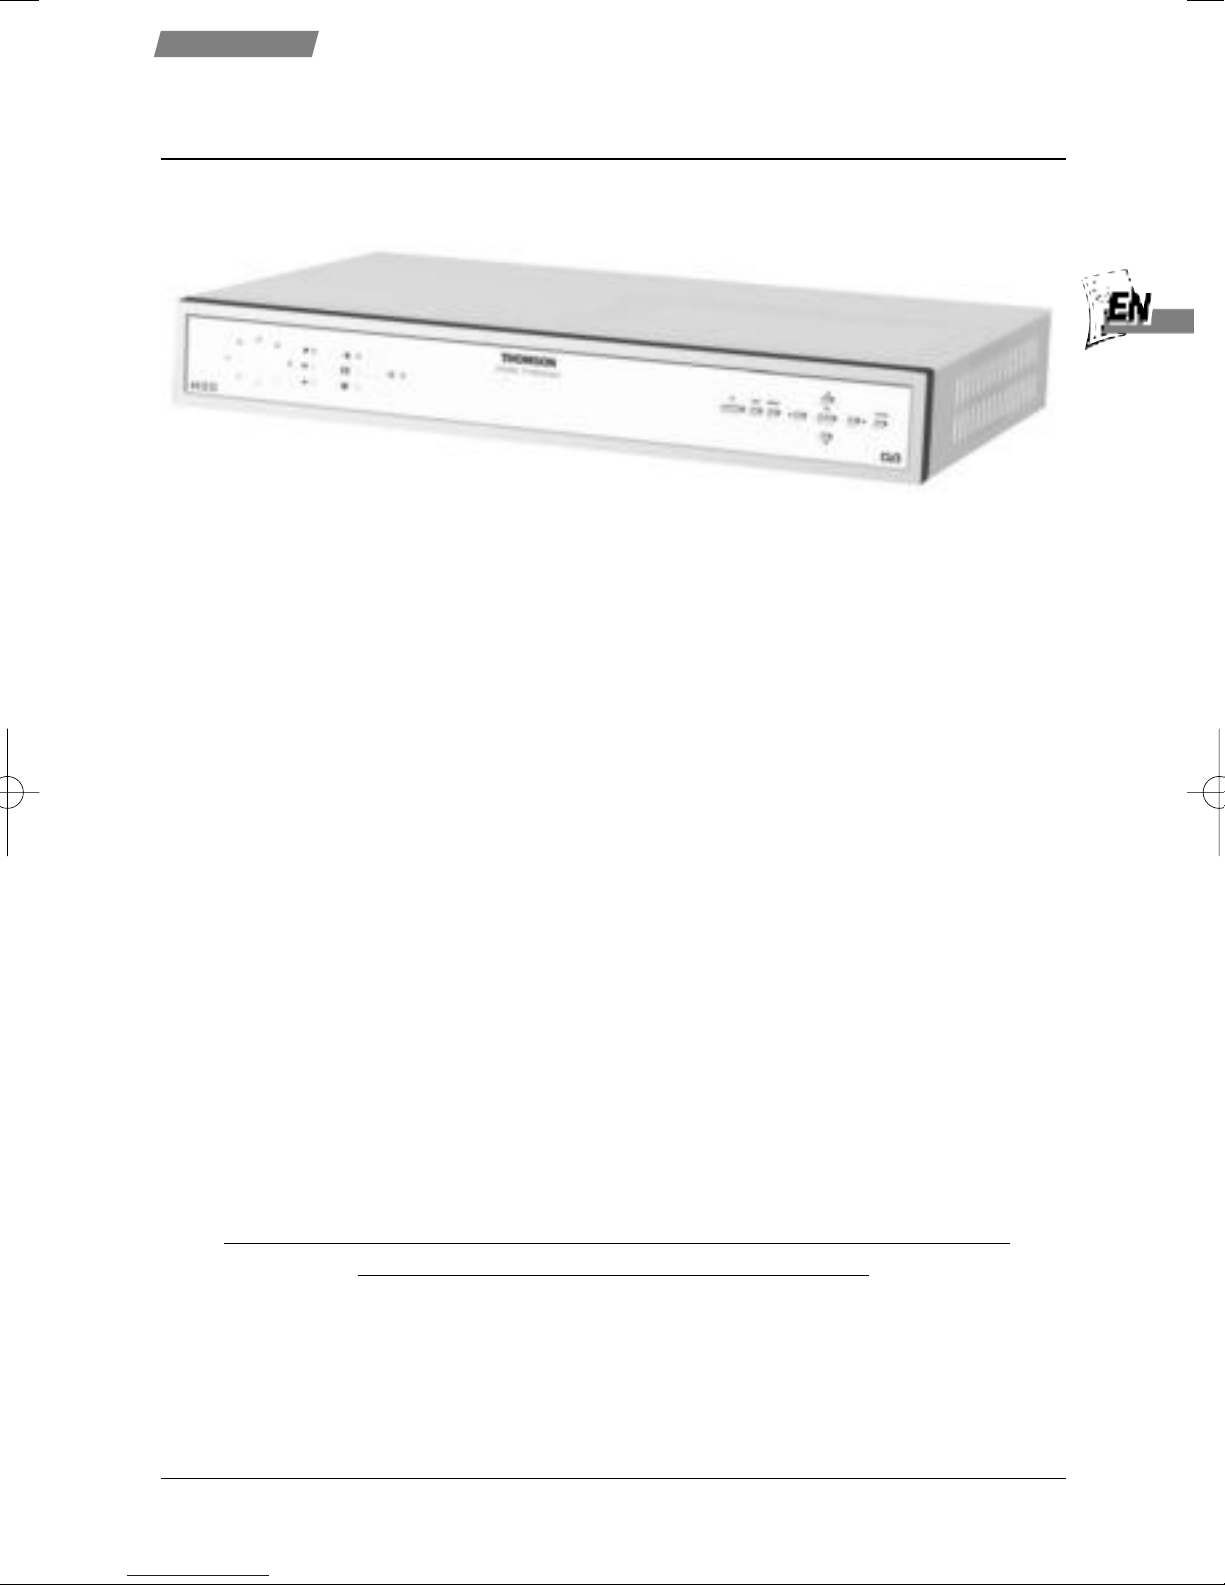
Thank you for purchasing this THOMSON product and for your confidence inour company. This product meets applicable safety requirements and has
undergone stringent testing during manufacture.
However, should there occur a defect, the product or its defective part(s) (excluding accessories and consumables) will be repaired free of charge
(labor and parts) or, at THOMSON discretion, exchanged for a similar item, provided that it has been returned within 12 (twelve) months from
the date of original purchase (date of receipt), is defective in materials and/or workmanship and has been bought in any of the following
countries: F, I, E, P, GB, IRL, D, CH, A, B, L, NL (Territory) or in a Duty-free shop in the named countries.
This guarantee will be granted only upon presentation of the original invoice or cash receipt, indicating the date of purchase and dealer’s name. The
benefits of this guarantee may be refused if the invoice, cash receipt or guarantee card has been altered in any way, deleted or made illegible after the
original purchase.
This guarantee does not apply to any of the following:
1. Damage caused by accidents including, but not limited to, lightning, fire, water;
2. Transport costs between the home and place of service and other costs and risks of transport relating directly or indirectly to this guarantee;
3. Damage to the product resulting from neglect, misuse, including but not limited to, failure to use, repair and/or install the product for its
normal domestic purposes and/or in accordance with the operating instructions on its proper installation and use;
4. Modifications, adaptations and alterations of the product to operate in a country other than that for which it was originally designed and
manufactured, or any damage resulting from such modifications;
These statements do not affect your statutory rights as a consumer under applicable national legislation in force, nor your consumer’s rights against
the dealer from whom you bought the product.
If you need service, whether or not under guarantee, please approach the dealer who sold you the product.
In your own interest we advise you to read the instruction booklet for your THOMSON product carefully before contacting your dealer or service
center.
If you need service while in a country (within the named Territory) other than the one where you bought your product, please contact the nearest
THOMSON InfoCenter.
Should you have any questions which your dealer is unable to answer, please contact:
THOMSON InfoCenter (UK,IRL)
THOMSON Sales UK Ltd.,
30 Tower View
Kings Hill
West Malling
Kent ME19 4NQ
tel. 44 (0) 173 252 0920
fax. 44 (0) 173 252 0921
http://www.thomson-europe.com
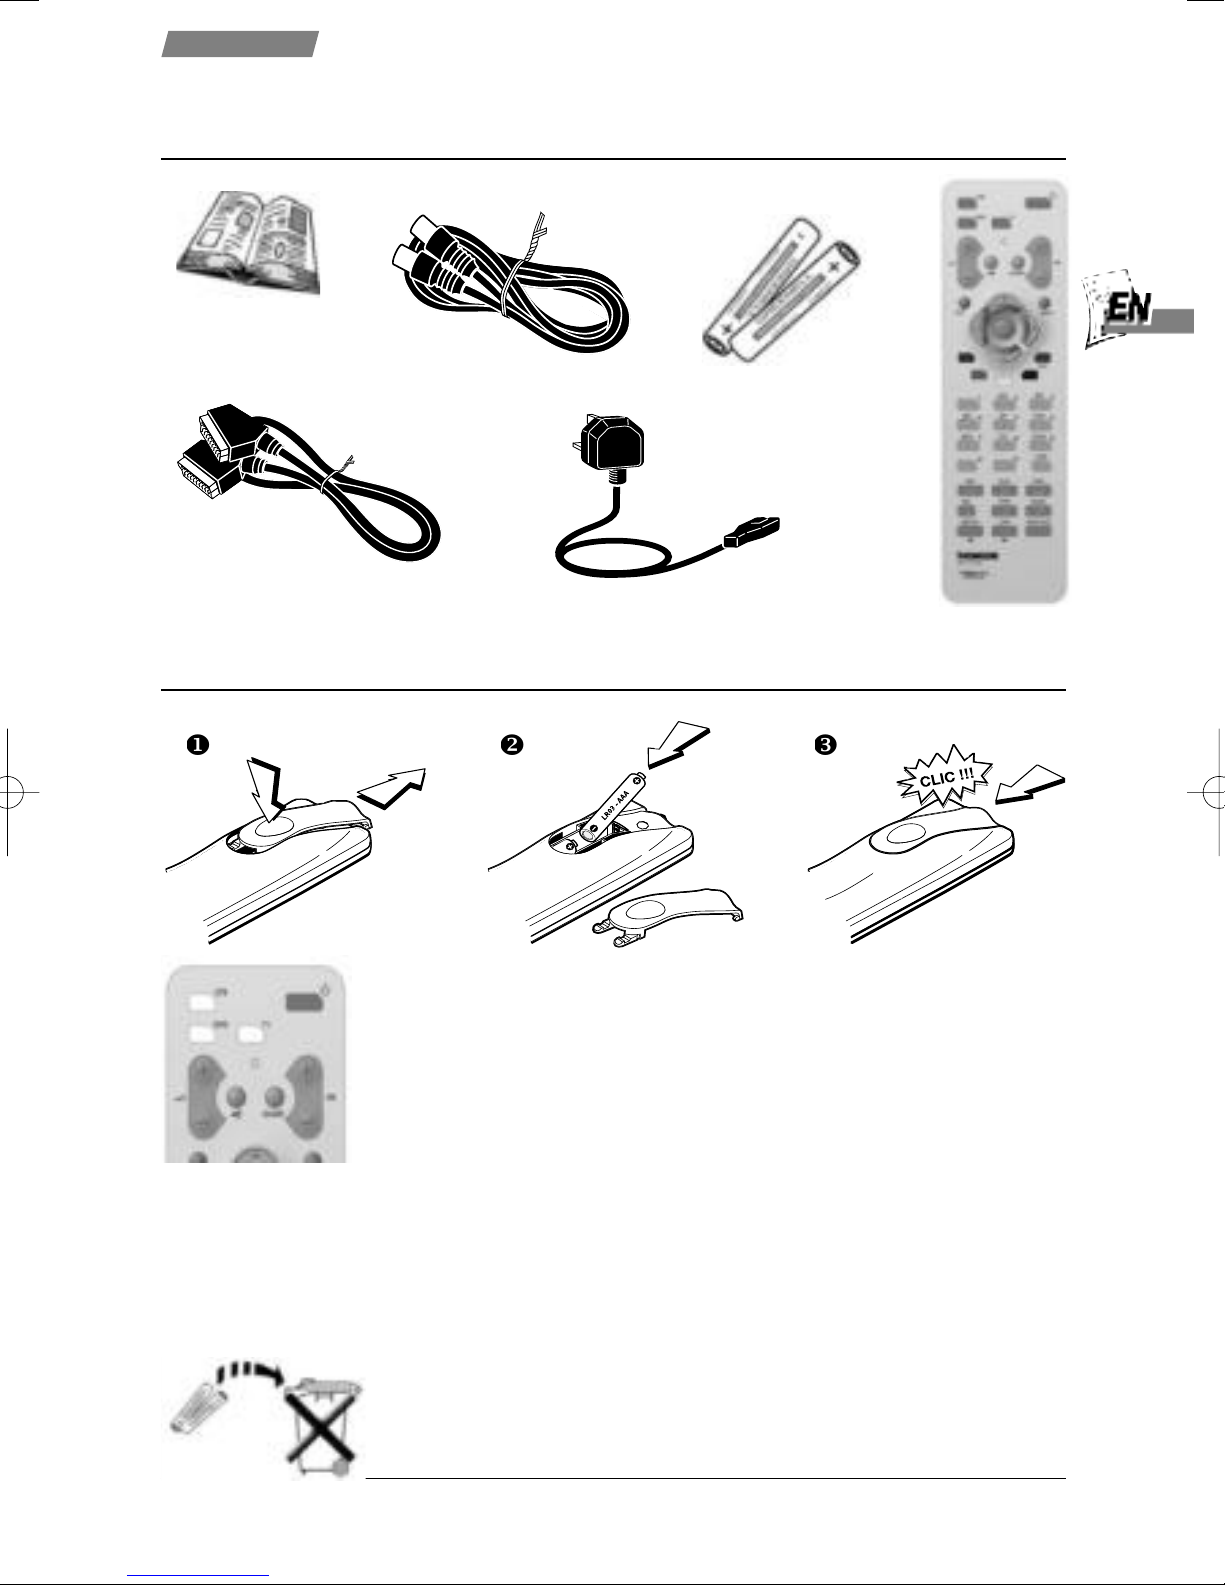
STB
Sets the remote control unit to STB
mode and turns your DVR On,
enabling you to control your DVR.
DVD / TV
Sets the remote control unit to
DVD or TV mode, enabling you to
control some functions of your
Thomson DVD player or TV set.
a
Adjusts the TV sound le el.
(Only on a Thomson TV set)
SUBTITLES
Turns on/off digital subtitles.
PR
Adjusts the current TV channel.
If fa ourites are programmed this
order is followed.
GUIDE
Displays the TV programme guides.
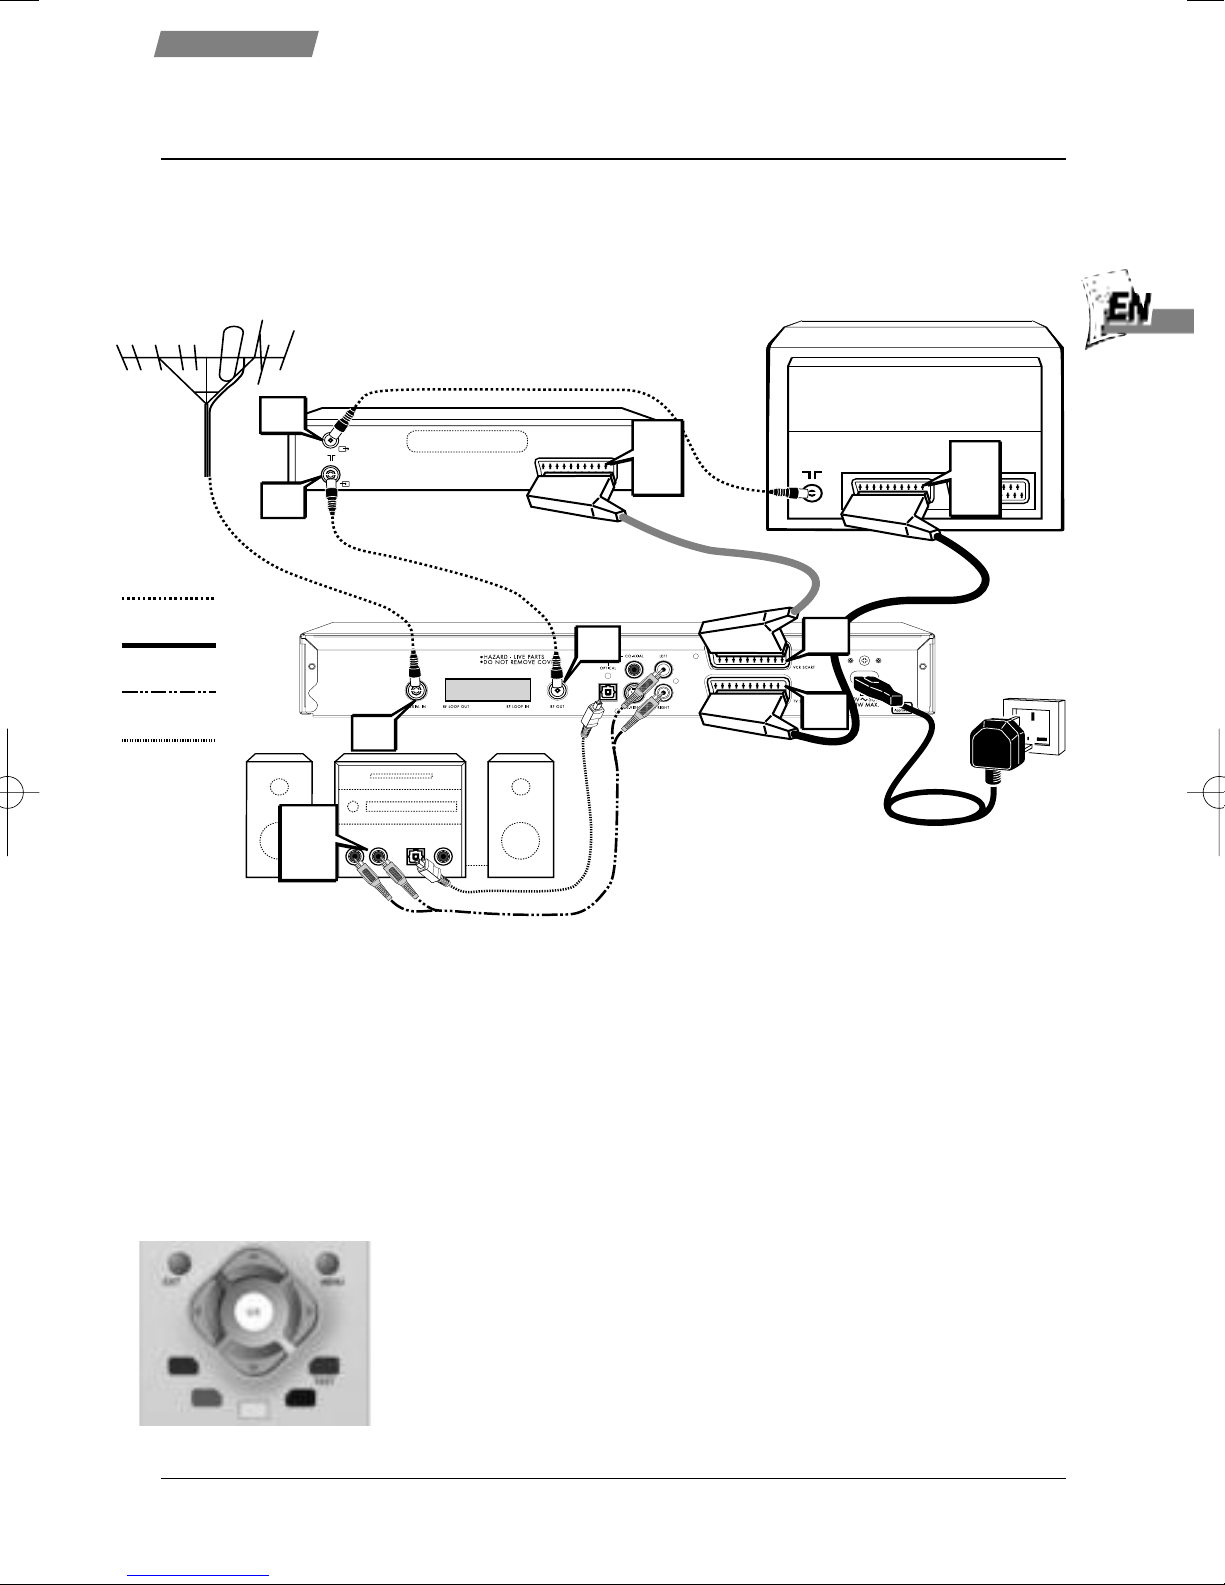
MENU
Displays the DVR main menu.
ARROW KEYS
Mo e the select box around the
menus to highlight the option
you want.
Also allows iewing of schedule
information, use Up/Down to
choose the programme and
Left/Right to choose the time.
EXIT
Remo es menu or other
information displayed on screen.
OK
Chooses the option you ha e
highlighted or confirms your
choice. Also acti ates
Quickfind for fast channel
selection.
COLOURED KEYS
Use to select the corresponding
colour option shown on screen.
NUMBER KEYS
For selecting channel numbers
or entering information into
menus.
WIDE
Choose iewing mode for
widescreen programmes.
AV
Press to watch analogue
pictures from your TV set.
REV
Fast backward search.
PLAY
Play at normal speed.
FWD
Fast forward search.
REC
To make an instant recording
of the current channel.
STOP
Stop recording or playback.
PAUSE / FRAME ADVANCE
Pause playback, or instant pause
for a li e broadcast. 30 minutes
of time shifted recording a ailable,
press PLAY to resume watching.
REPLAY
To jump back 30 seconds in
the TV programme being watched.
9
Jump backwards to the
pre ious scene in a recording.
:
Jump forwards to the
next scene in a recording.
LIVE
Immediately return to real time
if you ha e been watching
a time shifted programme.
TEXT
Enter / Exit teletext ser ices.
c
Turn on/off sound.
B
Turns your DVR (or TV/DVD) On
and Off.
Press twice for Thomson system
power Off.
D
IG
ITA
L
10 cm
7 cm
10 cm
10 cm
3573160A00 DHD4000 CVR2.qxd 11/02/2004 09:59 Page 2