2 Getting Started
2.1 Unpacking
Inspect the shipping container for damage.
If the shipping container seems to be damaged, keep it until you have inspected
the contents and you have inspected the PM100USB mechanically and electrically.
Verify that you have received the following items.
1. PM100USB power/energy meter
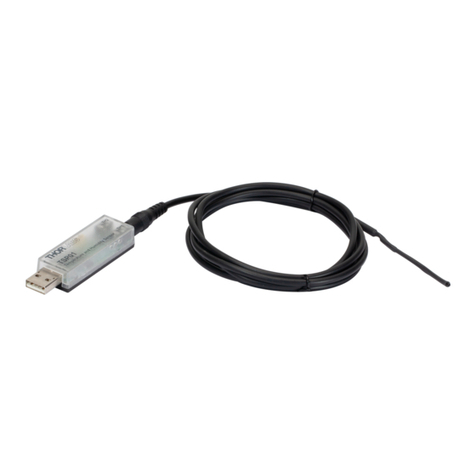
2. USB cable, type ‘A’ to ‘mini-B’
3. Quick-start guide
4. USB memory stick with instrument drivers, user application and operation
manual
5. Certificate of Calibration
2.2 Installation and Preparation
1.For proper installing the PM100USB it requires a NI-VISA runtime version on
the PC (available on the National Instruments website www.ni.com or from the
data carrier that comes with the instrument. Allow installing and follow the
dialog instructions.
2.Install the PM100 Utility software from the data carrier. You can chose a
convenient auto-run function of the data carrier by browsing to the folder
‘Autorun’ and executing ‘autorun.exe’.
3.Interlink the USB cable with its male type ‘A’ connector at the PC side and the
‘Mini B’ type connector on the instrument side. The PM100USB gets its opera-
tion power from the PC via the USB cable. When connecting the PM100USB
first time to a PC, sequent a new hardware ‘PM100USB test and measurement
device’ and a ‘DFU device’ will be recognized; please allow installing. After
successful installation the ‘USB LINK’ LED in the rear panel lights up and the
unit is ready to operate.
4.Connect a suitable power or energy sensor. The sensors are ‘hot swappable’
and have a self-fixing mechanism. To plug or unplug a sensor slightly press
from both sides on the pins in the connector housing. After recognizing a valid
sensor and downloading its information and calibration data the ‘SENSOR’ LED
in the rear panel lights up.
5.Run the PM100 Utility software and confirm the connected PM100USB.
For more information, please refer to the detailed user manual that is provided on
the data carrier that shipped with the PM100USB.
