The manual made no mention of where to mount the speed controller. To counter act the weight of
the rear mounted receiver and gyro/servo combo I wanted the ESC as far forward as I could get it.
With the motor and battery so close to the front it was an easy decision to put the speed controller
on the flat shelf in the front below the battery tray. This worked out perfectly for balance, wire
routing, and cooling.
As mentioned earlier, I had to remove the supplied connector and solder a Deans Ultra connector on
the speed controller. If this is your only helicopter you could easily use the supplied battery to ESC
connectors. The fact that I have seven LiPo battery packs, two other electric helicopters, a glider,
and a sport plane all wired with Deans connectors forced my hand.
It is time to take a few minutes to set up your transmitter before installing the servos. The first thing
to do is to set the correct swash plate type. I'm using a Futaba 9CHP Super so for me the correct
swash plate is SR-3 or three servo 120 degree CCPM. The next thing I do is setup my normal pitch
curve so that the three middle pitch points are 50. This way the transmitter stick doesn't have to be
perfectly centered when you level your servo arms. If you have your stick anywhere close to the
middle the servos will be perfectly centered.
You also want to inhibit or disable any pitch sliders or knobs. On a Futaba radio this means setting
the HOV-PIT and HOV-THR (hover pitch and hover throttle) to INH (inhibit). These are useless if you
plan on a 3D symmetrical pitch curve setup and a nuisance during CCPM set up. Also the 9C allows
you to alter the top and bottom pitch points with the VR sliders on the sides, these can be effectively
disabled in the High/Low Pitch menu. Set them to MAN (manual) and set the slider to NULL.
While we are in the radio set the Throttle Hold from Inhibit to OFF and check that the status changes
to ON when the switch is activated. Since we aren't concerned with setting an idle, you can leave this
at 0 percent and it will hold your motor off. It's a good practice to get into the habit of turning on the
transmitter and setting throttle hold to on. That way if you bump the throttle stick after the
helicopter is powered on it won't come alive in your hand or on the bench or while you are carrying it
out to the flight line. Trust me you will feel bad if you crash but you will feel worse if you tear up a
helicopter before you even make it out to the flight line.
I also like to rough in the gyro gain setting. Go to the GYRO SENS menu and set the mix to ACT,
switch to COND and the mode to GY (this is the appropriate setting for any heading hold style gyro).
Setting the switch to COND allows you to set a gain for each flight mode. For initial setup I set
Normal flight mode to AVC 50 and Idle 1 to NOR 50. This allows me to quickly flip to normal mode to
get my servo centered and gyro limit set correctly. Make sure you change this back to AVC for flight
testing. Also be sure you set a gain for throttle hold, I use AVC since the Mini Titan has a driven tail
rotor.
In every case I have seen when installing a speed controller with a Futaba radio I have had to
reverse the direction of the throttle channel in the transmitter. Go ahead and do this now, it will save
some puzzled looks later when the speed controller won't go into programming mode at full stick.
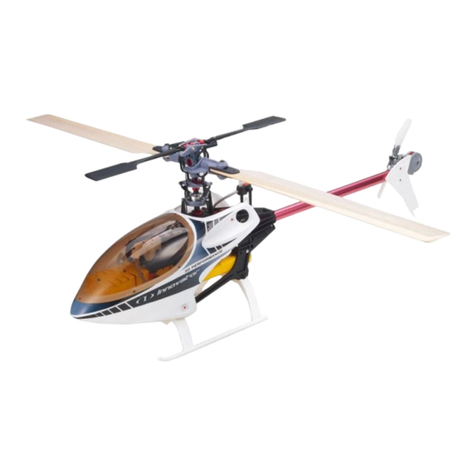
Main rotor head Initial radio setup ESC with ferrite ring
I like to use a regular receiver battery for setting up my servos, gyro, and programming the speed
controller. So if you have one, plug in a standard receiver battery and get ready to install your CCPM
servos. The single servo in the rear plugs into the elevator slot. The two opposing servos in the front
plug into the aileron and pitch channels. It's non critical which one you plug into pitch and which one
you plug into aileron.
Power up your servos and find the servo arm that is closest to a perfect 90 degree angle, mark it and
cut off the remaining arm or arms so they don't hit anything. Install a ball 12.5mm from center. If
you are using the same servos I am the holes in the arm are small enough for the ball mounting
screws to thread in to. If the holes in your servo arm are too large to grasp the screws firmly you will
have to figure something out along the same lines as I did for the tail servo.
The manual goes into great detail about setting up the servos and eCCPM including eliminating
interaction. Without any tinkering with the pre-built pushrods I found the swashplate perfectly level,
the washout arms level, and the upper mixing arms level with the collective stick at half. The only
problem I found with the pre-built rods was with the rods going from the mixing arms to the main
blade grips. With everything level the main grips were showing about -4 degrees so I knew during
final setup that I would have to lengthen these rods a bit.
