Caution
Do not use the rice cooker near walls
or furniture.
Steam and heat may cause damage,
discoloration and/or deformation. Use the
rice cooker at least 30 cm away from walls
or furniture. When using the rice cooker in
a hide-away-type of shelf or counter, be
careful not to allow the steam to remain
trapped inside the enclosed area.
At least 30 cm
Do not use the rice cooker on a
sliding tabletop that can not easily
bear its weight.
Falling from the tabletop may result in
injury, burns, or malfunction of the unit
itself.
Beforeusingthericecooker,conrm
thattheslidingtabletopissufciently
able to bear its weight.
Do not use the rice cooker near a heat
source or where it may be splashed
with water.
Doing so may result in electric shock,
short-circuiting,re,ordeformationor
malfunction of the rice cooker.
Do not use the rice cooker in a small
space where the operation panel is
exposed to steam.
Steam and heat may result in deformation
of the operation panel, and/or damage,
discoloration, deformation, and/or
malfunction of the rice cooker. When
using the rice cooker on a sliding tabletop,
pull the tabletop out so that the operation
panel is not exposed to the emitted steam.
Do not use the rice cooker in
situations where the air inlet or air
outlet may be blocked or where the
room temperature is high.
Do not place the rice cooker on top of
carpets, plastic bags, etc.
Doing so may result in electric shock,
short-circuiting,re,ormalfunctionof
the rice cooker.
Do not use the rice cooker on an IH
cooking heater.
Doing so may result in malfunction.
Do not use the rice cooker on an
aluminum sheet or electric carpet.
Doing so may generate heat from the
aluminum material, which could result in
smokeorre.
Power cord and plug
Be sure to hold the power plug when
disconnecting the cord from an outlet.
Failure to do so may cause an electric
shockorshort-circuiting,resultinginre.
Do not plug multiple appliances into
a single outlet.
Doingsomayresultinre.
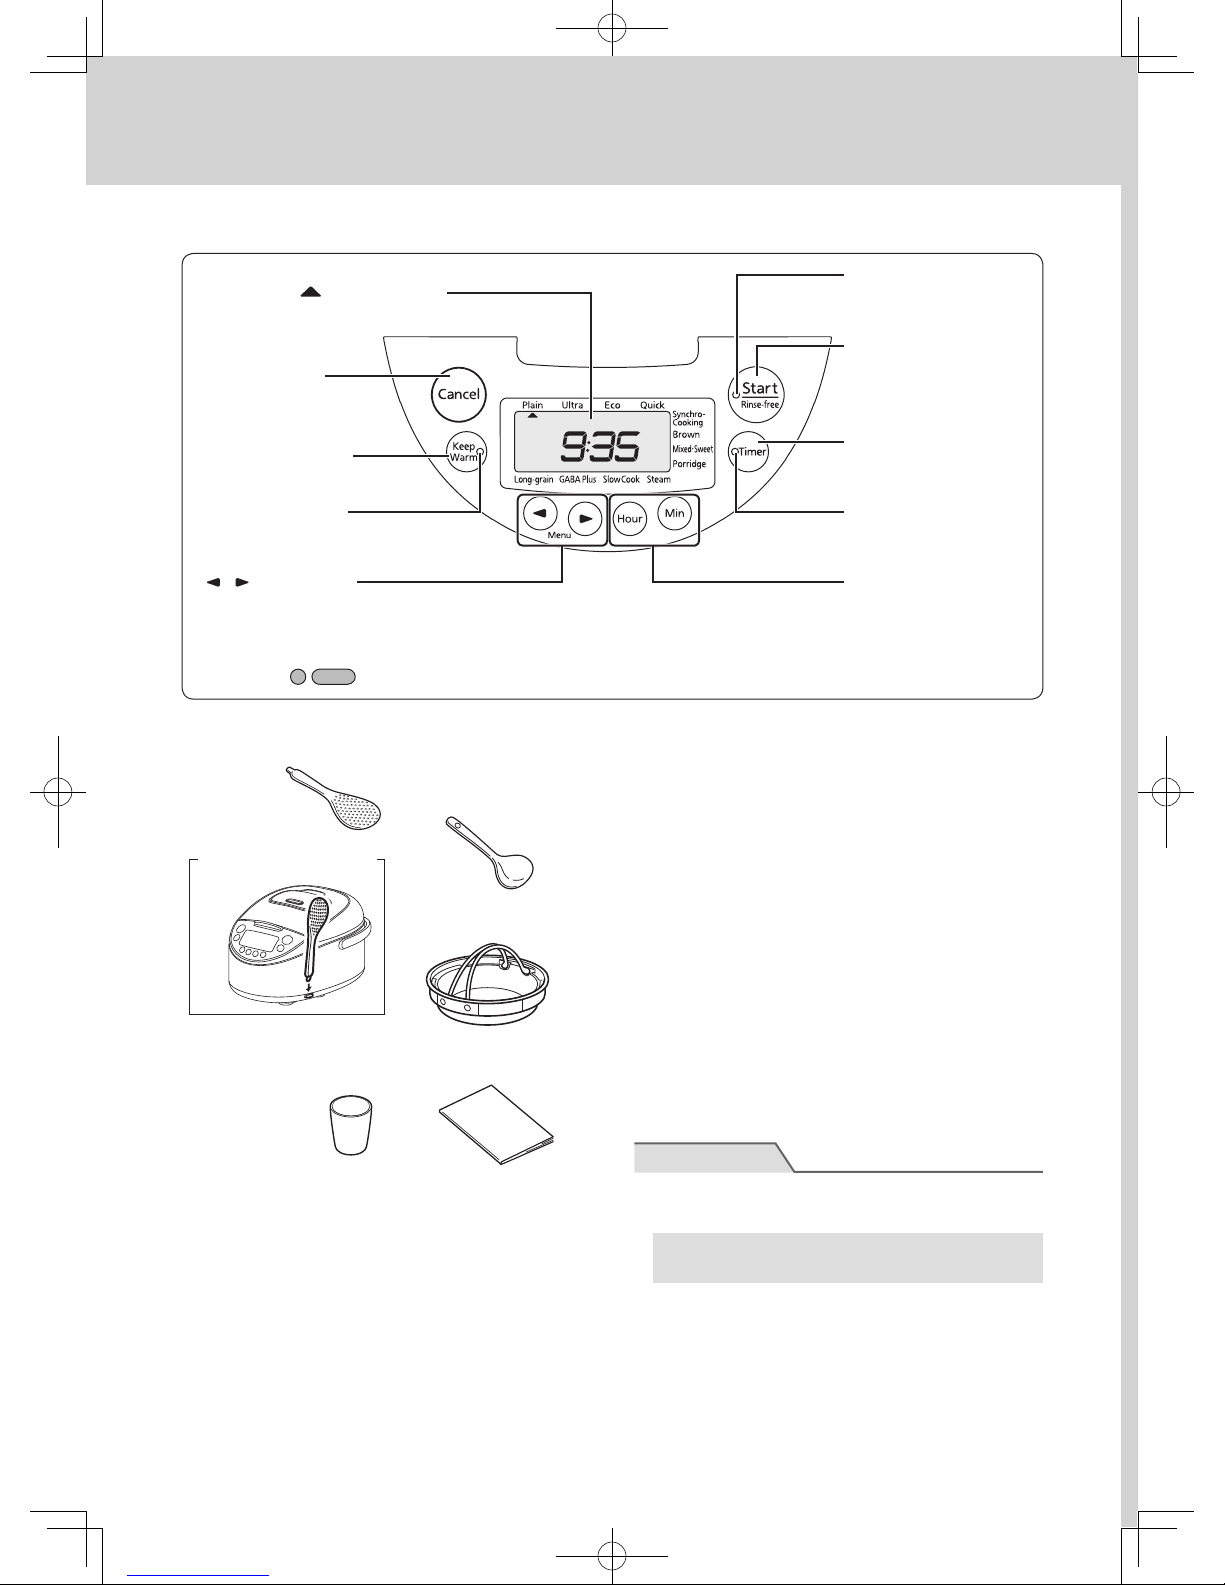
Handling the rice cooker
Only use the inner pot made
exclusively for this rice cooker.
Using any other pot may result in
overheating or malfunction.
Do not cook with the inner pot empty.
Doing so may result in overheating or
malfunction.
Do not place anything susceptible to
magnetism near the rice cooker, as the
rice cooker generates magnetic waves.
If the rice cooker is located near a TV
or radio, it may generate noise in the
TV or radio. If it is located near a cash
card, commuter pass for automatic ticket
gates, cassette tape, or video tape, it
may erase the data on those devices.
Be careful of the escaping steam
when opening the lid.
Exposure to steam may result in burns.