TileVision TV/17/FR User manual
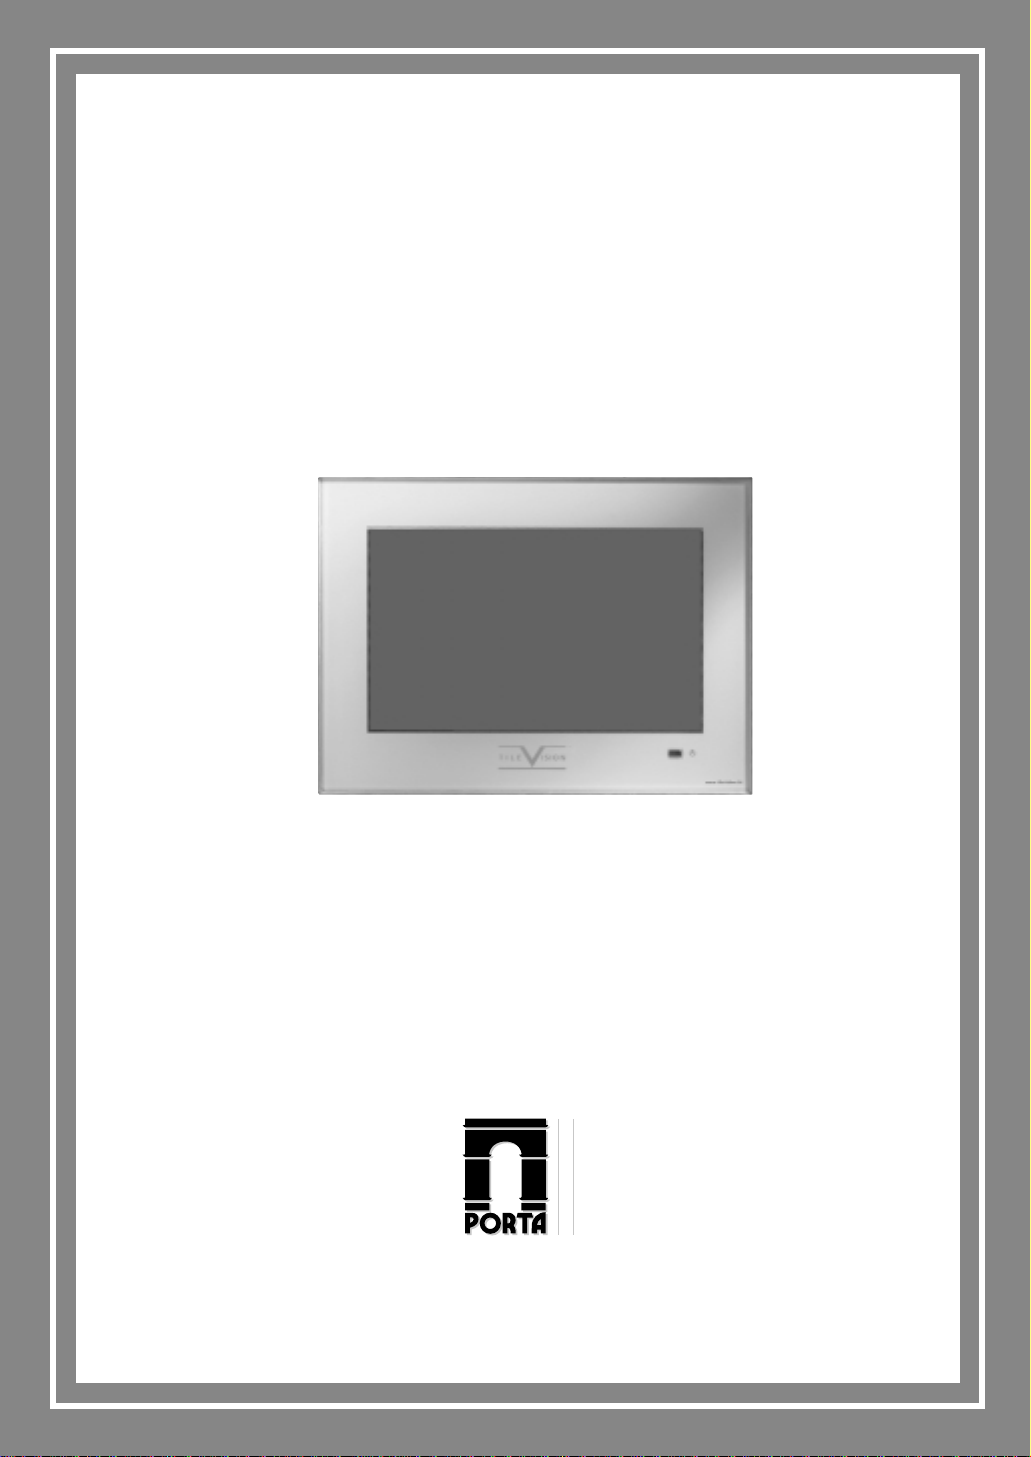
17" TileVision®
Operating instructions
PORTER LANCASTRIAN
PORTER LANCASTRIAN LIMITED
www.tilevision.tv
17" Widescreen TileVision®
A Wide Array of Screen Settings
You can choose different screen settings depending on the type of programme you are
watching or the surrounding conditions (the lighting or the outside weather conditions).
You can switch among the Sports, Movies, Music and Normal options, or you can
configure the screen settings yourself.
A Wide Array of Sound Settings
You can choose an optimal sound setting for the type of program you are watching.
You can switch among the Music, Movie, News and Normal options, or you can configure
the settings yourself.
Favourite Channel Memory
You can store your favourite channels in the order of preference for easy channel
selection.
Teletext Function
You can display teletext information at any time on your TileVision®.
CAUTION
RISK OF ELECTRIC SHOCK
DO NOT OPEN
This symbol is intended to alert the user to the presence of important operating
and maintenance (servicing) instructions in the literature accompanying the
appliance.
CAUTION: DO NOT REMOVE COVER.
NO USER-SERVICEABLE PARTS INSIDE.
REFER SERVICING TO QUALIFIED SERVICE PERSONNEL.
BEWARE OF STATIC SENSITIVE PARTS.

Safety Instructions
1
Do not use a damaged socket and do not let the power cord
touch a heat source.
–This may cause an electric shock or fire.
Do not attempt to service the unit.
Contact an authorised dealer or repair service.
–Servicing the unit yourself may cause an electric shock or fire.
If there are any unusual sounds or smells coming from the
unit, unplug it immediately and contact an authorised
dealer or repair service.
–This may cause an electric shock or fire.
If an outside antenna is connected to the unit, ensure the
external to internal cable entry is fully sealed
–This may cause an electric shock or fire.
Do not connect too many extension cords or plugs to
an outlet.
–This may cause a fire.
Keep the power adaptor away from any heat source.
–This may cause a fire.
Ensure the antenna is located away from overhead cables.
–This may cause an electric shock.

2
Tools Required
Suction Lifter
Silicone Isopropyl Alcohol
I
s
o
p
r
o
p
y
l
A
l
c
o
h
o
l
Soft Cloth

Table of Contents
3
Safety Instructions ................................................................................................................................1
Tools Required ......................................................................................................................................2
Unpacking your TileVision®....................................................................................................................4
Your TileVision®....................................................................................................................................5
Connector Inputs ..................................................................................................................................5
Connections ..........................................................................................................................................6
Connecting an Antenna or Cable ..........................................................................................................7
Connecting to the RCA or S-Video Input (AV1 or AV2) ........................................................................8
Connecting to a DVD or DTV Set-Top Box Input ..................................................................................9
Connecting to the SCART Input ............................................................................................................9
Installing the Front Plate ....................................................................................................................10
The Remote Control ............................................................................................................................11
Switching the TileVision®On/Off ..........................................................................................................12
Selecting a Picture from External Sources ........................................................................................12
Selecting your Language ....................................................................................................................12
Tuning and Storing Channels in Memory ............................................................................................13
Customising the Picture ......................................................................................................................15
Customising the Sound ......................................................................................................................16
Adjusting the Speaker Volume & Selecting the Speaker Sound Source ............................................17
Listening to Stereo Sound/Dual Sound ..............................................................................................18
Setting the Sound Effect ....................................................................................................................18
Setting the Date & Time ......................................................................................................................19
Setting the Preset Time (On/Off) ........................................................................................................20
Setting the Sleep Timer ......................................................................................................................20
Setting Restrictions On Button Input ..................................................................................................21
Reducing Picture Noise ......................................................................................................................21
Setting the OSD Display Time ............................................................................................................22
No Key Operation Auto Power Off ......................................................................................................22
No Signal Auto Power Off ..................................................................................................................23
Watching your Favourite Channels ....................................................................................................23
Display the Picture in Picture (PIP) ....................................................................................................24
Changing the Picture Size ..................................................................................................................26
Display a Still Image ............................................................................................................................26
Teletext Functions ..............................................................................................................................27
Displaying the Teletext Information ....................................................................................................27
Selecting Special Teletext Functions ..................................................................................................28
Connecting to the PC ..........................................................................................................................29
Adjusting the Screen Colour ..............................................................................................................30
Troubleshooting ..................................................................................................................................31
Specifications ......................................................................................................................................32

Unpacking your TileVision®
4
Accessories
Please make sure the following items are included with your TileVision®
if any items are missing, contact your dealer.
Two boxes supplied –
1. Back Box Assembly –(first fix)
2 speakers.
2 lengths speaker cable.
1 12V DC Adaptor.
1 12v DC Power cord.
1 back box.
1 Back box Installation instructions.
2. Front Assembly –(second fix)
1 front plate assembly complete with velcro sealing strips.
1 remote control.
1 Installation and instruction manual.

Your TileVision®
5
Front View
Indicator
Red
Green
Green blinking
Remote control sensor and indicator
Status
Stand-by
Power on
Remote control
Power Indicator Status
Connector Inputs
Power Input Jack
Power Input Jack (7-pin Not Used)
RGB Video Input Connector (PC)
DTV/DVD Video (Y/Pb/Pr) Input
DTV/DVD Audio Input
1
2
3
4
5
AV1 S-Video Input
AV1 Video Input
AV1 Audio Input
Antenna Input Jack
EURO-SCART Jack
6
7
8
9
10
12VDC Y Pb Pr L R
S-VIDEO
VIDEO
L R
Audio
ANT
Audio
DTV/DVD AV1
EURO-SCART
RGBPOWER
4
6
32
15
78910

Connections
6
Power
Plug the 12 volt power lead into the socket (1) –clearly marked ‘12V DC’. Next connect the
green/yellow Earth cables from the backbox to the earthing screws marked with green earthing
labels on the TileVision®chassis.
Note: The unit is either On or in Standby Mode –the TileVision®is permanently powered up.
Speakers
Connect the speaker wires into the Grey Connection
Block. Depress one of the lugs and push one conductor
of the speaker lead in. Release the lug and give the lead
a slight pull to make sure that it is gripped correctly.
Connect the other wires in the same way.
To ensure that the speakers are in correct phase, the
conductor with the stripe should be connected to the
negative terminal (L–or R–) and the plain
conductor should be connected to the corresponding
positive terminal (L+ or R+).
Antenna Feed
Plug the antenna feed into the ANT Input jack (9). (See page 9.)
AV/DVD/S-Video Inputs
If the above inputs are to be utilised the necessary cables must be installed at the same time as
the back box. (See pages 10 and 11.)
Careful consideration should be given to these prior to the installation of the unit.
Speaker Connection Block
L–L+ R–R+

7
ANT
or
Cabl T l vision
N twork
R ar of th TV
Connecting an Antenna or Cable
1
2
To view television channels correctly, a signal must be received by the set from one of
the following sources: an outdoor antenna, a cable television system or a satellite dish.
Connect the antenna or input cable to the 75Ωcoaxial input
on the rear of the TV.
If you are using an indoor antenna, you may need to turn it
when tuning your television until you receive a clear picture.

Connecting to the RCA or S-Video Input ( AV1 or AV2 )
8
All connections must be made prior to sealing the front plate into the back box.
(A) For RCA Input
1. Connect the RCA cable to the input jacks (video+ audio L/R of AV1 or AV2) on the TV and
output jacks on the external equipment such as a VCR, camcorder and some video game
devices.
(B) For S-Video Input
1. Connect the S-Video/RCA (audio L/R of AV1 or AV2) cable to the input jacks on the TV and
output jacks on the external equipment such as a VCR, camcorder and some video game
devices.
2. If the external equipment has mono audio output, connect it only to left jack of the Audio
Input/Output.
S-Video VIDEO LR
AV1
VCR
Camcorder
Video game device
(A) For RCA Input
(B) For S-Video Input
Connecting to a DVD or DTV Set-Top Box Input
9
Connecting to the SCART Input
YPb Pr L R
AV3
Video Cable
Audio Cable
DVD/DTV STB
EURO-SCART
VCR
Camcorder
Video game device
Satellite receiver
(A) SCART to SCART connector
or
(B) SCART to RCA connectors
(Video + Audio L/R)
All connections must be made prior to sealing the front plate into the back box.
◆ The EURO-SCART connector is used for external equipment with RGB output,
such as a VCR, satellite receiver, camcorder, or video game devices.
◆ You can select and set one among the three types of cables (A, B) appropriate
for the output jack of external device.
All connections must be made prior to sealing the front plate into the back box.
1. Connect the video cables to the Y, Pb, Pr input jacks (AV3) on the TV and the Y, Pb, Pr output
jacks on the DVD or DTV Set-Top Box.
2. Connect the audio cables to the Audio L/R input jacks (AV3) on the TV and the Audio output
jacks on the DVD or DTV Set-Top Box.
Installing the Front Plate
10
Checking Back box prior to installation of front plate
Before commencing the installation of the front plate the polystyrene-blanking panel must be removed
from the Backbox. The next step is to ensure that the appropriate cables and their connectors are
present within the backbox.
It is important to ensure that the flange inside the backbox is cleaned using a grease removal agent and
allowing it to dry. The space between the back box and front plate must be even on all 4 sides. If the
flange needs to be straightened, this must be done before proceeding any further. This is very important,
as any damage will affect the unit’s waterproofing capabilities.
Installation of the front plate
Remove the front plate from its packaging and place the remote control to one side, next remove the
protective plastic film from the glass.
Introduce the lower front edge of the unit into the box and fit the earth straps to the two Earthing screws
as indicated by the green labels on the rear of the front plate. Connect all cables to their respective
sockets (refer to pages 8 to 11 of these instructions).
The next step is to remove the soft adhesive protector from the top length of special Velcro‚and press
the front plate into the back plate (it may be necessary to adjust the position of the cables to achieve a
good fit).
The unit installation must comply with all relevant electrical safety regulations before turning the mains
supply to the 12V-power adaptor on. The unit should now show a red indicator light showing that it is
standby mode.
The next step is to tune the unit as detailed on pages 15 and 16.
Once you are satisfied that the unit is tuned and working correctly, press the Power 0/I button to put the
unit in standby mode.
Gently remove the front plate using a suction lifter; please do not use a lever to remove the front plate as
this will invalidate your guarantee. Next remove the self-adhesive protectors from the side and bottom
Velcro strips and press the front panel in the back box with reasonable force. Take care to apply force to
all 4 sides of the box, press the Power 0/I button to turn the unit on again and check that it is still working
correctly.
Sealing the unit
When you are sure that the unit is installed correctly put it in standby mode and apply a clear silicone
sealant to the joint between the sides of the back box and the sides of the front plate. Ensure that the
silicone is worked into the gap evenly and is applied without any gaps, bubbles, etc. Wipe any excess
silicone away; check visually for any gaps or bubbles rectify if necessary. This Seal is of the greatest
importance to the reliable and safe operation of this unit and must be waterproof.
Sealing Tip: To achieve a neat seal easily it is good practice to use masking tape around the TileVision®
glass screen and the surrounding tiles, just leaving sufficient gap to apply the silicone sealant around the
joint between the sides of the backbox and front plate.
Note: It is the installer’s responsibility to ensure that the TileVision®unit is installed and sealed correctly,
failure to do so will invalidate your guarantee. The unit will require cleaning and re-sealing after any
servicing/repair operation
Cleaning Instructions
To clean the front screen, use only a soft damp cloth. Under no circumstances are abrasive
cleaners to be used, failure to observe this warning will Invalidate your guarantee.
Note: A glass carrier/suction lifter is required.

☛ ––MMaakkee ssuurree tthheerree aarree nnoo oobbjjeeccttss bbeettwweeeenn tthhee rreemmoottee ccoonnttrrooll aanndd iittss sseennssoorr
––DDoonn''tt ppllaaccee tthhee rreemmoottee ccoonnttrrooll nneeaarr aa hheeaatteerr
––AA ssttrroonngg bbllooww ttoo tthhee rreemmoottee ccoonnttrrooll mmaayy ccaauussee iitt nnoott ttoo ooppeerraattee
––IItt iiss nnoott ppoossssiibbllee ttoo rreeppllaaccee tthhee bbaatttteerriieess iinn tthhee rreemmoottee ccoonnttrrooll PPlleeaassee ccoonnttaacctt
yyoouurr TTiilleeiissiioonn®®ssuupppplliieerr ttoo ppuurrcchhaassee aa nneeww uunniitt ((ppaarrtt nnuummbbeerr TTVVSS////))
wwhheenn tthhee bbaatttteerriieess rruunn oouutt
Remote Control
11
Power On/Off button
Numeric buttons
Previous Channel
ON Screen Display and
MENU
( ) and ❷()
(Channel Up / Down,
Page 15)
(Teletext Page Up / Down,
Page 30)
Favourite Channel selection
(See page 25)
Sleep Timer (See page 22)
Picture Still (See page 28)
Picture size selection
(See page 28)
Teletext Functions:
(See page 29~30)
- Teletext On/Off ( )
- Cancel ( )
- Sub Page On ( )
- Page Hold ( )
- Index ( )
- Mix ( )
- Size ( )
- Reveal ( )
Fastext Functions
: (See page 29)
Temporary Sound Mute
External Source Input Selection
(See page 14 )
TV input Source Selection
(See page 14)
MENU Confirmation
TV Information Display
PIP Functions:
(See page 26~27)
-PIP On/Off ( )
-Position Selection ( )
-Size Selection ( )
-Picture Mode Selection ( )
-Swapping main and sub
picture ( )
-Selecting the Input Source( )
Sound Selection :
Mono/Stereo Dual Select
( ) (See page 20)
Sound Effect Selection
( ) (See page 20)
Sound Mode Selection
( ) (See page 18)
Picture Mode Selection
( ) (See page 17)
123
456
PC
DTV
789
Q.View
0
VIDEO
MENU
Still
16:9
TileVision®
Favorite
OK
Pr/C/S
Swap
1
2
3
4
6
5
7
8
9
10
20
19 18
17
16
14
15
13
12
11
1
2
3
4
6
5
7
8
9
10
13
12
11
16
14
15
18
17
20
19
Swap
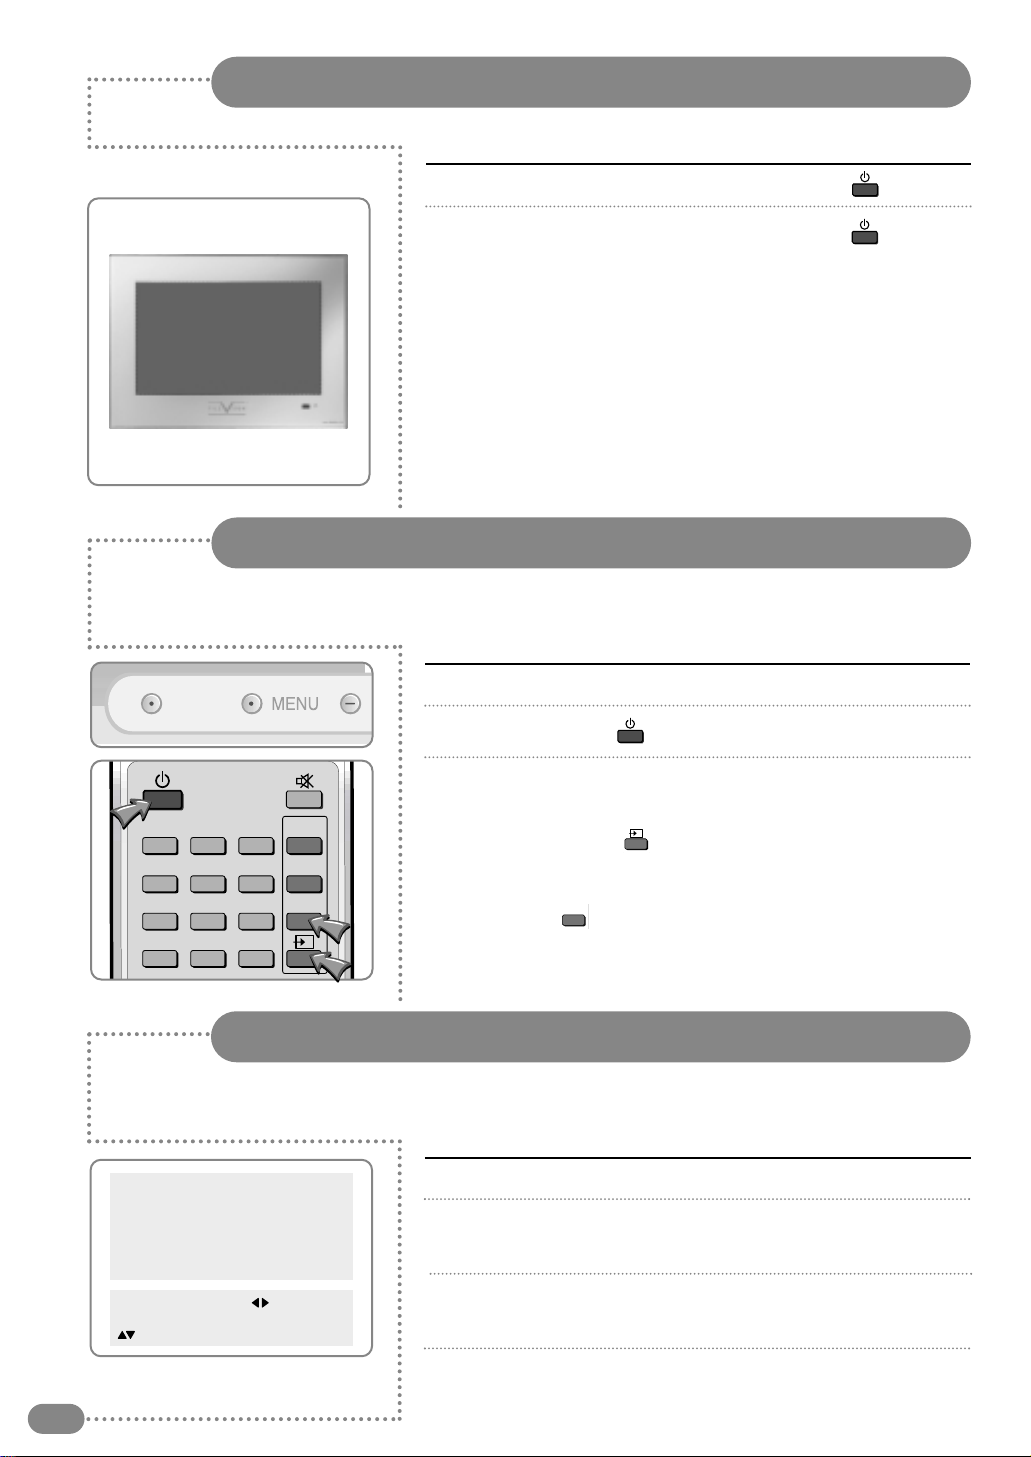
Switching the TileVision®On/Off
12
1
To switch your TileVision®on, press the POWER( ) button.
2
To switch your TileVision®off, press the POWER( ) button
again.
■ The Input Source ( ) is displayed in following order :
TV ➔ EURO SCART ➔ AV1 VIDEO AV1 S-VHS ➔
AV2 VIDEO ➔ AV2 S-VHS ➔ DTV ➔ PC
■ The Video( ) is displayed in the following order :
AV2 S-VHS ➔ AV2 VIDEO ➔ AV1 S-VHS ➔
AV1 VIDEO ➔ EURO SCART ➔ TV
1
Make sure all the necessary connections have been made.
2
Press the POWER( ) button to switch the device on.
3
Select the favourite source by pressing the INPUT button one
or more times.
INPUT
123
456
PC
DTV
789
Q.View
0
VIDEO
Pr/C/S
Selecting a Picture from External Sources
VIDEO
After your various systems (audio and video) have been connected, you can view any
of the sources by selecting the appropriate external input.
1
Press the MENU button.
2
Press the (
❷
)button to select the language and then
press the OK or (❿)button.
3
Select the appropriate language by pressing the (
❷
)
button and then press the OK or (❿)button.
4
Press the MENU button to return to the previous menu.
Pictur
Sound
Clock
Install
Languag
Advanc d
MENU : Pr vious : S l ct
INPUT : Exit OK : S l ct
: Position
Selecting your Language
When you start using your TV for the first time, you must select the language in which to
display all on-screen menus.

Tuning and Storing Channels in Memory
13
Ensure the TileVision®is in Standby Mode (LED indicator
shows red)
Enter the Security Code ( ,1, 2, 5, ) in sequence. This
code prevents unauthorised de-tuning of the TileVision®.
Press the MENU button. (Install does not appear if Security
Code is not entered.) If Install does not appear in the menu
repeat step 2
Press the (
❷
)button to select Install group and press the
(➛❿)or OK button.
Press the (
❷
)button to select Auto tuning, and press the
(➛❿)button to select the country. Then press the OK
button for about 3 seconds.
You can select the countries in following order.
BE ➔ DE ➔ ES ➔ FR ➔ IT ➔ NL ➔ SE ➔ CH ➔ UK ➔
E/EURO ➔ Other
■ You can stop the Auto tuning by pressing the MENU button
during auto tuning.
When you stop it, menus on the screen will be sorted and
changed to the Program Edit screen automatically.
■ When the Auto tuning is finished, menus on the screen will
be changed to the Program Edit screen automatically.
Press the (
❷
)button to select Program and press the
(➛❿)button. The channels will be stored one by one.
Press the (
❷
)button to select System.
■ Press the (➛❿)button to change the Sound System if
there is no sound.
You can select the Sound System in the following order.
I ➔ L➔ L➔ M ➔ BG ➔ DK
☛ UUssee tthhee AAuuttoo ttuunniinngg dduurriinngg aa bbrrooaaddccaasstt aafftteerr ccoonnnneeccttiinngg
tthhee aanntteennnnaa.
Press the (
❷
)button to select Manual tuning.
Press the ( ) button to select C (broadcast channels) or
S (cable channels) and press the channel number with the
number (0~9) buttons.
■ Press the (➛❿)button to increase or decrease the channel
by one.
■ The MANUAL Search function will operate in the button
direction you pressed when you press the (➛❿)button for
more than 2 seconds.
If you have picture noise on step 6, Press the (
❷
)button to
select Fine Tuning and press the (➛❿)button to adjust the
picture to its optimum setting.
MENU
Favorite
OK
Pictur
Sound
Clock
Install
Languag
Advanc d
MENU : Pr vious : S l ct
INPUT : Exit OK : S l ct
: Position
Auto tunning UK
Program 24
Syst m I
Manual Tunning S14
Fin Tunning 253.25
Nam - - - - -
Program Edit
MENU : Pr vious : S l ct
INPUT : Exit
: Position
Install
Q.View
0
Pr/C/S
Auto tunning UK
Program 24
Syst m I
Manual Tunning S14
Fin Tunning 253.25
Nam - - - - -
Program Edit
MENU : Pr vious : Acc ss
INPUT : Exit
: Position
Install
Auto tunning UK
Program 24
Syst m I
Manual Tunning S14
Fin Tunning 253.25
Nam - - - - -
Program Edit
MENU : Pr vious : Adjust
INPUT : Exit
: Position
Install
Pr/C/S
3
4
1
2
5
6
7
8
9

Tuning and Storing Channels in Memory
14
Setting the program name and modification.
Press the (
❷
)button to select Name and then press the
(➛❿)button On the right side you can then input a program
name using up to 5 characters.
( A~Z, a~z, 0 ~9, space, !, x, +, -, / )
Press the ( ) button after you input the program name to store it.
Program edit.
■ Press the (
❷
)button to select Program Edit and press
the OK button.
You will see following MENU.
Pr, Ch, Freq., Name, Lock, Skip.
■ If you want to change the program order, press the (
❷
)
button to move to the channel you want to edit and press
the ( ) button. Press the (
❷
)button for the direction
to move.
■ If you want to swap channels, press the (
❷
)button to
move to channel you want to edit and press the ( )
button. Then press the (
❷
)button to move to the other
channel position and press the ( ) button again. The
channels will be swapped each other.
■ You can set the channel lock by pressing the (
❷
)button
to move to the channel position you want to lock and
pressing the ( ) button.
■ You can set a channel skip by pressing the (
❷
)button to
move to the channel you do not want to watch or do not
need and pressing the ( ) button.
■ You can delete a channel by pressing the (
❷
)button to
move to the channel you do not want to watch or do not
need and pressing the ( ) button.
■ Delete ( ) : Delete a program you don't want to watch.
■ Move ( ) : Move to the program you want to edit.
■ Swap ( ) : Swap programs you select with each other.
■ Lock ( ) : Lock the program you select.
■ Skip ( ) : Skip a channel you don't want to watch.
Pictur
Sound
Clock
Install
Languag
Advanc d
MENU : Pr vious : S l ct
INPUT : Exit OK : S l ct
: Position
Auto tunning UK
Program 24
Syst m I
Manual Tunning S14
Fin Tunning 253.25
Nam - - - - -
Program Edit
MENU : Pr vious : Acc ss
INPUT : Exit
: Position
Install
Auto tunning UK
Program 24
Syst m I
Manual Tunning S14
Fin Tunning 253.25
Nam - - - - -
Program Edit
MENU : Pr vious : Acc ss
INPUT : Exit
: Position
Install
Pr Ch. Fr q Nam Lock Skip
Program Edit
10
11

Customising the Picture
15
Press the MENU button.
Press the (
❷
)button to select the Picture group and press
the(➛❿)or OK button.
■ Pre-set mode will be displayed.
The picture mode will change whenever you press the (➛❿)
button.
You can get the same result by pressing the ( )button
on the remote control.
Standard : Select when it is bright around the TV.
Sports : Select when you want to get a clearer picture or
watch sports.
Natural : Select when viewing movies or live music.
Mild : Select when it is dark around the TV or at night.
Custom : Select if you want to adjust the settings manually.
Press the (
❷
)button to move to the MENU that you wish to
adjust.
Press the (➛❿)button to adjust.
Contrast : Adjusts the clarity of the whole screen.
Brightness : Adjusts the brightness of the whole screen.
Sharpness : Corrects the contours of the image.
Colour : Adjusts the colour saturation of the image.
Tint : Adjusts the colours of the image.
☛ IIff yyoouu aaddjjuusstt tthhee TTVV iinn sstteepp wwhhiillee iitt iiss iinn SSttaannddaarrdd
SSppoorrttss NNaattuurraall oorr MMiilldd mmooddee tthhee mmooddee wwiillll cchhaannggee ttoo
CCuussttoomm mmooddee
MENU
Favorite
OK
Still
16:9 Swap
Pictur
Sound
Clock
Install
Languag
Advanc d
MENU : Pr vious : S l ct
INPUT : Exit OK : S l ct
: Position
Mod Standard
Contrast
Brightn ss
Sharpn ss
Colour
Tint
MENU : Pr vious : S l ct
INPUT : Exit
: Position
Pictur
47
55
28
50
0
Mod Custom
Contrast
Brightn ss
Sharpn ss
Colour
Tint
MENU : Pr vious : S l ct
TV/AV : Exit
: Position
Pictur
79
51
28
50
0
1
2
3
4
5
You can select an appropriate picture mode by pressing the (
❿
)button in Picture mode.
Customising the Sound
16
Press the MENU button.
Press the (
❷
)button to select Sound group and press
the(➛❿)or OK button.
Press the (
❷
)button to select Balance and press the
(➛❿)button to adjust the sound balance.
Press the (
❷
)button to select Equalizer and press the
(➛❿)button.
Press the (
❷
)button to select the sound mode according to
the type of image being watched.
Sound mode will be change in the following order.
Standard ➔ Music ➔ Film ➔ Speech ➔ Custom
The ( ) button on the remote control has the same function.
Standard : This is good for any picture.
Music :
Select when you listen to music, videos or concerts.
Film : Select when you watch the a movie.
Speech : Select when you listen to speeches or news.
Custom : Select when you want to adjust the setting
manually.
Press the (
❷
)button to select Custom and press the
(➛❿)button to select the frequency that you want to adjust.
The frequency range will be selected as following order.
100 ➔ 300 ➔ 1K ➔ 3K ➔ 10K
Press the (
❷
)button to adjust.
☛ IIff yyoouu aaddjjuusstt tthhee ffrreeqquueennccyy ((HHzz HHzz KKHHzz KKHHzz
KKHHzz)) iinn SSttaannddaarrdd MMuussiicc FFiillmm SSppeeeecchh oorr CCuussttoomm mmooddee
tthhee mmooddee wwiillll cchhaannggee ttoo CCuussttoomm mmooddee
MENU
Favorite
OK
Pictur
Sound
Clock
Install
Languag
Advanc d
MENU : Pr vious : S l ct
INPUT : Exit OK : S l ct
: Position
Balanc R5
Equaliz r
Volum 2
Input Sourc Main
MENU : Pr vious : Adjust
INPUT : Exit
: Position
Sound
Mod
Standard
Music
Film
Sp ch
Custom
MENU : Pr vious : S l ct
INPUT : Exit
: Position
>>
100
Equaliz r
300
1K
3K
10K
1
2
3
4
5
6
7

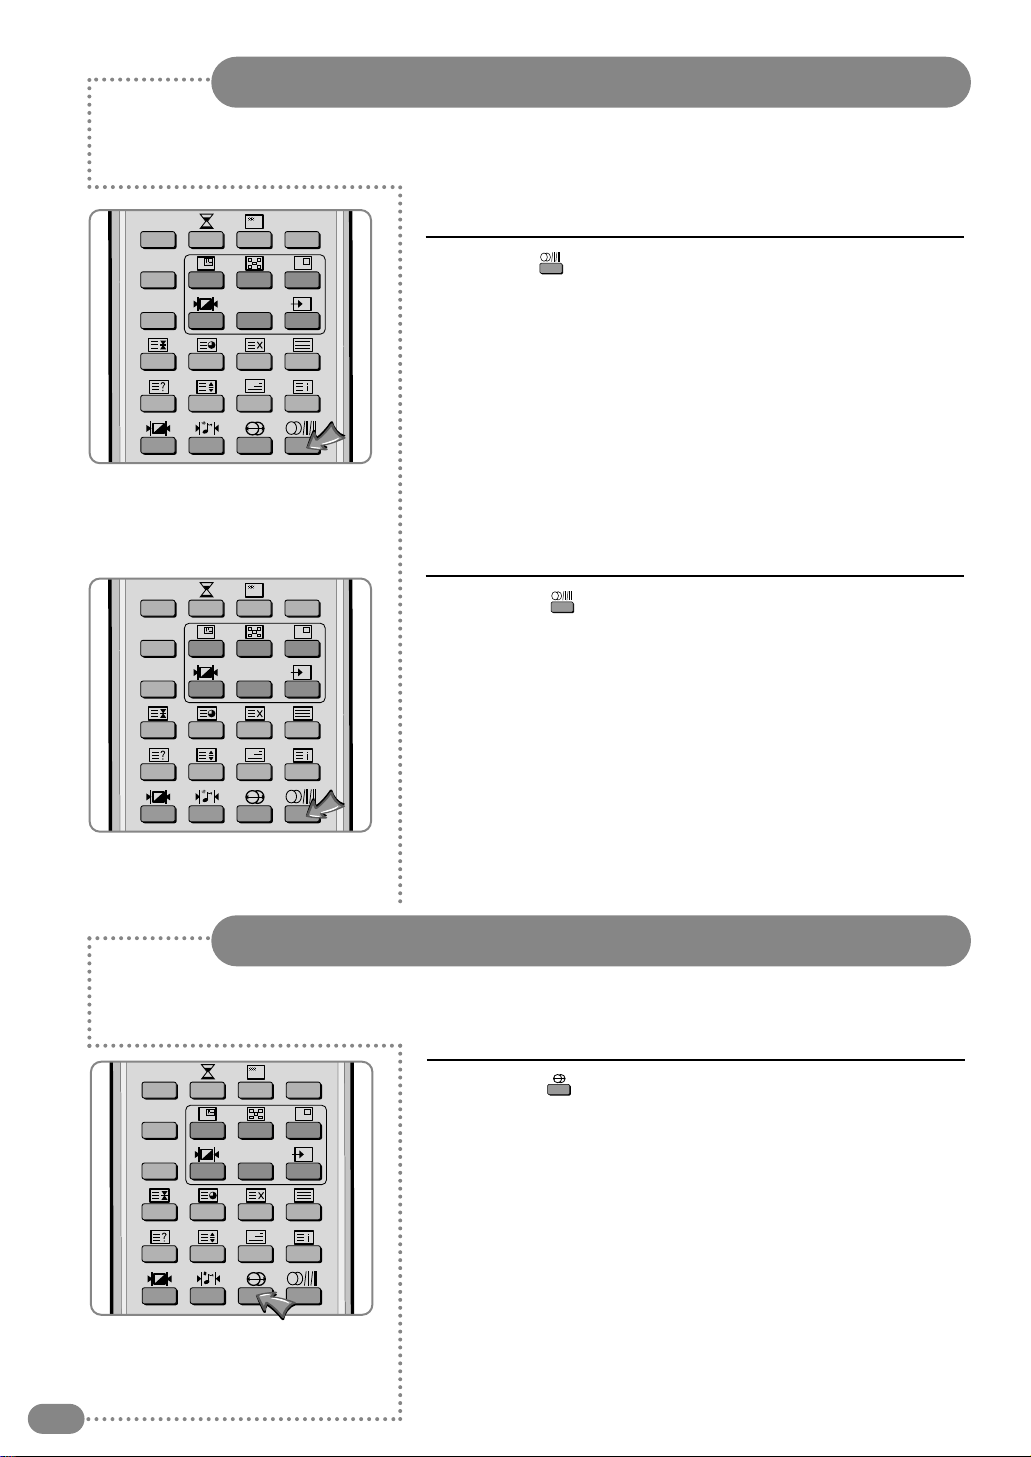
Adjusting the Speaker Volume & Selecting the Speaker Sound Source
17
Press the MENU button.
Press the (
❷
)button to select Sound group and press
the(➛❿)or OK button.
Press the (
❷
)button to select Volume (speaker).
Press the (➛❿)button to adjust the speaker volume.
Press the (
❷
)button to select the Input Source of the
speaker.
Press the (
❷
)button to select the sound source of the
speaker.
Main ➔ PIP ➔ TV ➔ SCART ➔ AV1 ➔ AV2 ➔ DTV
1
2
3
4
5
6
MENU
Favorite
OK
Pictur
Sound
Clock
Install
Languag
Advanc d
MENU : Pr vious : S l ct
INPUT : Exit OK : S l ct
: Position
Balanc R5
Equaliz r
Volum 2
Input Sourc Main
MENU : Pr vious : Adjust
INPUT : Exit
: Position
Sound
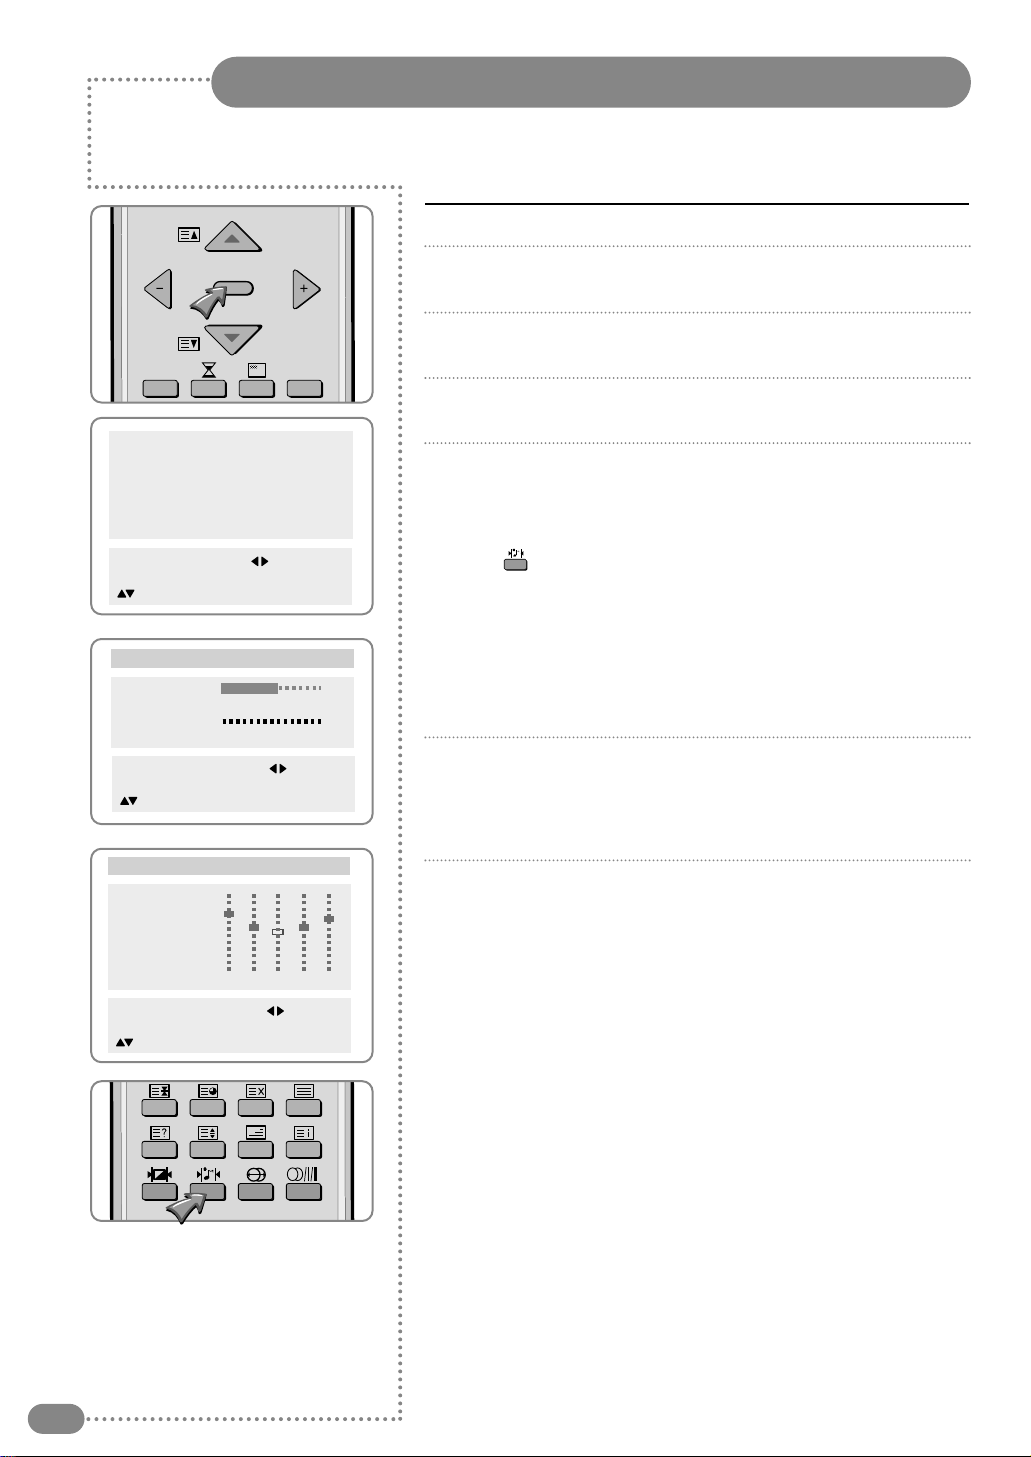
Listening to Stereo Sound / Dual Sound
18
Still
16:9
Favorite
OK
Swap
Still
16:9
Favorite
OK
Swap
Listening to stereo sound
Listening to the Dual sound
Press the ( )button on the remote control to select Dual
sound.
Dual 1: Your national language or Dual 2: Foreign language
will be selected by turn whenever you press the
button.
Press the ( ) button on the remote control to select Mono
or Stereo.
■ Mono or Stereo be will selected in turn whenever you
press the button.
☛ SSeelleecctt MMoonnoo ssoouunndd wwhheenn yyoouu hhaaee ddiiffffiiccuullttyy wwiitthh sstteerreeoo
ssoouunndd
1
1
Still
16:9
Favorite
OK
Swap
Setting the Sound Effect
Press the ( ) button on the remote control to select Off
or Pseudo.
■ Off or Pseudo will be selected in turn whenever you press
this button.
Off : Turn off the sound effect.
Pseudo : You can listen to Pseudo stereo sound, which is
created from Mono sound.
1
Table of contents
Other TileVision TV manuals

TileVision
TileVision 17" User manual

TileVision
TileVision TV/19/FR1 User manual

TileVision
TileVision TV/23/FR2/PS User manual

TileVision
TileVision TV/17/FR4/PS User manual

TileVision
TileVision TV/17/FR2 User manual

TileVision
TileVision TV/17/FR3/PS User manual

TileVision
TileVision TV/17/FR5/PS User manual

TileVision
TileVision TV/104/FR2 User manual

TileVision
TileVision 22" User manual

TileVision
TileVision 23 User manual


