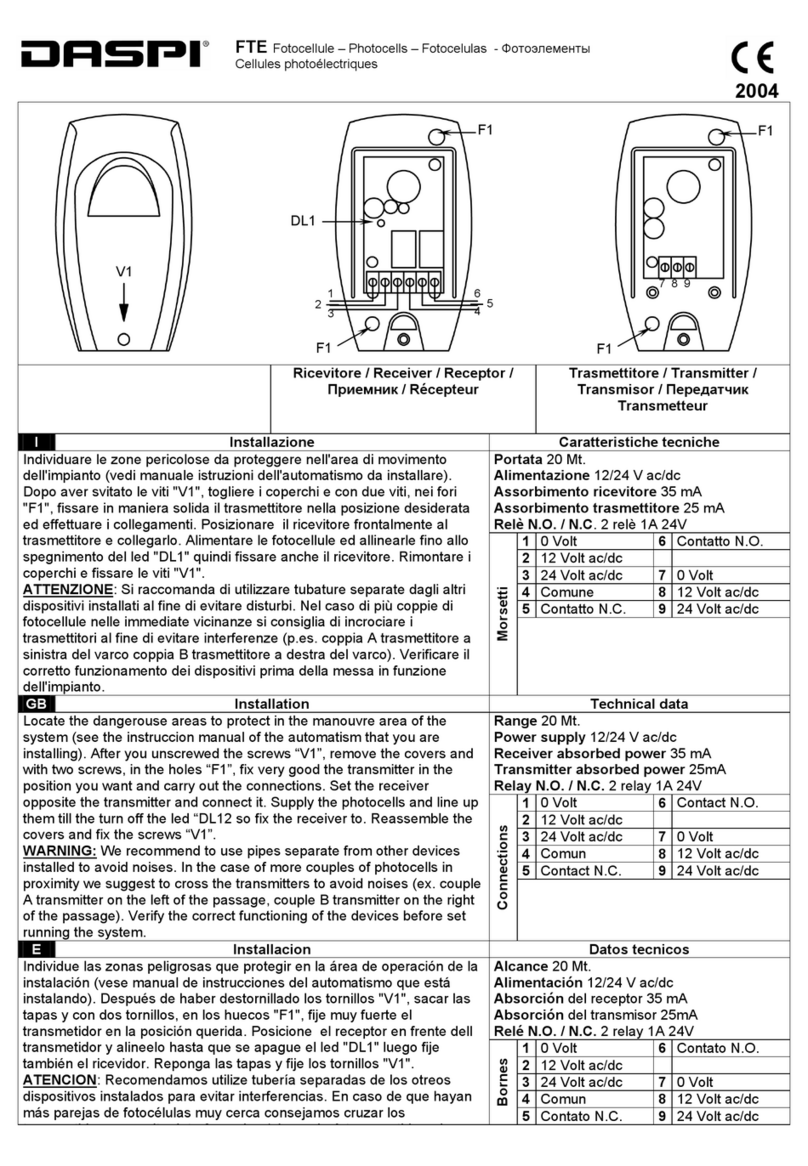
Timeguard TLRXC1 User manual

INSTALLATION & OPERATING
INSTRUCTIONS
CHIME
RECEIVER
Cat No. TLRXC1
iTLRXC1_Instructions.qxd 1/19/05 11:55 AM Page 1

1
Introduction
The TLRXC1 Chime Receiver is part of the Timeguard
range of PIR products which communicate by radio
frequency (r.f.) signals.
This enables substantial amounts of wiring to be
eliminated which is particularly useful in long runs
and coverage of outbuildings.
It is a plug in adapter which receives r.f. signals from
transmitters (denoted by Tx in the range) that it has
been programmed to recognise and produces an
audible warning as well as turning on lights connected
to its socket outlet.
In the following instructions products with catalogue
numbers including TX (ones that send information
about PIR detection) are referred to as Tx units and
products with catalogue numbers including RX (ones
that receive information about PIR detection) are
referred to as Rx units.
Tone/Volume Manual
Override
LED
Time On
“PROG”
Program/Reset
iTLRXC1_Instructions.qxd 1/19/05 11:55 AM Page 2

2
Parts included
• Chime Receiver unit.
• Instruction manual. Please keep safe for future
reference.
Selecting a location
1. Position your Transmitter in desired area, if using a
PIR perform walk tests to confirm detection zones.
2. Position TLRXC1 in a desired area up to 100m away
from the Tx, take into account the path between the
sensor to ensure range is acceptable.
The Chime Rx can be placed in any socket outlet
within the home, it can be used purely as a sounder,
reacting to any transmission signals it receives from
any Tx or it can be used to switch an internal lamp
on/off as desired. We suggest that firstly, the
Floodlight Tx is placed in its optimum position to give
the coverage and detection required, then the Chime
Rx is fitted to a socket outlet at a point where it can
receive the Tx`s signal. (This will be less than 100m
away if walls or chain link fences come between the Tx
and Rx units - if there is any doubt about whether
communication will take place make temporary
installations before programming).
iTLRXC1_Instructions.qxd 1/19/05 11:55 AM Page 3

3
Installation
1. If you require an internal lamp to be switched by the
Floodlight Tx, plug a lamp (500W max incandescent or
halogen) into the unit’s socket outlet. (The TLRXC1 is
not suitable for switching fluorescent, low energy or
discharge lamps).
Ensure the lamp is switched on when operation is
required.
2. Plug the Chime Rx into the wall outlet. The chime
will then scroll through 6 audible sounds to inform the
user of its sound options. There will then be four
“beeps” and the flashing LED indicates that the Rx is
ready for programming.
Note:- This will only happen the first time the Chime
Rx is plugged into the outlet.
Programming
PLEASE REFER TO THE INDIVIDUAL
INSTRUCTION MANUALS OF THE Tx UNITS TO BE
USED WITH THE TLRXC1.
Each Rx unit needs to learn the codes included in the
messages from all the Tx units which are required to
control it (up to 17).
iTLRXC1_Instructions.qxd 1/19/05 11:55 AM Page 4

4
1
2
3
4
5
Turn OFF/remove batteries from any Tx unit which is
not required to control this Rx unit. Turn off any other
Rx units.
If it is convenient more than one Rx unit can learn the
code of a Tx unit simultaneously in which case leave
these Rx units switched on.*
The TLRXC1 unit needs to be set in Program Mode. Plug
it in to a live socket (the first time this is done the unit
will go through its 6 choices of audible warning). Plug a
lamp into the unit’s socket and turn the lamp switch on.
The LED on the unit will flash slowly for 5 minutes
indicating it is in Program Mode.
Go to the Tx** unit to be introduced to the TLRXC1 and
move across the face of its PIR lens within detection
range to cause it to detect (indicated by the lights under
control turning on for most Tx units and by a flash
from the red LED on the TLTXDCB).
The TLRXC1 will respond with a “beep” and the lamp
plugged into it will turn on (indicating correct code
learning).
* Any other Rx units left connected should now be
checked in the same way.
If an additional Tx unit is required to be introduced
press the PROGRAM/RESET button for 1 to 2 seconds***
a single “beep” will sound and the LED will stop
flashing and stay on indicating exit from Program Mode.
Press this button again and the LED will start to flash
again indicating a new 5 minute period of Program Mode.
*Any other Rx units required to learn the code of this
new Tx unit should be left connected.
** If introducing the TLTXK2 hand held transmitter press
the “1” button on this unit to activate the TLRXC1.
***If the button is pressed for 5 seconds or more then all
the codes that have been learnt will be erased.
iTLRXC1_Instructions.qxd 1/19/05 11:55 AM Page 5

5
Selecting the alarm/lamp
function
1. Press the PROGRAM/RESET button for 1 to 2
seconds. (A “beep” will sound and the LED will flash
indicating the unit is in Program Mode).
2. Make a TX unit which has been introduced detect.
Press the TONE/VOLUME button to select the
preferred sound (each will play twice, choose the first
if you want the lamp to turn on, the second if you want
the lamp to remain off).
3. Press the PROGRAM/RESET button. A “beep” will
sound and the LED will stop flashing and remain on
indicating exit from Program Mode.
Selecting the lamp on time
To set how long the lamp will remain on after the
TLRXC1 has received a signal from a Tx unit, set the
ON TIME dial anywhere from 5 seconds (“minus”
setting) to 15 minutes (“plus” setting).
Selecting the volume
To set the volume for the chime tone, make a Tx unit
which has been introduced detect and the Rx unit will
play the tone you have chosen. Press the TONE/
VOLUME button to select the volume you require
high, low or “beep”.
You cannot change the volume whilst the TLRXC1 is in
Program Mode.
iTLRXC1_Instructions.qxd 1/19/05 11:55 AM Page 6

6
Erasing all codes
Tx unit codes can be erased for reprogramming.
To erase codes, while the TLRXC1 is powered, press
and hold the PROGRAM/RESET button for more than
5 seconds. All programmed codes will be erased and
4 "beeps" will sound. This will clear the unit of all
programmed codes and place it into the Program
Mode.
Manual override
The Lamp can be switched ON/OFF independently
of any transmission signal by using the MANUAL
button.
Press this button and the lamp will turn ON. The LED
will flash indicating it is in Manual Mode. To return to
Auto Mode, press the button again and the light will
turn off. The LED will light permanently to indicate the
product is in Auto Mode.
Note:- If the Floodlight Transmitter detects movement
when the Chime Rx is in Manual Mode, it will send a
signal to the Chime Rx which will play its
programmed sound and the connected light will
“blink” off and on once quickly.
iTLRXC1_Instructions.qxd 1/19/05 11:55 AM Page 7

7
Solution
1. The lamp switch is
turned off.
2. Check Light bulb.
3. Tx unit photocell
determines it is daylight,
adjust Tx units DUSK/
DAWN control for daylight
operation.
4. Tx unit is too far from Rx
unit, move closer.
1. Sticker over photocell
window has not been
removed from Tx unit.
2. Sensor is installed in a
dark location, adjust
DUSK/DAWN control.
3. The TLRXC1 is set in
Manual mode. Press the
MANUAL button once to
return to Auto Mode.
1. Tx unit may be sensing
small animals or passing
cars. Adjust horizontal
position or mask lens.
2. Reduce range by pointing
the Tx unit detector down
more.
1. Tx unit is too far from
TLRXC1. Move closer.
This is the Low battery
signal. replace batteries in
the Tx unit.
Problem
• Chime/Lamp will not turn
on when motion is sensed.
• Chime/Lamp comes on in
Daylight
• Chime/light comes on for
no apparent reason
• Light comes on irregularly
when motion is sensed.
• Battery operated Tx unit
LED flashes off and on
twice when activated
Troubleshooting guide
iTLRXC1_Instructions.qxd 1/19/05 11:55 AM Page 8

8
Power Supply:
Maximum Switchable Load:
Time On Adjustment:
Transmission Range:
Conforms to Directives:
230 V AC ~ 50Hz
500W filament/incandescent
only (not suitable for
fluorescent, low energy or
discharge lighting)
5 seconds to 15 minutes
Up to 100m (varies with
surrounding structures)
73/23/EEC and 89/336/EEC
Technical specifications
iTLRXC1_Instructions.qxd 1/19/05 11:55 AM Page 9

HELPLINE
020-8450-0515
For a product brochure please contact:
Timeguard Ltd.
Victory Park, 400 Edgware Road,
London NW2 6ND
020-8452-1112
or email csc@timeguard.com
5 Year Guarantee
In the unlikely event of this product becoming faulty due to
defective material or manufacture within 5 years of the date
of purchase, please return it to your supplier in the first year
with proof of purchase and it will be replaced free of charge.
For years 2 to 5 or any difficulty in the first
year telephone the helpline on 020 8450 0515.
FIVE YEAR
GUARANTEE
5
iTLRXC1_Instructions.qxd 1/19/05 11:55 AM Page 10
Table of contents

