manuals.online logo
Brands
  1. Home
  2. •
  3. Brands
  4. •
  5. Titan Controls
  6. •
  7. Controllers
  8. •
  9. Titan Controls Oceanus 1 User manual

Titan Controls Oceanus 1 User manual

Oceanus®1
Controller
Instruction Manual
VANCOUVER, WASHINGTON U.S.A.
www.titancontrols.net
Notes:
_________________________________________________
_________________________________________________
_________________________________________________
_________________________________________________
_________________________________________________
_________________________________________________
________________________________________________
1 Square = ___ Foot/Feet
®
VANCOUVER, WASHINGTON U.S.A.
www.titancontrols.net
Revision E – 01/06/2015 © Titan Controls®
Part # 111258
Oceanus®1 – Controller
• Warnings & Cautions
• Oceanus®1 Controller Overview
• Instructions for Operation
• Testing the Oceanus®1 Controller
• Maintenance of the Oceanus®1 Controller
• Troubleshooting Tips
• Controller Specifications
• Warranty Information
• Service and Repair Program
Warnings & Cautions
• Read all instructions before operating the Oceanus®1.
• Do not put your controller in an area where it can get sprayed.
• When using “bug bombs” or sulfur vaporizers in area, cover Oceanus®1 completely to avoid
corrosion.
• There are no serviceable parts in Oceanus®1. Do not attempt to repair the unit.
• Opening Oceanus®1 will void your warranty.
• Do not put paperclips, tools, etc. into Oceanus®1. Possible electrocution may occur.
• Make sure to verify your power source voltage prior to plugging controller into power source.
• Check that all equipment that will be activated by this controller is 120 Volts.
• This controller is designed for ‘Inside Use’ only.
• Avoid placing the controller near heat generating sources.
• Use caution when operating controller in extremely humid environments.
• Do not use controller for purposes other than the unit was designed to function.
• Use controller within defined environmental specifications.
• Ask your Dealer for tips and techniques regarding the use of this controller.
• Be conscientious when disposing of any products.
• Enjoy your Titan Controls®lighting controller for years to come!
Oceanus®1 Controller Overview
The Oceanus®1 is a fully digital ‘Ebb & Flow’ system controller. It has a 24 hour timer with 96
fifteen minute intervals for a variety of plant timing schedules. There are 5 water output ports to
allow for a multitude of garden configurations. The Oceanus®1 is circuit breaker protected and
is fully sealed to avoid water entering the enclosure. The Oceanus®1 is built with only the highest
quality components and will provide the user with years of trouble free service.
WARRANTY SERVICE: Please read warranty information first
If after reviewing the troubleshooting tips the unit will still not work, you should return it to the
Dealer where you purchased the controller. They will be able to further evaluate the unit and test its
various components and quite possibly will be able to identify and/or fix any problems. If the Dealer
is unable to fix the unit, they will return it to us for factory repair.
If there are no Dealers in your area, you may contact us directly for technical support. If we cannot
help you resolve the problem over the phone, we will issue you an RMA # (return merchandise
authorization) authorizing you to return the unit to us for factory reconditioning (if the unit is under
warranty). Contact the number below for an RMA # and shipping address. Complete the form
below and include it with your unit. Also please write the RMA # on the outside of the box.
Please package the unit in its original packaging. If it is damaged in shipment we cannot be
responsible.
Once we receive the unit back, we will repair or replace the controller within 48 hours (business)
and return it to you freight prepaid via UPS ground shipment.
Include the following if returning directly to Titan Controls®
• Proof of purchase • This completed form • RMA # on the outside of the box
Return Merchandise Authorization Number (Required) ____________________________________________
Company Name: ____________________________________________________________________________________
Contact Name: _____________________________________________________________________________________
Address: __________________________________________________________________________________________
____________________________________________________________________________________________________
Phone #: ___________________________________________________________________________________________
Email address: _______________________________________________________________________________
What is the nature of the problem? ______________________________________
___________________________________________________________
___________________________________________________________
___________________________________________________________
___________________________________________________________
_______________________________________________________
Send to your nearest location – shipping address will be given when the RMA # is issued:
www.titancontrols.net
For technical assistance call us at 1-888-80-Titan or 1-888-808-4826.
Representative available Monday – Friday, 8 a.m. – 5 p.m. PST.
®
2 7
Instructions for Operation
• With the Oceanus®1 unplugged from 120 Volt power source, set the ‘FILL’ times by pushing
the 15 minute ‘trippers’ to the inside of the timer.
• The Oceanus®1 goes into the ‘DRAIN’ function when the trippers are pushed to the outside
of the timer.
• You usually will flood and drain two (2) to four (4) times during the day, depending on what
type of grow medium you are using and the size of your plants.
• To set the current time of day, turn the minute hand clockwise. DO NOT set the time by
rotating the “outer” dial. (i.e. To set time of day at 10:30 AM for 24 hour dial, turn the minute
hand clockwise until 10:30 a.m. is aligned with the triangle on the inner dial. The hour and the
minute dial will show exactly 10:30 a.m.)
• There are ‘FILL” and ‘DRAIN’ lights on the front of the Oceanus®1. The green ‘FILL’ light will
blink slowly to begin with and then faster as the system continues to fill. After the system is
full of water, the green ‘FILL’ light will be a solid green. When the ‘DRAIN’ function begins, the
red ‘DRAIN’ light will begin to blink slowly, and then faster as the system drains the water out.
After the ‘DRAIN’ function has completed, the red ‘DRAIN’ light will be solid.
• NOTE: If both the ‘FILL’ and ‘DRAIN’ lights blink back and forth, unplug the Oceanus®1 from
the 120 Volt power source, wait 10 seconds and plug the Oceanus®1 back into the 120 Volt
power source, then synchronize the timer with the cycle function. This normally takes care of
the issue.
• After you have set the feeding time and current time of day on the Oceanus®1, then plug the
Oceanus®1 into a confirmed 120 Volt power source. The Oceanus®1 will now begin to “FILL’
and ‘DRAIN’ based on the settings on the timer.
Testing the Oceanus®1 Controller
• To verify that the Oceanus®1 is working properly, turn the 24 hour minute hand clockwise
until the ‘FILL’ output is activated. The ‘FILL’ pump will run and flood the plant sites until
the upper switch is activated, and then shuts off the water when the switch has been in
the fully ‘up’ position for 5 seconds. After the top ‘FILL’ switch has shut off the pump, the
water will remain in the plant sites until the 24 hour timer switches to the ‘DRAIN’ function.
• The ‘DRAIN’ function is tested by rotating the 24 hour minute hand clockwise until the
Oceanus®1 goes into the ‘DRAIN’ function and the red light on the Oceanus®1 begins to
slowly blink. Now the water is being pumped from your plant sites back into the reservoir.
The pump will cycle a few times in the ‘DRAIN’ function to extract as much water as
possible from the plant sites. After all the water is drained from the plant sites into the
reservoir, the red ‘DRAIN’ light will be solid and the ‘DRAIN’ function is complete.
Maintenance of the Oceanus®1 Controller
To insure that your Oceanus®1 Controller functions well, do the following:
• Check your pump and pump filter and keep them free of debris.
• Verify that the “FILL” and ‘DRAIN’ switches are clear of obstructions. (NOTE: If you remove
the float switch from the post, you must replace in same direction, or the Oceanus®1
controller will not function properly).
• Occasionally wipe down the inside of the Oceanus®1 Controller blue bucket with a soft cloth
to remove debris.
Warranty Information
• Titan Controls®warrants the original purchase of this product against defects in material and
workmanship under normal use for one (1) year from the date of purchase.
• During the warranty period, Titan Controls®will, at our option, and without charge, repair or
replace this product if the controller or any of its components fail or malfunction.
• All returns or repairs must be accompanied by a Return Merchandise Authorization (RMA)
number prior to any service of the product.
• This warranty is expressly in lieu of all other warranties, expressed or implied, including the
warranties of merchantability and fitness for use and of all other obligations or liabilities on the
part of the seller.
• This warranty shall not apply to this product or any part thereof which had been damaged by
accident, abuse, misuse, modification, negligence, alteration or misapplication.
• Controllers with serial numbers or date tags that have been removed, altered or obliterated;
broken seals or that show evidence of tampering; mismatched board serial numbers or
nonconforming parts; are excluded from coverage.
• Titan Controls®makes no warranty whatsoever in respect to accessories or parts not supplied
by Titan Controls®.
• Monetary refunds of the warranty will not be given.
• The Buyer assumes all responsibility regarding the use & installation of this controller.
• All warranty service is provided through the factory or an authorized service representative.
• This warranty shall apply only to the United States, excluding Alaska, Hawaii and territories of the
United States and Canada.
• Defective controllers need to be returned with the “proof of purchase” receipt.
• For additional warranty information, contact a Titan Controls®Technical Service
Representative or your Dealer. Service Representative available for help Monday - Friday,
8 a.m. to 5 p.m. PST. We are closed most major holidays. Call toll free: 1-888-808-4826.
• NOTE: Titan Controls®is a controller manufacturer. All sales offerings to the public are done
through a nationwide group of Dealers. No sales offerings will be made directly to the general
public.
Service and Repair Program
For all service and repairs please contact one of our Technical Service Representatives for a
Return Merchandise Authorization (RMA) number.
• All factory service & repairs will be completed within 48 hours of receipt of controller and after
authorization by customer for repairs.
• Titan Controls®will, at its discretion, repair or replace the controller.
• Factory calibration services are available for all Titan Controls®.
• Returning Units: Please contact your retail store for returns.
6 3
Troubleshooting Tips
If the Oceanus®1 is not performing as expected, try the following:
• Confirm that your power input is active from your power outlet and providing 120 Volts to the
Oceanus®1 controller.
• If your pump is making noise but not pumping water, ‘prime’ the pump by leaning it from side
to side to release air bubbles trapped in the pump. This needs to be done when your pump
has run dry or you’re using it for the first time.
• Make sure ‘DRAIN’ pump inlet is no more than 1 inch from bottom of bucket. This assures
proper functioning of the ‘DRAIN’ switch.
• Verify that the ‘FILL’ and ‘DRAIN’ switches are free from obstructions.
• If both the ‘FILL’ and ‘DRAIN’ lights blink back and forth, unplug the Oceanus®1 from the 120
Volt power source, wait 10 seconds, sync timer with float switch, and plug the Oceanus®1
back into the 120 Volt power source. This normally takes care of the issue.
• Timer must be properly oriented with the float switches or the system will not function
properly.
• Check to see that circuit breaker on front of Oceanus®1 has not tripped. If so, reset circuit
breaker. If circuit breaker continues to trip, verify that power source is properly grounded.
Still having problems with your Oceanus®1 Controller? Please contact our Technical Service
Representative at 888-808-4826 to assist you further.
Controller Specifications:
• Size = 14”H x 10”W x 13”D
• Weight = 6.25 lbs.
• Voltage Input = 120 VAC
• Voltage Output = 120 VAC
• Minimum Output Amperage = .25 Amps
• Maximum Output Amperage = 10 Amps
• Hertz = 60Hz
• RoHS compliant = Yes
• Storage Temperature = 32°F (0°C) to 135°F (57°C)
• Operating Temperature = 40°F (5°C) to 125°F (52°C)
Controlling a Flo-n-Gro®System
Installation Example
4 5

Other Titan Controls Controllers manuals

Titan Controls Kronus 4 User manual

Titan Controls

Titan Controls Kronus 4 User manual

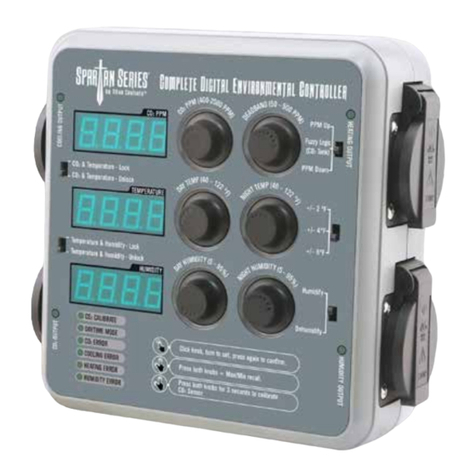
Titan Controls SPARTAN Series User manual

Titan Controls

Titan Controls SPARTAN Series User manual

Titan Controls Helios 7 User manual

Titan Controls

Titan Controls Helios 7 User manual

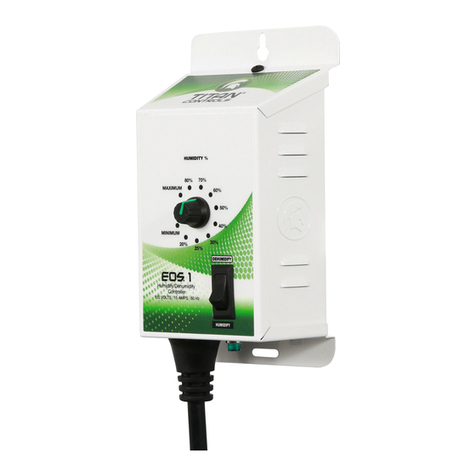
Titan Controls Eos 1 User manual

Titan Controls

Titan Controls Eos 1 User manual

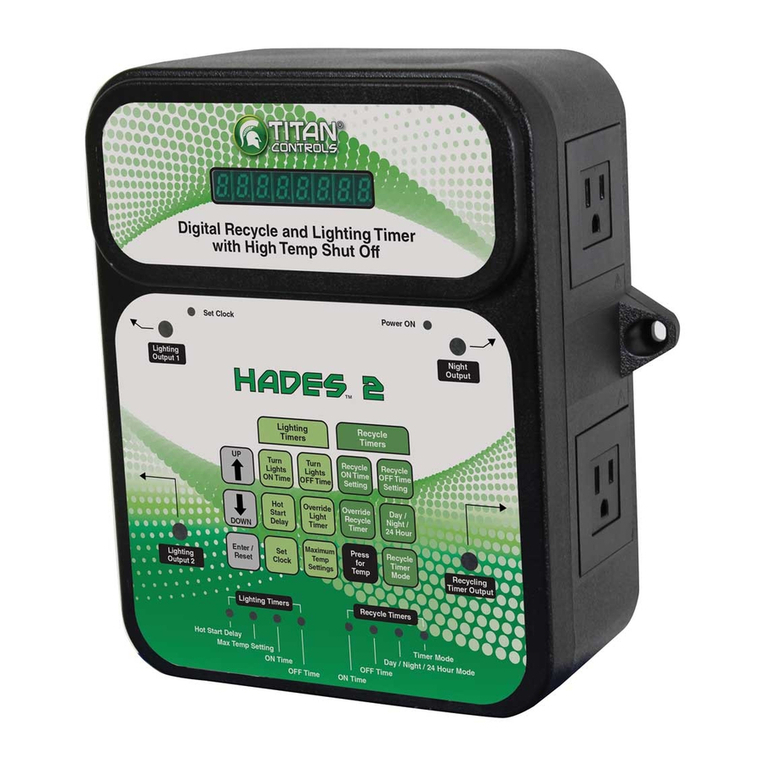
Titan Controls Hades  2 User manual

Titan Controls

Titan Controls Hades 2 User manual

Titan Controls Helios 16 User manual

Titan Controls

Titan Controls Helios 16 User manual

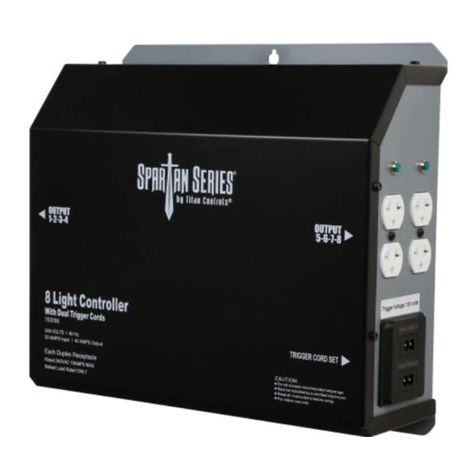
Titan Controls 8 Light Controller User manual

Titan Controls

Titan Controls 8 Light Controller User manual

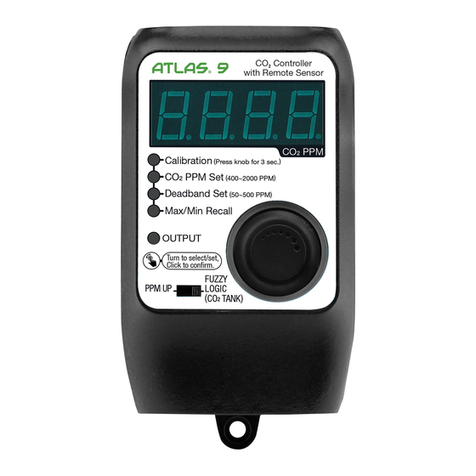
Titan Controls ATLAS 9 User manual

Titan Controls

Titan Controls ATLAS 9 User manual

Titan Controls Medusa 703380 User manual

Titan Controls

Titan Controls Medusa 703380 User manual

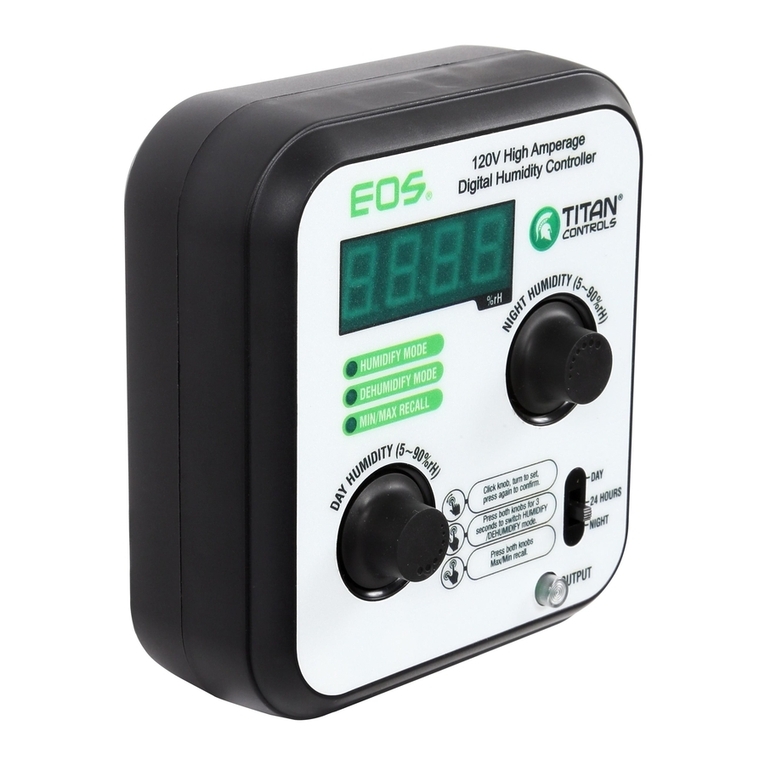
Titan Controls EOS 702603 User manual

Titan Controls

Titan Controls EOS 702603 User manual

Titan Controls Helios 12 User manual

Titan Controls

Titan Controls Helios 12 User manual

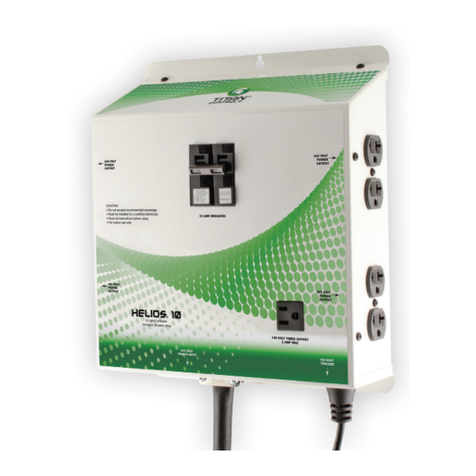
Titan Controls Helios 10 User manual

Titan Controls

Titan Controls Helios 10 User manual

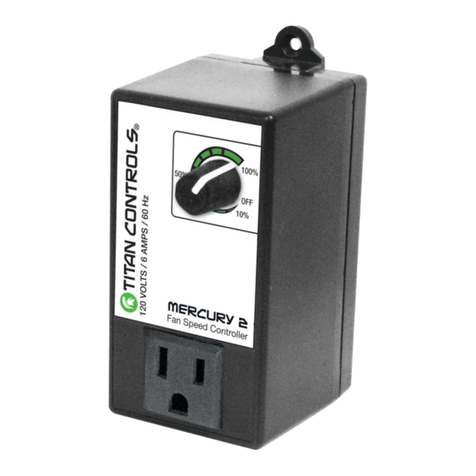
Titan Controls Mercury 2 Product information sheet

Titan Controls

Titan Controls Mercury 2 Product information sheet

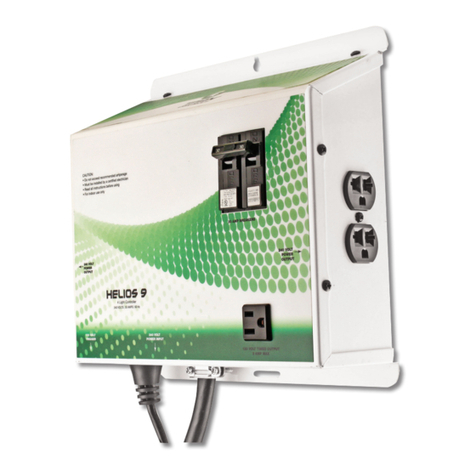
Titan Controls Helios 9 User manual

Titan Controls

Titan Controls Helios 9 User manual

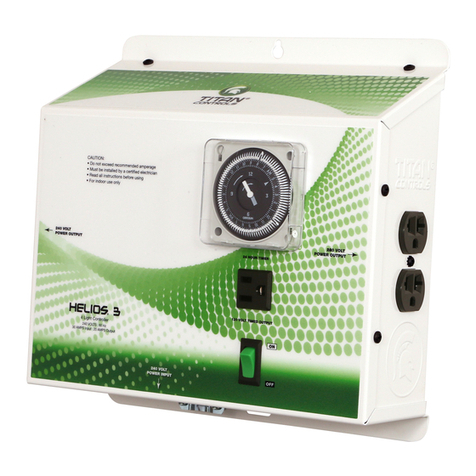
Titan Controls Helios 3 User manual
Titan Controls

Titan Controls Helios 3 User manual
Titan Controls SPARTAN Series User manual

Titan Controls

Titan Controls SPARTAN Series User manual

Titan Controls Helios 14 User manual

Titan Controls

Titan Controls Helios 14 User manual

Titan Controls Atlas 3 User manual

Titan Controls

Titan Controls Atlas 3 User manual

Titan Controls SOARTAN Series User manual

Titan Controls

Titan Controls SOARTAN Series User manual

Titan Controls HyperioN 2 User manual

Titan Controls

Titan Controls HyperioN 2 User manual

Titan Controls Helios 6 User manual

Titan Controls

Titan Controls Helios 6 User manual

Titan Controls Helios 13 User manual

Titan Controls

Titan Controls Helios 13 User manual

Titan Controls Helios 11 User manual

Titan Controls

Titan Controls Helios 11 User manual

Titan Controls Helios 3 User manual

Titan Controls

Titan Controls Helios 3 User manual

Popular Controllers manuals by other brands

4IPNET WHG301 Quick installation guide

4IPNET

4IPNET WHG301 Quick installation guide

HORNER XL Series Operation manual

HORNER

HORNER XL Series Operation manual

LEYBOLD TURBO.CONTROL i Brief instructions

LEYBOLD

LEYBOLD TURBO.CONTROL i Brief instructions

Danfoss AK-CH 650 Service guide

Danfoss

Danfoss AK-CH 650 Service guide

Mitsubishi AG-150A Instruction book

Mitsubishi

Mitsubishi AG-150A Instruction book

AWELCO THOR 45 user manual

AWELCO

AWELCO THOR 45 user manual

Emerson 2202 Advanced user's guide

Emerson

Emerson 2202 Advanced user's guide

SMA CLUSTER CONTROLLER user manual

SMA

SMA CLUSTER CONTROLLER user manual

THORLABS ITC1 Series Operation manual

THORLABS

THORLABS ITC1 Series Operation manual

Philips AntumbraButton installation instructions

Philips

Philips AntumbraButton installation instructions

ZESTA BENCHTOP CONTROLLER quick start guide

ZESTA

ZESTA BENCHTOP CONTROLLER quick start guide

Greenheck HVLS Installation, operation and maintenance manual

Greenheck

Greenheck HVLS Installation, operation and maintenance manual

Twinkly Pro TWPRO400WRLP user guide

Twinkly Pro

Twinkly Pro TWPRO400WRLP user guide

Advanced Technologies M7000 Series User and technical manual

Advanced Technologies

Advanced Technologies M7000 Series User and technical manual

Adaptec 51645 Installation and user guide

Adaptec

Adaptec 51645 Installation and user guide

Newasia NA327 user guide

Newasia

Newasia NA327 user guide

Festo CMMS-ST-C8-7 Mounting and installation

Festo

Festo CMMS-ST-C8-7 Mounting and installation

DIG 710 Series instruction manual

DIG

DIG 710 Series instruction manual

manuals.online logo
manuals.online logoBrands
  • About & Mission
  • Contact us
  • Privacy Policy
  • Terms and Conditions

Copyright 2025 Manuals.Online. All Rights Reserved.