TLI Elektronik VOLspeed Yamaha PW-X User manual

1232_BA_E_Rev0 - VOLspeed Yamaha PW-X V3 © TLI Elektronik GmbH
1
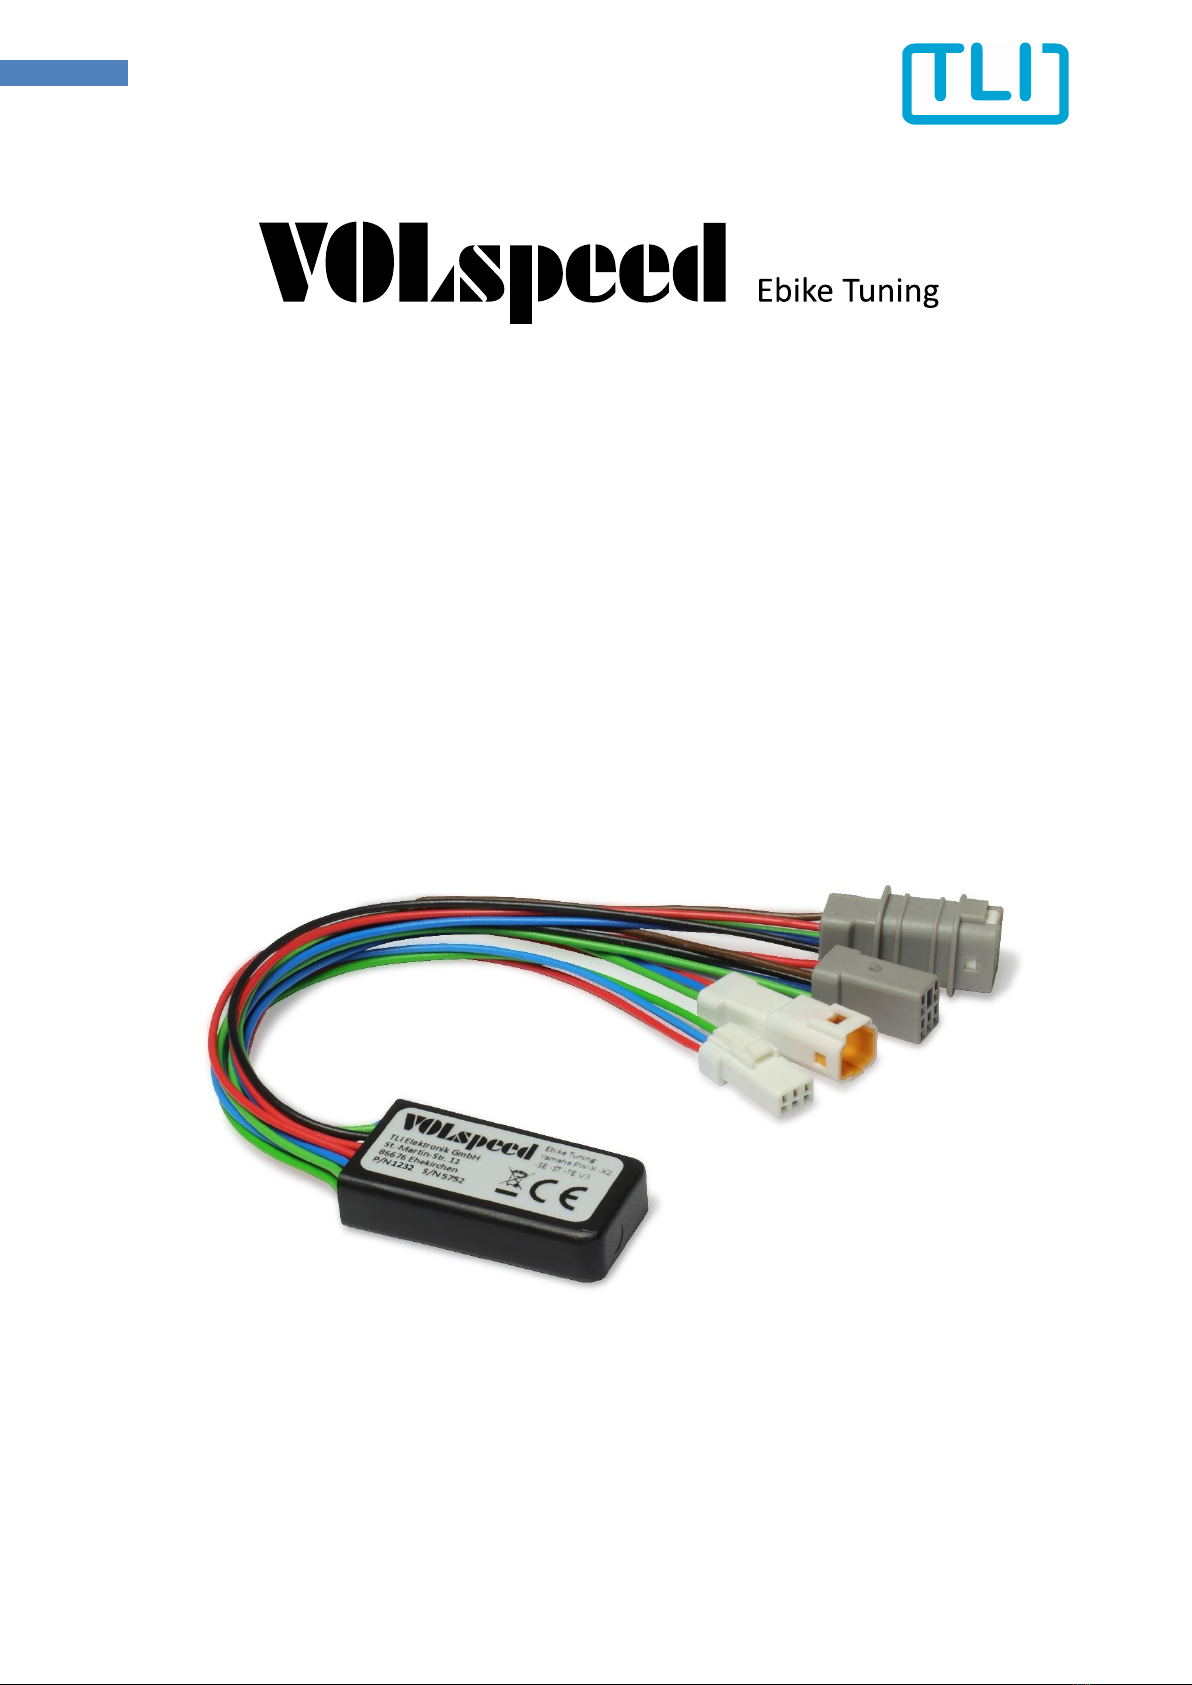
Yamaha PW-X / PW-X2 / PW-SE /
PW-ST / PW-TE / PW-CE
V3
Operating instructions
as original operating instructions in English language

1232_BA_E_Rev0 - VOLspeed Yamaha PW-X V3 © TLI Elektronik GmbH
2
1 General information ............................................................................................................3
1.1 Safety instructions ...............................................................................................................3
2 Requirements for safe use...................................................................................................4
2.1 Intended use........................................................................................................................4
2.2 Restrictions on use...............................................................................................................4
2.3 Know and comply with installation requirements ..............................................................5
2.4 Obligation of the owner.......................................................................................................7
2.5 Obligation of each user........................................................................................................7
3 Warranty and liability ..........................................................................................................8
3.1 Warranty and liability of the tuning module manufacturer................................................8
3.2 Warranty, guarantee and liability by the manufacturer of the e-bike................................8
3.3 Property damage and personal injury - Further exclusions of liability to be considered ...8
4 Functional description .......................................................................................................10
5 Technical data....................................................................................................................10
6 Installation .........................................................................................................................11
6.1 Installation example PW-SE on the Haibike SDURO FullSeven 6.0 ...................................11
6.2 Installation example PW-X on the Haibike SDURO FullSeven 10.0 ...................................14
7 Speed mode.......................................................................................................................17
7.1 Switch on ...........................................................................................................................17
7.2 Switch off ...........................................................................................................................17
8 Individual activation code..................................................................................................18
8.1 Preparation ........................................................................................................................18
8.2 Set code .............................................................................................................................18
8.3 Delete code........................................................................................................................19
9 Dynamic mode...................................................................................................................20
10 Change wheel circumference ............................................................................................21
11 Range and charge level indicator ......................................................................................22
12 Restore factory settings.....................................................................................................22
13 Status display.....................................................................................................................22
14 FAQ.....................................................................................................................................23

1232_BA_E_Rev0 - VOLspeed Yamaha PW-X V3 © TLI Elektronik GmbH
3
1General information
Be sure to take the time to read these operating instructions carefully before starting to install the
tuning module.
Keep these operating instructions in a safe place, yet within easy reach, so that you always have
access to the important and safety-relevant information for use, even after installation.
Make these operating instructions available for reading to any other person who may ride your
tuned e-bike.
Ensure that every person who is allowed to ride your tuned e-bike has read and understood these
operating instructions before any use.
Instruct the user in the safe use of the tuned e-bike with the aid of these operating instructions
before leaving your tuned e-bike to other persons.
Be sure to pass this manual on to the future owner if you ever want to sell the tuning module or
your tuned e-bike.
1.1 Safety instructions
The warnings used in these instructions draw your attention to possible dangers. You endanger
yourself and others if you do not follow these instructions. Serious injuries or considerable damage
to property may result.
Warning notices are available in the following categories:
WARNING
Warns you of hazards that could result in fatal or serious injury to persons if you do not follow these
instructions.
CAUTION
Warns you of hazards that may result in minor, usually reversible injury to persons if you do not
follow these instructions.
ATTENTION
Warns you of situations that can lead to property damage and malfunctions during use if you do not
follow these instructions.
IMPORTANT
Identifies safety-relevant descriptions and instruction parts.

1232_BA_E_Rev0 - VOLspeed Yamaha PW-X V3 © TLI Elektronik GmbH
4
2Requirements for safe use
2.1 Intended use
The tuning module shifts the cut-off threshold of the motor support of your e-bike. Thus, with the
installation of the tuning module, speeds of up to 45km/h (28mph) can be achieved with electric
motor support.
Intended use also includes compliance with all of the following without exception
Restrictions on use and
Installation requirements and the
Obligations of the owner and the user.
2.2 Restrictions on use
The following restrictions of use are associated with the installation of the tuning module in your e-
bike.
2.2.1 Do not use in public areas
E-bikes for use on public roads or public ways with a permitted speed of > 25 km/h are subject in
the EU to Regulation 168/2013/EU, the Vehicle Regulation. Further approval requirements in non-
European countries may apply. The purchase of the Tuning Module does not entail any approval for
operation in public areas. Therefore, participation in public road traffic and driving on public roads
is prohibited after installation of the tuning module.
Prevent misuse and abuse
Only use your tuned e-bike on private, secured property or race tracks.
Never ride on public paths or areas that you have not previously been able to securely block off
against entry by other persons.
Also prevent another person from using your tuned e-bike in public traffic or on public roads.
Always lock your tuned e-bike when you park it. This will prevent misuse and abuse, even by other
people.
2.2.2 Restricting the circle of users
Reaching higher speeds can lead to the permissible group of users determined by the e-bike
manufacturer having to be further restricted.
Such a restriction must be determined by the owner of the tuned e-bike on his own responsibility,
taking into account the physical and mental fitness of the persons to whom the tuned e-bike is
made available for use.
Prevent misuse and abuse
Clearly define the permission for use before each transfer to other persons.
Also clearly define the terrain to be covered.
Always lock your tuned e-bike when you park it. This will prevent misuse and abuse by other
people.
IMPORTANT
IMPORTANT

1232_BA_E_Rev0 - VOLspeed Yamaha PW-X V3 © TLI Elektronik GmbH
5
2.2.3 Observe shortened maintenance and inspection intervals
Due to the higher speeds with electric motor assistance, higher loads and forces will act on all
vehicle parts.
Reaching higher speeds increases wear on all vehicle parts, especially the brake system and all parts
of the drive system, even with suitable strength and design of the vehicle.
Define shortened maintenance and inspection intervals
Shortened inspection and maintenance cycles must be determined by the owner of the tuned e-
bike on his own responsibility, taking into account the conditions of use.
Before each use of your tuned e-bike, perform a comprehensive inspection of the vehicle.
It is imperative that you check the condition and function of the
brakes and their functional components,
vehicle frame,
steering system and its functional components,
drive system and its functional components as well as
saddle and its functional components.
In addition, observe all inspections not mentioned here that are prescribed by the manufacturer
of your e-bike before each use. This list does not replace the original operating instructions of the
e-bike manufacturer.
Establish further inspection and maintenance cycles according to the manufacturer's instructions
for your e-bike.
Shorten them according to your operating conditions.
If necessary, coordinate this with your specialist company, which will carry out the inspection and
maintenance work.
This ensures that the shortened inspection and maintenance intervals are adhered to.
2.3 Know and comply with installation requirements
For safe use of the tuning module in your e-bike, your bike must also meet some requirements.
2.3.1 Requirements for the strength and construction of the bike
Strength and construction requirements are regulated by EN 15194 and EN ISO 4210-2 and must be
confirmed as applied by the manufacturer of your e-bike.
Prevent increased accident risks due to insufficient strength
Due to the higher speeds with electric motor assistance, higher loads and forces will act on all
vehicle parts. Increased accident risks due to part breakage and part failure can only be largely ruled
out with e-bikes that are demonstrably designed and built in accordance with both product
standards.
Check the EC declaration of conformity of the manufacturer of your e-bike.
IMPORTANT
WARNING

1232_BA_E_Rev0 - VOLspeed Yamaha PW-X V3 © TLI Elektronik GmbH
6
Only install the tuning module in your e-bike if the manufacturer of your e-bike states the two
product standards EN 15194 and EN ISO 4210-2 as applied in its EC declaration of conformity.
Only if both standards are mentioned as applied, it can be assumed that the requirements for
strength and design are fulfilled.
Never use the tuning module in vehicles for which you cannot clearly establish these requirements
and prove them by means of the EC declaration of conformity from the e-bike manufacturer.
Racing bikes, city bikes or trekking bikes are usually not equipable
Racing bikes, city bikes or trekking bikes often do not meet the requirements for strength and
construction, as lower requirements apply to these types of bikes. Furthermore, it cannot be
assumed that these bikes are actually only used on private, secured properties or race tracks.
2.3.2 Check and confirm drive system and display requirements
The tuning module is adapted to specific drive systems and display types.
Check the equipment of your e-bike.
The tuning module only works with e-bikes that have an electric motor support of up to 25km/h
ex works. Children's e-bikes with a support up to 20km/h and Speed-e-bikes with a support up to
45km/h are not supported.
Only install the tuning module into your e-bike if you can determine that your e-bike equipment
matches the drive systems and display types listed below.
Drive system:
Display type:
Yamaha - PW-X
Display X, Display A, Display C
Yamaha - PW-X2
Display X, Display A, Display C
Yamaha - PW-SE
Display X, Display A, Display C
Yamaha - PW-ST
Display X, Display A, Display C
Yamaha - PW-TE
Display X, Display A, Display C
Yamaha - PW-CE
Display X, Display A, Display C
Display A (Sideswitch) Display C (Multiswitch) Display X
IMPORTANT

1232_BA_E_Rev0 - VOLspeed Yamaha PW-X V3 © TLI Elektronik GmbH
7
Compatibility
The tuning is NOT compatible with the following motors:
- Yamaha PW, PW-X3
- all Giant Syncdrive motors
Prevent damage and malfunctions
Use in vehicles with unsuitable drive systems and/or display types will lead to malfunctions or
damage to the e-bike or the tuning module.
2.4 Obligation of the owner
Any user of the tuned e-bike must be instructed accordingly by the owner of the tuned e-bike on
the basis of these operating instructions, as well as being informed about the special restrictions on
use and increased risks due to the increased speed.
The owner of the tuned e-bike ensures that
all requirements for safe use
and for the intended use are complied with, and
these operating instructions are always available to every user.
The owner of the tuned e-bike undertakes to only make the tuned e-bike available to persons who
have read and understood these operating instructions and
have been instructed in the safe and proper use of the tuned e-bike.
2.5 Obligation of each user
Every user is obliged,
to read and observe these operating instructions in full, and
to follow all safety and warning instructions without exception,
to use the tuned E-bike only in technically perfect condition and in accordance with its intended
purpose, in a safety-conscious and hazard-conscious manner and in compliance with these
operating instructions and
to remedy immediately any damage or malfunctions detected which could impair safety, or, if
necessary, to have them remedied.
IMPORTANT

1232_BA_E_Rev0 - VOLspeed Yamaha PW-X V3 © TLI Elektronik GmbH
8
3Warranty and liability
3.1 Warranty and liability of the tuning module manufacturer
Warranty and liability claims are excluded by the manufacturer of the tuning module in the event of
direct or indirect personal injury or damage to property if they are attributable to one or more of
the following causes:
Increased wear or breakage of components of the E-bike, especially parts of the brake system
and/or the ride,
non-observance of these operating instructions or
improper use of the tuning module or the e-bike with integrated tuning module, or
non-observance of the operating restrictions of these operating instructions or
use or operation with operating conditions that do not comply with these operating instructions,
or
improper installation, commissioning, maintenance or repair not specified in these operating
instructions, or
after unauthorised structural, hardware or software modifications to the tuning module itself or
to the e-bike approved for the tuning module or its equipment.
The installation and operation of the tuning module is at your own risk.
The manufacturer of the tuning module does not accept any liability for damage related to the
operation or installation of the tuning module.
The technical and legal consequences mentioned may be incomplete.
In addition to the technical and legal consequences mentioned in these operating instructions,
further requirements may apply depending on the place of operation.
Before installing the device, inform yourself about possible further technical and legal
consequences and requirements that you must comply with in order to operate the tuned e-bike.
3.2 Warranty, guarantee and liability by the manufacturer of the e-bike
Due to the higher speeds with electric motor assistance, higher loads and forces will act on all
bicycle parts.
Reaching higher speeds increases wear on all bicycle parts, especially the braking system and all
parts of the drive system, even if the vehicle is of suitable strength and design.
For this reason, liability, warranty and guarantee claims against the dealer or manufacturer of the e-
bike will expire or be severely limited with the use of the tuning module.
3.3 Property damage and personal injury - Further exclusions of liability to be considered
An e-bike can reach electric motor-assisted speeds of up to 45 km/h after the tuning module has
been installed. Reaching such speeds increases the risk of a fall and resulting injury, even with
IMPORTANT

1232_BA_E_Rev0 - VOLspeed Yamaha PW-X V3 © TLI Elektronik GmbH
9
suitable strength and design of the vehicle. It also increases the risk of damaging other people or
property.
Reduce increased liability risks
Precisely define your operating conditions and user groups to be insured.
Take out liability insurance appropriate to the conditions of use and the user group for the use
of your tuned e-bike.
Reduce increased risk of hazards
Always wear suitable protective clothing and a crash helmet while using your tuned e-bike to
protect yourself from increased risk of accidents.
Insist that every user of your tuned e-bike wears appropriate protective clothing and a crash
helmet at all times during use.
Reduce the risk of accidents monetarily
Precisely define your operating conditions and user groups to be insured.
Take out an insurance policy for the use of your tuned e-bike that is appropriate to the
conditions of use and the user group.
ATTENTION
WARNING
ATTENTION

1232_BA_E_Rev0 - VOLspeed Yamaha PW-X V3 © TLI Elektronik GmbH
10
4Functional description
The Tuning Module offers the following functions after installation in a PW-X, PW-X2, PW-SE, PW-
ST, PW-CE or PW-TE drive system 25km/h (15.5mph):
Adjustable speed limit up to 45km/h (28mph) via the control unit on the e-bike
Personal activation code adjustable
Adjustable dynamic mode, reduced "wall effect”
Correct display of speed and distance travelled
Correct total odometer reading after re-removal of the tuning module
Optimised range calculation with active tuning
Wheel circumference adjustable
Setting options
All settings are made via the display on the e-bike.
No smartphone or notebook is required.
Protected electronics
The electronics are cast into the housing and thus safely protected from moisture.
Safety and protective devices
Safety and protective devices of the E-bike remain unaffected by the installation of the
tuning module.
5Technical data
Housing dimensions: 37mm x 19mm x 9mm (1.46” x 0.75” x 0.36”)
Cable length: Approx. 140mm (5.5”)
Weight: 0.025kg (0.9oz)
Power consumption: 0.1W
Supply voltage: 5VDC

1232_BA_E_Rev0 - VOLspeed Yamaha PW-X V3 © TLI Elektronik GmbH
11
6Installation
Before you start the installation
Confirm that you have carefully and completely read and understood all previous chapters of these
operating instructions before you begin with the installation. This is the only way to ensure that you
use the Tuning Module exclusively for the purpose described in these instructions and as intended.
6.1 Installation example PW-SE on the Haibike SDURO FullSeven 6.0
The installation described below and all associated instructions refer to the installation example:
Haibike SDURO FullSeven 6.0 with PW-SE motor. The installation of the PW-ST, PW-TE or PW-CE is
almost identical due to the identical mechanical motor design.
PW-X / PW-X2
In chapter 6.2 you will find an installation example for the PW-X.
6.1.1 Required tools
Allen key 3mm
Allen key 6mm
Torque Ratchet with Allen 6mm
Further tools may be necessary
The engine cover may also be fastened with Torx or Phillips screws, depending on the
vehicle model.
6.1.2 Note the part number and serial number
Note for support requests
Make a note of the
Part number (P/N) and
Serial number (S/N) of the tuning module
on the back of these operating instructions.
This way, you always have the data at hand for any
support requests.
6.1.3 Dismount motor
Preventing an unexpected start-up
If the drive starts unexpectedly, hands and fingers can be sheared, crushed or pulled in. Switch off
the e-bike and remove the battery. This will prevent any movement supported by the electric
motor.
Ensure that your e-bike stands firmly and securely.
Remove the screws (1) and (2) on the motor protection cover. The screws behind the chainring,
not shown here, do not need to be removed.
IMPORTANT
WARNING

1232_BA_E_Rev0 - VOLspeed Yamaha PW-X V3 © TLI Elektronik GmbH
12
Loosen the fastening screws (3), (4) and (5) of the motor.
Remove the screws (3) and (4) completely. Hold the motor firmly and then fold it down.
Above the motor, the view of the wiring becomes free.
6.1.4 Plug in cable
Trace the cables coming from the motor and disconnect the 3-pin and 5-pin connector.
Plug the tuning module into the 4 connectors that have become free.
Speed sensor (3 pin)
Display (5 pin)

1232_BA_E_Rev0 - VOLspeed Yamaha PW-X V3 © TLI Elektronik GmbH
13
6.1.5 Check function
Insert the battery into the e-bike.
Switch on the bike. When the bike is switched on for the first time, an automatic initialisation is
carried out. The display shows 11km/h (11mph) for 10 seconds. Then the display shows 0km/h
again.
Wiring faulty
If the display shows 12km/h (12mph) after about 10 seconds, the speed sensor signal wiring
is faulty. Check the connections again according to the illustration in chapter 6.1.4
Then check whether you can switch on the speed mode as described in the chapter 7. If this is not
possible, check the wiring again carefully.
Set activation code
If an individual activation code is to be set to protect the Tuning from unauthorised use:
Set the activation code according to the instructions in chapter 8 Activation code now.
Then check whether you can activate the tuning using the set code.
Switch the e-bike off again and remove the battery.
6.1.6 Finalize installation
Place the tuning module and the connectors in a suitable location.
Lay the cables so that they are not crushed when the motor is folded up.
No uniform installation location can be defined
Due to the different frame geometries, it is not possible to define a uniform installation
location. It is often possible to place the module in the down tube, in the seat tube or
directly in the connection area of the motor.
Speed sensor cable
On full suspension bikes make sure that the cable for the speed sensor is long enough at
the transition to the chain stay so that it is not stretched when the suspension is
compressed.
Fold the motor back up and refit the screws (3) and (4).
Tighten the screws (3), (4) and (5) to 22Nm.
Refit the screws (1) and (2) of the motor protection cover.

1232_BA_E_Rev0 - VOLspeed Yamaha PW-X V3 © TLI Elektronik GmbH
14
6.2 Installation example PW-X on the Haibike SDURO FullSeven 10.0
The installation described below and all associated instructions refer to the installation example:
Haibike SDURO FullSeven 10.0 with PW-X motor. The installation of the PW-X2 is almost identical
due to the identical motor design.
6.2.1 Required tools
Allen key 3, 5 and 6mm
Torque ratchet with Allen key 4 and 6mm
Screw locking varnish medium strength or high strength
Further tools may be necessary
The motor cover may also be fastened with Torx or Phillips screws, depending on the bike
model.
6.2.2 Note the part number and serial number
Note for support requests
Make a note of the
Part number (P/N) and
Serial number (S/N) of the tuning module
on the back of these operating instructions.
This way, you always have the data at hand for any
support requests.
6.2.3 Dismount motor
Preventing an unexpected start-up
If the drive starts unexpectedly, hands and fingers can be sheared, crushed or pulled in. Switch off
the e-bike and remove the battery. This will prevent any movement supported by the electric
motor.
Ensure that your e-bike stands firmly and securely.
Remove the screws (1) and (2) on the motor protection cover. The screws behind the chainring,
not shown here, do not need to be removed.
Remove the chain from the sprocket.
Loosen the fixing screws (4) of the chainring and remove it.
Alternatives
It is also possible to remove the chainring including the spider. However, this requires a tool
to loosen the locking ring and a crank puller to remove the pedal crank.
It is also possible to dispense with removing the chainring if the motor mounting bolt (6)
can be removed using a modified Allen key or an Allen key with a ball head.
Place a box or similar under the motor to rest it on after dismounting. The storage area should be
about 20 cm below the motor.
WARNING

1232_BA_E_Rev0 - VOLspeed Yamaha PW-X V3 © TLI Elektronik GmbH
15
Remove the fastening screws of the motor (5), (6) and then (3). Hold the motor with one hand
while removing the screws.
Place the motor on the storage surface.
Connect the tuning module as described in chapter 6.1.4 and then check its function as described
in section 6.1.5 described.

1232_BA_E_Rev0 - VOLspeed Yamaha PW-X V3 © TLI Elektronik GmbH
16
6.2.4 Finalize installation
Place the tuning module and the connectors in a suitable location.
Lay the cables so that they are not crushed when the motor is reassembled.
No uniform installation location can be defined
Due to the different frame geometries, it is not possible to define a uniform installation
location. It is often possible to place the module in the down tube, in the seat tube or
directly in the connection area of the motor.
Speed sensor cable
On full suspension bikes make sure that the cable for the speed sensor is long enough at
the transition to the chain stay so that it is not stretched when the suspension is
compressed.
Put the motor back in the frame and refit the screws (3), (5) and (6) and tighten them hand-tight.
Tighten the screws (3) to 22Nm and then (5) and (6) to 11Nm.
Refit the screws (1) and (2) of the motor protection cover.
Mount the chainrings again. When doing so, insert the screws (4) with locking varnish. Then tighten
with 11Nm.

1232_BA_E_Rev0 - VOLspeed Yamaha PW-X V3 © TLI Elektronik GmbH
17
7Speed mode
When Speed mode is activated, the speed limit for motor assistance is raised. The limit can be freely
set in the range 25 to 45km/h (15.5 to 28mph). When the e-bike is switched off, the speed mode is
automatically switched off and must therefore be reactivated when the bike is switched on again.
Note displays
The following illustrations show an example of display A. For display X and C, the
corresponding buttons on the control unit must be pressed.
7.1 Switch on
Use the arrow keys to change the support levels as shown.
Individual activation code
If you have set an individual activation code in accordance with the instructions in chapter 8
enter this instead.
Speed limit is displayed for 5 seconds. Default value 32km/h
(20mph). Possible values: 25..45km/h (15.5..28.0mph).
The speed mode is now switched on.
The limit can be changed by switching back and forth between
the levels shown. The set value is saved as soon as you do not
press any button for 5 seconds.
7.2 Switch off
Use "arrow up" and "arrow down"
to change the support levels as shown.
The display shows 25km/h (15.5mph) for 2 seconds. The speed
mode is off.
HIGH HIGH
STD STD
2s HIGH
HIGH
STD
STD
ECO
2s
HIGH HIGH
STD STD
2s HIGH

1232_BA_E_Rev0 - VOLspeed Yamaha PW-X V3 © TLI Elektronik GmbH
18
8Individual activation code
With an individual activation code, the speed mode can only be activated by entering this code. This
prevents unauthorised activation of the tuning. The code always consists of a self-definable
sequence of 5 different support levels that must be selected in the set sequence.
8.1 Preparation
Switch on the bike and set the display to show the total kilometre reading (ODO) and then switch
it off again.
Disconnect the two smaller, three-pin connectors of the tuning module from the motor and the
speed sensor and plug them together as shown in the following illustration.
8.2 Set code
Switch on the bike. “43434" is displayed as the total kilometre reading.
This is the default code. Each digit represents a support level according
to the following table.
"43434" corresponds to the code: HIGH | STD | HIGH | STD | HIGH
Digit
Level
0
Off
1
+ECO
2
ECO
3
STD
4
HIGH
5
EXPW (PW-X / PW-X2 only)

1232_BA_E_Rev0 - VOLspeed Yamaha PW-X V3 © TLI Elektronik GmbH
19
Now set your own code by changing the support levels.
After pressing an arrow key for the first time, the standard code is deleted and the currently set
level is displayed instead, see entry example step 2.
With each change of support level, the current support level is now appended to the right, see
input example step 3 -7
Once 5 digits have been entered, the code is complete and can be saved.
If more digits are entered, the first digit is deleted with each new entry, see step 7.
Entry example:
Step
Key
ODO
Level
Note
1
-
43434
STD
Code: HIGH | STD | HIGH | STD | HIGH
2
Arrow down
2
ECO
Code not complete
3
Arrow down
21
+ECO
Code not complete
4
Arrow up
212
ECO
Code not complete
5
Arrow up
2123
STD
Code not complete
6
Arrow down
21232
ECO
Code: ECO | +ECO | ECO | STD | ECO
7
Arrow up
12323
STD
Code: +ECO | ECO | STD | ECO | STD
Note down the set code and switch off the bike. This saves the
code. If you want to change the code again, simply switch the
bike on again and enter it again.
Finally, restore the wiring to its original condition.
Check code entry
Before re-assembling your bike, be sure to check whether you can activate the speed mode
with the set code.
8.3 Delete code
Switch on the bike. The total kilometre reading is displayed as
"43434". Switch the bike off again. This deletes the code. Then
restore the wiring to its original condition.
Old code invisible
If a code was already set beforehand, it will be deleted. Unauthorised reading of the
code is therefore not possible.

1232_BA_E_Rev0 - VOLspeed Yamaha PW-X V3 © TLI Elektronik GmbH
20
9Dynamic mode
If the speed limit is exceeded, the motor power is reduced very strongly by default. A higher pedal
force then initially no longer results in a higher speed, but in a lower motor support. For a more
natural riding experience, the dynamic mode spreads the downshift over a wider speed range, the
so-called "wall effect" is significantly reduced and it is possible to ride with much more constant
pedal force.
When speed mode is activated, use the arrow keys to change
the support levels as shown.
Dynamic mode off: 50 km/h (50mph) is displayed for 2
seconds. The set value is saved.
Dynamic mode on: 51 km/h (51mph) is displayed for 2 seconds.
The set value is saved.
0
20
40
60
80
100
120
80 90 100 110 120 130
Maximum Power [%]
relative speed [%]
Standard
Dynamic
ECO ECO
+ECO +ECO
2s ECO
This manual suits for next models
5
Table of contents
Other TLI Elektronik Bicycle Accessories manuals