manuals.online logo
Brands
  1. Home
  2. •
  3. Brands
  4. •
  5. Toa
  6. •
  7. Rack & Stand
  8. •
  9. Toa HY-700 User manual

Toa HY-700 User manual

Other Toa Rack & Stand manuals

Toa HY-UV08 User manual

Toa

Toa HY-UV08 User manual

Toa HY-BC1 User manual

Toa

Toa HY-BC1 User manual

Toa ST-34B User manual

Toa

Toa ST-34B User manual

Toa ST-310F User manual

Toa

Toa ST-310F User manual

Toa YC-832HSW AM User manual

Toa

Toa YC-832HSW AM User manual

Toa C-BC511A User manual

Toa

Toa C-BC511A User manual

Toa HY-WM04 User manual

Toa

Toa HY-WM04 User manual

Toa YC-531HSW-AM User manual

Toa

Toa YC-531HSW-AM User manual

Toa HY-WM08 User manual

Toa

Toa HY-WM08 User manual

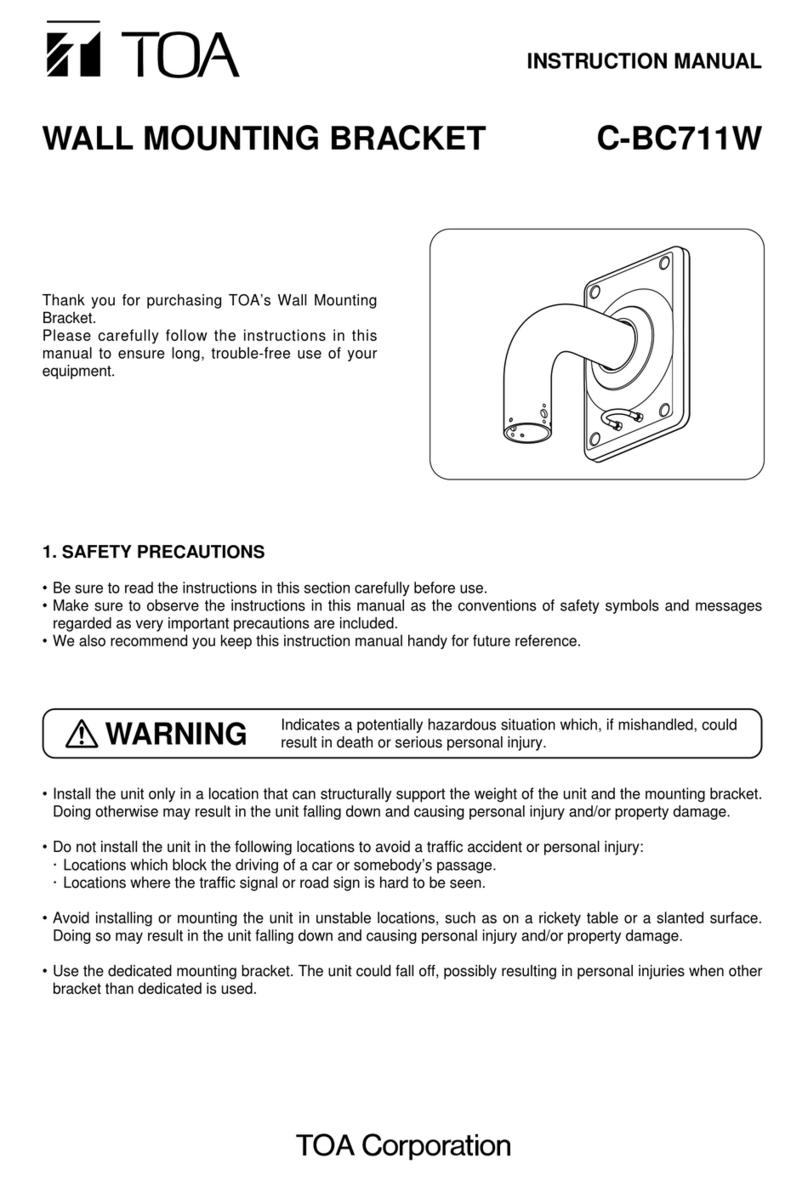
Toa C-BC711W User manual

Toa

Toa C-BC711W User manual

Toa HY-TR1 User manual

Toa

Toa HY-TR1 User manual

Toa HY-PF1B User manual

Toa

Toa HY-PF1B User manual

Toa C-BC511U User manual

Toa

Toa C-BC511U User manual

Toa HY-PF1B User manual

Toa

Toa HY-PF1B User manual

Toa HY-940 User manual

Toa

Toa HY-940 User manual

Toa ST-800 User manual

Toa

Toa ST-800 User manual

Popular Rack & Stand manuals by other brands

Dynex DX-MP3MT Quick setup guide

Dynex

Dynex DX-MP3MT Quick setup guide

Konig & Meyer 24185 manual

Konig & Meyer

Konig & Meyer 24185 manual

ECG LD 326501 instruction manual

ECG

ECG LD 326501 instruction manual

Philips SB7S19S/00 quick start guide

Philips

Philips SB7S19S/00 quick start guide

Woodline KIT-250 lb instructions

Woodline

Woodline KIT-250 lb instructions

ricoo S1222 installation instructions

ricoo

ricoo S1222 installation instructions

Kanto P301 user manual

Kanto

Kanto P301 user manual

VidaBox VB MNT FFS2 installation guide

VidaBox

VidaBox VB MNT FFS2 installation guide

PROEL PLWIN60C user manual

PROEL

PROEL PLWIN60C user manual

AllMounts PLB-43S instruction manual

AllMounts

AllMounts PLB-43S instruction manual

VMP VH-001 instruction sheet

VMP

VMP VH-001 instruction sheet

Nederman SYSTEM 920/400 instruction manual

Nederman

Nederman SYSTEM 920/400 instruction manual

Glasdon ORBIS POST MOUNTING KIT installation guide

Glasdon

Glasdon ORBIS POST MOUNTING KIT installation guide

Songmics LGR105 manual

Songmics

Songmics LGR105 manual

Grape GM401 user manual

Grape

Grape GM401 user manual

FourStarGroup 11225296 manual

FourStarGroup

FourStarGroup 11225296 manual

CHIEF FLR100 installation instructions

CHIEF

CHIEF FLR100 installation instructions

FEC XDCAM EX PMW-EX30 manual

FEC

FEC XDCAM EX PMW-EX30 manual

manuals.online logo
manuals.online logoBrands
  • About & Mission
  • Contact us
  • Privacy Policy
  • Terms and Conditions

Copyright 2025 Manuals.Online. All Rights Reserved.

Instruction Manual
SUSPENSION KIT
HY-700
General Description
The HY-700 speaker suspension kit is designed for use with TOA SB- 6S and SB-38W low frequency, vented (bass-reflex)
enclosures. The kit features suspension angle indicators and eyebolt mounts to facilitate speaker positioning.
Handling Precautions
Consult a construction expert to ensure mounting bolts
and cables are made of sufficiently strong material to
securely hold the weight of the speakers.
Ensure all mounting eyebolts are securely tightened and
can not be loosened by prolonged exposure to speaker
vibration.
For maximum security, the use of a 6-point suspension
method such as shown in Figure 1 is highly recommended.
TOA takes no responsibility for accidents or injuries caused by
faulty mounting methods or poorly selected mounting locations.
Figure 1
Parts List
1. Suspension bracket No.1
2. Suspension bracket No.2
3. Eyebolt (M16 x 50)
. Spring lock washer (SW16)
5.
Hex.
nut
(M16)
6. ( + ) wood screw
7. Spring lock washer (SW )
8. Flat washer (W )
4
16
16
16
SB-4 S/SB-38W Speaker Installation
The speaker enclosures have been pre-fit with sus-
pension bracket mounting holes. Working from inside
the enclosure, use a screwdriver to push out the hole
plugs from the four locations where the brackets will
be installed. Referring to Figure 2, install the brackets
and eyebolts, ensuring all screws are securely tight-
ened.
N
ote: Horizontal mounting method for the SB-4 S
As shown in Figure 3, an anchor nut for eyebolt
mounting is already installed inside one corner of
the enclosure, therefore only suspension bracket
No. 1 and the eyebolt need be installed at this
location. Refer again to Figure 2 to install the
brackets for the other three points, ensuring all
screws are securely tightened.
Figure 2
Bracket mounting positions for vertical and horizontal
suspension. ( points each)
This inside
corner only
Figure 3
Eyebolt Angle Adjustment
As shown in Figure , adjust the suspension angle with the eyebolts referring to the angle scale (in 10° step for one scale
mark) of the suspension bracket No.1, and tighten all the hexagon nuts securely after adjustment.
The illustration shows that the eyebolt position is adjusted 30° down from horizontal.
Figure 4
TOA Corporation
KOBE, JAPAN
133-05-201-7
A
HY-700
* Please see the reverse side for English manual.
TOA