manuals.online logo
Brands
  1. Home
  2. •
  3. Brands
  4. •
  5. Toa
  6. •
  7. Rack & Stand
  8. •
  9. Toa YC-531HSW-AM User manual

Toa YC-531HSW-AM User manual

Other Toa Rack & Stand manuals

Toa HY-WM08 User manual

Toa

Toa HY-WM08 User manual

Toa C-BC511A User manual

Toa

Toa C-BC511A User manual

Toa ST-34B User manual

Toa

Toa ST-34B User manual

Toa ST-800 User manual

Toa

Toa ST-800 User manual

Toa HY-WM04 User manual

Toa

Toa HY-WM04 User manual

Toa HY-PF1B User manual

Toa

Toa HY-PF1B User manual

Toa HY-PF1B User manual

Toa

Toa HY-PF1B User manual

Toa HY-700 User manual

Toa

Toa HY-700 User manual

Toa C-BC511U User manual

Toa

Toa C-BC511U User manual

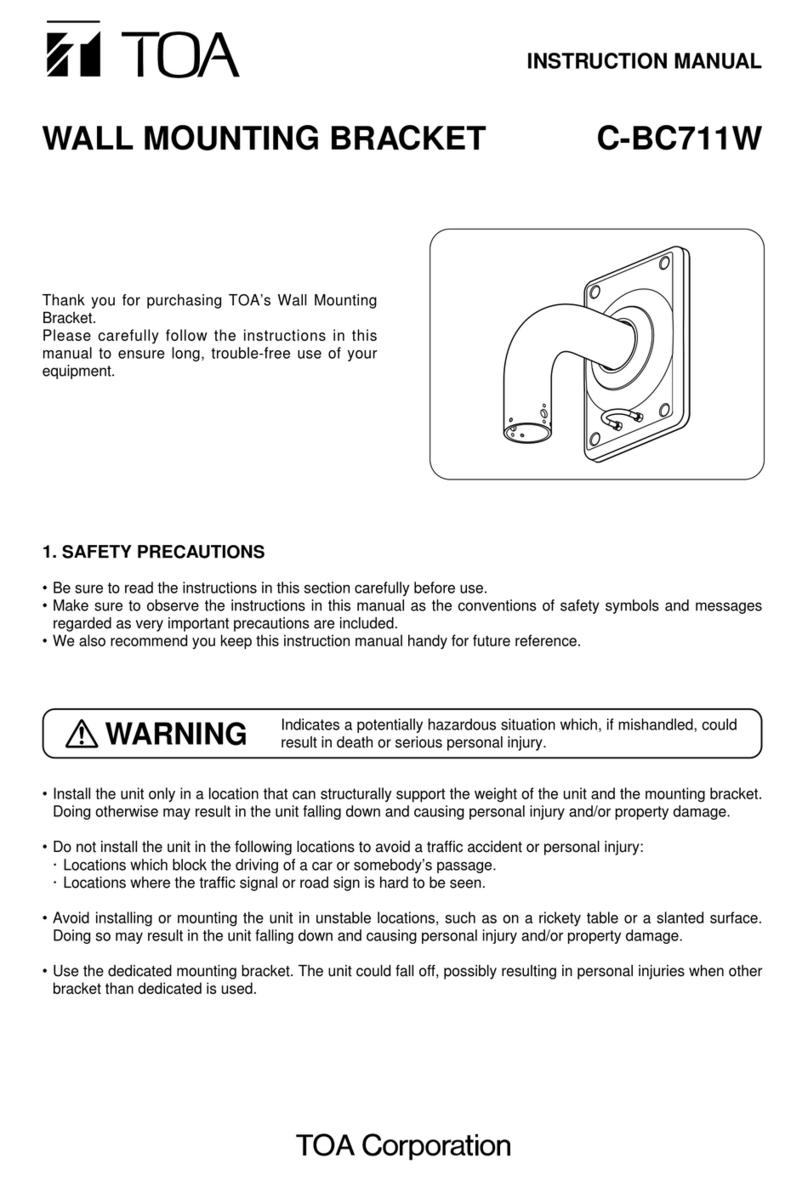
Toa C-BC711W User manual

Toa

Toa C-BC711W User manual

Toa YC-832HSW AM User manual

Toa

Toa YC-832HSW AM User manual

Toa HY-BC1 User manual

Toa

Toa HY-BC1 User manual

Toa HY-TR1 User manual

Toa

Toa HY-TR1 User manual

Toa HY-940 User manual

Toa

Toa HY-940 User manual

Toa HY-UV08 User manual

Toa

Toa HY-UV08 User manual

Toa ST-310F User manual

Toa

Toa ST-310F User manual

Popular Rack & Stand manuals by other brands

Dynex DX-MP3MT Quick setup guide

Dynex

Dynex DX-MP3MT Quick setup guide

Konig & Meyer 24185 manual

Konig & Meyer

Konig & Meyer 24185 manual

ECG LD 326501 instruction manual

ECG

ECG LD 326501 instruction manual

Philips SB7S19S/00 quick start guide

Philips

Philips SB7S19S/00 quick start guide

Woodline KIT-250 lb instructions

Woodline

Woodline KIT-250 lb instructions

ricoo S1222 installation instructions

ricoo

ricoo S1222 installation instructions

Kanto P301 user manual

Kanto

Kanto P301 user manual

VidaBox VB MNT FFS2 installation guide

VidaBox

VidaBox VB MNT FFS2 installation guide

PROEL PLWIN60C user manual

PROEL

PROEL PLWIN60C user manual

AllMounts PLB-43S instruction manual

AllMounts

AllMounts PLB-43S instruction manual

VMP VH-001 instruction sheet

VMP

VMP VH-001 instruction sheet

Nederman SYSTEM 920/400 instruction manual

Nederman

Nederman SYSTEM 920/400 instruction manual

Glasdon ORBIS POST MOUNTING KIT installation guide

Glasdon

Glasdon ORBIS POST MOUNTING KIT installation guide

Songmics LGR105 manual

Songmics

Songmics LGR105 manual

Grape GM401 user manual

Grape

Grape GM401 user manual

FourStarGroup 11225296 manual

FourStarGroup

FourStarGroup 11225296 manual

CHIEF FLR100 installation instructions

CHIEF

CHIEF FLR100 installation instructions

FEC XDCAM EX PMW-EX30 manual

FEC

FEC XDCAM EX PMW-EX30 manual

manuals.online logo
manuals.online logoBrands
  • About & Mission
  • Contact us
  • Privacy Policy
  • Terms and Conditions

Copyright 2025 Manuals.Online. All Rights Reserved.

TOA Canada Corporation
INSTALLATION MANUAL
SURFACE MOUNT BACKBOX
YC-531HSW-AM
1. DESCRIPTION
The YC-531HSW-AM is a surface mount back box for the RS series1intercom stations of the N-8000
intercom system. It is equipped with two heaters for installations in cold environments (up to -40°C), a
thermostat2that turns the heaters on and off, and a tamper switch to be connected to a control input of any
N-8000 compatible devices for triggering a tamper-notification call.
The YC-531HSW-AM requires 24V AC or DC power adapter (not included).
1 RS-150 / RS-160 / RS-170 / RS-180 / RS-450 / RS-460 / RS-470 / RS-480.
2The heaters will turn on when the temperature drops below 4°C (40°F) ± 4°C and they turn off when the
temperature goes above 15°C (60°F) ± 4°C.
2. INSTALLATION
Surface Mount
Backbox
Removable
Mounting Plate
Intercom Substation
(Not Included)
Mounting
Screws (x4)
Tamper Switch
Gasket
Heaters (x2)
Thermostat
Terminal Block
(2-post Screw Type)
Insulation
TOA Canada Corporation
Note: When mounting on an electrical box or directly to a wall, please make sure to tightly seal all edges to
avoid water entry.
Note: To enable the tamper-notification call, please wire the tamper switch in parallel with the push button.
Removing the substation will cause the intercom to place a call.
Tamper Switch Wires Provided (flying leads):
Green: Common
Black: Normally Open
White: Normally Closed
When the substation is properly installed (the tamper switch arm is depressed), the circuit is open
between Common (Green) and Normally Closed (White).
3. APPEARANCE
TOA Canada Corporation
4. SPECIFICATIONS
Heaters
Number of Units
2 x
10W
Power Source
24V AC or DC (supplied from optional AD
-
246 power
supply unit or equivalent)
Power
Consumption
Max. 20W
Wiring Terminal
2 pin screw terminal
Thermostat
Series
1/2" Disc
Type
Automatic Reset
Function
Open On Rise (Normally
Closed)
Open Temperature
15°C (
60
°
F
) ±
4
°C
Close Temperature
4°C (40°F) ±
4
°C
Tamper Switch
NO/NC
switch,
flying leads
with no termination
Finish
Steel,
Powder Coat Finish Gray
(RAL 9006 or equivalent)
Operating Temperature
-40°C(-40°F to +50°C(+122°F)
Dimensions
4.
89”(w) x 4.89”(h) x 4.65”(d) (124
x
124
x
118
mm)
Weight
2.40
lbs. (
1.09
Kg)