Never use the generator in a location
that is wet or damp. Never expose the
generator to rain, snow, water spray or
standing water while in use. Protect the
generator from all hazardous weather
conditions. Moisture or ice can cause a
short circuit or other malfunction in the
electrical circuit.
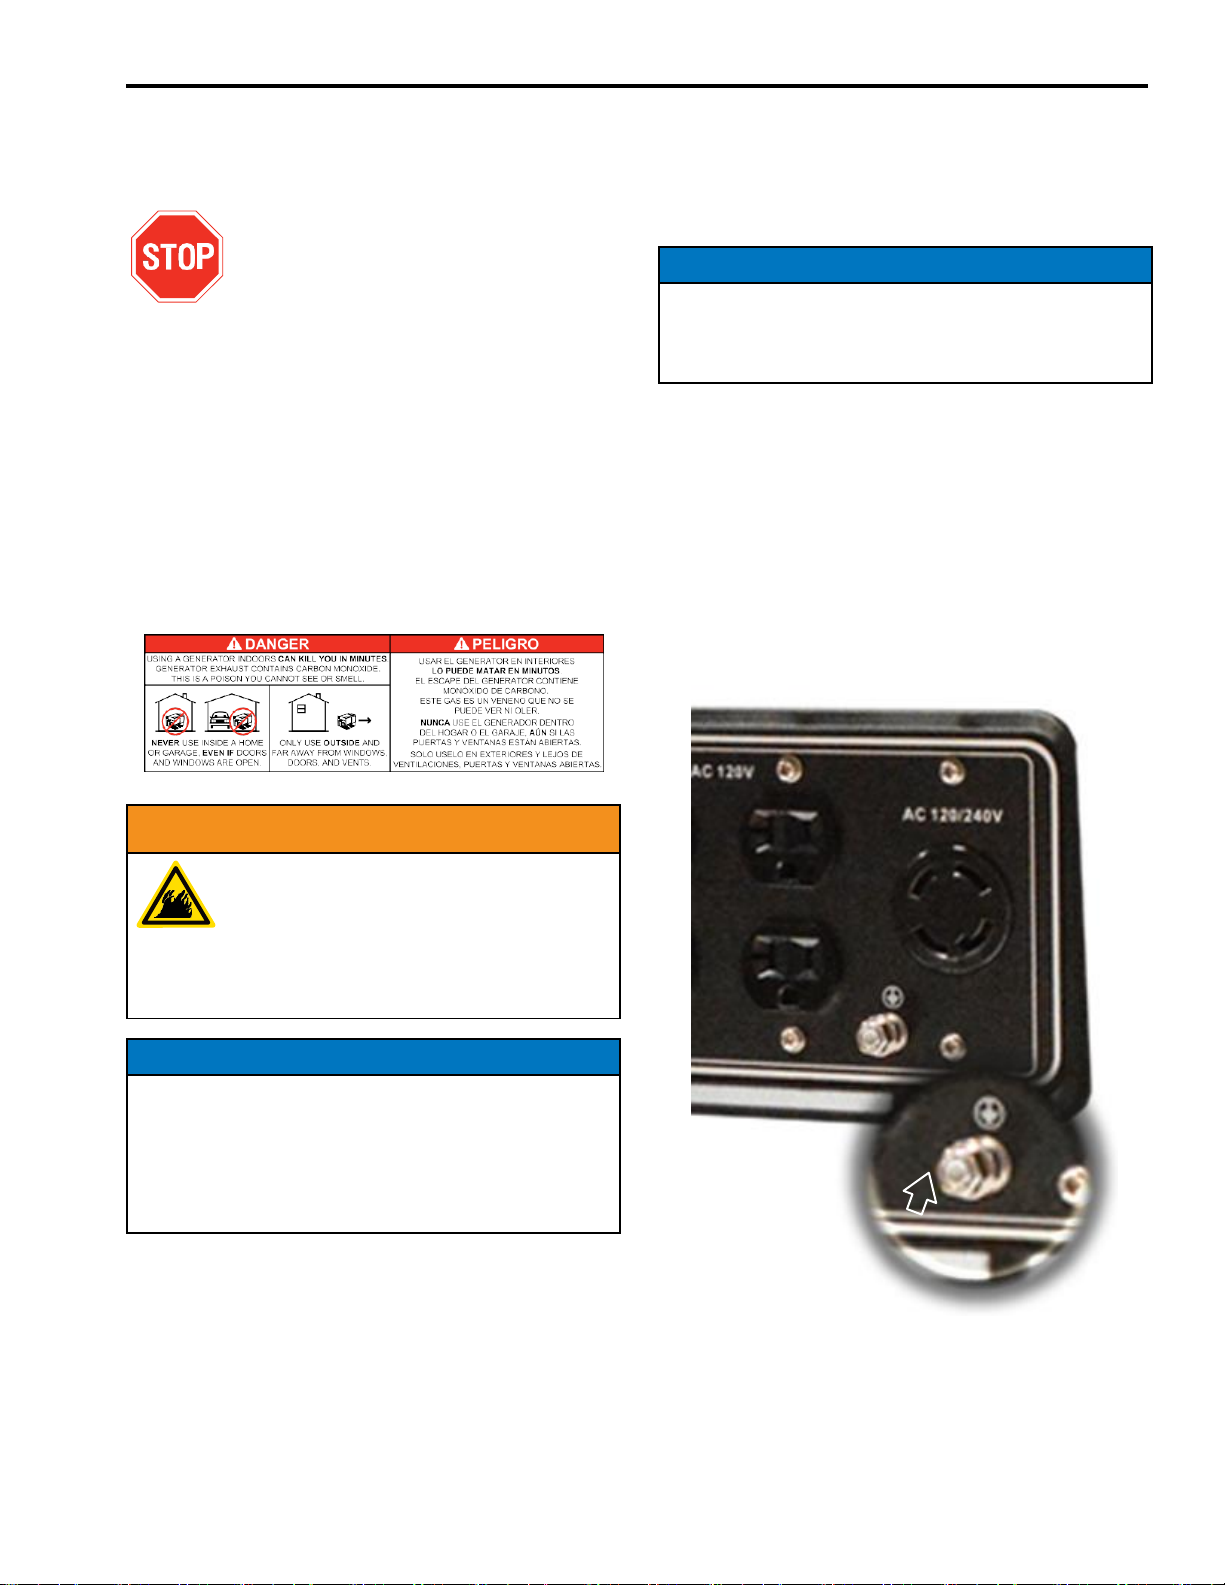
Never operate the generator in an
enclosed area. Engine exhaust
contains carbon monoxide. Only
operate the generator outside and away
from windows, doors and vents.
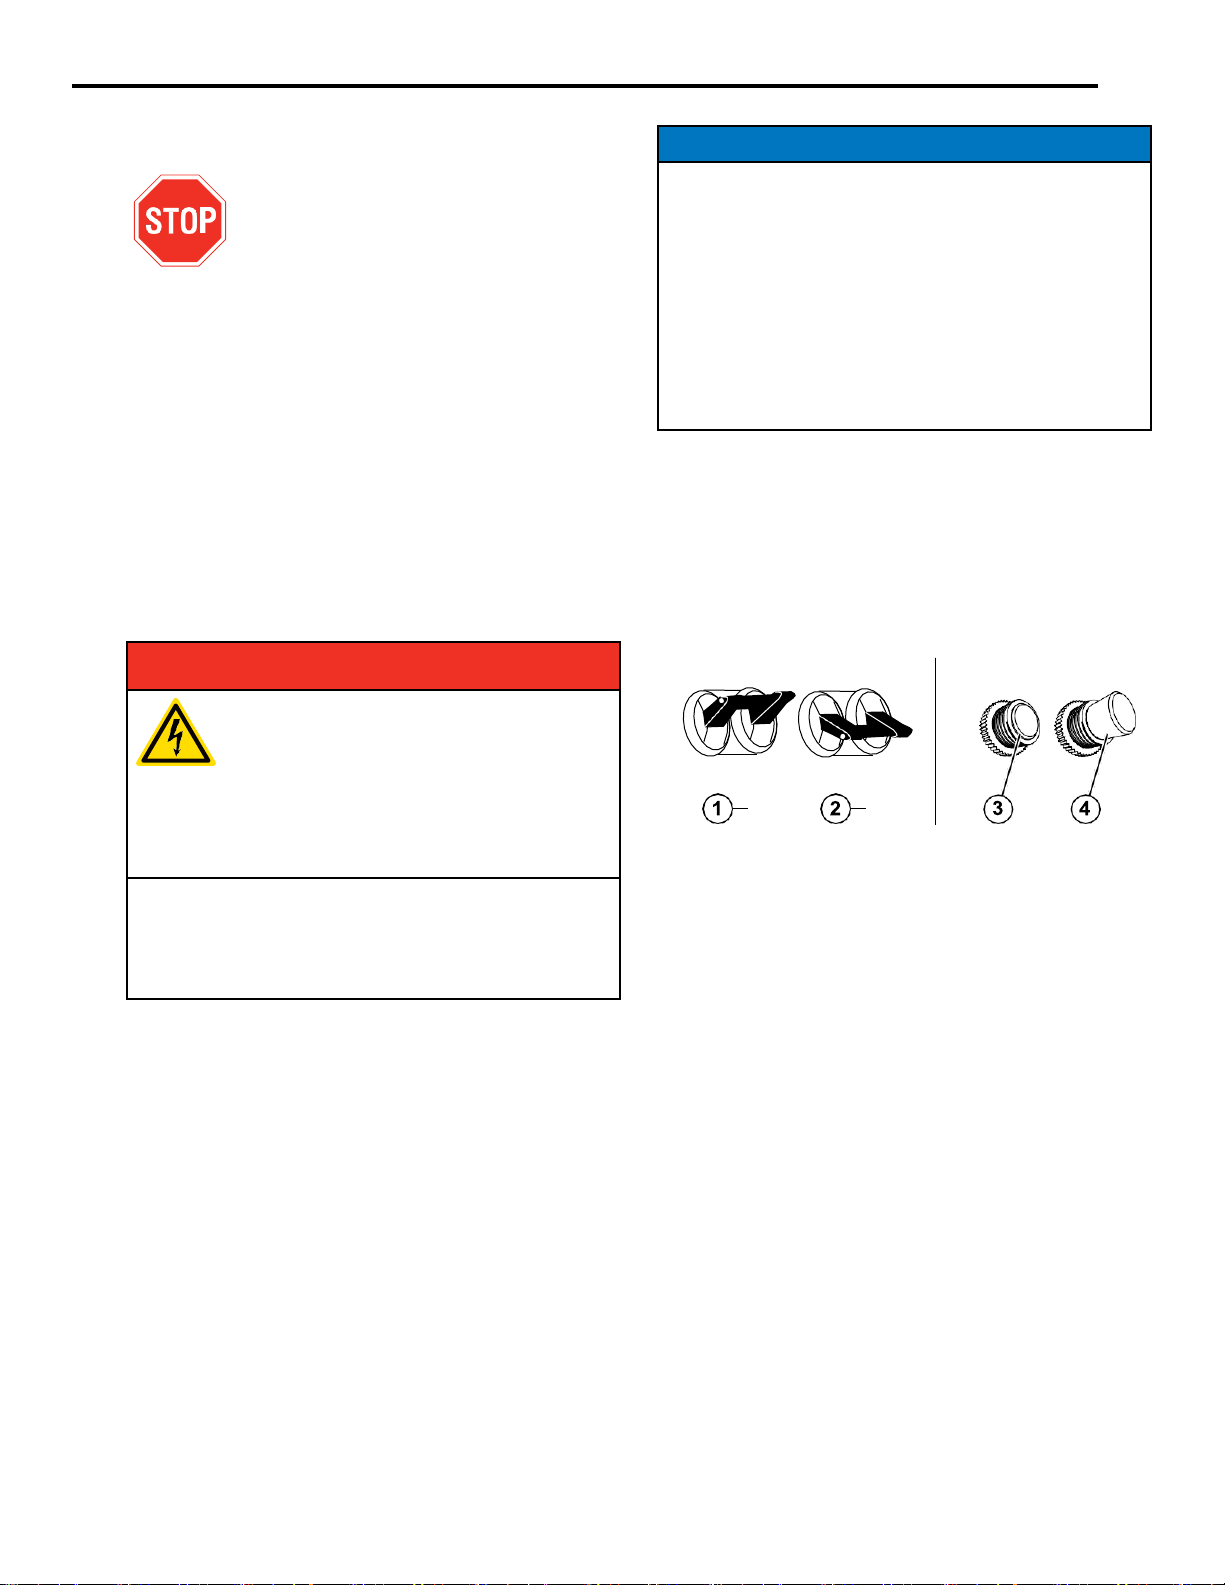
Voltage produced by the generator
could result in death or serious injury.
•
Never operate the generator in
rain or a floodplain unless proper
precautions are taken to avoid being
subject to rain or a flood.
•
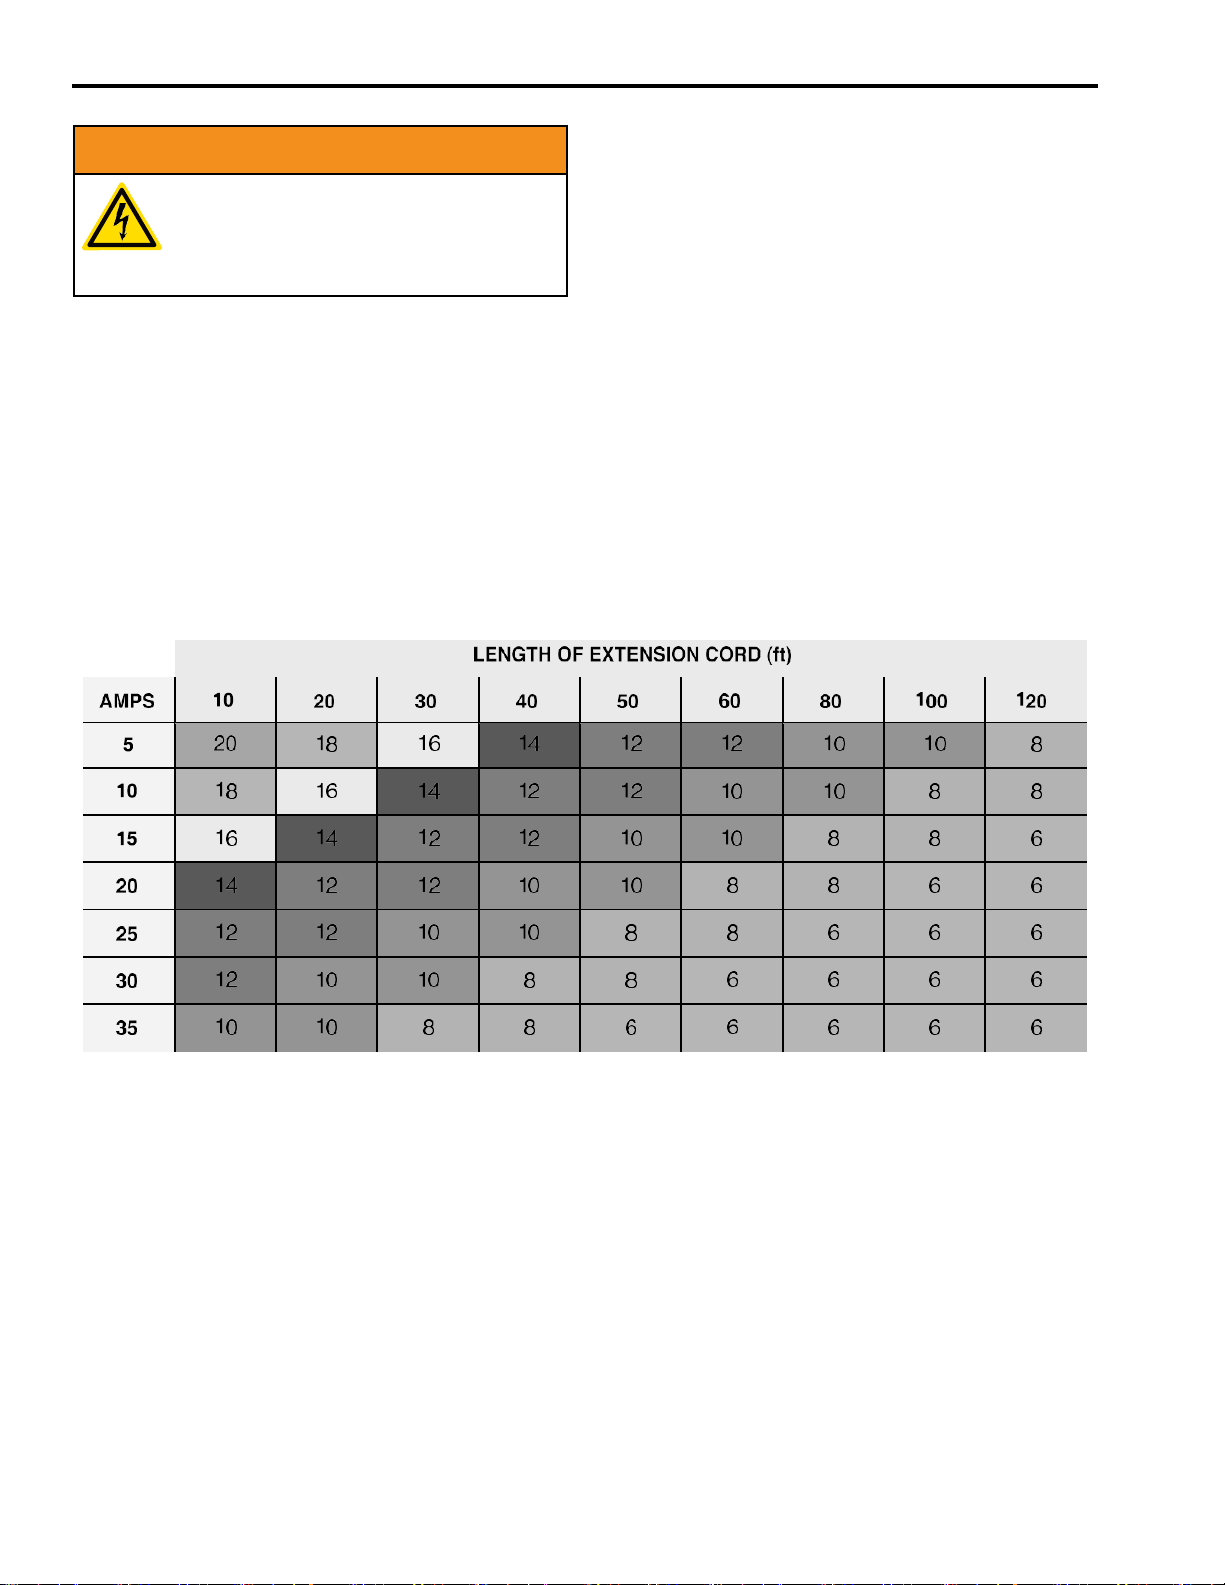
Never use worn or damaged
extension cords.
•
Always have a licensed electrician
connect the generator to the utility
circuit.
•
Never touch an operating generator
if the generator is wet or if you have
wet hands.
•
Never operate the generator in highly
conductive areas such as around
metal decking or steel works.
•
Always use grounded extension
cords. Always use three-wire or
double-insulated power tools.
•
Never touch live terminals or
bare wires while the generator is
operating.
•
Be sure the generator is properly
grounded before operating.
Gasoline and gasoline vapors are
extremely flammable and explosive
under certain conditions. Beware of
Carbon Monoxide and ordorless gas
that kills.
•
Always refuel the generator outdoors,
in a well-ventilated area.
•
Never remove the fuel cap with the
engine running.
•
Never refuel the generator while
the engine is running. Always turn
engine off and allow the generator to
cool before refueling.
•
Only fill fuel tank with gasoline.
•
Keep sparks, open flames or other
form of ignition (such as match,
cigarette, static electric source) away
when refueling.
•
Never overfill the fuel tank. Leave
room for fuel to expand. Overfilling
the fuel tank can result in a sudden
overflow of gasoline and result in
spilled gasoline coming in contact
with HOT surfaces. Spilled fuel
can ignite. If fuel is spilled on
the generator, wipe up anyspills
immediately. Dispose of rag properly.
Allow area of spilled fuel to dry
before operating the generator.
•
Wear eye protection while refueling.
•
Never use gasoline as a cleaning
agent.
•
Store any containers containing
gasoline in a well-ventilated area,
away from any combustibles or
source of ignition.
•
Check for fuel leaks after refueling.
Never operate the engine if a fuel leak
is discovered.