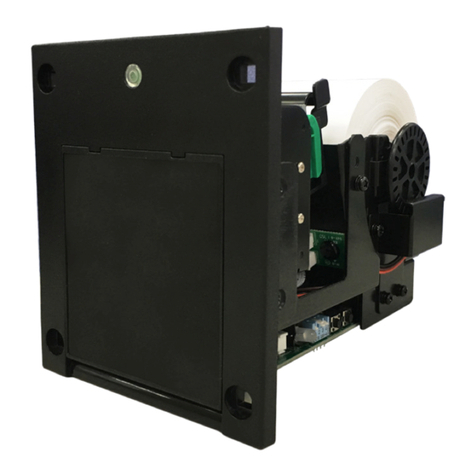
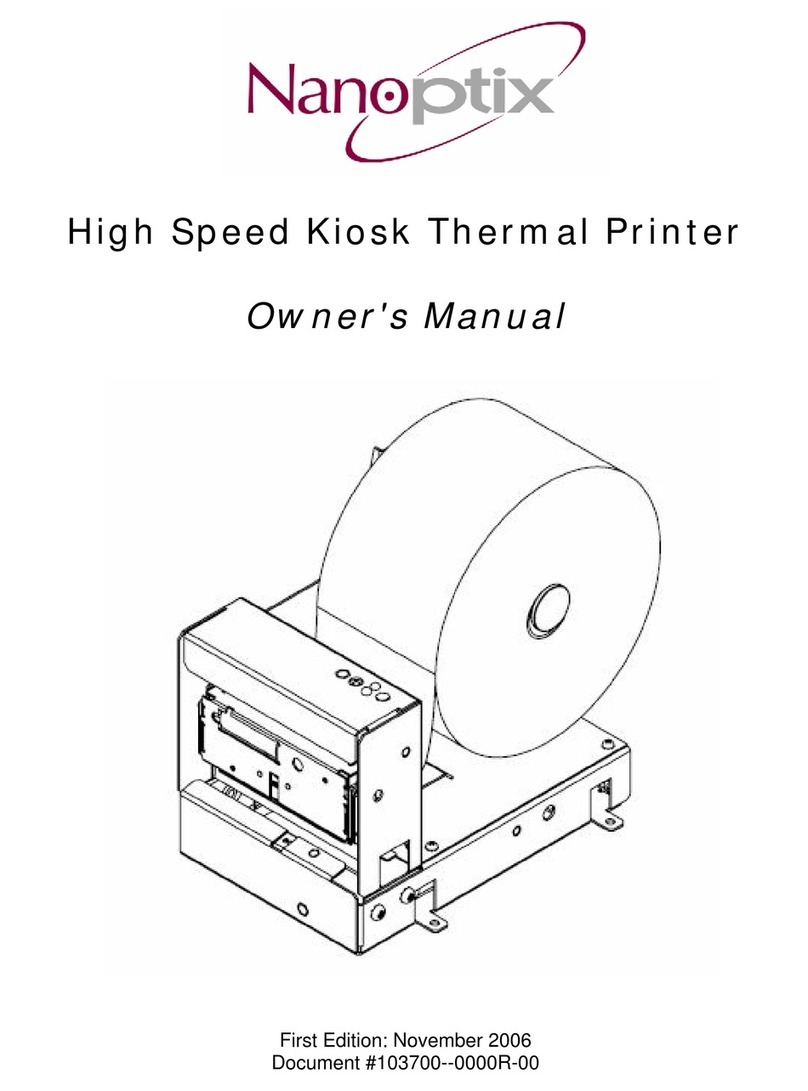
Top FP58 User manual

Thank you for choosing TOP VME .
FP58
Printer
Installation Guide


Contents
1. Introduction..................................................................................................1
1-1. Overview ...............................................................................................1
1-2. Features .................................................................................................1
2. Specification.................................................................................................2
2-1. General...................................................................................................2
2-2. Cutter .....................................................................................................2
2-3. Thermal Print Head ...........................................................................2
3. Dimension.....................................................................................................3
4. The Hardware Setup..................................................................................4
4-1. Connection Setting ...........................................................................4
4-2. LED and DIP Switch Setting............................................................7
4-3. Setting Step..........................................................................................8
5. Battery setup................................................................................................8
6. RS232 ..............................................................................................................9
6-1.Transmission Specification..............................................................9
6-2. Reading Date and Time...................................................................9
6-3. Setting the Date and Time Command.......................................9
6-4. Upload Trademark Graphic Formats ..........................................10
6-5. Typeset Print Function .....................................................................10
6-6. NO / NC choose .................................................................................11
6-7. Upload Text ..........................................................................................11
6-8. Clear Diary............................................................................................11

6-9. Paper Cutting.......................................................................................11
6-10. Direct Print Format - Graphics....................................................12
6-11. Direct Printing Format - Text.......................................................12
6-12. Print Score Reports.........................................................................12
6-13. Print Diary ..........................................................................................12
6-14. Retrieve Software Version...........................................................13
6-15. Read Machine Status .....................................................................13
7.Printer Introduction....................................................................................14
7-1. Roll Installation ..................................................................................14
7-2. Assemble and Disassemble of the Printer................................16
7-3. Printer Installation .............................................................................17
8.Troubleshooting...........................................................................................18
8-1. Paper Jamming ...................................................................................18
8-2. No paper out .......................................................................................18


FP58
1
1. Introduction
1-1. Overview
FP58 equipped with built-in clock, local time can be set before
shipment and the local time can be printed on the printed document.
FP58 provide users with deletable daily and summery report, it also
provide typesetting function, user can easily download or design
document formats, trademarks … etc. and can be stored inside FP58
for future use.
1-2. Features
• Easy grasp data
• Recode data quickly and securely
• Query and print easily

2
Printer
2
2. Specification
2-1. General
Power Source 12V DC (10.8~13.2V DC)
Input/Output level HI : 12V LO : 0V DC
Roll Width 56 ± 0.5 mm
Installation Indoor
Power Consumption
Standby:0.18A / 2.16W
Operation:2.1A / 25.2W
Maximum:2.5A / 30W
Weight Approx. 503g (without roll)
Temperature Range
Operation Temperature :
0° C~60° C
Storage Temperature :
-10° C~80° C
Humidity :
20%~70%RH (no condensation)
2-2. Cutter
Thickness Max. 0.12mm
Life Up to 500,000 times
Time Fastest 1 time / sec
2-3. Thermal Print Head
Life 30 km
Resolution 8 Ponints / mm
Speed 40 mm / sec

FP58
3
3. Dimension
Unit : mm [ inch ]
9.08 0.357 77.92 3.068
84.10 3.311 6.65 0.262
82.00 3.228
95.00 3.740
118.95 4.683
12.12 0.477
65.67 2.585
98.95 3.896
108.99 4.291
10.56 0.416
168.64 6.639
123.48 4.861

4
Printer
4
4. The Hardware Setup
4-1. Connection Setting
Please refer to the diagram below for the PIN information :
CN1 Serial Interface
PIN 1- GND PIN 5- RESET
PIN 2- X PIN 6- VCC (+5V DC)
PIN 3- PGD PIN 7- RX
PIN 4- PGC PIN 8- TX
1 2 3 4 5 6 7
CN7
CN1
2 4 6 8
1 3 5 7

FP58
5
WEL-RU082-K
1
7
PIN
PLUSE MODE
COLOR FEATURES
1Red +12VC
2Black GND
3Brown Coin
SIGNAL
PULSE
I/O
I
4Orange Note PULSE I
5Yellow Payout PULSE I
6Green NC
7Blue Error Low active O
PIN
HOPPER MODE
COLOR FEATURES
1Red +12VC
2Black GND
3Brown Coin
SIGNAL
PULSE
I/O
I
4Orange Note PULSE
PULSE
I
5Yellow HOPPER SSR Low active I
6Green HOPPER SW
7Blue Error Low active O
O

6
Printer
6
WEL-R7U06
PIN NO PIN DEFINE
PIN2 TXD
PIN3 RXD
PIN5 GND
PIN NO COLOR PIN DEFINE
PIN1 BLUE GND
PIN6 WHITE VCC
PIN7 BLACK RXD
PIN8 PURPLE TXD

FP58
7
4-2. LED and DIP Switch Setting
A. LED Display:
LED Colour Status
Colorful Normal
Red Malfunction ( paper jamming, no paper )
B. Status Indicator LED light:Normal in Green, Malfunction in Red
C. DIP Switch
Features SW1 SW2 SW3 SW4
Paper Cut ( partially ) OFF
Paper Cut ( fully ) ON
Pulse Width 30ms OFF OFF
Pulse Width 50ms ON OFF
Pulse Width 100ms OFF ON
Pulse Width 200ms ON ON
Input Normal High (NC) OFF
Input Normal Low (NO) ON
LED location
LED
2Key
2
3Key
1
OFF
ON

8
Printer
8
D. KEY1 and KEY2
•Press KEY1 once : Print daily report.
•Hold KEY1 for more than 2 sec : The last record before printing.
•Press KEY2 : Paper moving forward.
4-3. Setting Step
A. Connect the power cord to the PCBA signal CN7.
B. Install the paper roll into the roll groove according to the direction
of the grating mounted.
C.RS-232 interface or bill format setting – connect the RS232 cable
to the COM port of the computer and the CN1 port of the printer.
D.Turn on the power,put the paper into the printer,the machine
will sense the paper automatically in 2 seconds.For Roll Installation,
please refer to 7-1.
E. Through Print Tools or Index 6 RS232 to configure ticket format and
time setting.
5. Battery setup
1、2 PIN shorted : Enable(Default Setting)
(the battery will be charged after connecting to the power, able to supply
power to the internal clock after power off)
2、3PIN:Disable
JP1

FP58
9
6. RS232
6-1.Transmission Specification
Transmission Method Full Duplex Transmission
Transmission Speed 38400 Baud Rate
Synchronizing Method Asynchronous Method
Data Format Start bit 1, Data bit 8, Parity bit none,
Stop bit 1
6-2. Reading Date and Time
Byte1 Byte2
1Bh F0h
6-3. Setting the Date and Time Command
Command :
Byte1 Byte2 Byte3~12 Byte13
1Bh F1h Data Format
Return code:
Byte1 Byte2
77h 33h
Style :
Format Command
yy/mm/dd 0x00
mm/dd/yy 0x01
dd/mm/yy 0x02
yy/dd/mm 0x03
For example : at 17:33 on August 13, 2014
The command will be : 1Bh F1h 31h 34h 30h 38h 31h 33h 31h 37h 33h 33h
00h

10
Printer
10
6-4. Upload Trademark Graphic Formats
Picture width and file size are respectively limited to 384 pixel and
16kb.
Byte1 Byte2 Byte3 Byte4 Byte5~52
1Dh F4h Graphic size low-
tuple
Graphic size high-
tuple Data
Return code :
48bytes Data received correctly 42h
All data reception is completed ABh
6-5. Typeset Print Function
Byte1 Byte2 Byte3~ Byte32
33h BBh Data
*Parameters1:Byte3,Byte5,Byte7~~~~~~~,Byte31 Information Content.
Blank lines 20h Character2 75h
Trademark 4Ch Character3 76h
Two-dimensional code 51h Character4 77h
Fraction 50h Character5 78h
date 44h Character6 79h
Barcode 42h Character7 7ah
character1 74h Character8 7bh
*Parameters1:Byte4,Byte6,Byte8~~~~~~~,Byte32 Information Content
If the parameter1 is a trademark, QR code, date or barcode, please set
parameter 2 to the following:
No parameters B0h
If the parameter 1 is score choosing, a text 1, text 2, text 3 or text 4.
The parameter 2 options are set as follow:
1*1 Font B1h 2*4 Font B4h
1*2 Font B2h 3*3 Font B5h
2*2 Font B3h 3*6 Font B6h

FP58
11
If the parameter 1 is set to “blank line”, parameter 2 options are set as
follow:
Empty 1 row 1h Empty 6 row 6h
Empty 2 row 2h Empty 7row 7h
Empty 3 row 3h Empty 8 row 8h
Empty 4 row 4h Empty9 row 9h
Empty 5 row 5h Empty 10 row 10h
Receive information is complete, it will respond to 06h.
6-6. NO / NC choose
Byte1 Byte2 Byte3
33h BCh Data
Byte3= 00h (pulse normal High)
Byte3= 01h (pulse normal Low)
6-7. Upload Text
Byte1 Byte2 Byte3 Byte4 Byte5 Byte6 Byte7 Byte8 Byte9
33h BDh Data1 Data2 Data3 Data4 Data5 Data6 Data7
Byte10 Byte
11~34
Byte
35~58
Byte
59~82
Byte
83~106
Byte
107~130
Byte
131~154
Byte
155~178
Byte
179~202
Data
8
Data
9Data 10 Data 11 Data
12
Data
13
Data
14
Data
15
Data
16
Byte3 ~ Byte10 :
Left 00h
Middle 01h
Right 02h
6-8. Clear Diary
Byte1 Byte2
1Bh F2h
6-9. Paper Cutting
Byte1 Byte2
1Bh F5h

12
Printer
12
6-10. Direct Print Format - Graphics
Byte1 Byte2 Byte3~50
1Dh F8h Data
Printer reply 06h : receive successfully
Printer reply 0Ah : receive unsuccessfully
6-11. Direct Printing Format - Text
Byte1 Byte2 Byte3 Byte4~9 End character
1Dh F7h Mode ASCII Character 0Dh
Printer reply 06h: receive successfully
Printer reply 0Ah,: receive unsuccessfully
Print Size ( width x height )
Mode = 00h 1x1
Mode = 01h 1x2
Mode = 02h 2x2
Mode = 03h 2x4
Mode = 04h 3x3
Mode = 05h 3x6
ASCII Character input 1~6 digital
6-12. Print Score Reports
Byte1 Byte2
1Bh F9h
Printer reply 06h: receive successfully
6-13. Print Diary
Byte1 Byte2
1Bh F9h
Printer reply 06h: receive successfully

FP58
13
6-14. Retrieve Software Version
Byte1 Byte2
1Bh FBh
Printer will reply to 12 bytes of data
6-15. Read Machine Status
Byte1 Byte2
1Bh FCh
Printer show: 00h Status normal , 01h run out paper, 02h cutter failure

14
Printer
14
7.Printer Introduction
7-1. Roll Installation
Roll green slot switch forward
until to the end (second level),
release therolling gap, the roll
will be inserted more easily.
4
Level 1 Level 2
Press the platen inward and
release, it will automatically
fall into appropriate slot, if
unsuccessful, relocate it to
the refill position manually.
3.
Install the roll according
to the direction shown
1.
2.

FP58
15
7.
Roll the platen upward and
latch it into the both side
hole, the sensor will roll the
paper automatically.
6.
stop
line
paper
insert
O
paper
insert
stop
line
XX
paper
insert
stop
line
5.
Press
Insert paper roll into the
slot, make sure it is in flat
position and unfold, it
should not be exceeded
the slot switch level from
side view.
Roll the green slot switch
backward up to the slot
gap, to make sure the
paper roll latched properly.
Table of contents
Other Top Printer manuals
