TOPAZ
Maintenance
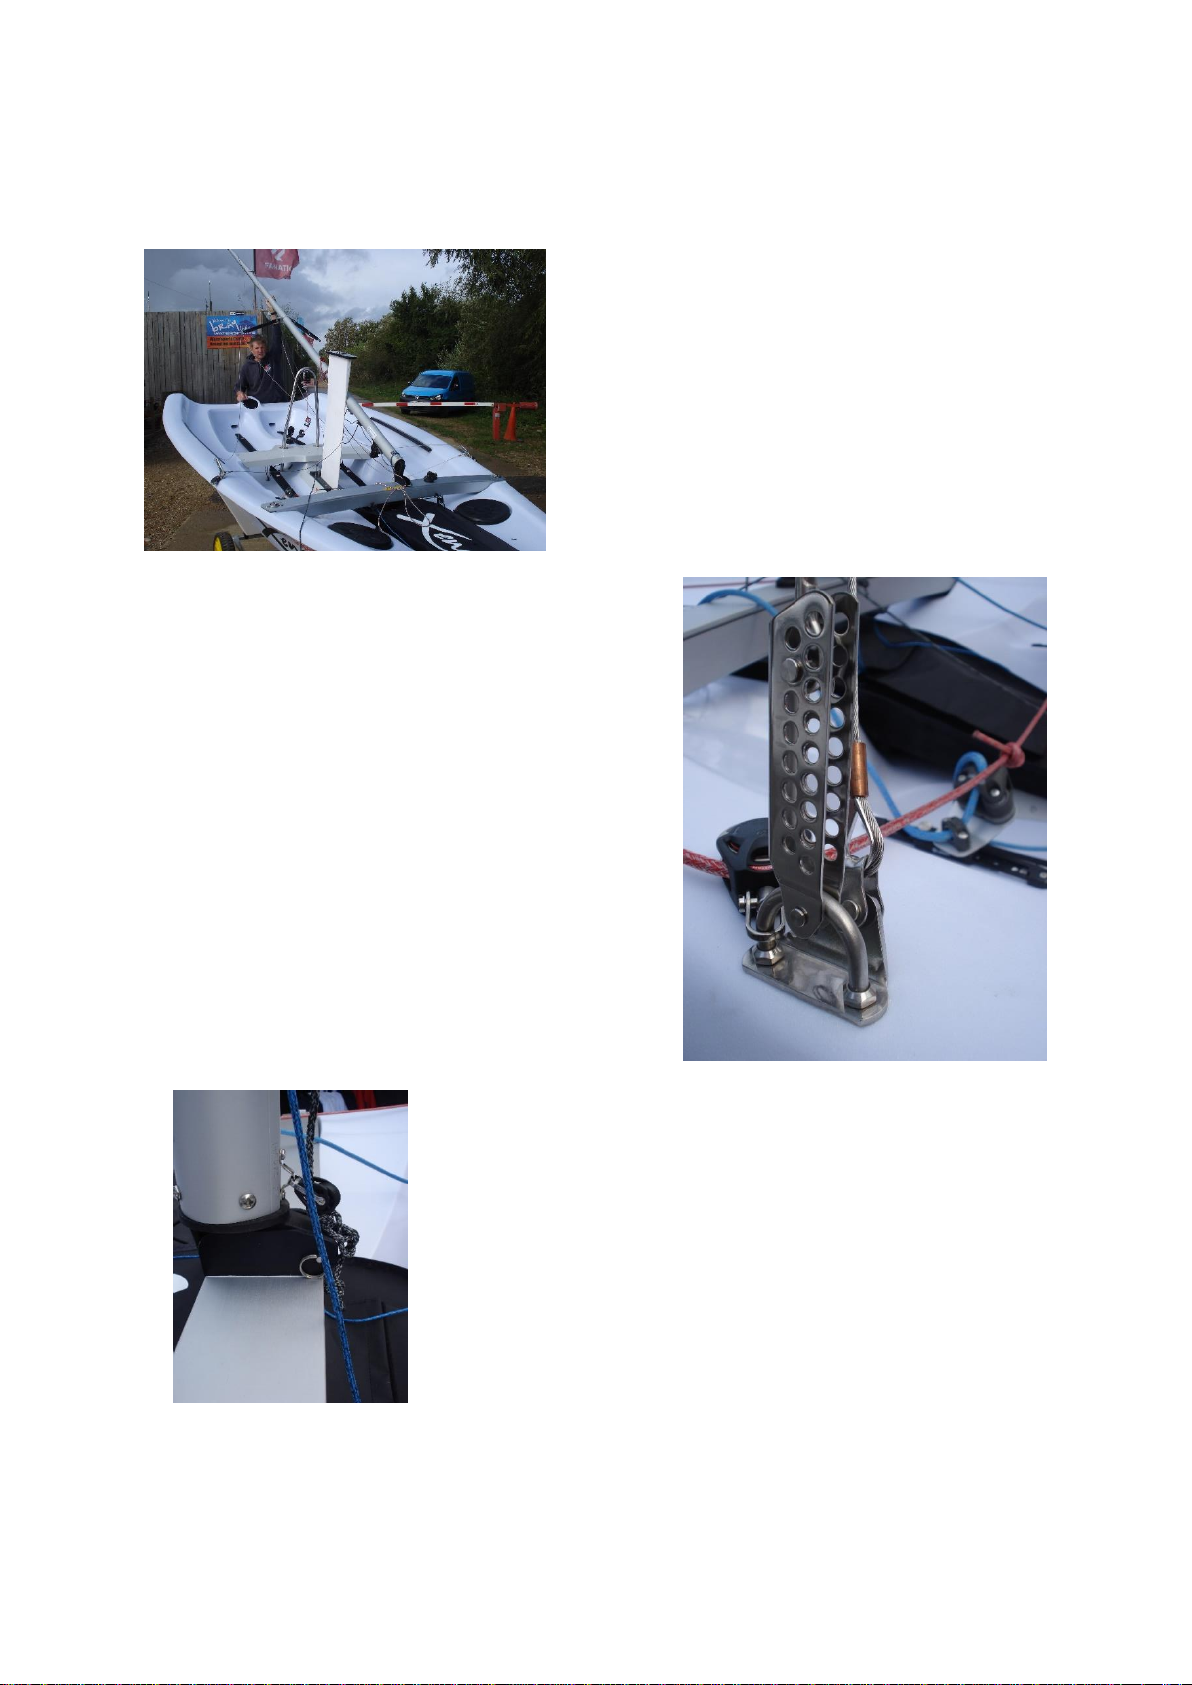
The Topaz XENON XK1 is designed to require very little maintenance, but there are some simple ways to keep
your boat in the best condition.
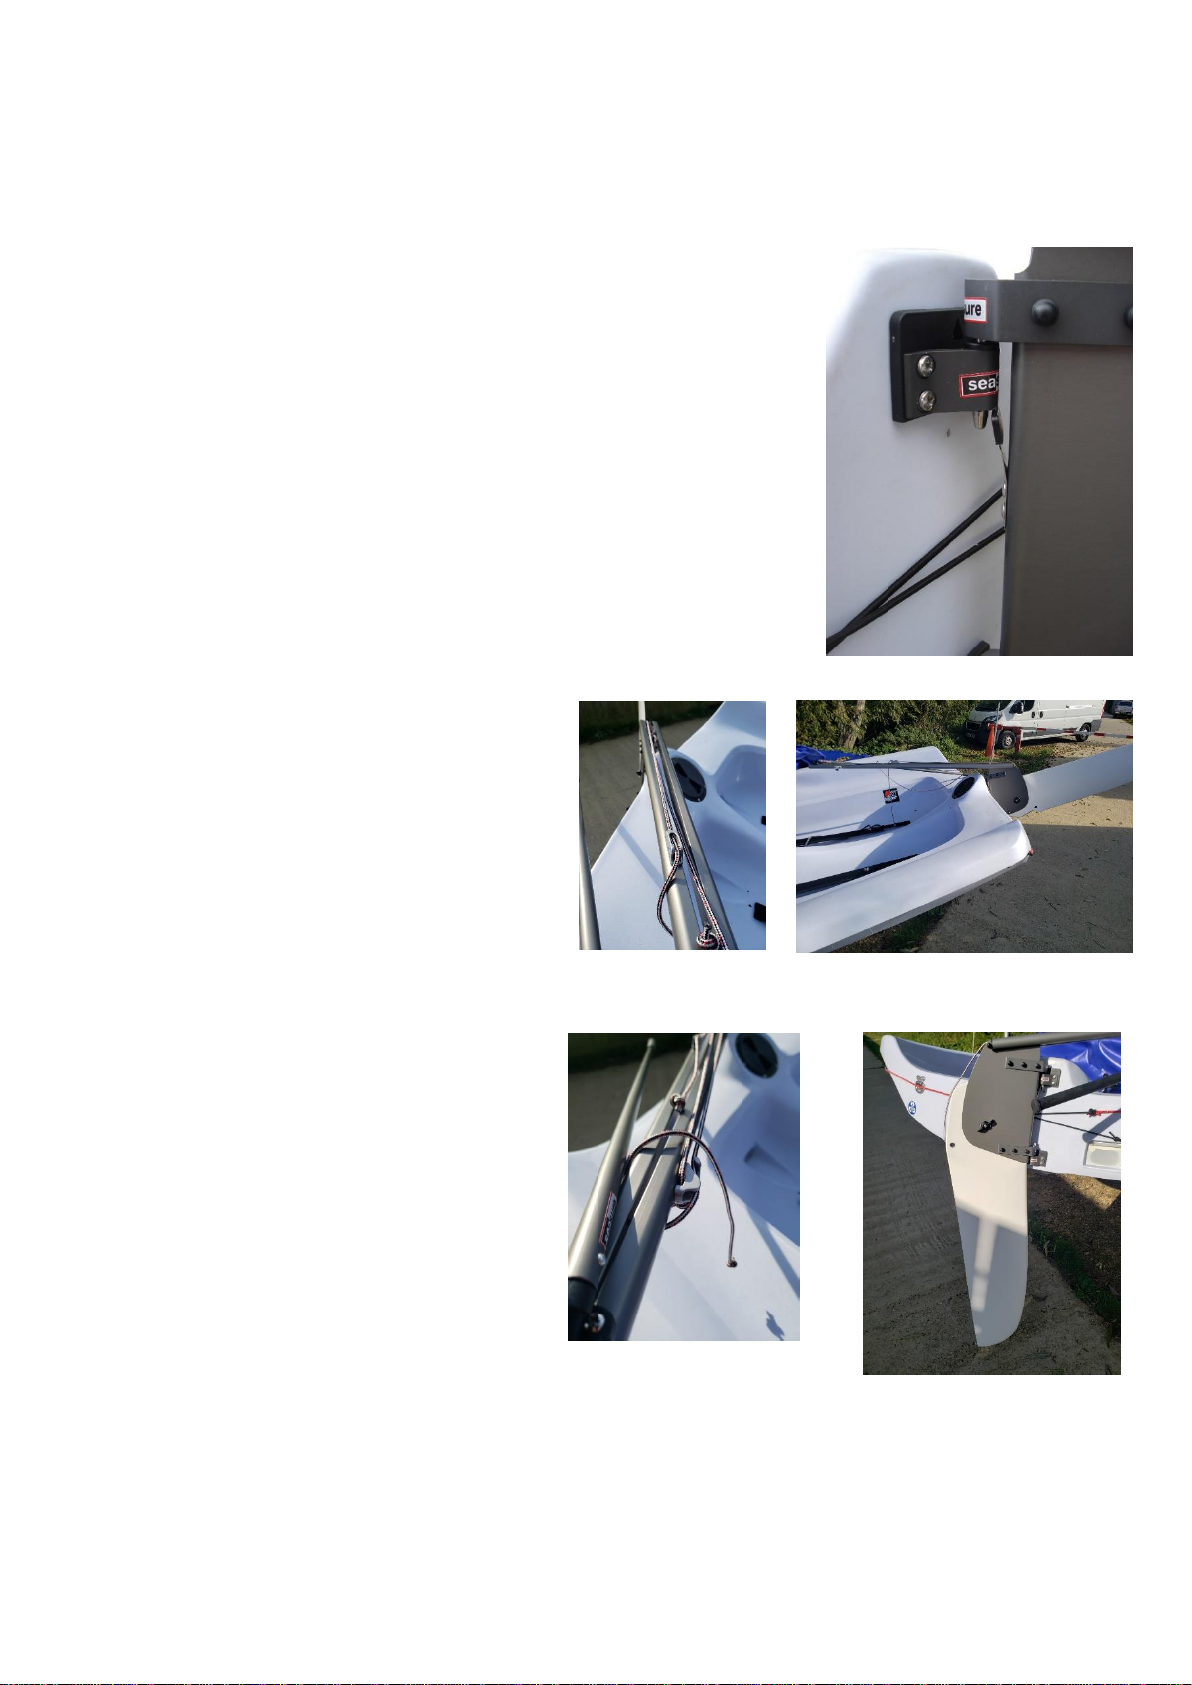
Rudder
Never launch your boat without checking that the retaining clip has clicked into place beneath the upper
transom fitting, as this will prevent the rudder from falling off.
Sails
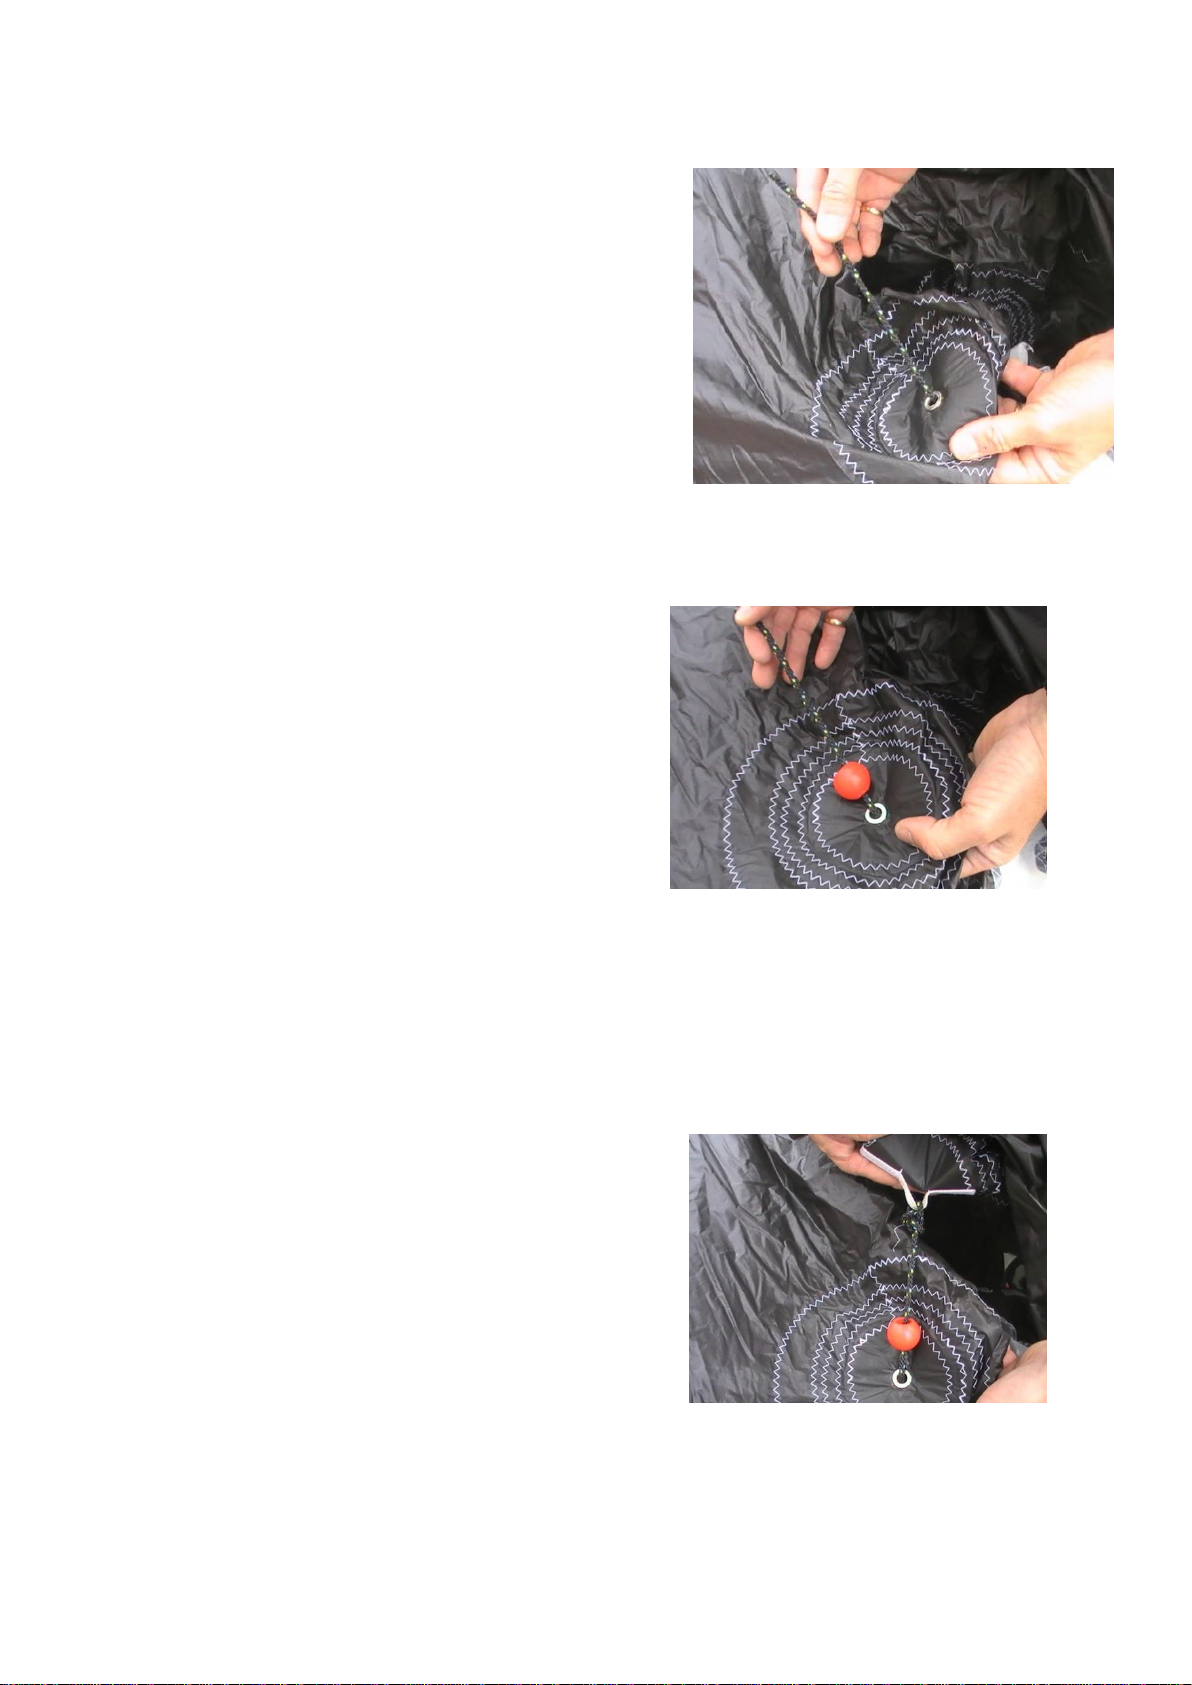
After you have finished sailing, roll the mainsail loosely, this will extend its life better than folding.
Never let the sails flap unduly, this can be done by furling the jib as soon as possible after hoisting.
Although the battens protect the mainsail to a certain extent, do not leave the mainsail hoisted for extended
periods of time.
Always rinse the sails and the boat after sailing in salt water.
ALWAYS RELEASE JIB TENSION WHEN NOT SAILING
Foils
Any nicks or deep scratches in the rudder can be repaired using gelcoat filler, as the smallest damage will
affect the performance of the boat. Make sure that the rudder blade remains tight between the stock when
down. Any movement between the blade and the stock, or the stock and the hull may cause steering
problems.
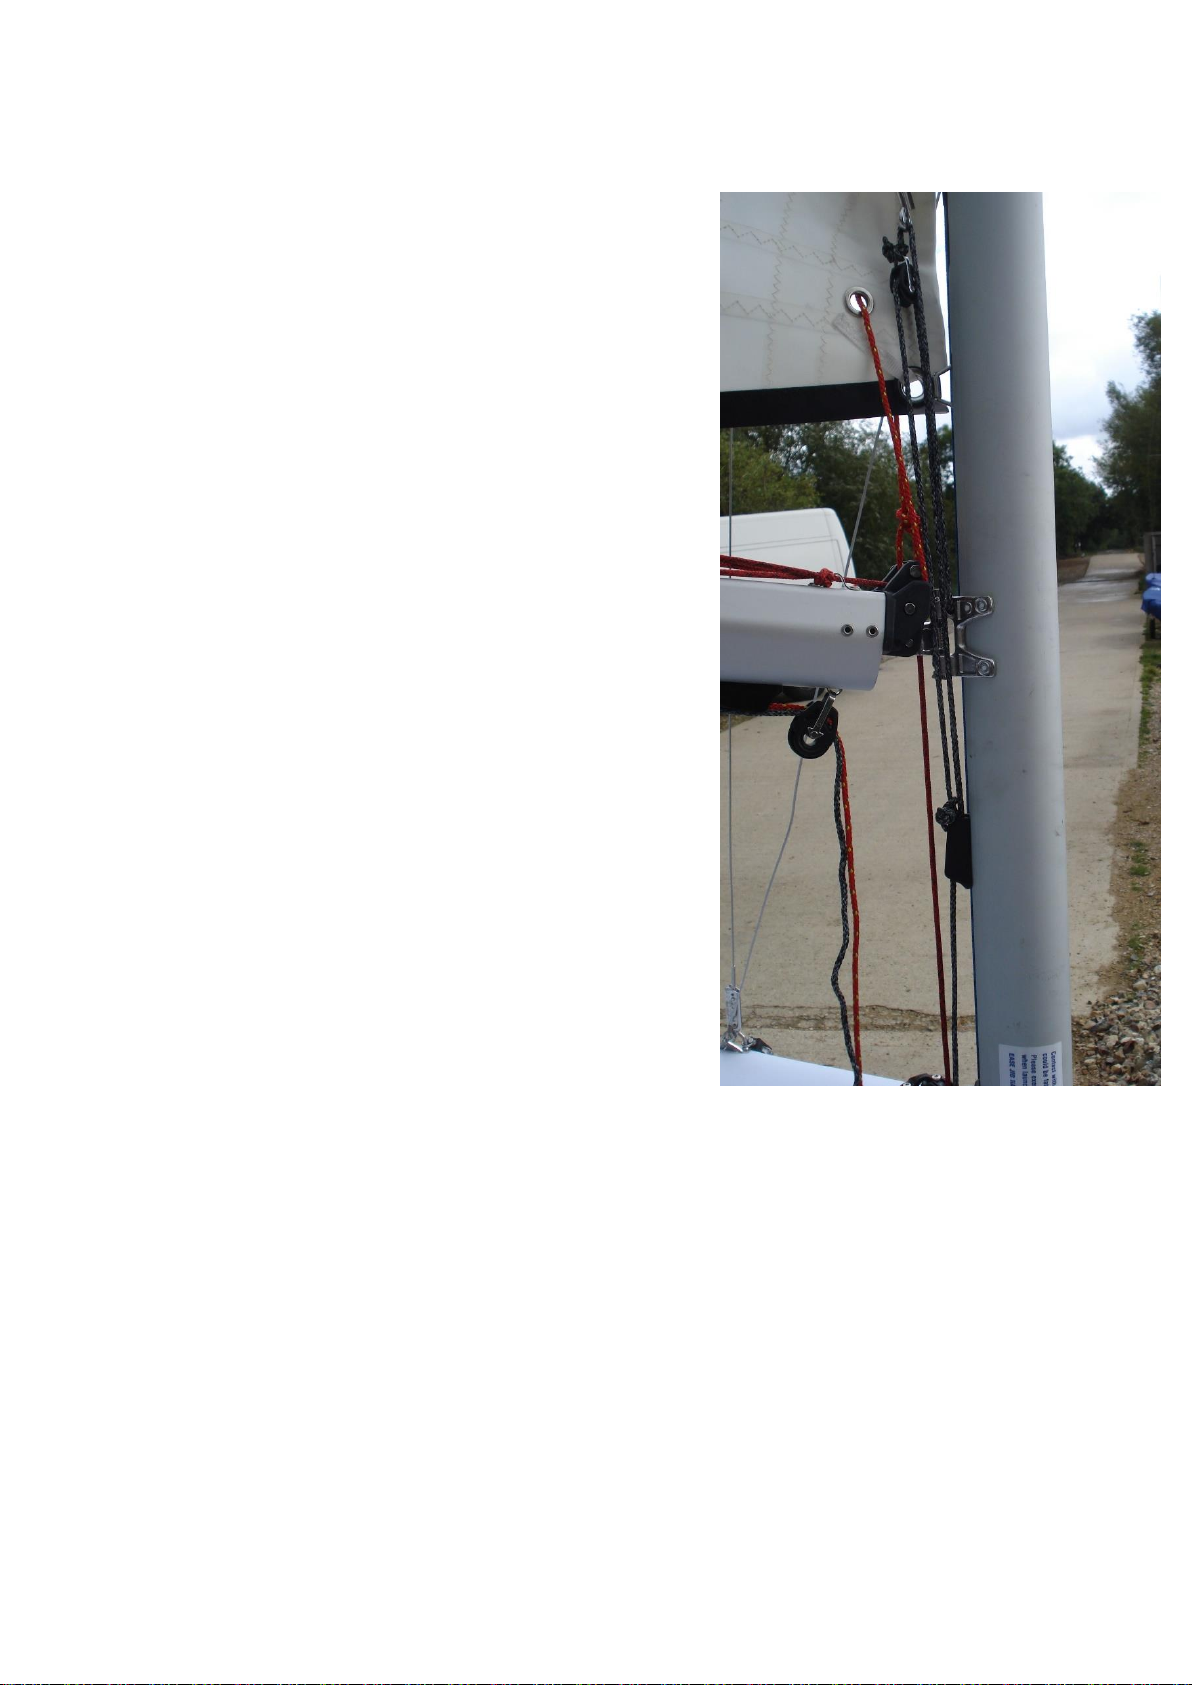
Hull and fittings
Small dents can be repaired by gently warming the hull with a hot air blower (take care not to melt the hull).
For any more substantial repairs refer to Topper Sailboats.
Check the attachment of all fittings regularly. This is particularly important for the fittings that
are screwed onto fixings that are set in the hull. Keep all blocks, cleats and ropes clean and rinse them after
salt water exposure.
Always remove the bung to empty any water after sailing, and when not sailing leave the bung out to prevent
the build-up of pressure within the hull as the temperature fluctuates.
Ropes
Always replace any ropes that are showing any signs of wear immediately.