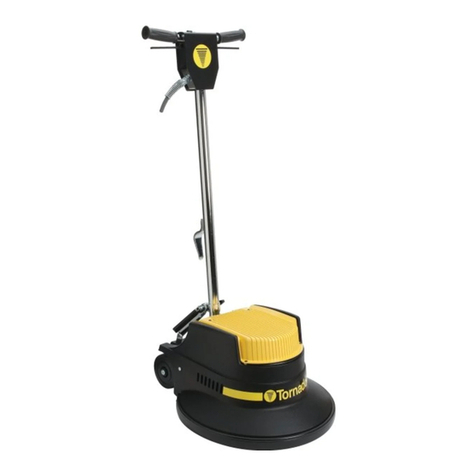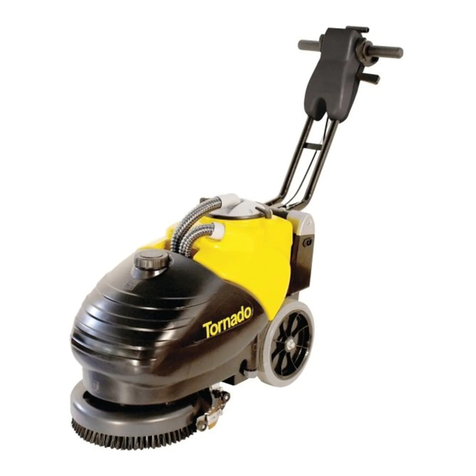
6
UNCRATING
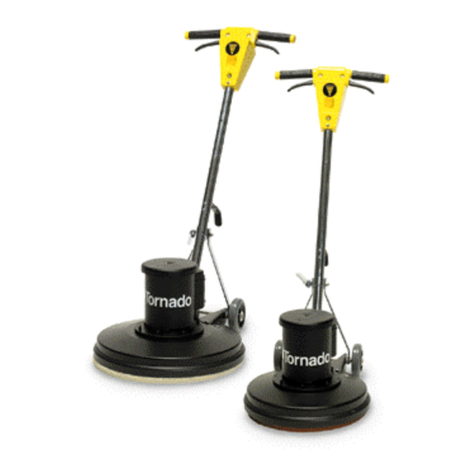
Your Tornado Floor Machine was protectively
packed to prevent damage in shipment. We suggest
that upon removing the unit from its carton you
carefully inspect it for any possible damage in
transit. If damage is discovered, immediately notify
the transportation company who delivered your
machine. As a manufacturer, we are unable to ace
upon any claim for concealed damage: you must
originate the claim.
IMPORTANT SAFEGUARDS
This machine is designed to be safe when used to
perform the functions specied in this Operator’s
Manual. Should damage occur to electrical or
mechanical parts, the machine should be repaired
by the manufacturer or competent service center
before using in order to avoid further damage to the
machine or physical injury to the user. Your oor
machine is equipped with a safety switch lockout
device designed for your safety. Do not attempt to
bypass or defeat the safety lockout device. Never
use any device to lock the power switch in the ON
position.
Wire brushing or concrete oors
Sanding with very aggressive sandpaper or sand
scree discs
Carpet restoration where shampooing & pile lifting
require very sti brush bristles.
APPLICATIONS OF DUAL SPEED FLOOR MACHINE
ON HARD FLOORS
Spray bung the red spray bu pad and spray bu
chemical.
Dry bung a buable nish with a tan, beige, or
white pad or brush.
Scrubbing with green or blue pad or scrubbing
brush.
Stripping with a black pad and a stripping chemical.
APPLICATIONS OF DUAL SPEED FLOOR MACHINE
ON CARPET (LOW SPEED)
Bonnet cleaning with a yarn bonnet and carpet
maintainer chemical.
Shampooing using a shower feed shampoo brush
and solution tank mounted to the handle tube
containing carpet shampoo.
APPLICATIONS OF DUAL SPEED FLOOR MACHINE
(LOW SPEED)
Scraping with an attachment tool to remove heavy
industrial deposits and residue or to prepare a
foundation for installation or carpet
WARNING
To prevent injury, always remove the electrical
plug from the electrical outlet before changing the
polishing pad and before leaving the machine.
PREPARE THE MACHINE FOR OPERATION
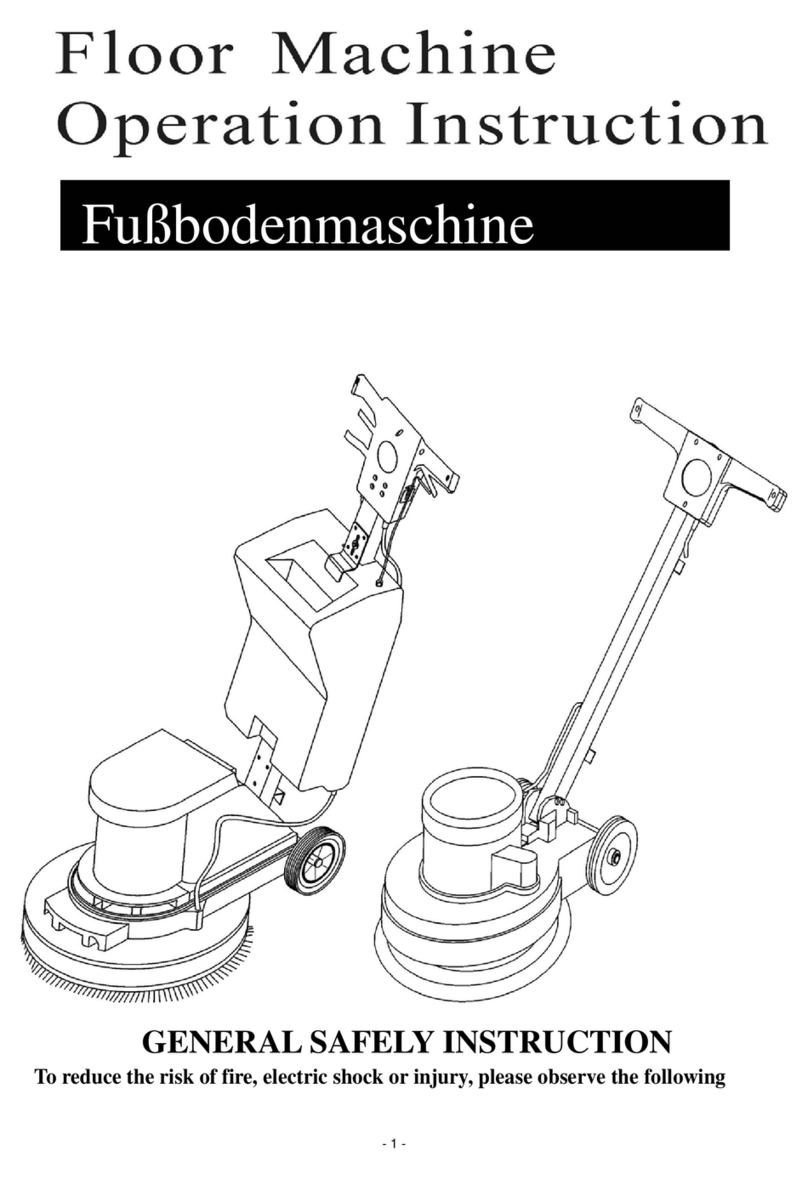
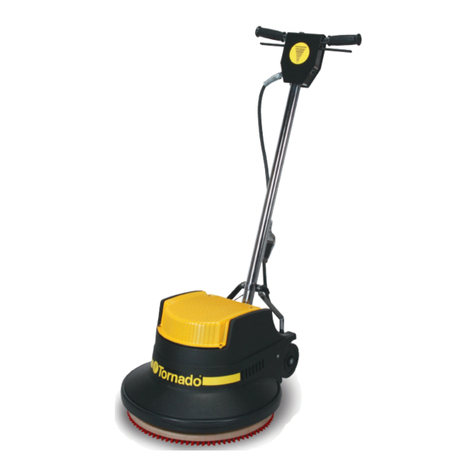
To attach the drive block or brush or other
attachment, be sure the handle is “locked in the
upright position (see gure #1). Lay the oor
machine on its back with the handle lying on the
oor, this exposes the driving plate on the underside
of the oor machine. Holding the drive block, brush
or attachment in both hands and straddling the
motor with your back to the handle box. Bend over
and t the three slots to the clutch plate (built into
the back of the brush) over the three lugs of the
driving plate. Turn the drive block, brush, or other
attachment counter-clockwise as far as it will go until
it is seated in the ready-to-use position (see gure
#2). CAUTION: This is the only proper way to install
a drive block, brush, or other attachment. NEVER put
a drive block, brush or attachment on the machine
by placing it on the oor and moving the running
machine over it, or by placing the machine over the
block or attachment and then starting the motor.
Return the oor machine to the upright position
and adjust the handle to an operating position.
Recommended handle position is close the waist
with arms extended down. Lock the cam release
lever into position. NOTE: The hardened steel cam
release lever does not require extreme tightening to
eectively hold the handle in position. Over-tightening
the cam release lever will shorten the functional life of
the lever. To remove drive block, brush or attachment:
Lay the oor machine on its back again and disengage
clutch plate slot from driving plate lugs by turning it
clockwise.

