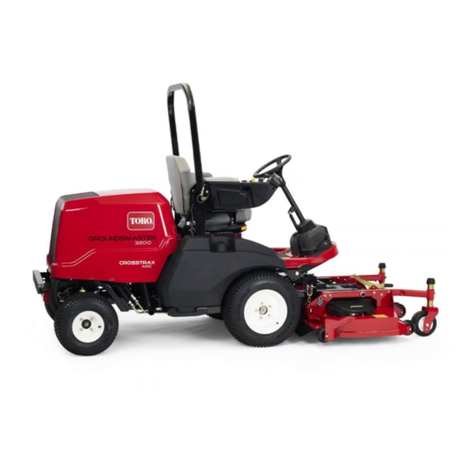
manuals.online logo
Brands
  1. Home
  2. •
  3. Brands
  4. •
  5. Toro
  6. •
  7. Lawn Mower
  8. •
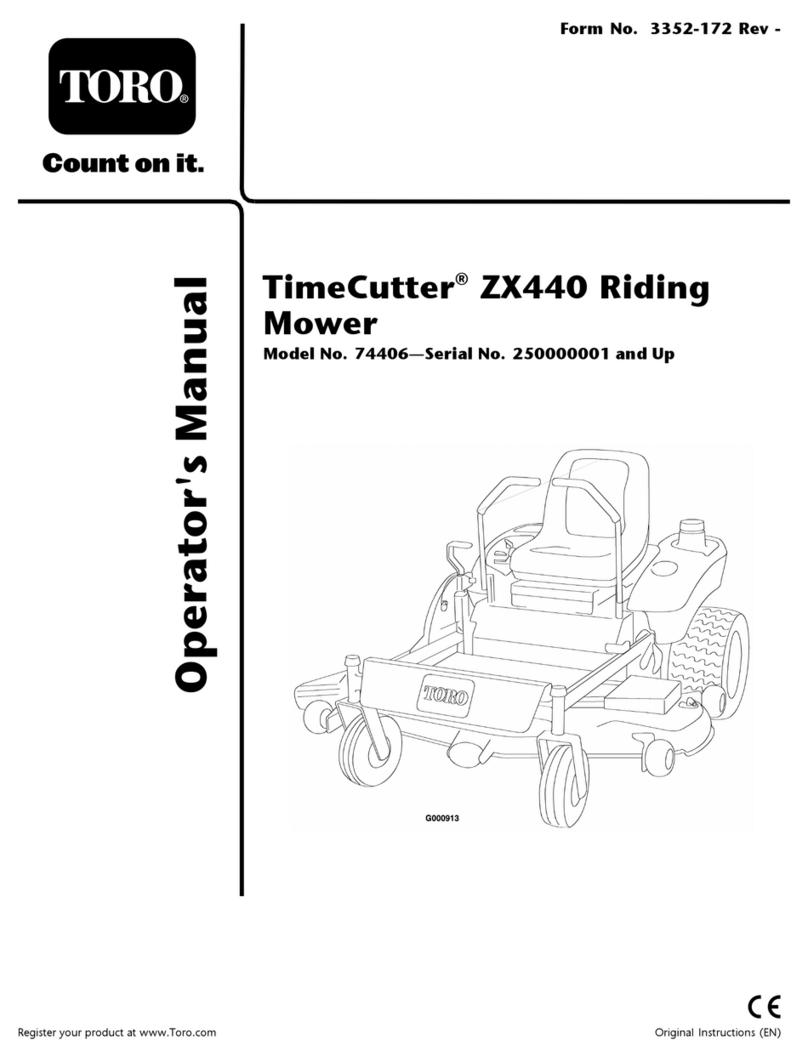
  9. Toro TimeCutter Series Manual

Toro TimeCutter Series Manual

Other Toro Lawn Mower manuals
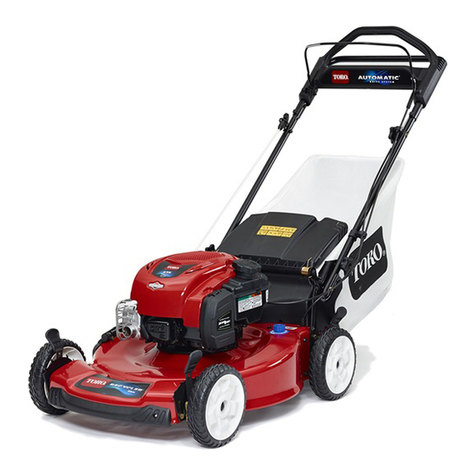
Toro Recycler 20332 User manual

Toro

Toro Recycler 20332 User manual

Toro 20197 User manual

Toro

Toro 20197 User manual

Toro 74805 User manual

Toro

Toro 74805 User manual

Toro Super Recycler 21564 User manual

Toro

Toro Super Recycler 21564 User manual

Toro LX500 User manual

Toro

Toro LX500 User manual

Toro 74212 User manual

Toro

Toro 74212 User manual

Toro 30839N User manual

Toro

Toro 30839N User manual

Toro 74199 User manual

Toro

Toro 74199 User manual

Toro Groundsmaster e3200 User manual

Toro

Toro Groundsmaster e3200 User manual

Toro Groundsmaster 3500-D User manual

Toro

Toro Groundsmaster 3500-D User manual

Toro 20067 User manual

Toro

Toro 20067 User manual

Toro 79108 User manual

Toro

Toro 79108 User manual

Toro 30626 Groundsmaster 328-D User manual

Toro

Toro 30626 Groundsmaster 328-D User manual

Toro Recycler SR-21OSB User manual

Toro

Toro Recycler SR-21OSB User manual

Toro Reelmaster 450-D User manual

Toro

Toro Reelmaster 450-D User manual

Toro Recycler 20372 User manual

Toro

Toro Recycler 20372 User manual

Toro 04353 Greensmaster 3100 User manual

Toro

Toro 04353 Greensmaster 3100 User manual

Toro 20340 User manual

Toro

Toro 20340 User manual
Toro LT-F3000 User manual

Toro

Toro LT-F3000 User manual

Toro 74942TE User manual

Toro

Toro 74942TE User manual

Toro Recycler 21447 User manual

Toro

Toro Recycler 21447 User manual

Toro TimeMaster 20199 User manual

Toro

Toro TimeMaster 20199 User manual

Toro 30435 User manual

Toro

Toro 30435 User manual

Toro 30873 User manual

Toro

Toro 30873 User manual

Popular Lawn Mower manuals by other brands

Global garden products 72 Workshop manual

Global garden products

Global garden products 72 Workshop manual

EINHELL 01045 operating instructions

EINHELL

EINHELL 01045 operating instructions

Baroness LM315GC Owner's operating manual

Baroness

Baroness LM315GC Owner's operating manual

GreenWorks Tools 25157 user manual

GreenWorks Tools

GreenWorks Tools 25157 user manual

Etesia MVEHH user manual

Etesia

Etesia MVEHH user manual

Husqvarna LTH125 owner's manual

Husqvarna

Husqvarna LTH125 owner's manual

Gravely 915034 - ZT1640 Owner's/operator's manual

Gravely

Gravely 915034 - ZT1640 Owner's/operator's manual

Jacobsen 63281 Technical manual

Jacobsen

Jacobsen 63281 Technical manual

GreenWorks Pro MO802524 Operator's manual

GreenWorks Pro

GreenWorks Pro MO802524 Operator's manual

Deutz-Allis 3000 Series parts manual

Deutz-Allis

Deutz-Allis 3000 Series parts manual

Craftsman 917.9998C owner's manual

Craftsman

Craftsman 917.9998C owner's manual

jobmate YT9108 user manual

jobmate

jobmate YT9108 user manual

Yard force GM R40A instructions

Yard force

Yard force GM R40A instructions

Husqvarna R 419TsX AWD Operator's manual

Husqvarna

Husqvarna R 419TsX AWD Operator's manual

STERWINS ELM2-36P-3W.4 Assemby - Use - Maintenance Manual

STERWINS

STERWINS ELM2-36P-3W.4 Assemby - Use - Maintenance Manual

Craftsman 917.378770 owner's manual

Craftsman

Craftsman 917.378770 owner's manual

Partner M6556SMD Repair parts manual

Partner

Partner M6556SMD Repair parts manual

Craftsman 25913 instruction manual

Craftsman

Craftsman 25913 instruction manual

manuals.online logo
manuals.online logoBrands
  • About & Mission
  • Contact us
  • Privacy Policy
  • Terms and Conditions

Copyright 2025 Manuals.Online. All Rights Reserved.

FormNo.3382-314RevA
TimeCutter®RidingMower
ModelNo.Allmodels
SetupInstructions
Setup
LooseParts
Usethechartbelowtoverifythatallpartshavebeenshipped.
ProcedureDescriptionQty.Use
1Nopartsrequired–Connectthebattery.
Rearhitch1
Bolt(5/16x1inch)2
2Locknut(5/16inch)2
Installtherearhitch.
3Nopartsrequired–Setupthemotion-controllevers.
4Nopartsrequired–Connecttheseatholdbar.
5Nopartsrequired–Checkthemoweradjustment.
Ignitionkey1
Hosecoupling(notincludedwithCE
models)1
Operator'sManual1
EngineOperator'sManual1
6
Operatortrainingmaterial1
Completethesetup.
Note:Determinetheleftandrightsidesofthemachinefromthenormaloperatingposition.
©2013—TheToro®Company
8111LyndaleAvenueSouth
Bloomington,MN55420
Registeratwww.T oro.com.OriginalInstructions(EN)
PrintedintheUSA.
AllRightsReserved*3382-314*A
1
ConnectingtheBattery
NoPartsRequired
Procedure
1.Locatethebatteryandnegativebatterycable.
2.Removetheplasticcapfromthenegativebatterypost.
3.Removethefastenersonthenegativebatterycable,
andusethemtosecurethenegativebatterycableto
thenegativebatterypost(Figure1).
G018395
2
1
4
3
6
5
Figure1
1.Negativebatterycable4.Negativebatterypostcap
2.Wingnut5.Carriagebolt
3.Washer6.Negativebatterypost
2
InstallingtheRearHitch
Partsneededforthisprocedure:
1Rearhitch
2Bolt(5/16x1inch)
2Locknut(5/16inch)
Procedure
InstallthebrackettotheframeasshowninFigure2and
Figure3.
g015397
1
2
Figure2
Beforeassembly
1.Bolts2.Locknuts
Figure3
Afterassembly
2
3
SettingUptheMotion-control
Levers
NoPartsRequired
Procedure
1.Locatethemotion-controlleversattached,butfolded
downonthemachine.
2.Removetheupperbolt(3/8x1inch)andwasher;
loosenthelowerbolt(3/8x1inch).
3.Raisethemotioncontrolleverstotheuprightposition.
4.Aligntheholesinthemotion-controlleverwiththe
holesinthecontrol-armshaft,andinstallthebolt
andwasherremovedpreviously.Repeatthisforboth
controlslevers.
Note:Handtightenallfasteners.
5.Movethemotion-controlleverstotheparkposition,
raisetheseat,andmovethecontrolleversbacktothe
centerposition(neutral).
6.Verifythatthemotion-controlleversareproperly
aligned.
Note:Adjustasnecessary.Tightenallfasteners.
4
ConnectingtheSeatHoldBar
NoPartsRequired
Procedure
1.Locatetheseat-holdbarontheframeofthemachine.
2.Removethefasteners.
3.Installtheseatholdbartotheseatframe.
4.Securethebarwiththewasherandcotterpinremoved
previously(Figure4).
G014932
123
4
5
Figure4
1.Cotterpin4.Seatholdbar
2.Washer5.Holeforpin,seatholdbar
3.Seat
3
5
CheckingtheMower
Adjustment
NoPartsRequired
Procedure
Adjusttheside-to-sidelevelandthefront-to-rearbladeslope.
UsetherelevantproceduresintheOperator'sManualtoverify
thatthedeckislevel,andmakeanyadjustmentsasnecessary.
RefertotheOperator'sManualformoreinformation.
6
CompletingtheSetup
Partsneededforthisprocedure:
1Ignitionkey
1Hosecoupling(notincludedwithCEmodels)
1Operator'sManual
1EngineOperator'sManual
1Operatortrainingmaterial
Procedure
CheckingtheTirePressure
Checkthefrontandreartiresforproperination;referto
CheckingtheTirePressureintheOperator'sManualforthe
recommendedinationpressure.
CheckingtheSide-DischargeChute
Removethepackingrestraintholdingthesidedischargechute
upandlowerthechuteintoplace.
CheckingtheEngine-OilLevel
Beforeyoustarttheengineandusethemachine,checkthe
oillevelintheenginecrankcase;refertoCheckingtheOil
LevelintheOperator'sManual.
Keepallthefollowingitemswiththemachine:
•Ignitionkey
•Hosecoupling(notincludedinCEmodels)
•Operator'sManual
•EngineOperator'sManual
•ViewtheOperatortrainingmaterialbeforeoperatingthe
machine.
4