•Warningindicatesapotentiallyhazardous
situationwhich,ifnotavoided,couldresultin
deathorseriousinjury.
•Cautionindicatesapotentiallyhazardoussituation
which,ifnotavoided,mayresultinminoror
moderateinjury.
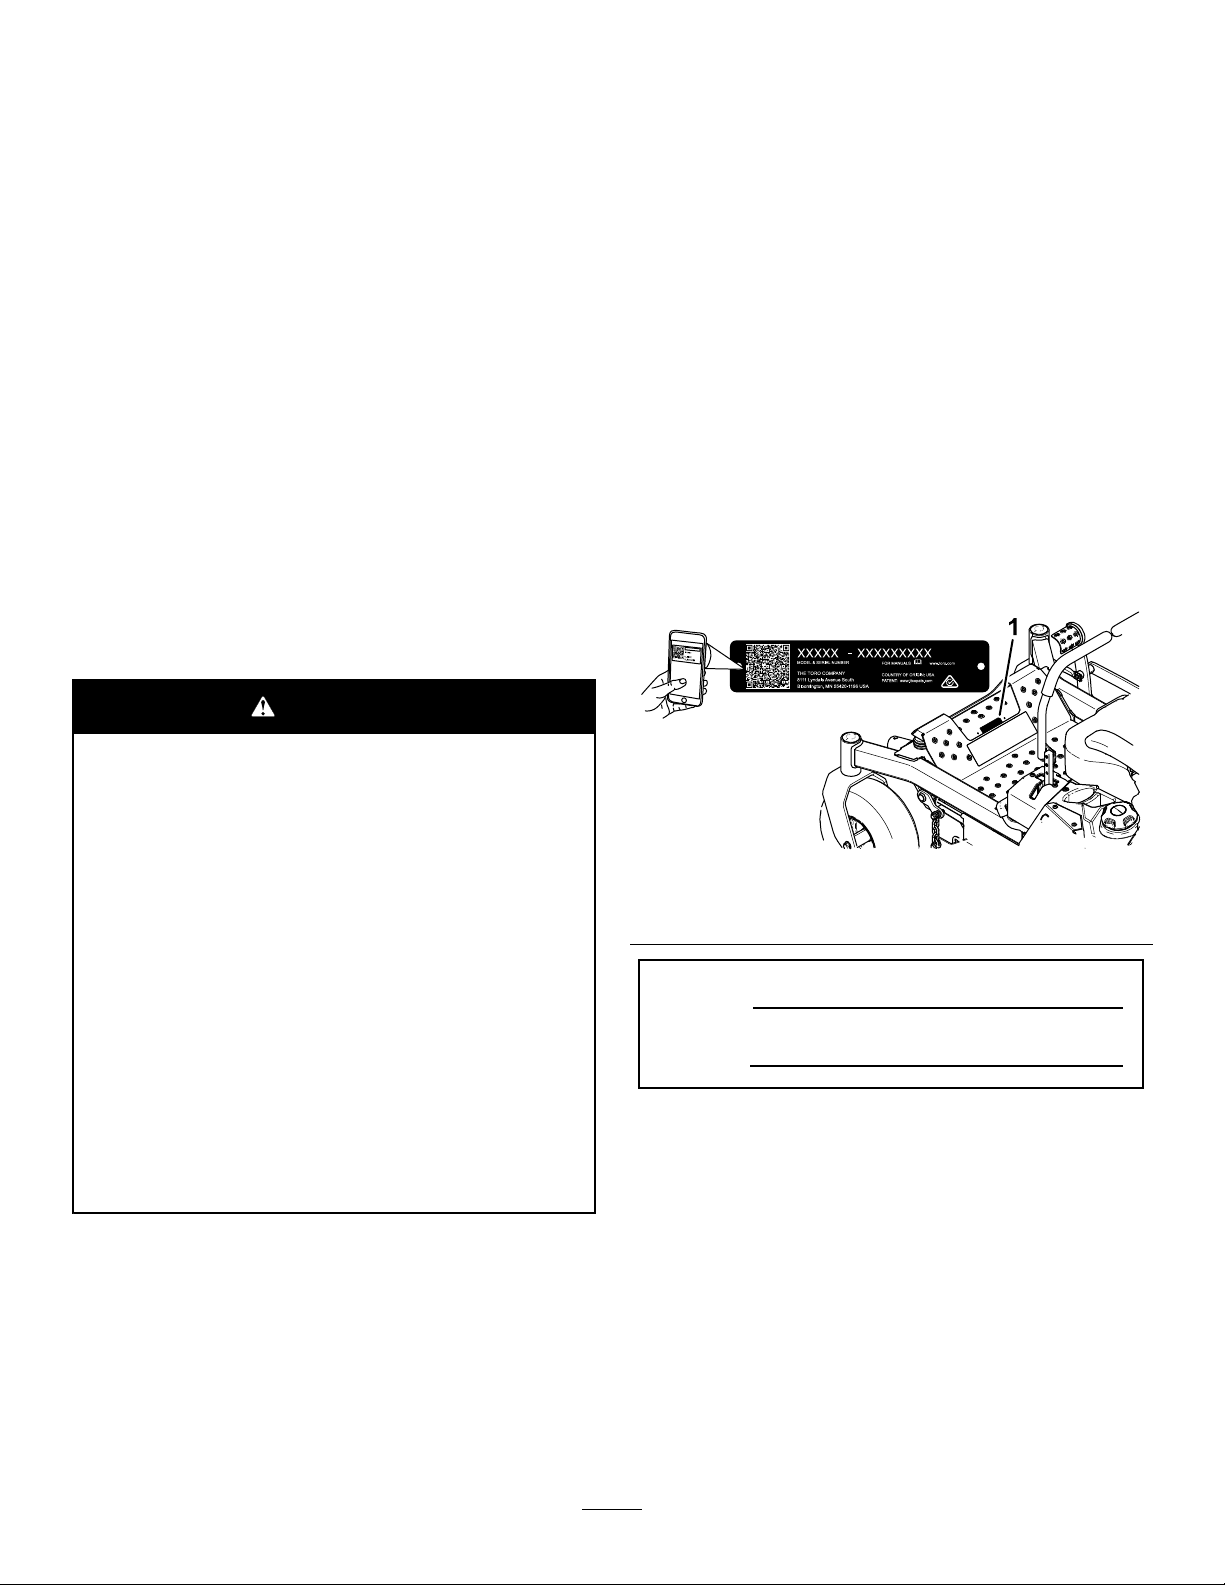
sa-black
Figure2
1.Safety-alertsymbol
Contents
Safety.......................................................................4
GeneralSafety...................................................4
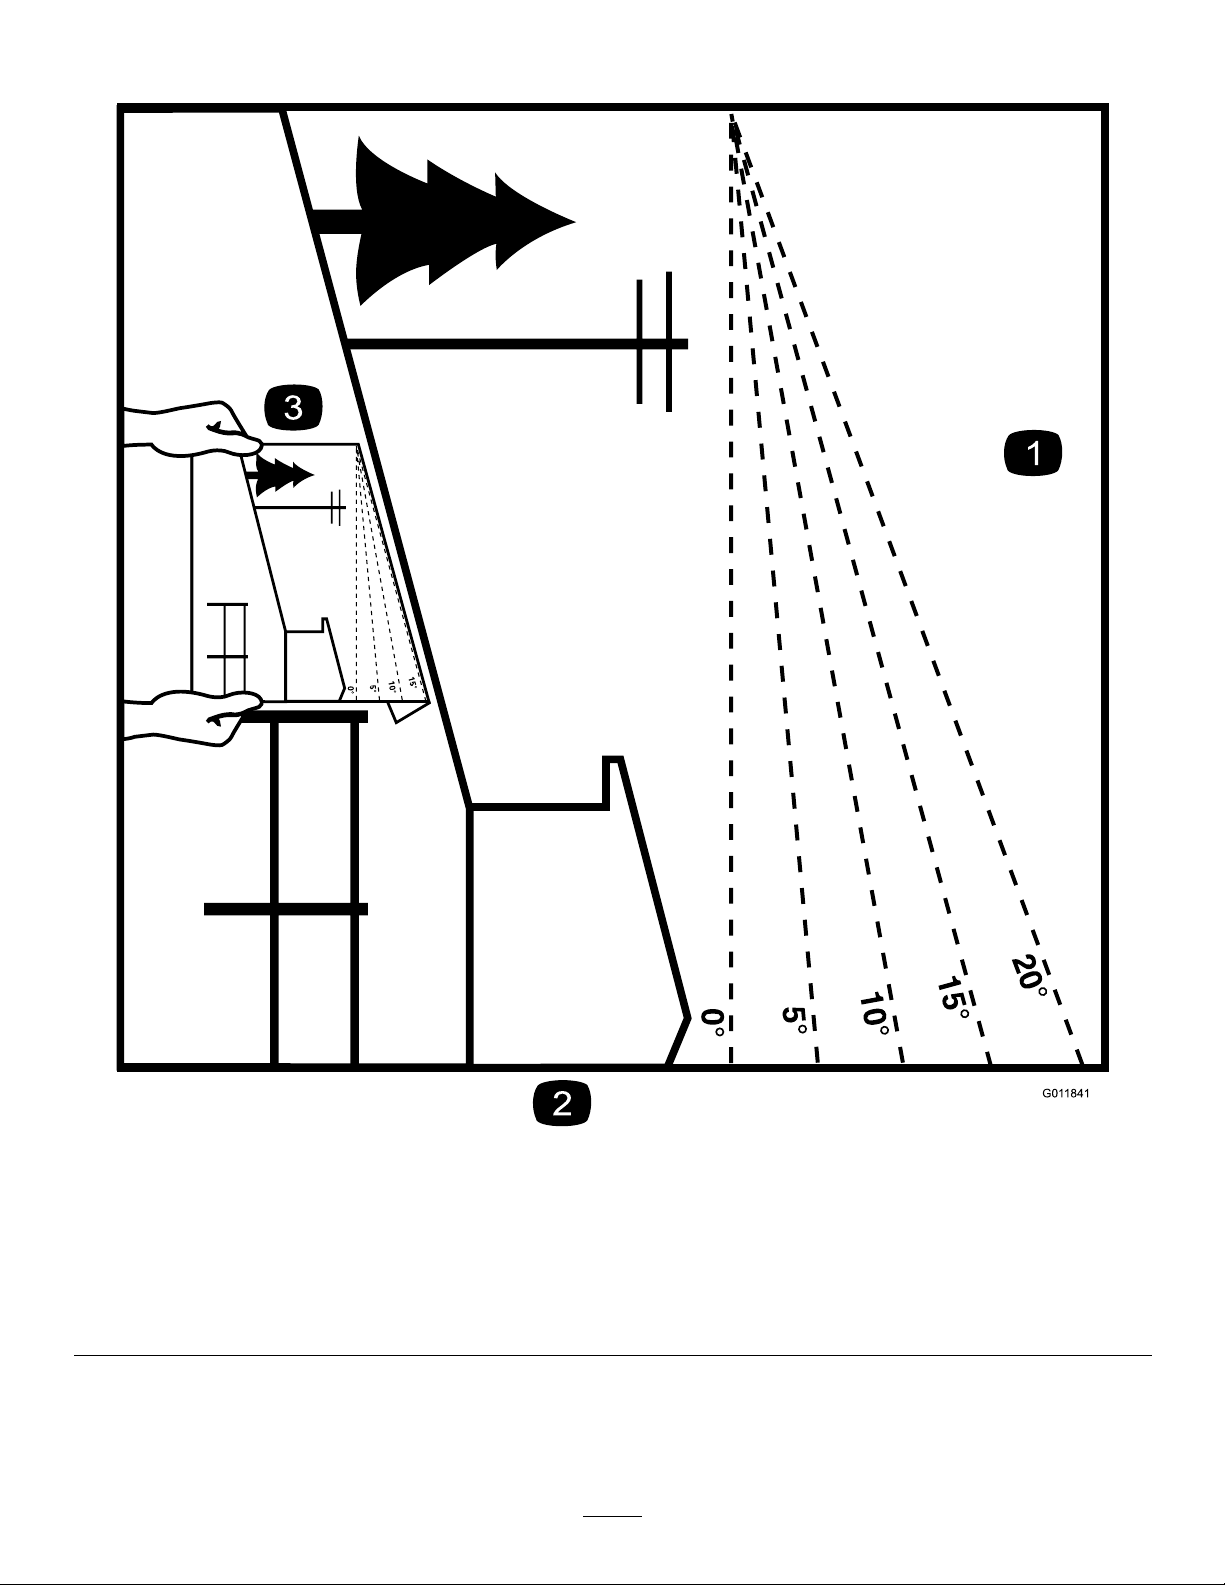
SlopeIndicator...................................................5
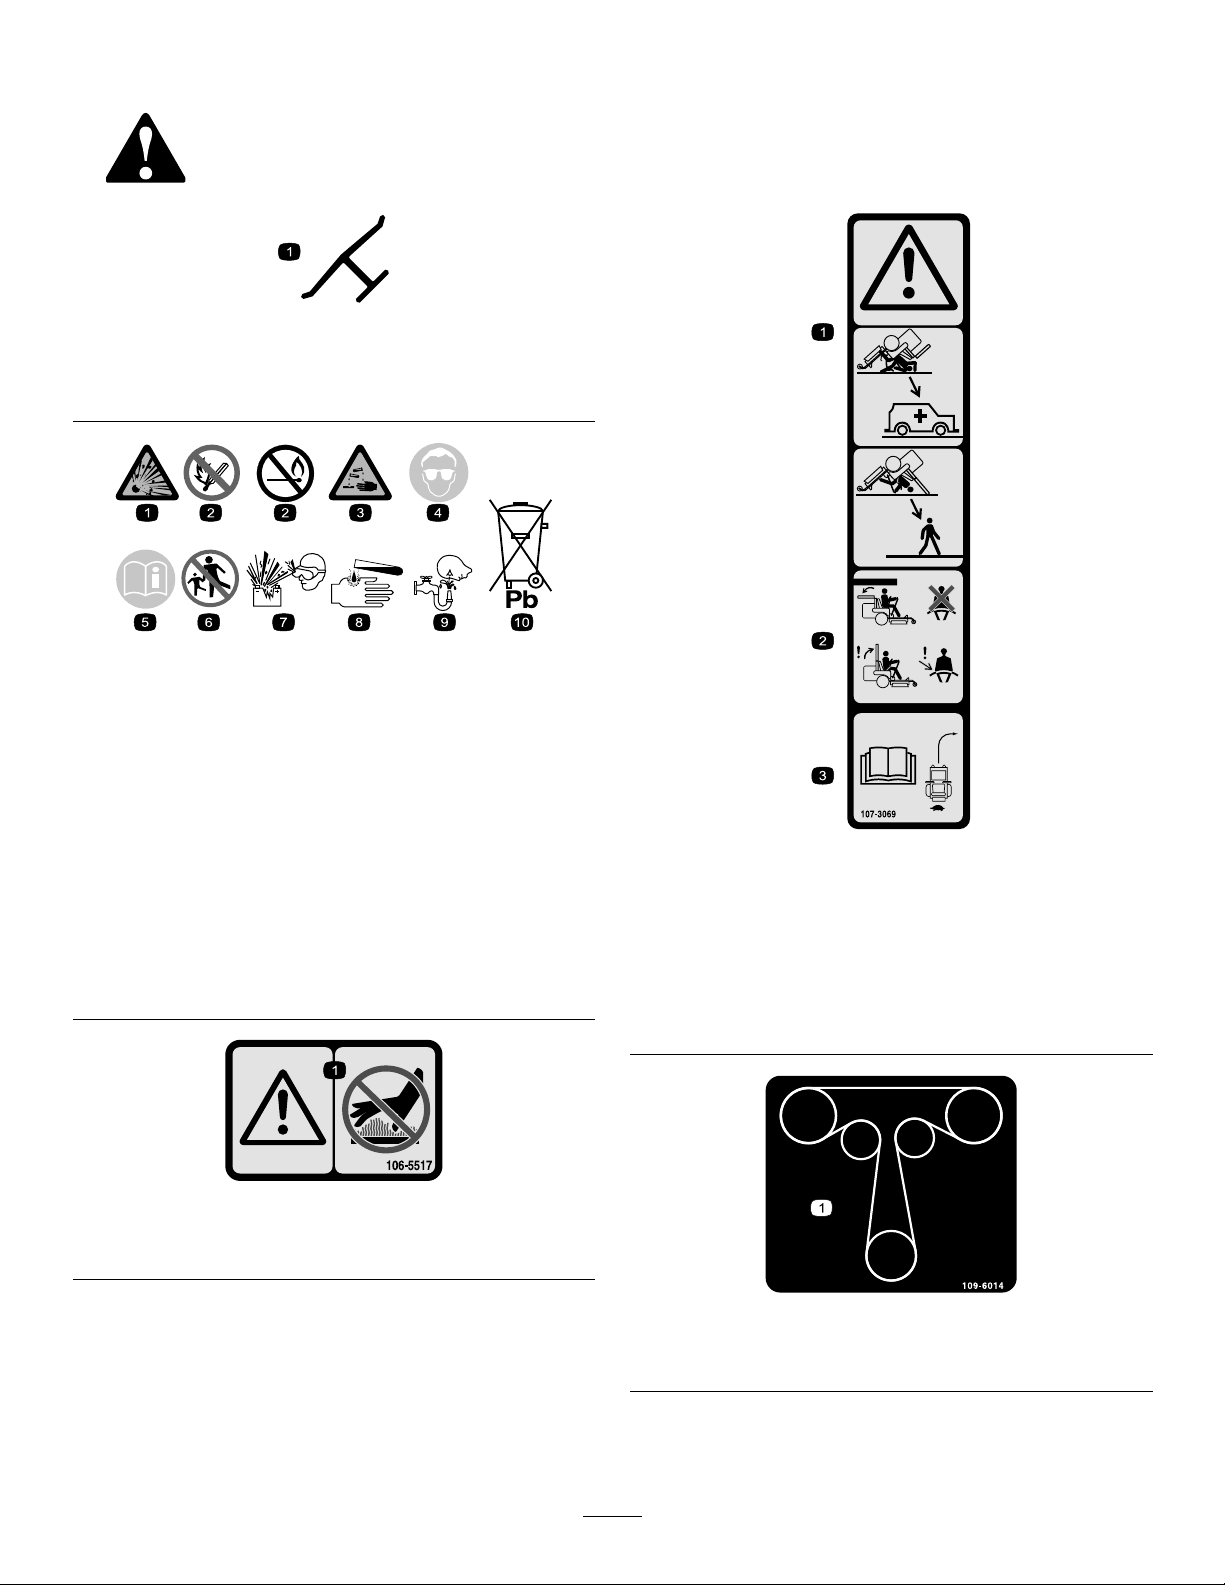
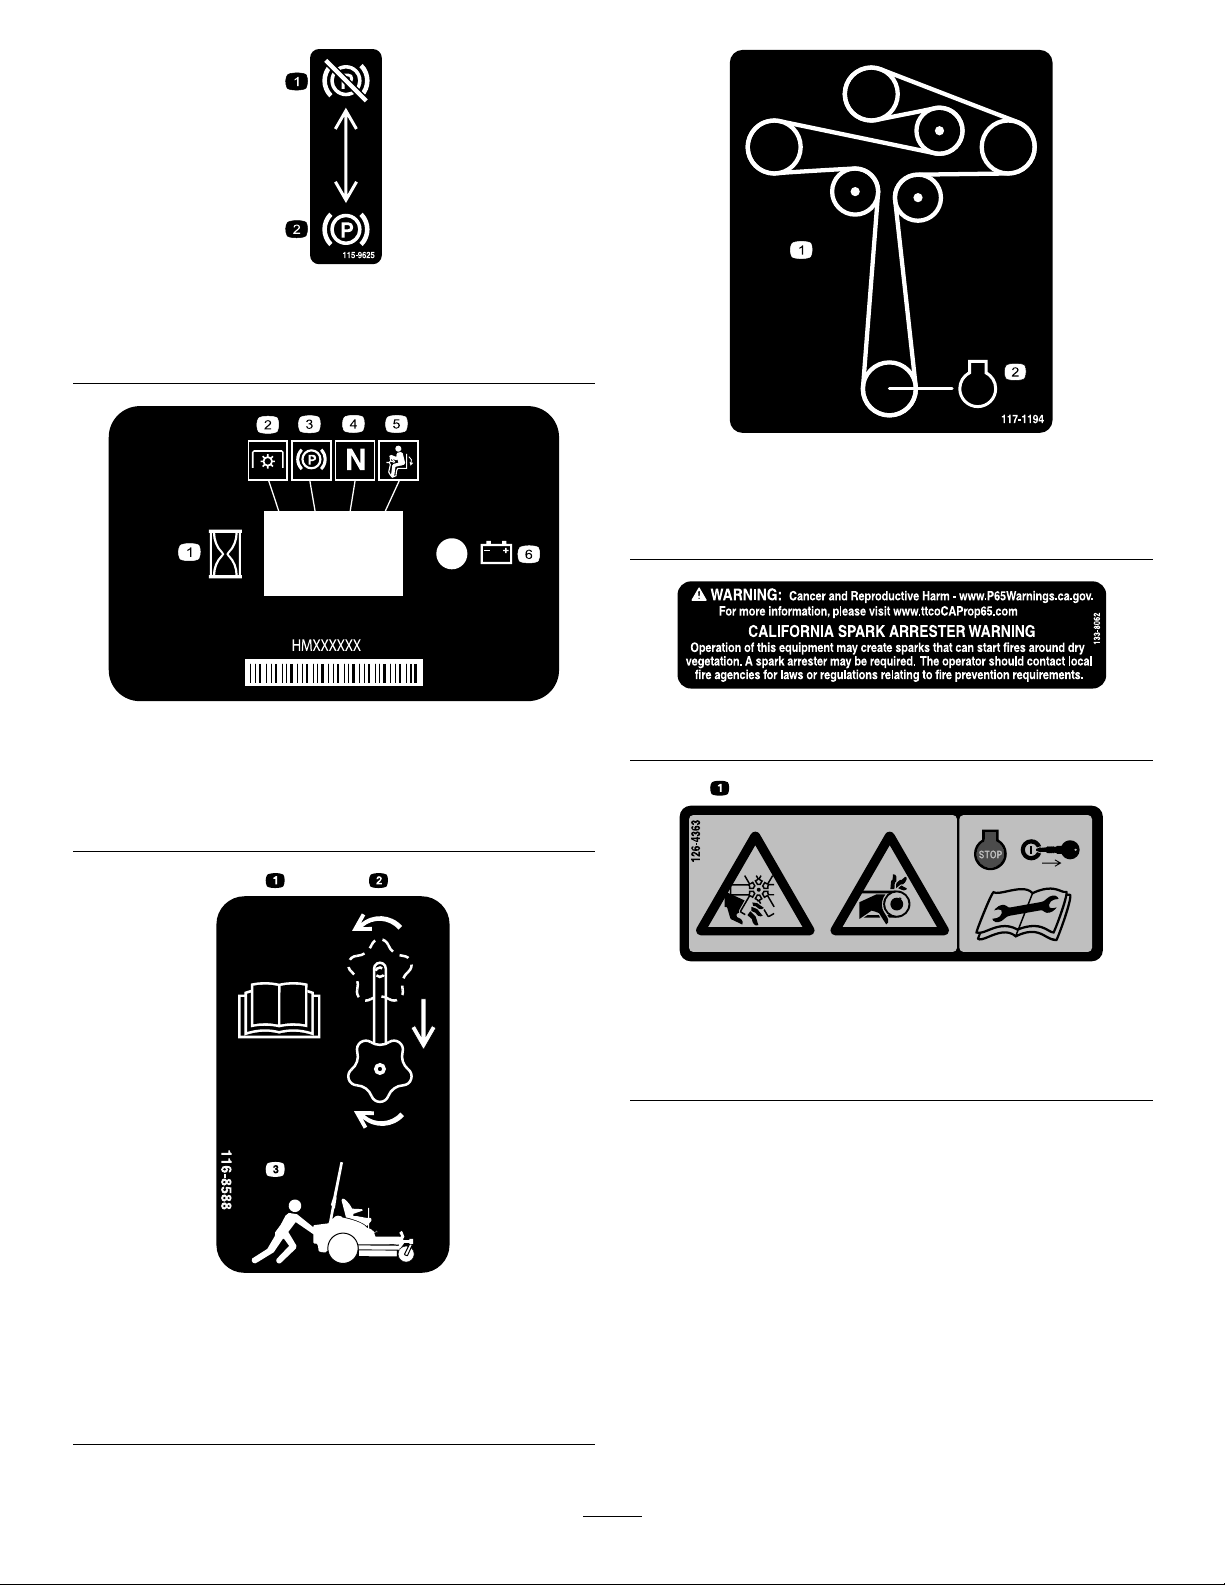
SafetyandInstructionalDecals..........................6
ProductOverview....................................................11
Controls............................................................11
Specications..................................................12
Attachments/Accessories.................................12
BeforeOperation.................................................13
BeforeOperationSafety...................................13
AddingFuel......................................................14
PerformingDailyMaintenance..........................14
BreakinginaNewMachine..............................14
UsingtheRollover-ProtectionSystem
(ROPS).........................................................15
UsingtheSafety-InterlockSystem....................16
PositioningtheSeat..........................................17
DuringOperation.................................................17
DuringOperationSafety...................................17
EnteringtheOperator’sPosition.......................19
OperatingtheParkingBrake.............................20
OperatingtheMowerBlade-ControlSwitch
(PTO)............................................................20
OperatingtheThrottle.......................................20
OperatingtheChoke........................................21
StartingtheEngine...........................................21
ShuttingOfftheEngine.....................................22
UsingtheMotion-ControlLevers.......................22
DrivingtheMachine..........................................23
UsingtheSideDischarge.................................24
AdjustingtheHeightofCut...............................24
AdjustingtheAnti-ScalpRollers........................25
OperatingTips.................................................26
AfterOperation....................................................27
AfterOperationSafety......................................27
UsingtheFuel-ShutoffValve.............................27
UsingtheDrive-WheelReleaseValves.............28
TransportingtheMachine.................................29
Maintenance...........................................................31
MaintenanceSafety..........................................31
RecommendedMaintenanceSchedule(s)...........31
Lubrication..........................................................32
GreasingtheMachine.......................................32
EngineMaintenance...........................................33
EngineSafety...................................................33
ServicingtheAirCleaner..................................33
ServicingtheEngineOil....................................34
ServicingtheSparkPlug...................................37
FuelSystemMaintenance...................................38
ReplacingtheIn-LineFuelFilter.......................38
ServicingtheFuelT ank.....................................38
ElectricalSystemMaintenance...........................39
ElectricalSystemSafety...................................39
ServicingtheBattery.........................................39
ServicingtheFuses..........................................40
DriveSystemMaintenance..................................41
CheckingtheSeatBelt.....................................41
AdjustingtheTracking......................................41
CheckingtheTirePressure...............................42
CheckingtheWheelLugNuts...........................42
CoolingSystemMaintenance..............................42
CleaningtheEngineScreen.............................42
BrakeMaintenance.............................................43
AdjustingtheParkingBrake..............................43
BeltMaintenance................................................44
InspectingtheBelts..........................................44
ReplacingtheMowerBelt.................................44
ReplacingtheHydraulicPump-Drive
Belt................................................................45
ControlsSystemMaintenance.............................46
AdjustingtheControl-HandlePosition..............46
AdjustingtheMotion-ControlLinkage...............47
HydraulicSystemMaintenance...........................48
HydraulicSystemSafety...................................48
HydraulicFluidSpecications...........................48
CheckingtheHydraulicFluidLevel...................49
ChangingtheHydraulicFluidand
Filters............................................................49
BleedingtheHydraulicSystem.........................51
MowerDeckMaintenance....................................51
BladeSafety.....................................................51
ServicingtheCuttingBlades.............................51
AdjustingtheSide-to-SideLevelingandthe
BladeSlope..................................................54
RemovingtheMowerDeck...............................56
InstallingtheMowerDeck.................................56
ReplacingtheGrassDeector..........................57
Cleaning..............................................................58
CleaningundertheMowerDeck.......................58
DisposingofWaste...........................................58
Storage...................................................................59
StorageSafety..................................................59
CleaningandStorage.......................................59
Troubleshooting......................................................60
Schematics.............................................................62
3