1-6
Table of Contents
Introduction
Safety Precautions. . . . . . . . . . . . . . . . . . . . . . . . 2-3
Table of Contents . . . . . . . . . . . . . . . . . . . . . . . . . . 4
About the symbols for instructions . . . . . . . . . . . . 4
Before Use . . . . . . . . . . . . . . . . . . . . . . . . . . . . . . 5-6
Playable Discs . . . . . . . . . . . . . . . . . . . . . . . . . . . 5
Remote Control Operation Range . . . . . . . . . . . . 5
Precautions . . . . . . . . . . . . . . . . . . . . . . . . . . . . . 6
Notes on Discs . . . . . . . . . . . . . . . . . . . . . . . . . . 6
About Symbols . . . . . . . . . . . . . . . . . . . . . . . . . . 6
Selecting the Viewing Source. . . . . . . . . . . . . . . . 6
Front Panel and Display Window . . . . . . . . . . . . . . 7
Remote Control . . . . . . . . . . . . . . . . . . . . . . . . . . . . 8
Rear Panel . . . . . . . . . . . . . . . . . . . . . . . . . . . . . . . . 9
Preparation
Connections . . . . . . . . . . . . . . . . . . . . . . . . . . . 10-11
Connecting to a TV . . . . . . . . . . . . . . . . . . . . . . 10
Connecting to Optional Equipment . . . . . . . . . . . 11
Before Operation - VCR part . . . . . . . . . . . . . . 12-16
Initial preset . . . . . . . . . . . . . . . . . . . . . . . . . . . . 12
Setting the clock Manually . . . . . . . . . . . . . . . . . 13
To set the colour system . . . . . . . . . . . . . . . . . . 13
How to use the main menu . . . . . . . . . . . . . . . . 14
Tuning in TV stations Automatically . . . . . . . . . . 14
Tuning in TV stations Manually. . . . . . . . . . . . . . 15
Changing the other of TV stations . . . . . . . . . . . 16
Deleting TV stations. . . . . . . . . . . . . . . . . . . . . . 16
Before Operation - DVD part . . . . . . . . . . . . . . 17-20
General Explanation. . . . . . . . . . . . . . . . . . . . . . 17
On-Screen Display. . . . . . . . . . . . . . . . . . . . . . . 17
Initial Settings . . . . . . . . . . . . . . . . . . . . . . . . 18-20
zGeneral Operation . . . . . . . . . . . . . . . . . . . . 18
zLanguage . . . . . . . . . . . . . . . . . . . . . . . . . . 18
zPicture. . . . . . . . . . . . . . . . . . . . . . . . . . . . . 18
zSound . . . . . . . . . . . . . . . . . . . . . . . . . . . . . 19
zOthers . . . . . . . . . . . . . . . . . . . . . . . . . . . . . 19
zParental Control. . . . . . . . . . . . . . . . . . . . . . 20
Operation
Operation with Tape . . . . . . . . . . . . . . . . . . . . . 21-24
Playing a tape . . . . . . . . . . . . . . . . . . . . . . . . . . 21
zCM (Commercial Message) Skip . . . . . . . . . . . 21
zOPR (Optimum Picture Response) . . . . . . . . . 21
One-touch Timer Recording (OTR) . . . . . . . . . . . 22
Timer recording using On Screen Display. . . . . . 23
Operation with DVD and Video CD . . . . . . . . . . 24-26
Playing a DVD and Video CD. . . . . . . . . . . . . . . 24
General Features . . . . . . . . . . . . . . . . . . . . . . . . 24
zMoving to another TITLE . . . . . . . . . . . . . . . 24
zMoving to another CHAPTER/TRACK . . . . . 24
zSearch. . . . . . . . . . . . . . . . . . . . . . . . . . . . . 24
z
Still Picture and Frame-by-Frame Playback
. . . . 24
zSlow Motion. . . . . . . . . . . . . . . . . . . . . . . . . 25
zRandom . . . . . . . . . . . . . . . . . . . . . . . . . . . 25
zRepeat . . . . . . . . . . . . . . . . . . . . . . . . . . . . 25
zRepeat A-B . . . . . . . . . . . . . . . . . . . . . . . . . 25
zTime Search . . . . . . . . . . . . . . . . . . . . . . . . 25
z3D Surround . . . . . . . . . . . . . . . . . . . . . . . . 25
zScreen Saver. . . . . . . . . . . . . . . . . . . . . . . . 25
zZoom. . . . . . . . . . . . . . . . . . . . . . . . . . . . . . 26
zMarker Search. . . . . . . . . . . . . . . . . . . . . . . 26
zOne Touch Replay . . . . . . . . . . . . . . . . . . . . 26
Special DVD Features . . . . . . . . . . . . . . . . . . . . 26
zTitle Menu . . . . . . . . . . . . . . . . . . . . . . . . . . 26
zDisc Menu . . . . . . . . . . . . . . . . . . . . . . . . . . 26
zCamera Angle . . . . . . . . . . . . . . . . . . . . . . . 26
zChanging the Audio Language . . . . . . . . . . . 26
zChanging the Audio Channel . . . . . . . . . . . . 26
zSubtitles . . . . . . . . . . . . . . . . . . . . . . . . . . . 26
Operation with Audio CD and MP3 Disc
. . . . . . . . 27-28
Playing an Audio CD and MP3 Disc . . . . . . . . . . 27
zNotes on MP3 Recordings . . . . . . . . . . . . . . 27
zPause . . . . . . . . . . . . . . . . . . . . . . . . . . . . . 28
zMoving to another Track . . . . . . . . . . . . . . . 28
zRepeat Track/All/Off. . . . . . . . . . . . . . . . . . . 28
zSearch. . . . . . . . . . . . . . . . . . . . . . . . . . . . . 28
zRandom . . . . . . . . . . . . . . . . . . . . . . . . . . . 28
zRepeat A-B . . . . . . . . . . . . . . . . . . . . . . . . . 28
z3D Surround . . . . . . . . . . . . . . . . . . . . . . . . 28
zChanging the Audio Channel . . . . . . . . . . . . 28
Operation with JPEG Disc. . . . . . . . . . . . . . . . . . . 29
Viewing a JPEG disc . . . . . . . . . . . . . . . . . . . . . 29
zMoving to another File . . . . . . . . . . . . . . . . . 29
zStill Picture . . . . . . . . . . . . . . . . . . . . . . . . . 29
zTo flip the picture . . . . . . . . . . . . . . . . . . . . . 29
zTo rotate Picture . . . . . . . . . . . . . . . . . . . . . 29
zNotes on JPEG Recordings . . . . . . . . . . . . . 29
Programmed Playback . . . . . . . . . . . . . . . . . . . . .30
Programmed Playback with Audio CD
and MP3 Discs . . . . . . . . . . . . . . . . . . . . . . . . . 30
Programmed Playback with Video CD . . . . . . . . 30
zRepeat Programmed Tracks . . . . . . . . . . . . 30
zErasing a Track from Program list . . . . . . . . 30
zErasing the Complete Program list. . . . . . . . 30
Additional Operation . . . . . . . . . . . . . . . . . . . . 31-33
Hi-Fi Stereo Sound System . . . . . . . . . . . . . . . . 31
Blank Search . . . . . . . . . . . . . . . . . . . . . . . . . . . 31
On Screen Display(F.OSD). . . . . . . . . . . . . . . . . 31
Tape Counter Memory Stop . . . . . . . . . . . . . . . . 31
Video Doctor (Self-Diagnosis) . . . . . . . . . . . . . . 32
To set the decoder . . . . . . . . . . . . . . . . . . . . . . . 32
Wide Screen Compatibility 16:9 . . . . . . . . . . . . . 32
Copying from DVD to VCR. . . . . . . . . . . . . . . . . 33
Recording from another video recorder . . . . . . . 33
Reference
Troubleshooting . . . . . . . . . . . . . . . . . . . . . . . . . . 34
Language Code List . . . . . . . . . . . . . . . . . . . . . . . 35
Country/Area Code list . . . . . . . . . . . . . . . . . . . . . 36
Specification . . . . . . . . . . . . . . . . . . . . . . . . . . . . . 37
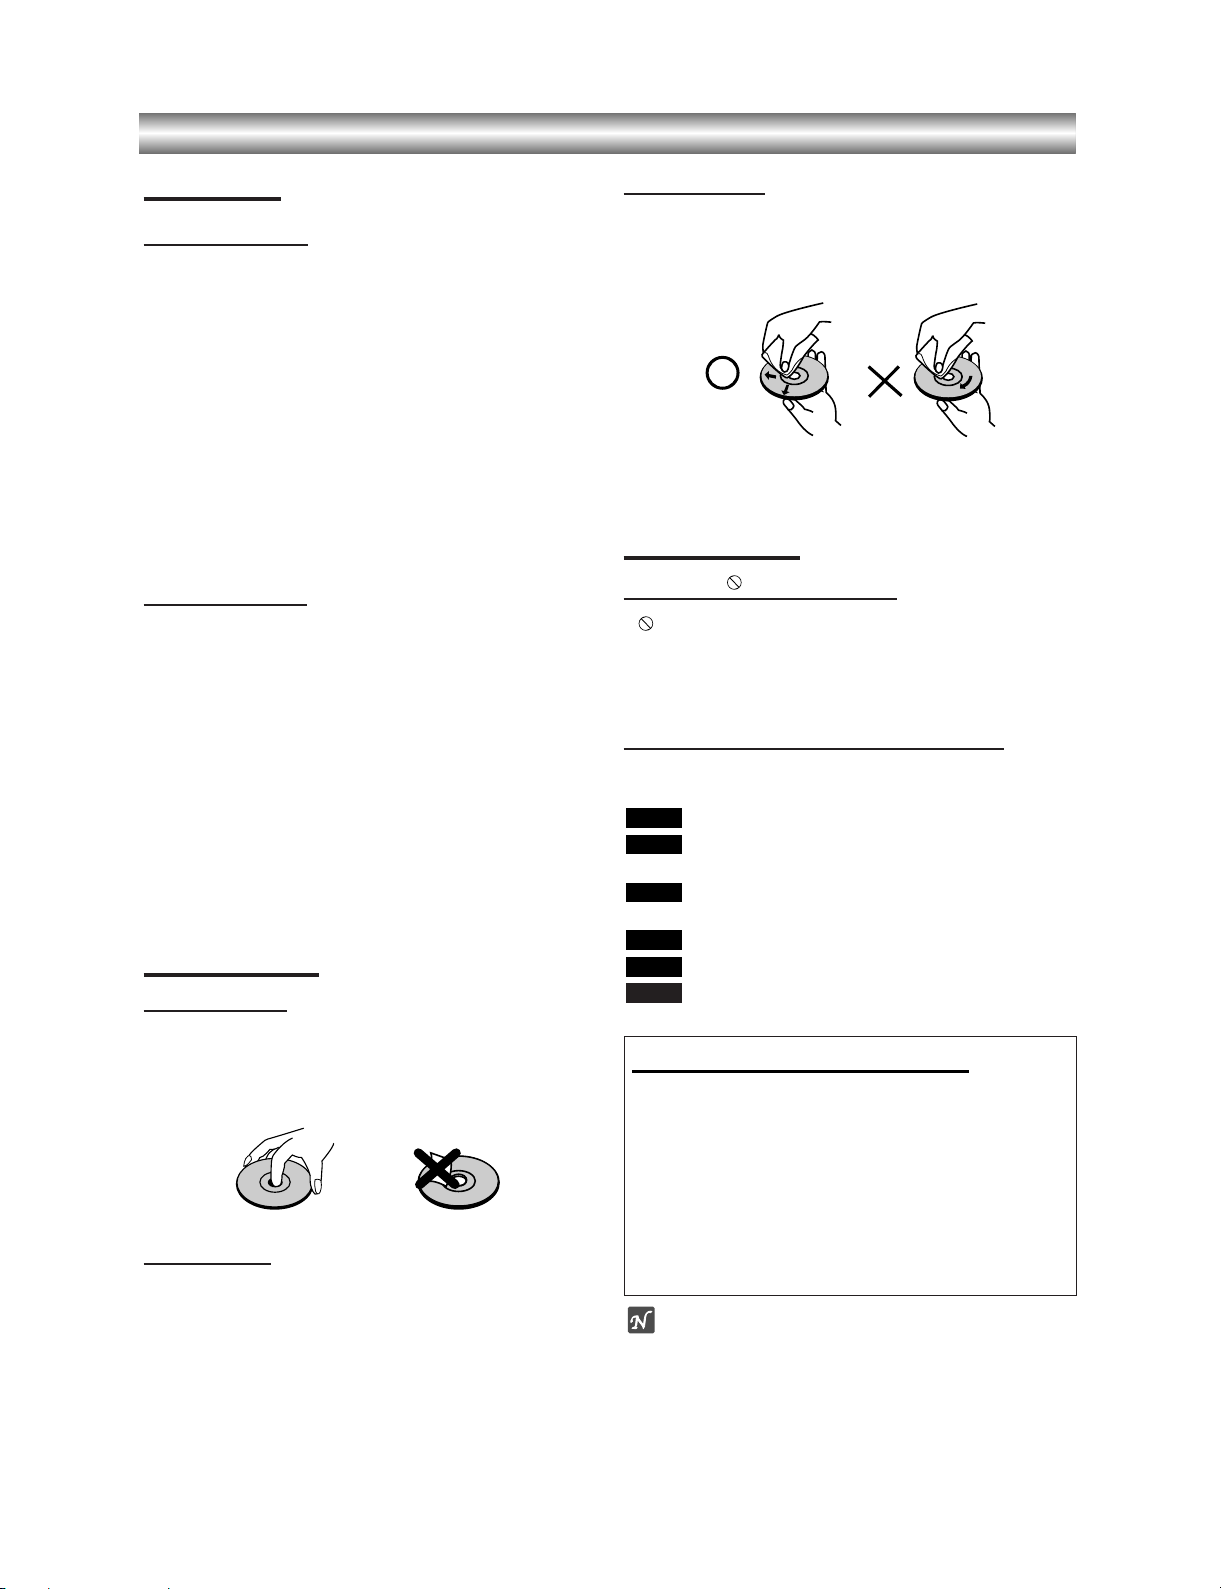
About the symbols for instructions
Indicates hazards likely to cause harm to the unit
itself or other material damage.
Indicates special operating features of this unit.
Indicates tips and hints for making the task easier.