18 19
KEY LOCK MODE
Key lock mode prevents accidental changes
to the wattage. To turn key lock mode on, with
the device powered on, hold both adjustment
buttons simultaneously for 3 seconds. The
screen will display “Key Lock”. Whilst key lock
mode is enabled, the screen will display “Key
Lock” if the adjustment buttons are pressed.
Adjustments to wattage cannot be made
until key lock has been disabled. Repeat the
process to disable key lock mode. The screen
will display “Key Unlock” when disabled.
SCREEN FLIP
To ip the screen 180°, turn the battery
power o with 5 clicks of the power button.
Hold the power and “up” adjustment buttons
simultaneously for approx. 3 seconds. Repeat
these steps until the orientation is facing the
preferred direction.
VAPING MODE SELECTION
By default, the Intu Plus will be set to VW,
or variable wattage. In this mode the power
can be adjusted using the “up” and “down”
adjustment buttons. When in VW mode, the
device will recommend a suitable wattage
according to the atomizer head resistance.
The wattage can be adjusted to your
preference using the adjustment buttons.
Alternative vaping modes available include
Bypass (BP), and Temperature Control
(TC) settings including nickel (Ni), titanium
(Ti), stainless steel (SS), and three user
programmable settings for Temperature
Coecient of Resistance (TCR M1/M2/
M3). TC and TCR modes can only be used in
conjunction with suitable coil materials.
To select alternative vaping modes press
the power button 3 times, scroll though the
menu using the adjustment buttons, and
press the power button to select the desired
mode. When set to TC or TCR modes, the
adjustment buttons will adjust the target
temperature for the coil.
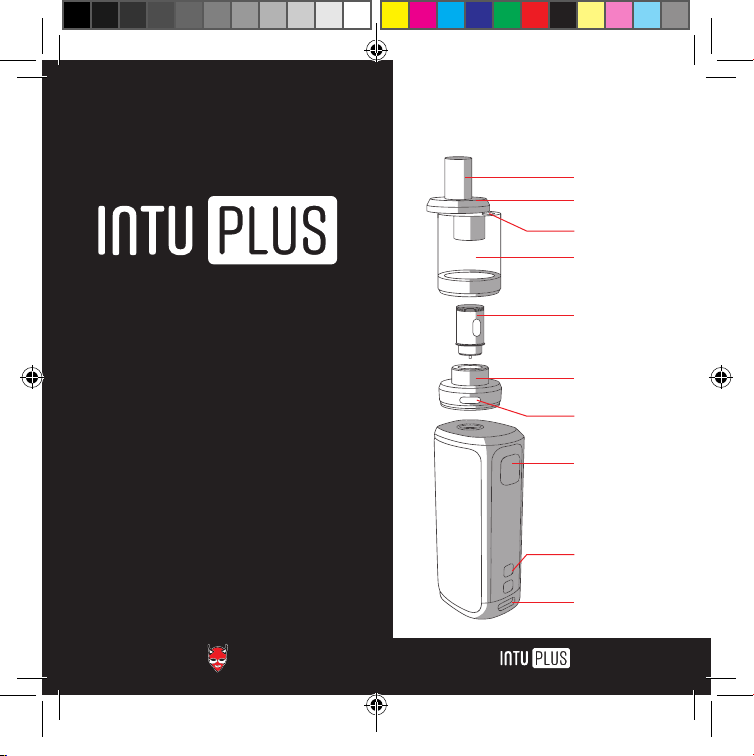
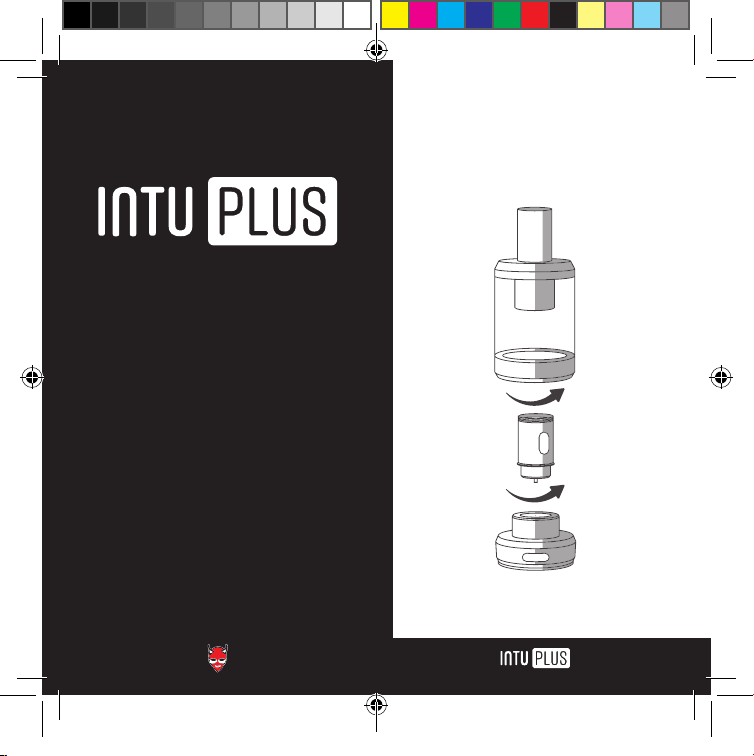
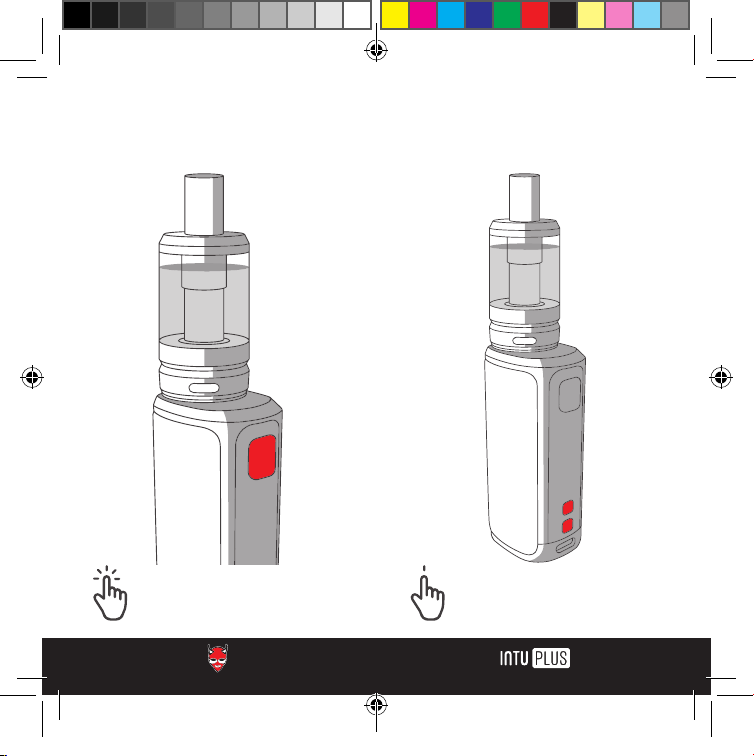
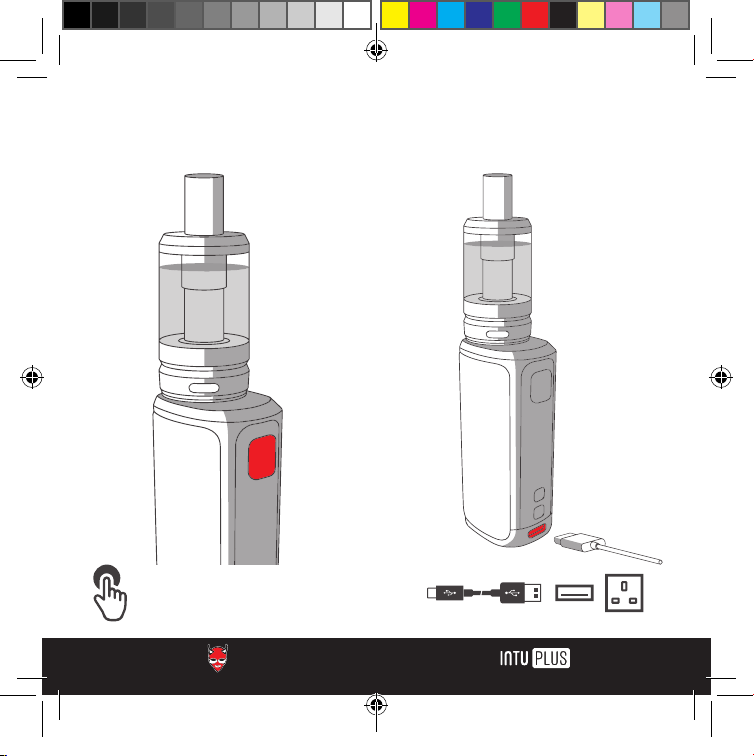
USING YOUR INTU PLUS
TW-Intu-Plus-Manual-UK.indd 18-19TW-Intu-Plus-Manual-UK.indd 18-19 12/04/2023 14:2612/04/2023 14:26