Totem TotemDuino User manual

TotemDuino User Guide
www.totemmaker.net
Totem by UAB Aldrea
ver 1.1

www.totemmaker.net TotemDuino
2 of 10
Table of Contents
Features .................................................................................................................................................... 3
Getting started........................................................................................................................................ 3
Connecting TotemDuino to your computer................................................................................ 3
Using Arduino IDE ............................................................................................................................... 5
Technical specifications ................................................................................................................... 10
Fig. 1 TotemDuino board

www.totemmaker.net TotemDuino
3 of 10
Features
• Atmega328 microcontroller
• 100% Arduino Uno compatible, works with all Arduino shields
• Works in Arduino IDE
• 9-30 V DC or 5V USB supply power range
• When powered from DC power adapter, can supply up to 1.5A of current at 5V.
• Selectable 5V or 3.3V logic voltage
• Noise immune design
• Additional filtering for precise analog voltage measurements
• Integrated programmer - no extra parts needed to start coding.
• Arduino and Totem compatible mounting holes
• 34-pin flat cable connector for integration with Totem MiniLab
Getting started
Starting to use TotemDuino is really simple —it is a fully backwards compatible with
Arduino UNO platform, so all the great Arduino IDE features can be used to write
firmware for TotemDuino as well.
Connecting TotemDuino to your computer
Using a mini USB cable you can upload new firmware sketches into TotemDuino. It holds
a complete backwards software compatibility with Arduino UNO boards, so Arduino IDE
can be used to write programs for it. While you can use different programming
environments to write firmware for it, using Arduino is one of the most friendliest and
quickest way to start.
Firstly, install Arduino IDE to your computer —refer to official documentation for the
Arduino IDE installation instructions, which can be found here:
https://arduino.cc/en/Guide/HomePage
Additional learning and introductory resources is recommended to use, such as:
• What is an Arduino?
https://learn.sparkfun.com/tutorials/what-is-an-arduino
• What is a circuit?
http://learn.sparkfun.com/tutorials/what-is-a-circuit

www.totemmaker.net TotemDuino
4 of 10
While TotemDuino works without any additional drivers with Windows10, previous
versions of Windows might require manually downloading drivers for a communication
chip used in it (PL-2303HXD). A latest version can be found at manufacturers website:
http://www.prolific.com.tw/US/ShowProduct.aspx?p_id=225&pcid=41
On macOS systems, driver will need to be manually installed for it to work:
http://www.prolific.com.tw/US/ShowProduct.aspx?p_id=229&pcid=41
After installation, TotemDuino serial port /dev/cu.usbserial should show up when
connected:
Fig. 2 Selecting TotemDuino board port
One note regarding macOS compatibility is that it’s important to not unplug the device
while it’s being programmed. Doing so will cause the driver to get stuck, and further
connected TotemDuino boards will not show up until computer is restarted.
On most Linux systems driver for the TotemDuino should be included in the system
already, so no further steps are needed to be taken. If it’s missing, or the device doesn’t

www.totemmaker.net TotemDuino
5 of 10
enumerate when connected, refer to your distribution manual on how to enable PL2303
kernel module. Tested distributions that include the driver are Debian (and derivatives
such as Ubuntu) and Fedora.
Using Arduino IDE
After installation, you should be greeted by default Arduino IDE window:
Fig. 3 Arduino IDE window

www.totemmaker.net TotemDuino
6 of 10
To work with TotemDuino, first you must choose the correct board for which code will be
compiled, as well serial port, by which the compiled firmware will be uploaded to it. You
can select the board by clicking Tools-> Board. In the drop-down menu, please select
Arduino/Genuino UNO board:
Fig. 4 Board selection
Next, we’ll select serial port. Because the number of available serial ports differ from one
computer to another, and there’s no way to know which port is the correct TotemDuino
one, you might need to follow this procedure.
First check what ports are available when TotemDuino is disconnected, and compare the
list once you connect TotemDuino back.
The newly appeared port will be the port that should be used. On most laptops there are
no extra serial ports, so you might see TotemDuino port as being the only one available.

www.totemmaker.net TotemDuino
7 of 10
Fig. 5 Selecting TotemDuino serial port
Once that’s done, we can start writing firmware for it. As always, its best to start with the
basics, so first we should try to upload a simplest firmware which only blinks the onboard
LED on the TotemDuino.
Using File->Examples->01. Basics drop-down menu select Blink example firmware:

www.totemmaker.net TotemDuino
8 of 10
Fig. 6 Selecting example firmware
This will open a new Arduino IDE window with the source code of that firmware. Try to
compile and write the firmware to TotemDuino by clicking Upload button (icon with
right arrow):

www.totemmaker.net TotemDuino
9 of 10
Fig. 7 Uploading firmware successfully
You should see a notification “Done uploading” in the bottom status bar. Now check if the
firmware does what it’s supposed to:
Fig. 8 Example LED blink firmware

www.totemmaker.net TotemDuino
10 of 10
If the LED blinks, you got every bit working! Now you can start diving into the world of
programming by exploring other examples or creating your own firmwares for it. You
could plug external sensors, shields to bring even the craziest ideas to life.
Have fun!
Technical specifications
Microcontroller: Atmega328P
Operating voltage: 5 V or 3.3 V (user selectable)
Input voltage: 9 - 30 V DC, 5 V USB
Maximum input current: 1A (DC), 500mA (USB)
Flash memory: 32 kB
SRAM: 2 kB
EEPROM memory: 1 kB
General purpose I/O pins: 14
Analog input pins: 8
Width: 150 mm
Height: 29 mm
Weight: 30 g
Table of contents
Other Totem Computer Hardware manuals
Popular Computer Hardware manuals by other brands
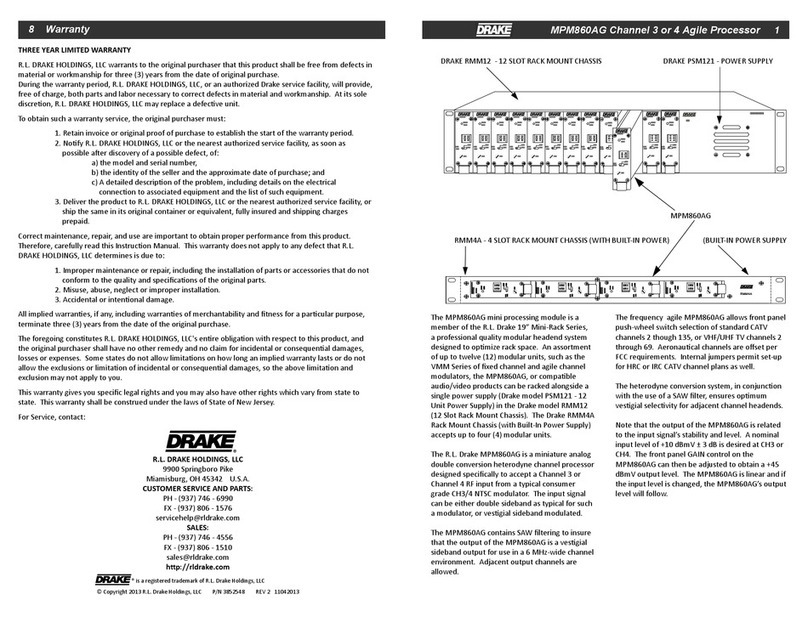
DRAKE
DRAKE MPM860AG manual
Stepper Motor Canada
Stepper Motor Canada DB25-1R5AM manual
Sun Microsystems
Sun Microsystems Netra ft 1800 Hardware reference manual
RF-Star
RF-Star RF-ZM-2530P1 CC2530 instruction manual
Alphacool
Alphacool ES Distro Plate C2 manual
ARM
ARM Cortex-A76 Core Technical reference manual


