manuals.online logo
Brands
  1. Home
  2. •
  3. Brands
  4. •
  5. Toto
  6. •
  7. Plumbing Product
  8. •
  9. Toto TN74-2X Quick guide

Toto TN74-2X Quick guide

066742 2003.5
施工・取扱説明書
TN74-2X
自動水栓用取替脚
商品の機能が十分に発揮されるように、この施工説明書の内容にそって正しく取り付けてください。
工事店様へのお願い この施工・取扱説明書は必ずお客様にお渡しください。
●自動水栓「アクアオート」の機能部を設置する際に配管や
 配線が障害になり止水栓に取り付けできない場合、又は商
 品が正しい向きに取り付かない場合にご利用ください。
自動水栓
機能部
施工
必ず機能部接続口が上になるように
固定してください。
水が浸入し、不具合の原因になります。
フィルター
ふた
開閉工具
機能部接続口
取替脚
自動水栓
機能部
6
7
必要別売品
給水
G1/2

066742 2003.5
TN74-2X
INSTALLATION AND INSTRUCTION MANUAL
OPTIONAL BRACKET FOR AUTOMATIC FAUCET
Please follow this Installation and instruction manual to make the best performance.
Note to installer Please give this manual to the customer after installation.
Caution
Be sure to close the stop valve before cleaning the strainer.
Ignoring this may cause property damage.
In case the wall is thin, use blockboard thicker than 12mm.
In case the wall is tiling or concrete, use wall anchors.(not included)
Tighten the Optional bracket with tapping screws.(tapping screw
φ
4.5
×
38)
Components
Parts supplied
Qty.
Part name
Installation and
instruction
manual
Optional
bracket
Tapping
screw
Warning
Please select
adequate Flexible
tube according to
the site. Stop valve
Flexible tube(resin tube)
Other optional parts
Flexible tube(copper tube)
TEL7*Atype
TEL7*Btype
Water supply
connection
Applicable
items
Specifications
Before installation
●This is Installation and instruction manual for Optional
bracket(TN74-2X)used for Automatic Faucet
(Single Faucet).
●In case the controller of Automatic Faucet can not
be installed or can not be in the correct direction due
to the interference of piping or wiring ,use this bracket.
●Also, this bracket is applicable when you exchange an
old Automatic Faucet(TEL1, TEL1B, TEL2, TEL2B)
with new one.
●Please refer to the Installation manual of Automatic
Faucet except for installation of this Optional bracket.
Applicable area for installing
controller of Automatic Faucet
Applicable area
Controller
Warning
6
7
Set-up drawing
Controller 0ver 200
Warning
●Install the controller taller than F.L. by 200mm(Otherwise,
the strainer on the bracket will be inaccessible for cleaning.)
●Do not bend the Flexible tube at acute angle. Also, do not
bend it at the portion near the hexagon nut.
Installation procedure
Piping
Be sure to thoroughly flush away any
foreign matter such as dirt and sand
trapped in the water supply pipe.
Remove the stop valve.
Close the source stop valve.
Warning
Do not use the stop
valve with strainer
supplied with
Automatic Faucet.
②Loosen the two screws on the front
cover with the allen wrench.
③Pull and open the controller cover
to the direction as shown right.
④
Remove the quick fastener and then
remove the stop valve.
Pull
Controller
cover
Quick
fastener
Stop valve
with strainer
Position the controller.
①Connect the flexible tube and the
controller to the Optional bracket
tentatively.
②Determine the location of the
controller and mark holes of the
Optional bracket.
③Detach the flexible tube and the
controller.
Flexible tube
Controller
Marking holes
Warning
Be sure to place the controller with
its outlet at the top.
Otherwise, the water will come into
the controller resulting in product
malfunction.
Mount the optional bracket on the wall.
After drilling the wall,tighten
the Optional bracket with
tapping screws.
Tapping screws
Optional bracket
Connect the flexible tube to the Optional bracket .
other optional parts
Flexible tube
Packing
Optional
bracket
Warning
Never fail to attach the Packing.
Controller
Quick fastener
Optional bracket
Install Automatic Faucet.
Refer to the Instruction manual of
Automatic Faucet on the subseguent procedure.
Cleaning the strainer
①Close the stop valve.
Connect the controller to the
Optional bracket.
②
①
②
Remove the strainer cover
with open-close tool.
③Pull out the strainer and clean
it with a blush.
④Put the strainer back in its
place.
⑤Reopen the stop valve full. Strainer
Strainer cover
Open-close tool
Connect the controller to the Optional bracket.
Important
Optional bracket
Outlet of controller

G1/2
IN
Attach it with a quick fastener.

Other Toto Plumbing Product manuals

Toto TLP03301 User manual

Toto

Toto TLP03301 User manual

Toto 0GU5020 Installation instructions

Toto

Toto 0GU5020 Installation instructions

Toto TBMV2 Installation instructions

Toto

Toto TBMV2 Installation instructions

Toto REI S TX492SRS User manual

Toto

Toto REI S TX492SRS User manual

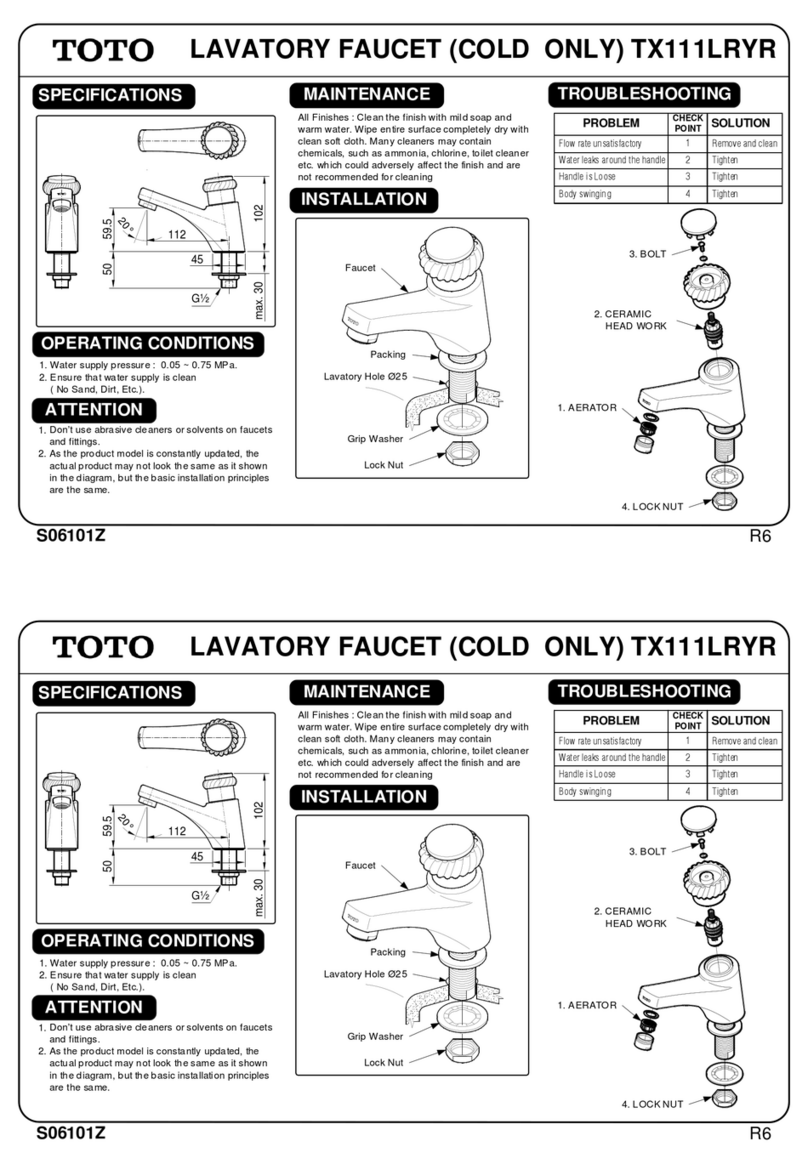
Toto TX111LRYR User manual

Toto

Toto TX111LRYR User manual

Toto TTMR304K User manual

Toto

Toto TTMR304K User manual

Toto EGO TX445SE User manual

Toto

Toto EGO TX445SE User manual

Toto Vivian TS220C Installation instructions

Toto

Toto Vivian TS220C Installation instructions

Toto SW204312 User manual

Toto

Toto SW204312 User manual

Toto TTMR307MFK Guide

Toto

Toto TTMR307MFK Guide

Toto NEOREST User manual

Toto

Toto NEOREST User manual

Toto NEOREST II User manual

Toto

Toto NEOREST II User manual

Toto TLP02301 User manual

Toto

Toto TLP02301 User manual

Toto Vessel Lavatory LT645 Installation instructions

Toto

Toto Vessel Lavatory LT645 Installation instructions

Toto TOJA TX471ST User manual

Toto

Toto TOJA TX471ST User manual

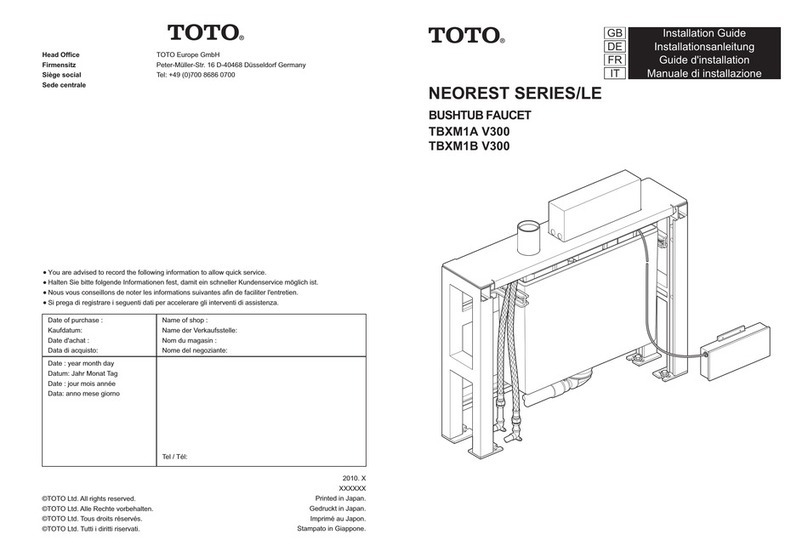
Toto NEOREST TBXM1A V300 User manual

Toto

Toto NEOREST TBXM1A V300 User manual

Toto EGO TX471SEN User manual

Toto

Toto EGO TX471SEN User manual

Toto ETHOS Series Installation instructions

Toto

Toto ETHOS Series Installation instructions

Toto WH173BAT Series User manual

Toto

Toto WH173BAT Series User manual

Toto TTSH101ECFUK User manual

Toto

Toto TTSH101ECFUK User manual

Toto TLP02309 User manual

Toto

Toto TLP02309 User manual

Toto TLP02309 User manual

Toto

Toto TLP02309 User manual

Toto DM359CF Instructions for use

Toto

Toto DM359CF Instructions for use

Toto TBW01011U4 Installation instructions

Toto

Toto TBW01011U4 Installation instructions

Popular Plumbing Product manuals by other brands

newform 67630E instructions

newform

newform 67630E instructions

Elkay Lustertone ELUH3116 Specifications

Elkay

Elkay Lustertone ELUH3116 Specifications

Isenberg TVH.4371 installation manual

Isenberg

Isenberg TVH.4371 installation manual

Moen Villeta Posi-Temp L2383 Specifications

Moen

Moen Villeta Posi-Temp L2383 Specifications

Bossini L00961 installation instructions

Bossini

Bossini L00961 installation instructions

Kohler LOURE 98452T-CP installation instructions

Kohler

Kohler LOURE 98452T-CP installation instructions

American Standard Undercounter Lavatory 730431-100 installation instructions

American Standard

American Standard Undercounter Lavatory 730431-100 installation instructions

Halsey Taylor HAC-4F instruction manual

Halsey Taylor

Halsey Taylor HAC-4F instruction manual

Pfister 0X6-440R Quick installation guide

Pfister

Pfister 0X6-440R Quick installation guide

American Standard 24 PO 9212024 INSTRUCTIONS D’INSTALLATION ET DE MONTAGE

American Standard

American Standard 24 PO 9212024 INSTRUCTIONS D’INSTALLATION ET DE MONTAGE

American Standard BERWICK 7430.15 Series installation instructions

American Standard

American Standard BERWICK 7430.15 Series installation instructions

American Standard Madera FloWise 16-1/2" Height 1.28 GPF Flushometer Toilet... Specification sheet

American Standard

American Standard Madera FloWise 16-1/2" Height 1.28 GPF Flushometer Toilet... Specification sheet

IKEA OLOFSJÖN installation instructions

IKEA

IKEA OLOFSJÖN installation instructions

Spectrum Brands Pfister Tisbury 016 quick start guide

Spectrum Brands

Spectrum Brands Pfister Tisbury 016 quick start guide

Sterling Plumbing ENSEMBLE 71110122 Specifications

Sterling Plumbing

Sterling Plumbing ENSEMBLE 71110122 Specifications

Geberit Duofix installation manual

Geberit

Geberit Duofix installation manual

Hans Grohe PuraVida 15472000 Instructions for use/assembly instructions

Hans Grohe

Hans Grohe PuraVida 15472000 Instructions for use/assembly instructions

Clou Kaldur CL/06.05099.20 installation instructions

Clou

Clou Kaldur CL/06.05099.20 installation instructions

manuals.online logo
manuals.online logoBrands
  • About & Mission
  • Contact us
  • Privacy Policy
  • Terms and Conditions

Copyright 2025 Manuals.Online. All Rights Reserved.