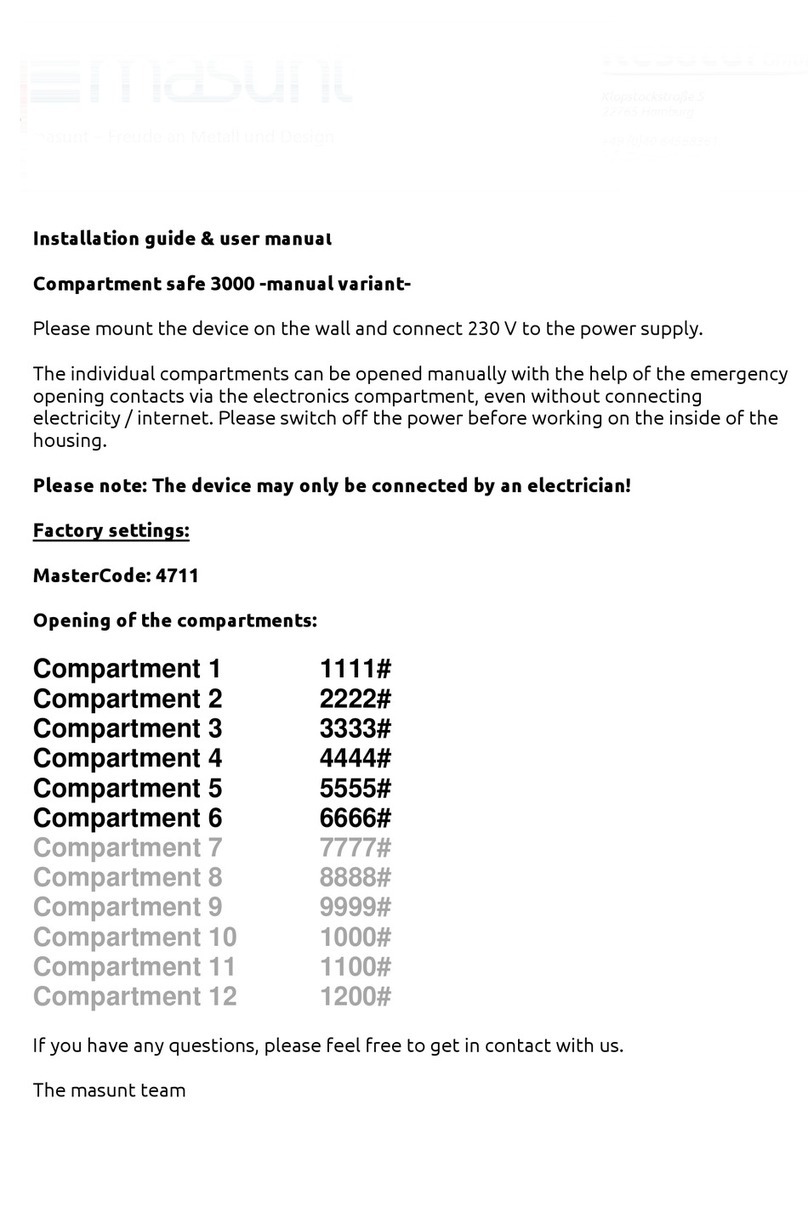
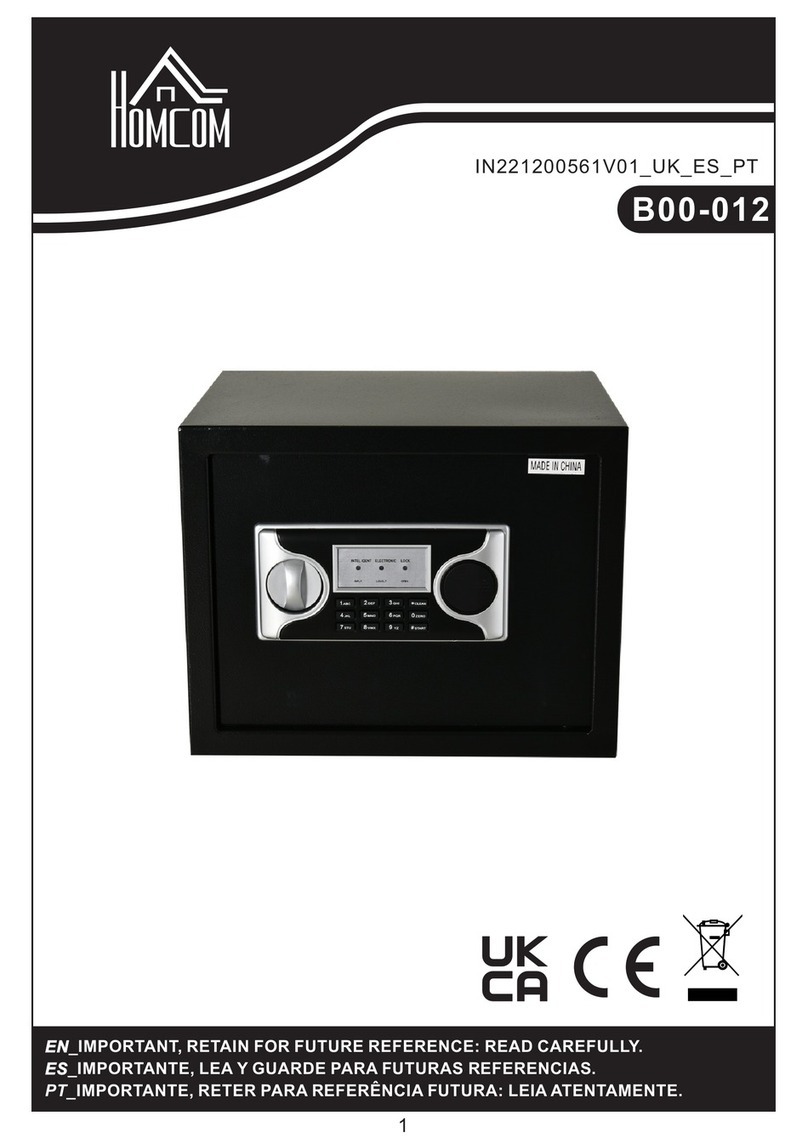
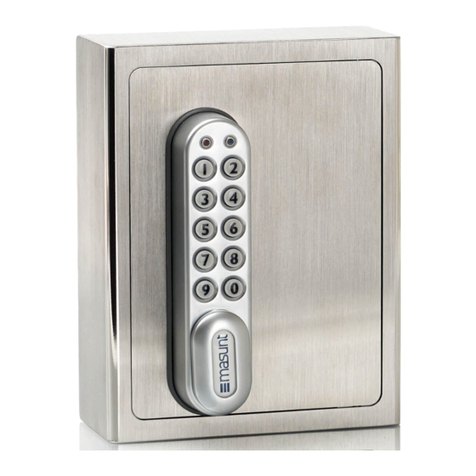
Tracker Safe M12 Series User manual

Safe
Owner Use
and
Care Manual
M Series:
T592320M-DLG
T592320M-ELG
T593024M-DLG
T593024M-ELG
T593625M-DLG
T593625M-ELG
T724227M-DLG
T724227M-ELG

Safe Identication...................................................................Page 3
Opening your Safe for the First Time..................................Page 4
Lock Opertaion...................................................................... Page 4-6
Removing Shipping Feet....................................................... Page 7
Bolting your Safe to the Floor................................................Page 8
Shelf Installation......................................................................Page 9
Use, Care, & Maintenance.....................................................Page 10
Warranty...................................................................................Page 11
Table of Contents
2

Serial Number:
Original Receipt: (Attach Here)
Combination:
ATTENTION:
DO NOT STORE THIS MANUAL
IN YOUR SAFE
3

Opening your safe for the rst time
If the safe is in the unlocked position the door will open by turning the
handle clockwise until it stops. en pull door open.
If safe is in the locked position then please follow the directions below:
Use the Opening Index located at the twelve o’clock position.
1) Turn the dial LEFT(counterclockwise), passing the rst number in
your combination three times. en stop exactly on the number the
FOURTH time around.
2) Turn the dial RIGHT(clockwise), passing your second number in the
combination two times. en stop exactly on the number the THIRD
time around.
3) Turn the dial LEFT(counterclockwise), passing the last number in the
combination one time. en stop exactly on the number the SECOND
time around.
4) Turn the dial RIGHT(clockwise) until the dial stops completely. en
turn the safe handle clockwise to open the door.
To lock the safe: Close the door. Turn the handle counterclockwise until
it stops. Spin the dial FOUR complete turns either direction. Turn the safe
handle to be sure the safe is locked.
LaGard™ Mechanical Dial Lock:
Operating your Mechanical Dial Lock:
Important Notes:
•Turn the dial slowly and evenly.
•Do not over rotate past a number. If an
error is made, start from the beginning.
•Always view the dial straight on, not at an
angle.
4

Opening your safe for the rst time
5
WARNING:
Always perform code change with the door OPEN and the bolts
extended in the locked position.
1) With the door in the open position, enter “zero”(0) six(6) times.
2) Within four (4) seconds, enter the existing six (6) digit code ONE (1)
time.
3) Within four (4) seconds, enter the NEW six (6) digit code TWO(2)
times.
4) Test your new code several times before closing and locking the door.
Valid Code Entry: Two (2) Beeps at the same time as two (2) LED
ashes aer valid six(6) digit code is entered.
Invalid Code Entry: ree (3) Beeps at the same time as three (3) LED
ashes and the old code is still valid.
If a mistake is made while programming the new code, wait thirty (30)
seconds and repeat steps 1-3.
LaGard™ Electronic Lock:
Programing your LaGard™ Electronic Lock:
1) Turn the handle counter-clockwise until it stops.
2) Enter the factory code 1-2-3-4-5-6.
3) e lock will conrm a vaild combination with two (2) beeps at the
same time as two (2) LED ashes.
4) Within four (4) seconds, turn the handle clockwise until the handle
stops.
5) Pull the door open.
Invalid Combination Entry will be conrmed by three (3) beeps at the
same time as three (3) LED ashes.

Replacing the Battery:
1) Slide the keypad housing up and carefully pull away from
mounting surface to expose the battery compartment.
2) Remove the old 9-Volt alkaline battery by unsnapping it from the
two terminals on top of the battery.
CAUTION: DO NOT PULL BATTERY LEADS OUT OF THE
HOUSING!
3) Connect a new 9-volt alkaline battery.
(Recommended brands: Duracell™, Energizer™, Eveready™)
4) Carefully position the keypad over the mounting screws and
slide the keypad housing down. Ensure there are no wires or
cables trapped between the keypad housing and the safe door.
Pinched cables can result in a short circuit.
Low Battery Warning:
Repeated LED ashing and beeping during an opening indicates
that the battery is low and needs immediate replacement.
Wrong Try Lock Out Period:
Four (4) consecutive invalid combinations starts a ve (5) minute
lock out period. e LED light will ashes red at ten (10) second
intervals. At the end of the lock out period, two (2) more invalid
combinations will restart the ve (5) minute lock out period.
6
Operating the electronic Lock

Removing Shipping Feet
7
1) For safety, put wood blocks under
the four corners of the safe.
(For example 2x4 or 4x4 pieces of wood)
2) Next, on either side of the safe, push
the top of the safe so that two of the
four feet are lied o the ground and
hold it steady.
3) While the safe is held o the ground,
have the second person unbolt the two
feet using a 11/16 inch or 17mm socket
wrentch. Move the feet and wood
blocks out from under the safe.
4) Gently lower the safe back down to
the ground.
5) Remove the other side by repeating
steps 1 through 3.
WARNING:
is process requires a minimum of two (2) people.
Attention:
If the shipping feet won’t unscrew completely then use a metal
hack saw to cut the feet o.

Bolting your Safe to the Floor
WARNING:
Safe must be bolted to the oor. e safe presents a safety hazard
unless bolted down.
WARNING:
is process requires at least 2 people.
Your safe is equipped with fou (4) predrilled holes from the factory for
securing the safe to a concrete oor. For wood oors, purchase anchors
suited for your oor type and follow the anchor manufacturers directions
for installation.
Step 1: Shipping feet must be removed.
(see Removing Shipping Feet on page 8)
Step 2: Remove the four (4) black bolt down hole caps located inside the
safe on the oor.
Step 3: Place the safe in the exact location where you want it bolted
down. Mark the oor through the holes in the bottom of the safe.
Step 4: Move the safe and drill four (4) three (3) inch deep holes in the
concrete oor using a 1/2 inch masonry bit.
(Masonry bit not included)
Step 5: Vacuum out debris caused by newly drilled holes in the concrete.
Step 6: Insert the outer sleeve into the hole.
Step 7: Place the safe carefully on top of the holes.
(Note: Level the safe using shims. Shims not included.)
Step 8: From inside the safe, insert the bolts
and tighten using a 11/16 inch or 17mm socket wrench.
Do not over tighten.
Step 9: For best re protection, ll the area around the bolt with a re re
sistant sealant/caulk. (Fire resistant sealant not included)
Step 10: Reinstall the four (4) black bolt down caps to cover the holes
8

Shelf Installation
Step 1: Determine the desired height of the shelf.
Step 2: Insert the top of the clip into the desired notch then push
the bottom into the notch below the top notch.
9
Step 3: Repeat Step 2 for all 4 clips required for each shelf. Make
sure they are all aligned with one another.
Attention: Remove clips by pulling up on the bottom part of the clip.
Step 4: Move the shelf into the
safe angled diagonally (le side
lower then the right side) and
move it above the clips before
leveling the shelf. Bring the shelf
down onto the clips slowly.
Caution: Do not exceed 25
pounds on a single shelf.
Overloading shelves can cause
shelves or clips to break.

Use, Care, & Maintenance
PLACEMENT OF YOUR SAFE:
Before moving the safe into the desired location, be sure to plan
your route from the beginning to the end location. Make sure
you measure each doorway, stair, corner, or other obstacle before
moving the safe to be sure that it will t. Also, protect the various
types of ooring or stair materials that the safe will be traveling
across. e weight of the safe may damage some ooring.
It is recommended that you place a barrier between the safe and
the oor once the safe is in its nal position. A rubber mat, treated
wood, and carpet are good examples of barriers.
Make sure that you level your safe using shims. is will help the
safe door open smoothly. Shims are not included with your safe but
may be purchased from your local hardware store.
MOVING YOUR SAFE:
Caution: Never move a safe with any contents inside. is can
cause severe damage to the contents being stored and can possibly
cause the safe to be locked in the closed position due to shiing of
contents.
In the event that you have to move the safe, it is best to have a
certied safe technician maintain the safe before moving.
EXTERIOR CLEANING:
Use a so cloth like a microber cloth with a mild cleaner (i.e.,
window cleaner) to clean the exterior of the safe. Make sure to wipe
dry and never use harsh cleaners. Wipe around logos and graphics
gently.
CHROME LOCKING BOLTS:
We recommend lubricating the chrome locking bolts once a year
with a little Vaseline or other petroleum based lubricant.
10

MANUAL DIAL LOCKS:
Once per year, have a certied lock technician service your lock.
ELECTRONIC LOCKS:
At least once a year, replace the battery with a 9-volt alkaline
battery that has a “use date” of at least 5 years on it. When replacing
the battery make sure to inspect the wires for signs of abuse
like exposed wires or pinched wires. Also, make sure to keep
the battery contacts clean of debris. (Recommend: Duracell™,
Energizer™, Eveready™)
INTERNAL LOCKING MECHANISM:
e internal locking mechanism does not require maintenance.
However, if there is a sudden change in feel or operation of the
safe or lock, please contact a certied lock or safe technician for
immediate service.
HINGES:
Once per year, lubricate the ball bearing hinges with a silicone
spray.
MOISTURE/HUMIDITY:
We recommend that you use some form of a dehumidier to
control the level of moisture inside the safe.
Use, Care, & Maintenance Continued
Learn more about other gun storage by Tracker Safe on our website.
This manual suits for next models
8
Table of contents
Other Tracker Safe Safe manuals
