Trail Ridge Technologies QuickVu User manual
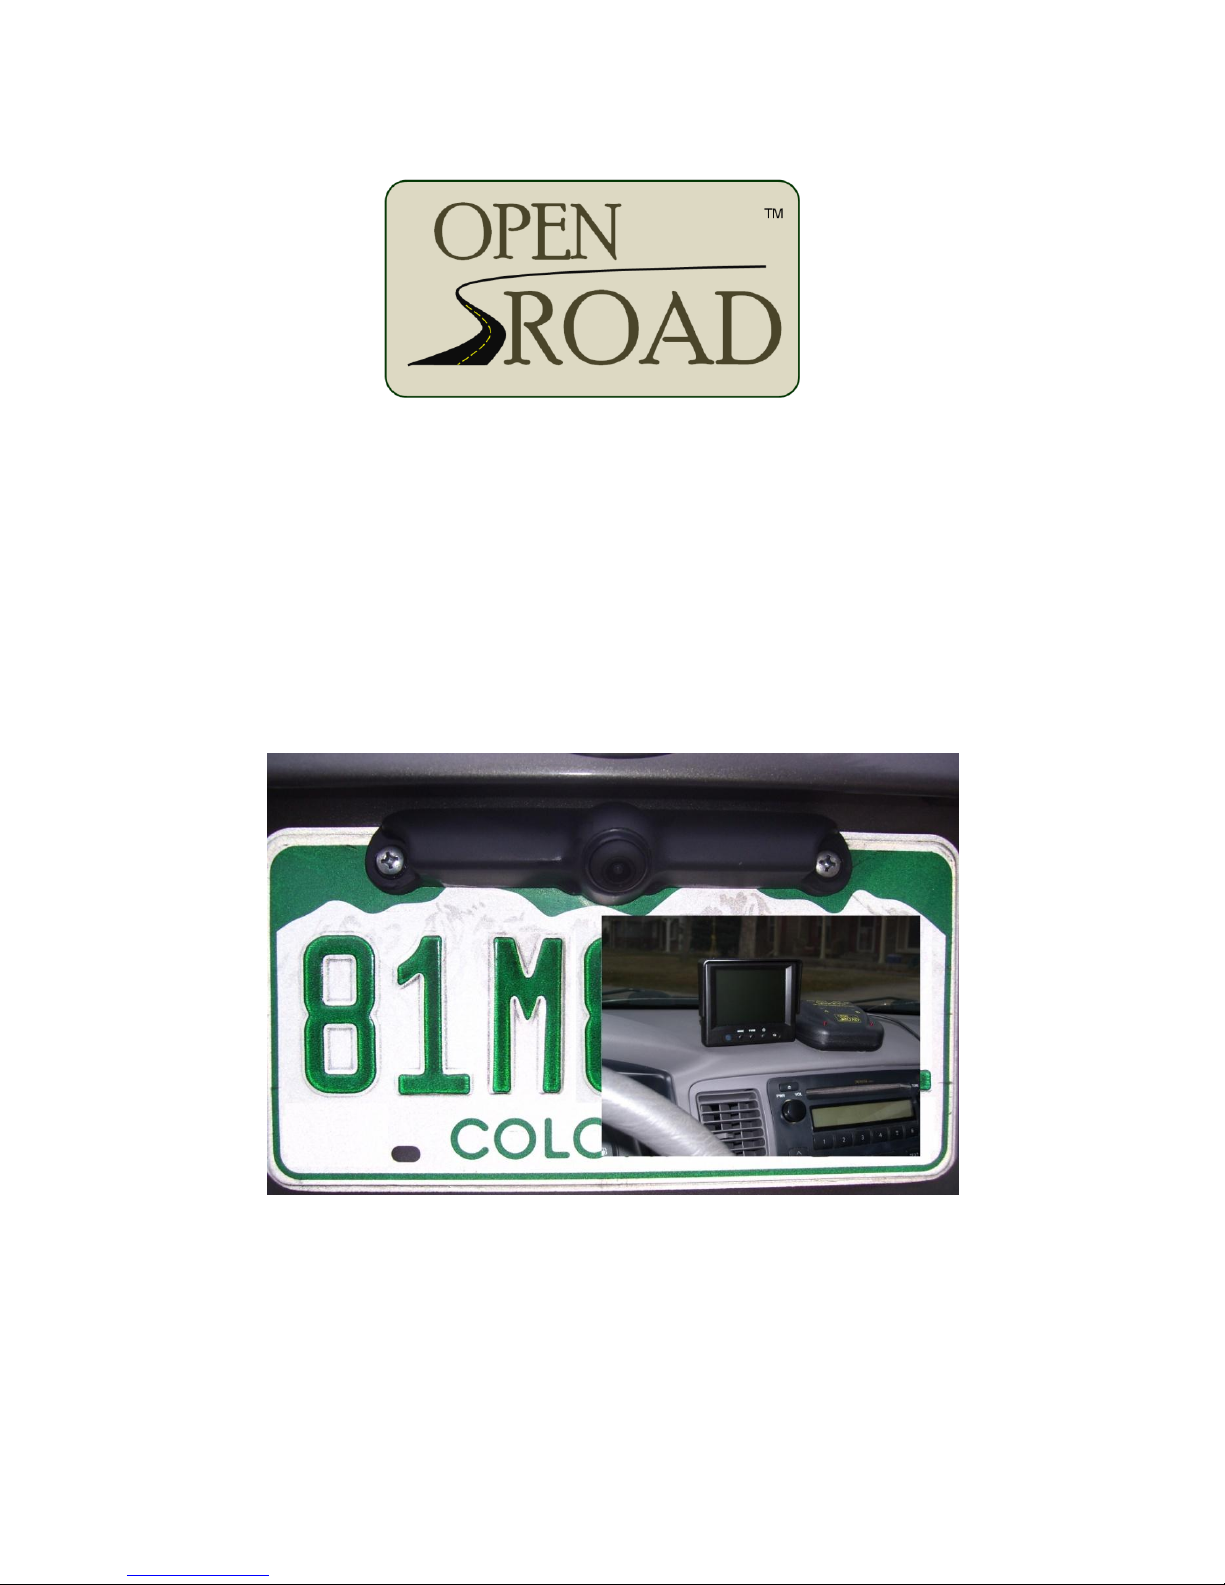
QuickVu™
Wireless Backup Camera
© 2012 Trail Ridge Technologies, LLC

Open Road™QuickVu™Wireless Backup Camera
Congratulations on the purchase of your new Open Road™QuickVu™Wireless Backup Camera! We hope you
find this product enhances the visibility and safety of your driving experience.
The Open Road™QuickVu™Wireless Backup Camera is designed for those of us who want the convenience
and enhanced visibility of a backup camera, but don’t want to cut holes in the bumper or splice into our car’s
electrical system. It’s for those of us who are buying a new car and would rather not pay thousands of dollars
for a factory installed backup camera. The QuickVu™Wireless Backup Camera provides all of the video quality
and usefulness of a wired backup camera without the headache of installation.
Quick Installation Instructions
1. Attach camera to rear license plate with existing screws.
2. Secure monitor on dash with hook-and-loop tape. Do not obscure driver vision.
3. Secure control box on dash near monitor with hook-and-loop tape.
4. Plug yellow video and power cables from monitor into control box (12V Out).
5. Plug power cord into control box (12V In) and auxiliary power outlet (cigarette lighter socket).
6. Optionally, the USB socket can be used to charge or power a cell phone, GPS, or other device.
Operation
The QuickVu™Wireless Backup Camera will turn on when power is supplied to the dash mounted control box.
In many vehicles, this means that the camera will turn on when the car is started, or the ignition switch is
turned to the Accessories position. See the section “How Long Will the Camera Stay On?”.
You may also turn on the camera at any time after your car is started by pressing button A on the control box.
Important: Some video monitors may take a few seconds to start up. Allow time for the monitor to display an
image before concluding that the path behind your vehicle is clear.
Warning: Objects may be closer than they appear on the monitor.
Safe and responsible drivers use many means to make sure the path behind the vehicle is safe.
Use your mirrors.
Turn your head and look behind your car.
Exit the vehicle and look behind the car.
Check with an observer outside the vehicle.
Now, in addition to these, you can use your QuickVu™Wireless Backup Camera. Before backing up, turn on
the backup camera. Check the monitor. If any objects or individuals are visible on the monitor, double check
the area behind your vehicle to remove all obstructions before proceeding to back up.

Detailed Installation Instructions
Camera
1. Remove the bolts from the rear license plate.
2. Insert the bolts through the holes in the camera and the holes in the license plate, and re-mount the
license plate on the car. Be careful not to over-tighten the bolts and crack the plastic housing. That’s
it! The camera is installed.
Monitor (if purchased with camera)
1. You may mount the monitor directly to a vertical surface of the dash with hook-and-loop tape, or you
may use the provided mounting bracket to mount the monitor on a horizontal surface. If you want to
use the provided monitor mounting bracket, secure the bracket to the monitor with 4 screws provided.
2. Identify the location1on the dashboard where the monitor will be visible to the driver, the
pushbuttons on the control box will be within reach of the driver, and the driver’s view of the road will
not be obscured. Clean all oil and dust from the dash, so the adhesive of the hook-and-loop tape will
hold fast to the dash.
3. Remove the backing from one side of a 2”x2” square of hook-and-loop tape and press the exposed
adhesive firmly to the base of the monitor bracket (or the back of the monitor, if not using the
bracket).
4. Remove the backing from the other side of the 2”x2” square of hook-and-loop tape and press the
exposed adhesive firmly to the clean dash in the desired location.
Control box
1. If you are using a monitor purchased with the camera, you will mount the control box near the monitor
to be sure that the cables from the monitor will reach the sockets at the back of the control box. If you
have a different monitor, be sure that the video cable from the monitor will reach the control box.
2. Identify the location1on the dashboard where the monitor will be visible to the driver, the
pushbuttons on the control box will be within reach of the driver, and the driver’s view of the road will
not be obscured. Clean all oil and dust from the dash, so the adhesive will hold fast to the dash.
3. Remove the backing from one side of a 2”x2” square of hook-and-loop tape and press the exposed
adhesive firmly to the bottom of the control box.
4. Remove the backing from the other side of the 2”x2” square of hook-and-loop tape and press the
exposed adhesive firmly to the clean dash in the desired location.
Connections
1. Plug the yellow RCA connector from the monitor into the RCA jack at the back of the control box.
2. Plug the DC connector from the monitor into the “12V Out” jack at the back of the control box.
3. Plug the DC power cable into the “12V In” jack at the back of the control box.
4. Plug the DC power cable into the auxiliary power outlet (cigarette lighter socket) of your car.
5. Optionally, use the USB socket to charge or power a cell phone, GPS, or other device.
1Before permanently mounting the monitor and control box, test the reception of the camera signal in the desired location. You
may find that one location may have better reception than another. Choose a location with good reception that is still visible and
within easy reach.

Control Box Connections
Figure 1 below shows the connection jacks on the back of the monitor control box. Be careful to ensure that
the cigarette lighter connects to the +12in jack and not the +12v out jack, to which the monitor should be
connected. A Charging socket is provided which will provide up to 500mA charging current for small devices
such as cell phones and GPS units. Finally, video is output through an RCA connector. This can be connected
to the accompanying monitor or to another monitor through a standard video cable.
+12v in +12v (5v) out Charging Socket Video Out
Connect to Connect to connect to GPS, connect to
cigarette lighter monitor cell phone etc. Monitor video input
Figure 1. View of the Jacks on the Back of the Monitor Control Box.
How Long Will the Camera Stay On?
The camera will remain on for 15, 30, 45, or 60 seconds. The factory setting for the duration is 30 seconds, but
you may choose a different duration for your camera. To change the duration:
1. Press and release buttons A and B together. You should see both lights flash three times.
2. Press button A and hold until light A flashes once (about one second) and then release. Light A will
flash up to four times.
a. Flash 1 time to indicate duration setting of 15 seconds.
b. Flash 2 times to indicate duration setting of 30 seconds.
c. Flash 3 times to indicate duration setting of 45 seconds.
d. Flash 4 times to indicate duration setting of 60 seconds.
3. Continue pressing button A for 1 second each press until you see the light flash the correct number of
times. For example, if you want the camera to stay on for 45 seconds, repeatedly press button A, hold
for 1 second and release until you see the light flash 3 times.
4. When you have the desired setting press button A again and release quickly. Both lights will flash once
in unison to signal an exit from duration programming mode.

Changing the Video Transmission Channel
The QuickVu™Wireless Backup Camera can transmit video images on any of three channels. Depending on
environmental conditions, you may find that you get better reception by switching to a different channel. To
change the channel, press and hold button A on the control module until you see the red light next to button
A turn on, and then release. When the transmission channel has been changed, you will see the red light flash
quickly one, two, or three times, indicating that the channel has been changed successfully to that channel.
Then the light will turn on and stay on, the camera will begin transmitting on that channel, and you should see
an image on the monitor.
Replacing Batteries in the Backup Camera
The batteries in the QuickVu™Wireless Backup Camera should last several months in normal use2. As the
batteries grow weak, the camera will fail to stay on for the full duration expected. When this happens, replace
the batteries promptly, to ensure uninterrupted use of your backup camera.
The camera uses two AA batteries. For adequate power and battery life, we recommend using good quality
lithium batteries, such as Energizer® Ultimate Lithium batteries.
To replace the batteries, first remove the camera from your car. Then remove the six screws that secure the
battery compartment cover. Remove the cover and note the location of the positive end of the batteries.
Remove the old batteries3, and insert the new batteries, making sure that the positive end of each battery is in
the correct location4.
Note that the batteries fit very snugly. Insert the negative end of the battery in first then press the other end
of the battery in against the negative terminal and slip the positive end in behind the positive terminal. If you
have difficulty inserting the new batteries, you may use a small screwdriver or a butter knife as a lever to
“shoehorn” the batteries into place. Be careful not to use excessive force as you may damage the camera’s
circuitry.
With the batteries in place, replace the cover, making sure that the O-ring seals are in place around the cover
and on each of the six screws. Be careful not to over-tighten the six screws. Re-mount the camera on your
car.
2Normal use would be approximately 4 uses per day, 30 seconds per use. For example, you back out of your garage and drive to
work, back out of parking space to go to lunch, back out of parking space to return to work, and then back out of parking space to
drive home. Prolonged extremes in temperature, additional usage, and battery quality will all affect actual battery life.
3Be sure to dispose of used batteries properly.
4If you are unsure, refer to the diagram on the sticker inside the battery compartment.

Alternate Installation Suggestions
In some cases it may be necessary to mount the QuickVu™camera in an alternate manner to ensure proper
illumination or visibility of the license plate. Here are a few possible alternatives to consider. Remember, you
are responsible for the proper use of the QuickVu™camera, and any installation choices are your
responsibility. Any extra hardware mentioned (bolts, nuts, washers, brackets, strapping, etc.) are not included
with the QuickVu™Wireless Backup Camera, but you should be able to obtain them at a local hardware or
home improvement store.
If mounting the camera at the top of the license plate would obscure information on the plate or
would leave the plate in shadows, you may be able to mount the camera at the bottom of the plate. If
your vehicle has lower license plate mounting holes, simply mount the camera at the bottom of the
plate. If there are no mounting holes at the bottom of the plate, you may be able to mount the camera
directly to the license plate. Using short ¼” bolts and matching nuts and lock washers (not included),
attach the camera to the bottom of the license plate. Mount the license plate to the vehicle in the
usual manner.
In some cases, mounting the camera directly to the bottom of the license plate (see above) may
obscure important information on the plate. In such a case, you may be able to mount the camera
below the plate. Using short ¼” bolts, matching nuts and lock washers, and 1” steel strapping, bolt the
camera to the strapping and the strapping to the license plate.
If the need is to allow the light above the license plate to shine on the plate, you may be able to mount
the camera above the license plate with a 1” spacer. Fashion two U-shaped brackets. Mount the
brackets to the license plate with the existing mounting screws, and then mount the camera to the
brackets with ¼” bolts and matching nuts and lock washers.

Troubleshooting
If the monitor does not turn on within a few seconds of pressing button A, check each of the following:
Be sure the control box is powered. The DC power cable must be securely plugged in to the “12V In”
socket on the back of the control box. The cable must also be securely plugged in to the auxiliary
power outlet (cigarette lighter) of your vehicle. Power must be on to the auxiliary power outlet -- your
ignition switch should be to the ‘On’ position.
Make sure the video cable from the monitor is securely plugged into the video output socket on the
control box. If you have your own monitor, be sure the other end of the video cable is securely
plugged into your monitor.
Be sure the monitor is switched on. The monitor supplied with the QuickVu™Wireless Backup Camera
has its own power button. Press this to be sure the monitor is turned on. This is not required every
time you turn on the camera. If you have your own monitor, make sure it is powered and turned on.
If the video quality is poor:
Place the control box in a different position on the dash. In some cases, having the control box tipped
forward or backward slightly may improve reception.
Switch the camera to use a different transmission channel. See “Changing the Video Transmission
Channel” for specifics.
Make sure the batteries in the camera are not depleted.
If the video image appears to jitter or shake when the car is moving:
Make sure the camera is securely mounted and the screws are not loose.
If the video image does not last as long as expected (see “How Long Will the Camera Stay On?”):
Make sure the batteries in the camera are not depleted.
For further information, see the support information at http://TrailRidgeTech.com/quickvu-backup-camera/.

Disclaimers
The QuickVu™Wireless Backup Camera is intended to assist responsible drivers, but it does not relieve a driver from full
responsibility for the operation of the vehicle. While the QuickVu™camera can help a driver to see in some traditional
“blind spots,” it is the driver’s sole responsibility to avoid vehicular contact with any objects, animals, or persons. This
responsibility does not shift away from the driver whether or not the QuickVu™camera operates as intended or
expected.
By mounting and/or using the QuickVu™Wireless Backup Camera, you agree that you are solely responsible for the
operation of your vehicle and that Trail Ridge Technologies, LLC is not responsible for any property damage, personal
injury, or loss of life that may result from the operation of your vehicle.
The QuickVu™Wireless Backup Camera is not suitable for all vehicles. It is primarily intended for cars and small trucks.
It may not be appropriate for use on large trucks or RVs. In some cases, the camera may not provide good visibility even
on smaller vehicles. It is the responsibility of the user to ensure that the camera system works properly on the vehicle.
If the camera system does not work properly, return the product within 15 days to the seller for immediate refund.
Laws and regulations vary from state to state and from jurisdiction to jurisdiction. It is the users’ responsibility to ensure
that the installation and use QuickVu™Wireless Backup Camera does not violate local laws and regulations. Some
things to consider include the following.
Many local jurisdictions require adequate illumination (lighting) of the license plate at night. If regular
installation of the QuickVu™camera would block light from reaching the license plate, you may be in violation of
such requirements. In such cases, it is your responsibility to mount the camera in an alternate manner.
Some jurisdictions regulate how and where video systems may be mounted in a vehicle. In particular, it is
important that drivers not be distracted by video programs, games, or other distractions. It is your responsibility
to comply with all applicable laws and regulations.
It is your responsibility to be sure that the QuickVu™camera does not obscure the important information on the
license plate. If regular installation of the QuickVu™camera would obscure the license plate, you may be in
violation of laws and regulations. In such cases, it is your responsibility to mount the camera in an alternate
manner.
There may be other laws or regulations that apply in your local area. It is your responsibility to comply with
them. Trail Ridge Technologies, LLC will not be held liable for any penalties incurred by installation or usage of
products in conflict with laws or regulations.
If you determine that use of the QuickVu™Wireless Backup Camera does not comply with your local laws and
regulations, return the camera system within 15 days for a refund.
OpenRoadTM is a trademark of Trail Ridge Technologies, LLC of Fort Collins, CO.
This manual suits for next models
1
Table of contents
Popular Automobile Accessories manuals by other brands

Metra Electronics
Metra Electronics 95-8208 installation instructions

Metra Electronics
Metra Electronics 95-7322 installation instructions

mdp
mdp LG159 Assembly instructions

Faria
Faria Fuel Manager owner's manual

Go Rhino
Go Rhino XE Series installation instructions

STO N SHO
STO N SHO SNS 57 Installation procedures


