TrailFX JTSB01 User manual

Visit www.trailfx.com or 1 (866) 638-4870 for Warranty Information / Tech Support / Product Updates.
2021 Keystone Automotive Operations Inc. All Rights Reserved. 08/26/2021-R01 Page-1 of 11
This Complete Soft Top kit is designed to fit on your TJ
Jeep® Wrangler when the hard top or original soft top has
been completely removed. Before beginning your installation
of this product, carefully remove your hard top or current soft
top and soft top hardware.
For a smooth fit and ease of installation, this top should be
installed at temperatures above 72 degrees. Below this
temperature, the fabric may contract an inch or more making
it difficult to install. We highly recommend taking the top out
of the package and letting it sit inside a warm place or direct
sunlight for 1-2 hours before you install the top. When warm,
this top will install quickly.
APPLICATION: 1997 –2006 Jeep Wrangler TJ
Assembly, Installation, Operation and
Maintenance Instructions
Slant Back Soft Top Kit
Part Number:
JTSB01
120 - 180 minutes
Dealer / Installer:
Provide a copy of these instructions to the end user of this product. These instructions
provide important operating and safety information for proper usage of this product.
Demonstrate the proper use of the product with the end user. Have the end user
demonstrate that they understand the proper use of the product.
End User:
Read
and follow all instructions included in this manual. Ask your Dealer / Installer for
assistance if you do not understand the proper use of the product. Never remove any
decals from the product. Failure to follow these instructions can result in injury or death.
WARNING
. Loss of vehicle control involves risk of death or serious injury, particularly to parts of your body not
restrained within vehicle. This product is intended for weather protection only and should not be relied upon to contain
occupants in the event of an accident or to protect from either ground contact or falling objects. To reduce risk of accident
or injury:
•ALWAYS WEAR SEATBELTS
•Always keep head, arms & body parts within vehicle
•Fully secure or stow the soft top before driving according to instructions. Never try to latch or fold soft top while
driving. Do not use if damaged or worn
•Read and follow all instructions & warnings accompanying this product, in your vehicle owner’s manual and Off-Road
Driving Supplement.
•RISK OF EYE INJURY. Safety glasses should be worn at all times while installing or maintaining this product
WARNING
Parts List
Description
Qty
Windshield Header with Top Deck Attached 1
Passenger Side Door Surround 1
Driver Side Door Surround 1
Tailgate Bar with Clips 1
Driver/Passenger Over Door Bows 2
Center Bow 1
Driver Side Quarter Window 1
Passenger Side Quarter Window 1
Rear Window 1
Tools Required
Safety Glasses
Phillips Head Screwdriver
Large Soft Towel
Power Drill
1/8" Drill Bit

Visit www.trailfx.com or 1 (866) 638-4870 for Warranty Information / Tech Support / Product Updates.
2021 Keystone Automotive Operations Inc. All Rights Reserved. 08/26/2021-R01 Page-2 of 11
INSTALLATION PROCEDURE:
Step 1: Windshield Header/Over Door Bow Installation
Put on safety glasses. After removing all existing soft top or hard top hardware/fabric/top, locate the
Header/Top Deck assembly shown in (Fig 1) and lay the assembly on either the box lid or a soft towel.
Locate the two over door bows shown in (Fig 2). These bows have the quick release knuckles pre-
installed on the rear of the bow ends and have the set screw installed on the other end of the bow. The
“knob” on the bow end must be facing inward on the header/top deck assembly and the slot of the quick
release must be facing up as shown in (Fig 3). Remove the set screw. Slip the front bow end into the
Header mount as shown in (Fig’s 4 & 5) making sure it is as far forward as possible. Using a 1/8” drill bit
and drill, drill a pilot hole through the pre-drilled hole located on the over door tube (Fig 6). Repeat this on
the opposite side (Fig 7). Remove the Bow end from the Header and again using the 1/8" drill bit, drill a
hole through the previous drilled pilot holes into the inner steel rod of the header until you feel the drill go
through the steel inner. This may take some force. Once the hole is drilled, locate the self-tapping screw
from the hardware kit and using a Phillips head screwdriver, install the over door bow to the Header (Fig
8). Repeat this on the other side of the header so you have both side tubes installed to the header/top
deck assembly. Set this completed assembly aside.
Knob facing inward with
the slot in the quick
release facing straight up
Keep Fingers clear of
drill when drilling (Fig 6 & 7)
Fig 1 Fig 2 Fig 3
Fig 4 Fig 5 Fig 6
Fig 7 Fig 8

Visit www.trailfx.com or 1 (866) 638-4870 for Warranty Information / Tech Support / Product Updates.
2021 Keystone Automotive Operations Inc. All Rights Reserved. 08/26/2021-R01 Page-3 of 11
Step 2: Install Door Surrounds to Vehicle
Locate the (2) Door Surround assemblies and (4) door surround knobs shown in (Fig 9). Starting on the
Driver’s side, if you have the rubber seal shown in (Fig 10) this seal must be removed. Once the seal is
removed, insert the bottom of the door surround into the hole located just behind the front door (Fig’s 10 &
11). Locate the “C” clamps on the upper horizontal over door section and line them up with the holes in
the horizontal tubes of the roll bar. Press the “C” clamps onto the horizontal tubes and the front portion of
the door surrounds forward into the rubber gasket on the windshield (Fig’s 12 & 13). With the door open,
stand on the door sill and locate the two “C” clamp holes. Screw in a Door surround knob into each “C”
clamp into the horizontal tube of the roll bar (Fig 14).
Step 3: Installing the Header and Top Deck Assemblies to the Door Surrounds
Locate the Header and Top Deck assembly completed in step one. With the help of a friend, place the header/Deck
assembly on the vehicle locating the front header on the top of the windshield and the rest of the fabric spread back
on the rear of the vehicle (Fig 15). Under the fabric, locate the over door bow installed in step one and place the
quick release end in the top-front hole of the pre-installed bow mount bracket pulling the knob out until you hear a
“click” (Fig’s 16, 17, 18 & 19). Repeat this on the opposite side of the vehicle and fold back the front portion of the
top as shown in FIG 20.
Fig 9 Fig 10 Fig 11
Fig 12 Fig 13 Fig 14
Fig 15 Fig 16 Fig 17

Visit www.trailfx.com or 1 (866) 638-4870 for Warranty Information / Tech Support / Product Updates.
2021 Keystone Automotive Operations Inc. All Rights Reserved. 08/26/2021-R01 Page-4 of 11
Step 3 Continued: Installing the Header and Top Deck Assemblies to the Door Surrounds
Step 4: Installing the Center Bow to the Door Surrounds
Locate the Center Bow assembly with the pre-installed quick release knuckles on the ends. With the top
folded back as shown in (Fig 20), locate the bottom rear-most bracket hole (Fig 21) and slip the rear bow
through the webbing strap loop located on corner of the top deck (Fig 22). Place the Quick Release knob
into the hole on the rear of the bow mount bracket (Knob facing out) pull the knob out and down over the
bracket until you hear a “click” (Fig’s 23 & 24). Repeat this procedure (including the placement of the bow
through the in-stalled webbing strap loop) on the opposite side of the vehicle completing the installation of
the center bow to the door surrounds. Note that the center bow will be attached to the soft top, but the
images above show the bow separate from the fabric for illustration purposes).
Step 5: Installing the Top Deck to the Jeep®
With the over door bows installed in the bow mount brackets, fold the top and header forward so it rests
on the windshield (Fig 25).
Un-clip the sun visors and pull the top down to engage the header clamps on each side of the windshield
and secure the Header to the windshield (Fig’s 26, 27 & 28).
Fig 18 Fig 19 Fig 20
Fig 21 Fig 22 Fig 23 Fig 24
Fig 25 Fig 26 Fig 27 Fig 28

Visit www.trailfx.com or 1 (866) 638-4870 for Warranty Information / Tech Support / Product Updates.
2021 Keystone Automotive Operations Inc. All Rights Reserved. 08/26/2021-R01 Page-5 of 11
Step 5 Continued: Installing the Top Deck to the Jeep®
Once the front header is secured, go to the rear corner of the Top deck and locate the rear corner straps.
Thread the straps down and under the seat belt mount as shown in (Fig’s 29 & 30) and thread the strap
through the buckle (Fig 31). Repeat this on the other side of the vehicle and while pulling towards the rear
of the vehicle, tighten one strap and then the other side strap tightening up the top deck. Do not tighten
completely (Fig 32).
IMPORTANT: The top deck MUST be centered on the rear of the vehicle for the windows to fit properly.
When tightening the rear straps notice the location of the rear bar sewn into the pocket on the top deck. It
needs to be centered on the rear roll bar legs. Once the rear straps are secure (but not tightened all the
way), go inside the Jeep and make sure the center bow flap is wrapped around and secured to the center
bow (Fig’s 33 & 34). Also, double check to make sure the safety strap shown in (Fig 22) (Step 3) is looped
around the center bow.
Step 6: Installing the Rear Tailgate Bar Brackets
Locate the Tailgate bar and Tailgate bar brackets as shown in (Fig 34).
If the vehicle has previously had a tailgate bar bracket (Soft Top Vehicles): Place the Tailgate Bar Bracket
on the outside of the tailgate opening lining up each hole (from previous Tailgate brackets) with the
existing holes already drilled in the tailgate (Fig’s 35 & 36). Hand tighten all provided #8 x 1/2" Pan Head
washer screws into place holding the Tailgate bracket in place. Repeat on other side of Tailgate opening.
Using a Phillips head screwdriver, tighten all four screws securing the tail-gate bar bracket to the vehicle.
Do not use a drill or screw gun to tighten. Doing so may over tighten the screws causing damage to your
vehicle (Fig’s 37, 38 & 39).
If the vehicle has not had a tailgate bar bracket on it before: Line up the driver’s side Tailgate Bar Bracket
with the inside of the tailgate opening as shown in (Fig 36). Use the retainers as a template to mark and
drill two 1/8” holes. Using a Phillips head screwdriver, tighten each screw until the Tailgate bar bracket is
secure. Do not use a drill or screw gun to tighten.
Doing so may over tighten the screws causing damage to your vehicle (Fig’s 38 & 39). Repeat on
Passenger side.
Fig 29 Fig 30 Fig 31
Fig 32 Fig 33 Fig 34

Visit www.trailfx.com or 1 (866) 638-4870 for Warranty Information / Tech Support / Product Updates.
2021 Keystone Automotive Operations Inc. All Rights Reserved. 08/26/2021-R01 Page-6 of 11
Step 6 Continued: Installing the Rear Tailgate Bar Brackets
Step 7: Installing the Side Quarter and Rear Windows
To ensure the top is centered on the vehicle you will be installing the two quarter windows and the rear
window to the top deck and to each other before securing it to the vehicle body. NOTE: To make this as
easy as possible, you may have to release the front windshield header (release but not un-hook) and
loosen the rear corner straps installed in step 5. This will allow you to line up all window zippers and
attachments. The rear corner straps and header must be re-tightened/clamped before using the top.
Locate the drivers rear quarter window. Line up and slide the rear quarter window into the “C” Channel as
shown in (Fig’s 41, 42, 43 & 44). Repeat this on the passenger side of the vehicle. Locate the rear window
and line up and slide the rear window into the “C” Channel located at the top of the rear portion of the top
deck (Fig’s 45, 46 & 47). Once both quarter windows are secured to the top deck, line up the driver’s side
rear zipper on the quarter window and on the rear window and zip it down a few inches (Fig 48). Repeat
this on the passenger side of the rear window. You may have to lift the quarter window up to secure this
second zipper. Once both side zippers are secure, zip the rear window zippers down about halfway (Fig
49). You will close these zippers completely at the end of step 10.
Fig 35 Fig 36 Fig 37
Fig 38 Fig 39 Fig 40
Fig 41 Fig 42 Fig 43
IMPORTANT NOTE: When removing the quarter and rear windows from the Top deck be sure to
slide them out completely before pulling down. Dis-engage the side hook and loop before
sliding the windows out. DO NOT “Peel” the windows out! Failure to completely disengage the
windows from the “C” Channel will damage the Top and quarter window!

Visit www.trailfx.com or 1 (866) 638-4870 for Warranty Information / Tech Support / Product Updates.
2021 Keystone Automotive Operations Inc. All Rights Reserved. 08/26/2021-R01 Page-7 of 11
Step 7 Continued: Installing the Side Quarter and Rear Windows
Step 8: Installing the Top to the Vehicle
Starting at the driver’s side front, right behind the front seat, attach the front vertical belt rail into the door
surround slot by “rolling the plastic into the slot (Fig’s 50 & 51). Once secure move to the rear driver’s side
corner and “roll” the plastic into the Jeep body corner belt rail as shown in (Fig’s 52 & 53). Repeat this
procedure on the passenger side.
Once both corners are secured, “roll” the plastic on the bottom of the quarter windows into the body belt
rail as shown in (Fig’s 54 & 55). NOTE: as shown in (Fig’s 56 & 57) there is a web loop installed on the
side of the quarter window. This is to be used for unhooking the quarter window only and is not designed
to be pulled down on for installation! Repeat the quarter window install on the passenger side of the
vehicle. You may have to pull the corners around towards the front or back of the vehicle to center the top
on the vehicle.
Once all body belt rail attachments are secure and the top is centered, you can now reach through the
rear zipper on each side and tighten the corner straps. Alternate tightening to keep the top centered. Seal
hook and loop around windows.
Fig 44 Fig 45 Fig 46
Fig 47 Fig 48 Fig 49
Fig 50 Fig 51 Fig 52 Fig 53

Visit www.trailfx.com or 1 (866) 638-4870 for Warranty Information / Tech Support / Product Updates.
2021 Keystone Automotive Operations Inc. All Rights Reserved. 08/26/2021-R01 Page-8 of 11
Step 8 Continued: Installing the Top to the Vehicle
Step 9: Secure the Over Door Attachments
Locate the two plastic strips sewn to the sides of the top above each door (Fig 58). Starting with the front
strips, slip the strips into the channel in the door surround above the door opening (Fig’s 59 & 60). Secure
the strips on each side of the vehicle. When complete each side should look like (Fig 61).
Step 10: Installing the Tailgate Bar to the Rear Curtain/Vehicle
Slide the ”C” shaped channel onto the tube sewn into the rear window with the round seal down. See (Fig
62) for correct alignment.
Slide the tailgate bar all the way across the rear curtain. Open the rear tailgate.As shown in (Fig 63),
insert/roll the tailgate bar into the mounts on each side of the tailgate with the vinyl side of the rear curtain
facing the rear of the vehicle. Once the Tailgate bar in secure, lower zippers on both sides of the rear
curtain (Fig 64) and then secure the rear zipper cover flap as shown in (Fig 65).
Fig 54 Fig 55 Fig 56 Fig 57
Fig 58 Fig 59 Fig 60 Fig 61
Fig 62 Fig 63
Fig 64 Fig 65

Visit www.trailfx.com or 1 (866) 638-4870 for Warranty Information / Tech Support / Product Updates.
2021 Keystone Automotive Operations Inc. All Rights Reserved. 08/26/2021-R01 Page-9 of 11
Step 11: Soft Top Header Alignment
The TrailFX Slant Top has been engineered to the exact original factory windshield measurements. In rare
cases, this measurement may vary slightly from vehicle to vehicle due to prolonged use of the vehicle,
worn seals or other factors. To make sure your windshield header is sealed properly on the windshield,
please see (Fig’s 66 & 67) which show the proper location of the front header on the windshield when the
front header is clamped down and the over door bows are attached to the bow brackets. If your windshield
header seals are as shown in these pictures, you are all ready to go and no further adjustments are
necessary. If the header “overhangs” the windshield or exposes the inside windshield seal, the header on
your vehicle is not sealed correctly and you will get air and potentially water leaks. Please see the next
page for corrective actions if needed.
Corrective Action (If needed) on front Header Adjustments: If your windshield header is over-hanging
or seems “short” on the windshield, you will need to slightly relocate the quick release knobs on the over
door bows forwards or backwards. This slight change will move the entire header forward (for “short” mis-
location) or backward (For Header “over-hang”). Locate the over door quick release knob shown in (Fig
68). Remove the screw holding the knob on the tube using a Philips head screwdriver and move the quick
release Knob forward or backward (Backward for over-hang, forward for short) about ¼” or less making
sure the slot on the quick release knob is facing up (Fig 69) and the knob itself is facing inwards. Using a
3/32” drill bit, drill a new pilot hole and attach the screw you just removed in the new hole. Repeat on the
opposite side. This “fine tuning” will make your MasterTop top air and watertight.
Knob facing inward with
the slot in the quick
release facing straight up
Fig 66 Fig 67
Fig 68 Fig 69

Visit www.trailfx.com or 1 (866) 638-4870 for Warranty Information / Tech Support / Product Updates.
2021 Keystone Automotive Operations Inc. All Rights Reserved. 08/26/2021-R01 Page-10 of 11
PRODUCT CARE
Washing: The fabric should be washed often using soap, warm water and a soft bristle brush. Rinse with
clear water to remove all traces of soap. Never Wipe the soft top glass with a dry cloth. Always use a
clean, wet soft cloth to clean soft top windows
Normal Slider: Jaws Parallel Damaged Slider: Jaws Spread Use pliers to Squeeze back to Parallel
Zippers: Keeping the zipper cleaned and lubricated with a silicone lubricant will help prevent damage and
keep the zippers in a smooth working condition. If a zipper opens behind the slider, the slider may have
been spread apart. This problem can usually be repaired by using an ordinary pair of pliers to bring the
sides back into parallel. Return slider to the end of the zipper in the normal Open position. Squeeze lightly
at first and test the zipper. If the zipper continues to remain open squeeze more firm with the pliers and try
the zipper again. Repeat this procedure until the zipper operates correctly.
Snaps: Keep snaps cleaned and lubricated with silicone to help prevent snaps from sticking to the studs.
If a snap does become stuck to a stud, use a screwdriver and GENTLY pry apart to prevent permanent
damage to the snap or the top fabric.

Visit www.trailfx.com or 1 (866) 638-4870 for Warranty Information / Tech Support / Product Updates.
2021 Keystone Automotive Operations Inc. All Rights Reserved. 08/26/2021-R01 Page-11 of 11
Warranty Terms
3 Year Limited Warranty:
TrailFX and KeystoneAutomotive Operations Inc. (KAO) make no guarantees or warranties for products
not manufactured by Keystone Automotive Operations Inc. Such products are covered solely under any
applicable warranty of the manufacturer. It is always recommended that the operating instructions and
warranty instructions provided by the manufacturer are followed.
TrailFX/KAO warrants its products to be free from manufacturing and material defects to the original
purchaser for the length of warranty stated above from the date of retail purchase. If any products are
found to have a manufacturing or material defect, the product will be replaced or repaired at the option of
TrailFX and KeystoneAutomotive Operations Inc. with proof of purchase by the original purchaser. The
original purchaser shall pay all transportation and shipping costs associated with the return of the
defective product and the defective product shall become the property of Keystone Automotive Operations
Inc.
The Warranty applies to TrailFX/KAO products used for individual and recreational purposes. Commercial
usage of the KeystoneAutomotive Operations Inc. products limits the warranty to 90-days from date of
purchase.
The Warranty applies only to TrailFX/KAO products which are found to be defective in manufacturing or
material. This warranty does not apply to normal wear and tear of the finish placed on Keystone
Automotive Operations Inc. products.
TrailFX/KAO are not responsible for any labor costs incurred for removal or replacement of the defective
product.
TrailFX/KAO are not responsible for repair or replacement of any product under the limited warranty
where the product was improperly installed, misapplied, altered, abused, neglected, overloaded, misused
or damaged as a result of an accident, including any use of the product not in accordance with all product
operating and safety instructions.
Without limiting the generality of the foregoing, TrailFX/KAO shall under no circumstances be liable for
any incidental or consequential loss or damage whatsoever arising out of, or in any way relating to any
such breach of warranty or claimed defect in, or non-performance of the products. Some states do not
allow the exclusion or limitation of incidental or consequential damages, so the above exclusion or
limitation may not apply to you.
This limited warranty gives you specific legal rights, and you may also have other rights that vary from
state to state.
Table of contents
Other TrailFX Automobile Accessories manuals
TrailFX
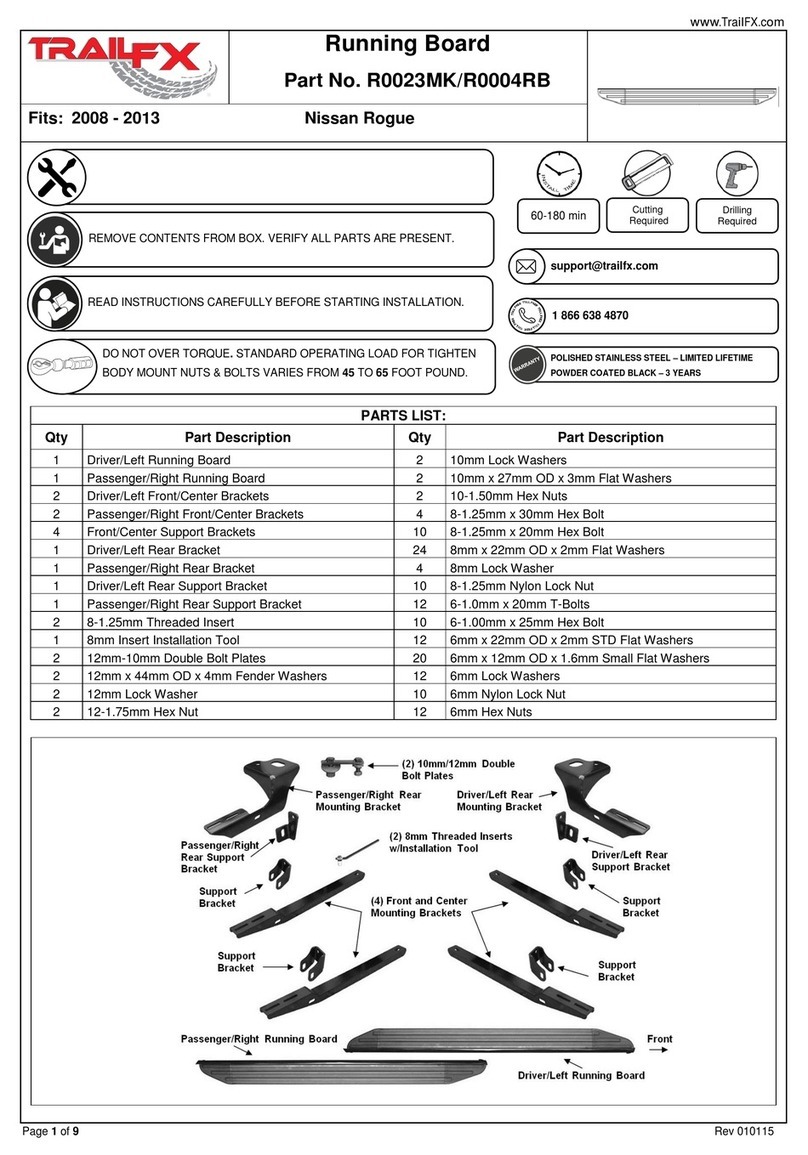
TrailFX FX1009 User manual
TrailFX
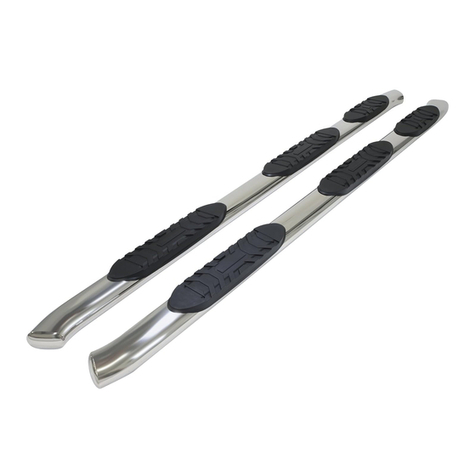
TrailFX R0023MK User manual
TrailFX
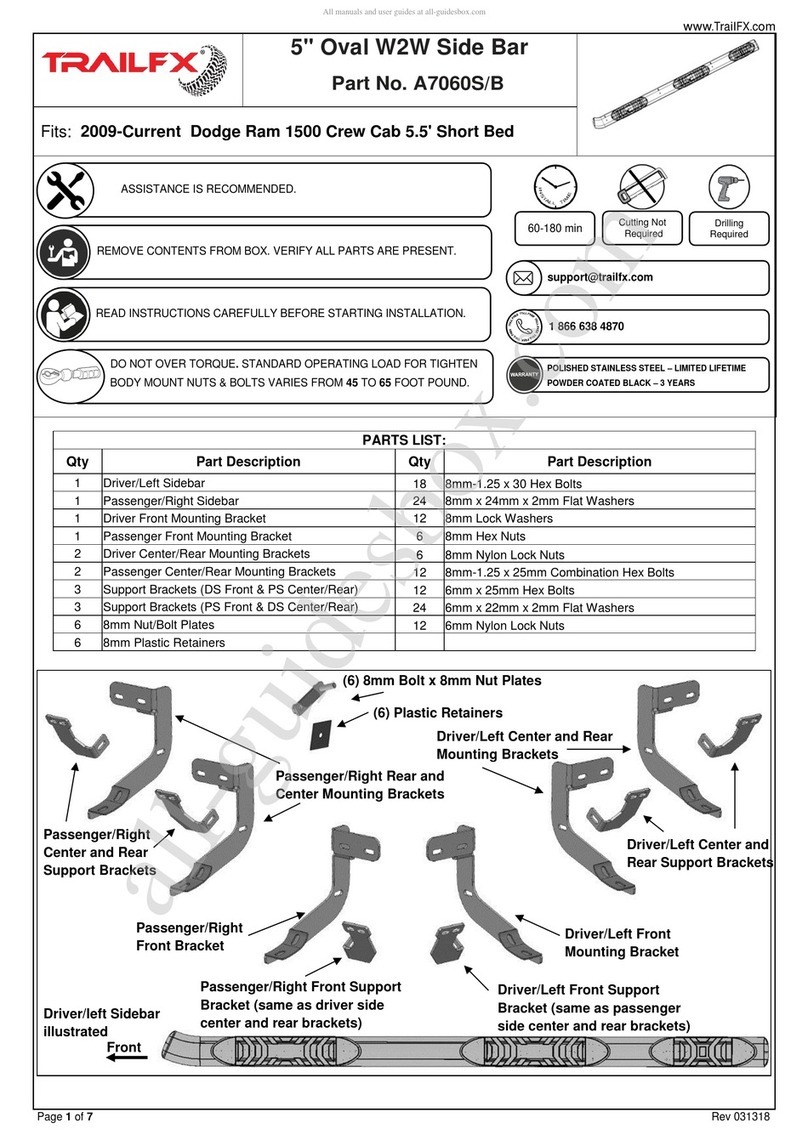
TrailFX A7060S User manual
TrailFX
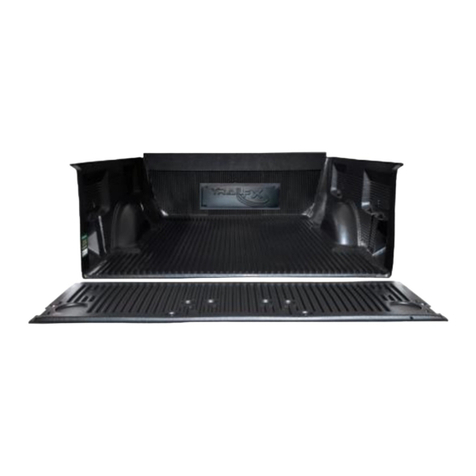
TrailFX TG60X User manual
TrailFX
TrailFX A7060S/B User manual
TrailFX
TrailFX 23004X User manual
TrailFX
TrailFX A8245S/B User manual
TrailFX
TrailFX TFX5522 User manual
TrailFX
TrailFX A7099S User manual
TrailFX
TrailFX A7001S User manual
TrailFX
TrailFX A4004S User manual
TrailFX
TrailFX J026T User manual
TrailFX
TrailFX J042T User manual
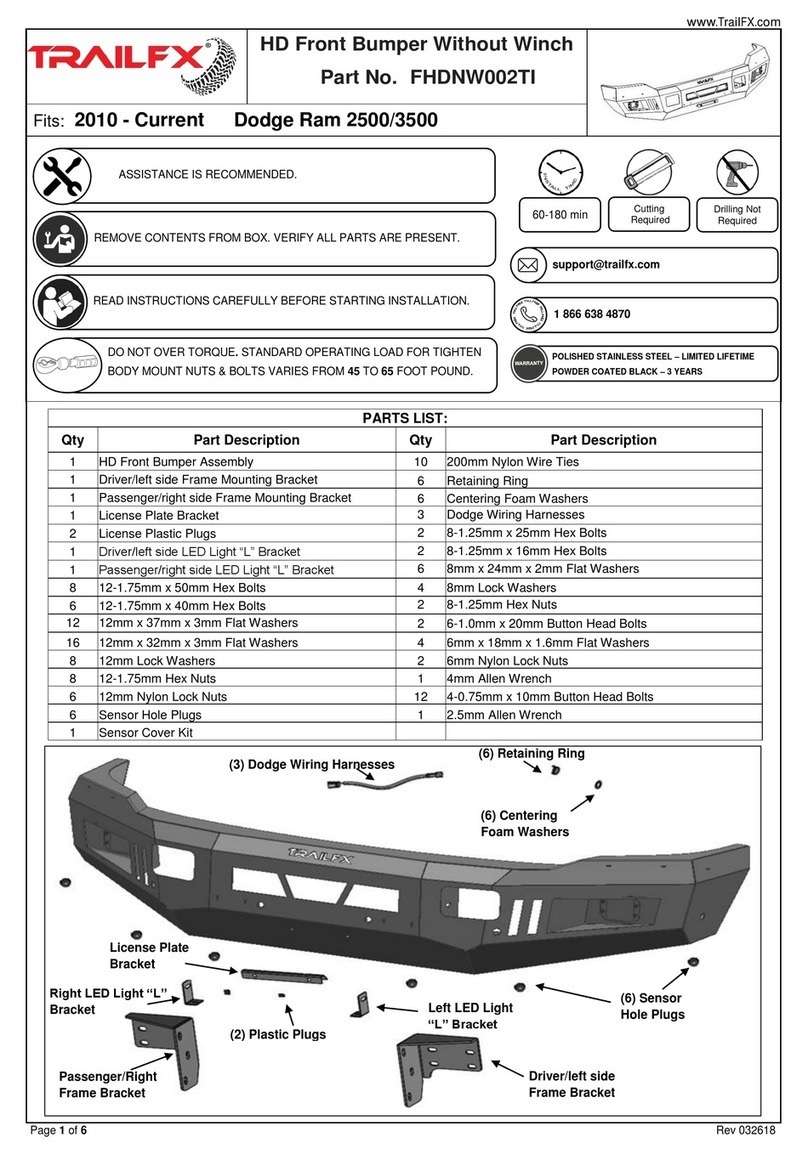
TrailFX
TrailFX FHDNW002TI User manual
TrailFX
TrailFX FX3018 User manual
TrailFX
TrailFX J048T User manual
TrailFX
TrailFX A7024S User manual

TrailFX
TrailFX 160481S User manual
TrailFX
TrailFX A7056S/B User manual
TrailFX
TrailFX JL05RF User manual
