manuals.online logo
Brands
  1. Home
  2. •
  3. Brands
  4. •
  5. TrailFX
  6. •
  7. Automobile Accessories
  8. •
  9. TrailFX J048T User manual

TrailFX J048T User manual

www
.
T
r
a
il
F
X
.
c
o
m
Page 1of 4 Rev122716
REMOVE CONTENTS FROM BOX. VERIFY ALL PARTS ARE PRESENT.
READ INSTRUCTIONS CAREFULLY BEFORE STARTING INSTALLATION.
DO NOT OVER TORQUE.
STANDARD OPERATING LOAD FOR TIGHTEN
60-180 min
support@trailfx.com
1 866 638 4870
POLISHED STAINLESS STEEL –LIMITED LIFETIME
Cutting Not
Required
PARTS LIST:
Qty
Part Description
Qty
Part Description
Headlight Guards
Complete Light Guards Installation: If you plan on installing our complete set of front Light Guards (Headlights, Turn Signals, Fog
Lamps) all at once, we recommend doing it in the following order:
Caution: Rear All Safety Messages And Understand All Instructions Before Attempting To Install This Product. Always Wear
Safety Glasses During Install.
`
Jeep Fog Light Guards
Part No. J048T
Fits:
2007-2016
Jeep Wrangler JK
Drilling Not
Required
www
.
T
r
a
il
F
X
.
c
o
m
Page 2of 4 Rev122716
1. Put on safety glasses. For easy access to the Fog Light housings, remove the factory plastic air dam. Start by unscrew-ing the
plastic phillips head screws and removing plastic rivets. These are located on the underside of bumper and backside of
cross member as shown in figures 1 & 2. Remove air dam and save all screws & rivets for reinstallation.
2. Removing the Fog Light: Starting with the Driver’s Side, Locate the back of the driver side Fog light by looking under your
vehicle on the back of the bumper (Fig 3). On the back of the Fog lamp housing are four (4)Phillips head screws that secure
the housing to the bumper.
3. From under the vehicle, remove these screws using a Phillips head screwdriver (fig 3) and set them aside in a safe place for
re-installation.
4. Place/install the enclosed O-Rings on the outside of the Fog Light Guard as shown in Fig 4. The O-Ring should be on the face
of the Euro Guard that will be in contact with the bumper housing.
www
.
T
r
a
il
F
X
.
c
o
m
Page 3of 4 Rev122716
5. From under the vehicle, place the driver’s side Fog Light Guard into the Fog lamp opening on the back side of the bumper.
The Bars on the Fog Light Guard should be in the vertical position (Fig 5).
6. A helper can be handy to hold the Fog Light Guard in place (Fig 7), Carefully re-install the Fog Lamp housing into the
bumper using the original Phillips head screws. Snug the screws (Fig 8) and the Fog Light Guard will be held in position
be-tween the light housing and the bumper itself. With driver side now complete, please repeat all steps for the passenger
side Fog Light Guard.
Caution:
At this point the Fog Light Guards are installed. After installing any other nearby Light-Guards, re-install the Plastic factory Air
Dam.
Care and Maintenance: Your Light-Guards have been designed and manufactured to provide years of use. However, like any
product general maintenance is required to keep them looking new. Since the Light-Guard is located on the front of the vehicle,
it is subject to potential rock chips and other debris potentially causing portions of the paint to chip off.
For Textured Finish Light-Guards: We recommend using a textured spray paint sprayed on a piece of cardboard and Q-Tip to
gently fill in these chips. This will prevent any rust from forming.
www
.
T
r
a
il
F
X
.
c
o
m
Page 4of 4 Rev122716
1. Hardware’s are not of correct size.
In GMC / Chevrolet truck model 2006 & up, customer needs to reuse the factory body bolts to install the bracket. If your vehicle is not GMC
/ Chevrolet 2006 & up, ensure that holes are not partially covered with any plastic grommet or rust? If it is, remove the plastic grommet &
rust from the thread holes & re-try the installation.
2. Mounting Bracket are not getting Installed properly.
In some cases Illustration images shown in Installation manual may not be the exactly same as per actual vehicle images ,also if Driver /
Passenger side mounting brackets are very identical in the design, suggest referring Parts Identification guide to avoid fitment issue.
3. Products are thumping / rattling after installation.
Ensure that all required mounting brackets / hardware’s are installed & tighten correctly. Suggest using white lithium / regular grease
between the metal to metal contact surfaces.
4. Side Bar is not aligning with vehicle / Step Pads are not aligning with vehicle doors.
Side bar may be interchanged or mounting brackets are not installed at the correct position in the vehicle. Refer Parts identification guide.
5. Missing / Excess Hardware.
Recheck hardware count as per the part list.
6. Product not installing properly.
Ensure make model year, cab length and bed size of your vehicle is listed in the application. All installation steps are followed correctly.
Periodically check the product to ensure all fasteners are tight and components are intact.
Regular waxing is recommended to protect the finish of the product.
Use ONLY Non-Abrasive automotive wax. Use of any soap, polish or wax that contains an abrasive is detrimental and can scratch the
finish leading to corrosion.
Keystone Automotive Operations Inc. (KAO) warrants this product to be free of defects in material and workmanship at the time of purchase by the
original retail consumer. KAO disclaims any other warranties, express or implied, including the warranty of fitness for a particular purpose or an
intended use. If the product is found to be defective, KAO may replace or repair the product at our option, when the product is returned prepaid, with
proof of purchase. Alteration to, improper installation, or misuse of this product voids the warranty. KAO’s liability is limited to repair or replacement
of products found to be defective, and specifically excludes liability for any incidental or consequential loss or damage.

Other TrailFX Automobile Accessories manuals
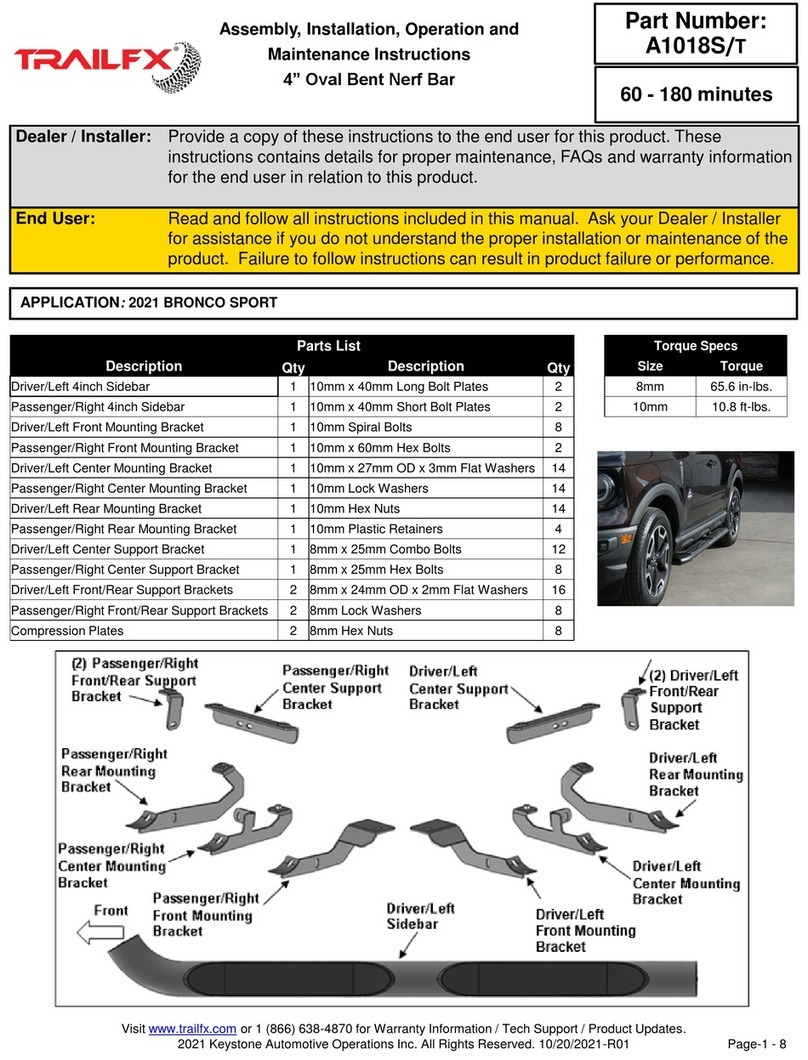
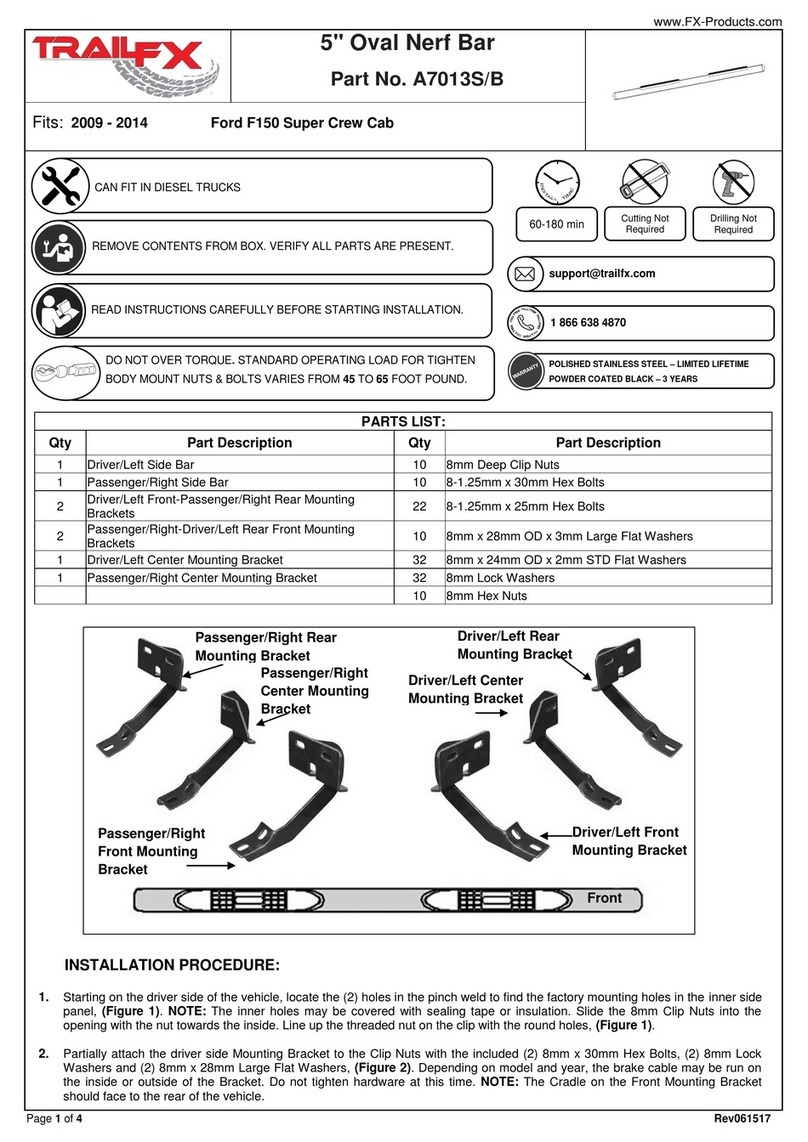
TrailFX FX3004 User manual

TrailFX

TrailFX FX3004 User manual

TrailFX A7100S/T User manual

TrailFX

TrailFX A7100S/T User manual

TrailFX A1545S User manual

TrailFX

TrailFX A1545S User manual

TrailFX 150361 User manual

TrailFX

TrailFX 150361 User manual

TrailFX J043T User manual

TrailFX

TrailFX J043T User manual

TrailFX A7059S User manual

TrailFX

TrailFX A7059S User manual

TrailFX TFX5521 User manual

TrailFX

TrailFX TFX5521 User manual

TrailFX A7099S User manual

TrailFX

TrailFX A7099S User manual
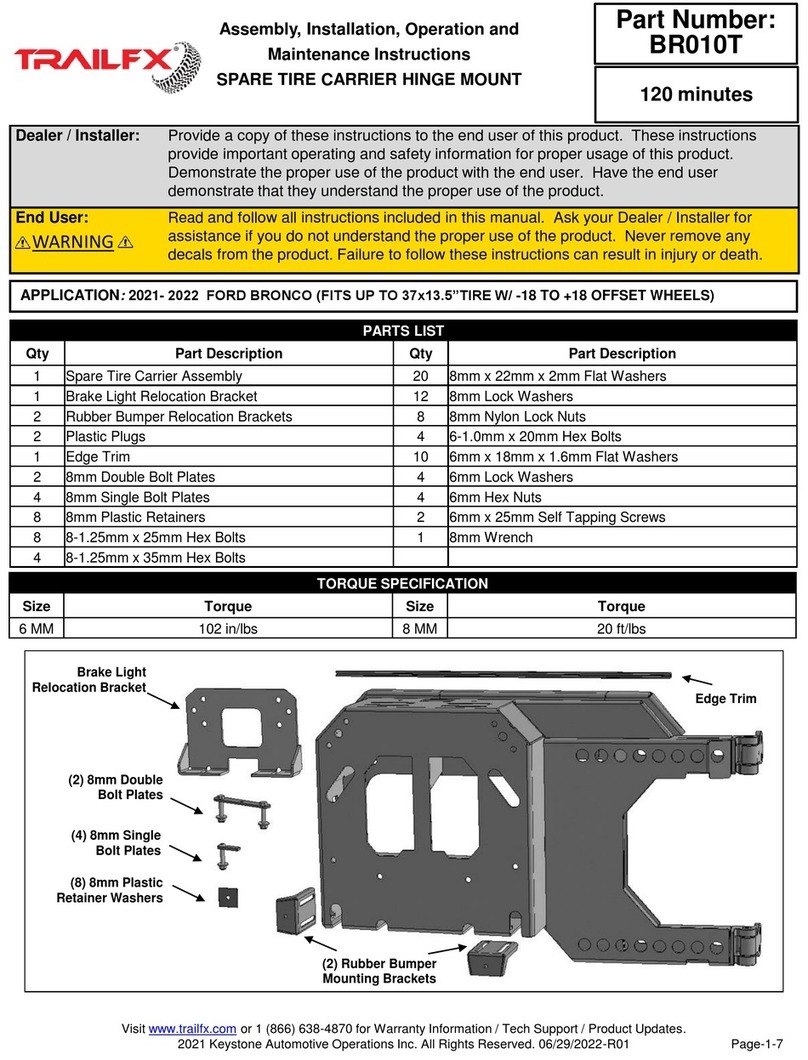
TrailFX J044T User manual

TrailFX

TrailFX J044T User manual

TrailFX A5006S User manual

TrailFX

TrailFX A5006S User manual

TrailFX FX3017 User manual

TrailFX

TrailFX FX3017 User manual

TrailFX R0023MK User manual

TrailFX

TrailFX R0023MK User manual

TrailFX 2123131 Instruction manual

TrailFX

TrailFX 2123131 Instruction manual

TrailFX 22106ZX User manual

TrailFX

TrailFX 22106ZX User manual

TrailFX A0031S/B User manual

TrailFX

TrailFX A0031S/B User manual

TrailFX A7001S User manual

TrailFX

TrailFX A7001S User manual

TrailFX A1543S User manual

TrailFX

TrailFX A1543S User manual

TrailFX JL05RF User manual

TrailFX

TrailFX JL05RF User manual
TrailFX J042T User manual

TrailFX

TrailFX J042T User manual

TrailFX FCLR006W User manual

TrailFX

TrailFX FCLR006W User manual

TrailFX A1006S/B User manual

TrailFX

TrailFX A1006S/B User manual

TrailFX ARBV007B User manual

TrailFX

TrailFX ARBV007B User manual

TrailFX TG60X User manual

TrailFX

TrailFX TG60X User manual

TrailFX A8245S/B User manual

TrailFX

TrailFX A8245S/B User manual

Popular Automobile Accessories manuals by other brands
Menabo JUZA Fitting instructions

Menabo

Menabo JUZA Fitting instructions

Well VOYAGER user manual

Well

Well VOYAGER user manual

Menabo MARIUS TYPHOON Fitting instructions

Menabo

Menabo MARIUS TYPHOON Fitting instructions

AL-KO Mammut Tandem Translation of the original operating instructions

AL-KO

AL-KO Mammut Tandem Translation of the original operating instructions

Pittman Outdoors PPI-CARMAT owner's manual

Pittman Outdoors

Pittman Outdoors PPI-CARMAT owner's manual

Thule 26 manual

Thule

Thule 26 manual

Rago FABRICATION R2200TTUNBCM installation guide

Rago FABRICATION

Rago FABRICATION R2200TTUNBCM installation guide

BPW AirSave Operating and installation instructions

BPW

BPW AirSave Operating and installation instructions

NavLinkz RL4-LR17 manual

NavLinkz

NavLinkz RL4-LR17 manual

FH Group W-3 installation manual

FH Group

FH Group W-3 installation manual

Brodit 804741 ProClip installation instructions
Brodit

Brodit 804741 ProClip installation instructions

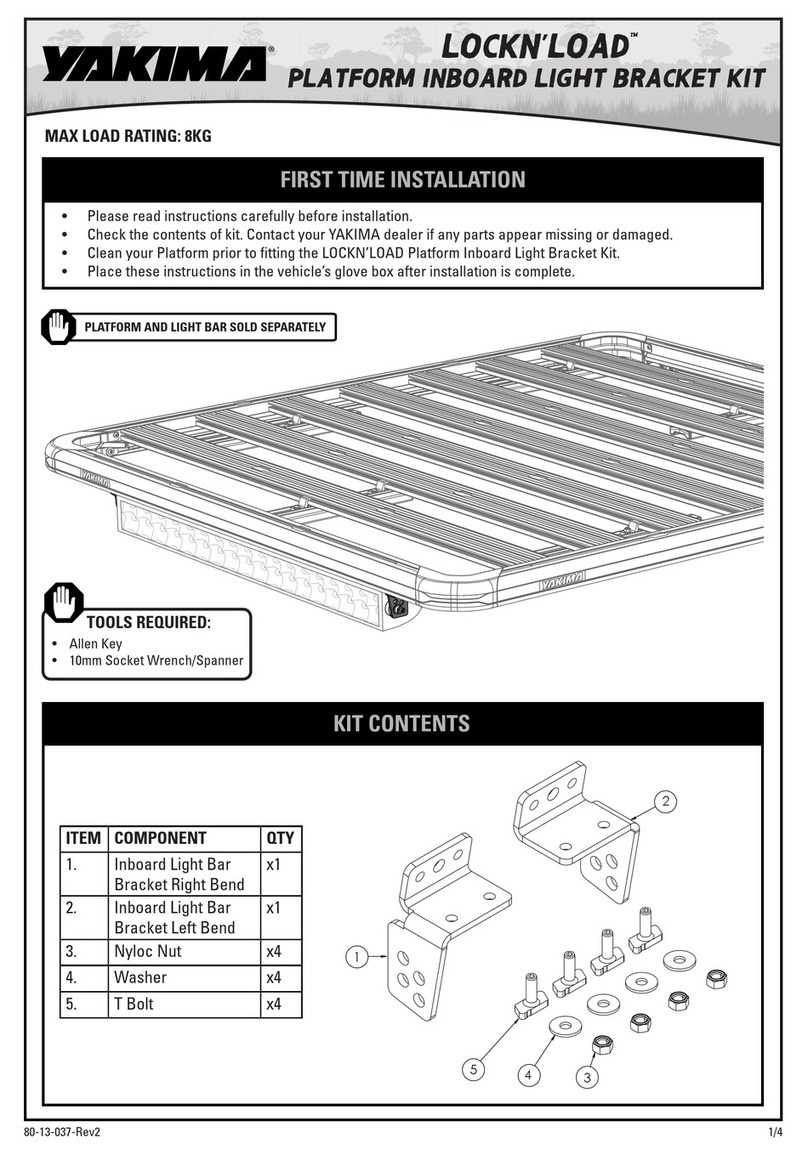
Yakima LOCKN'LOAD instructions

Yakima

Yakima LOCKN'LOAD instructions

Curt Manufacturing 13203 installation instructions

Curt Manufacturing

Curt Manufacturing 13203 installation instructions

Roadstar LCD-8412K Service manual

Roadstar

Roadstar LCD-8412K Service manual

Front Runner FATF006 quick start guide

Front Runner

Front Runner FATF006 quick start guide

Cruz Evo Rack Alu A23-126 Assembly instructions

Cruz

Cruz Evo Rack Alu A23-126 Assembly instructions

TUWA PRO BR47B installation guide

TUWA PRO

TUWA PRO BR47B installation guide

Magnat Audio PRO CHARGER Owner's manual/warranty document

Magnat Audio

Magnat Audio PRO CHARGER Owner's manual/warranty document

manuals.online logo
manuals.online logoBrands
  • About & Mission
  • Contact us
  • Privacy Policy
  • Terms and Conditions

Copyright 2025 Manuals.Online. All Rights Reserved.