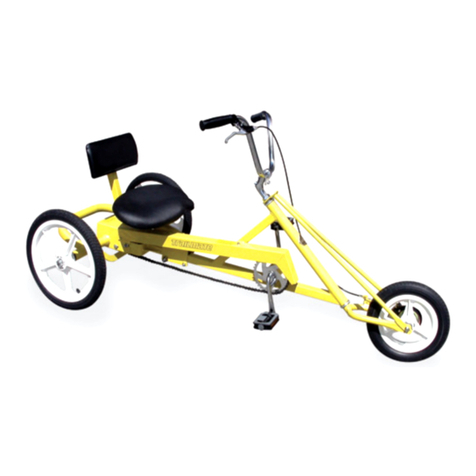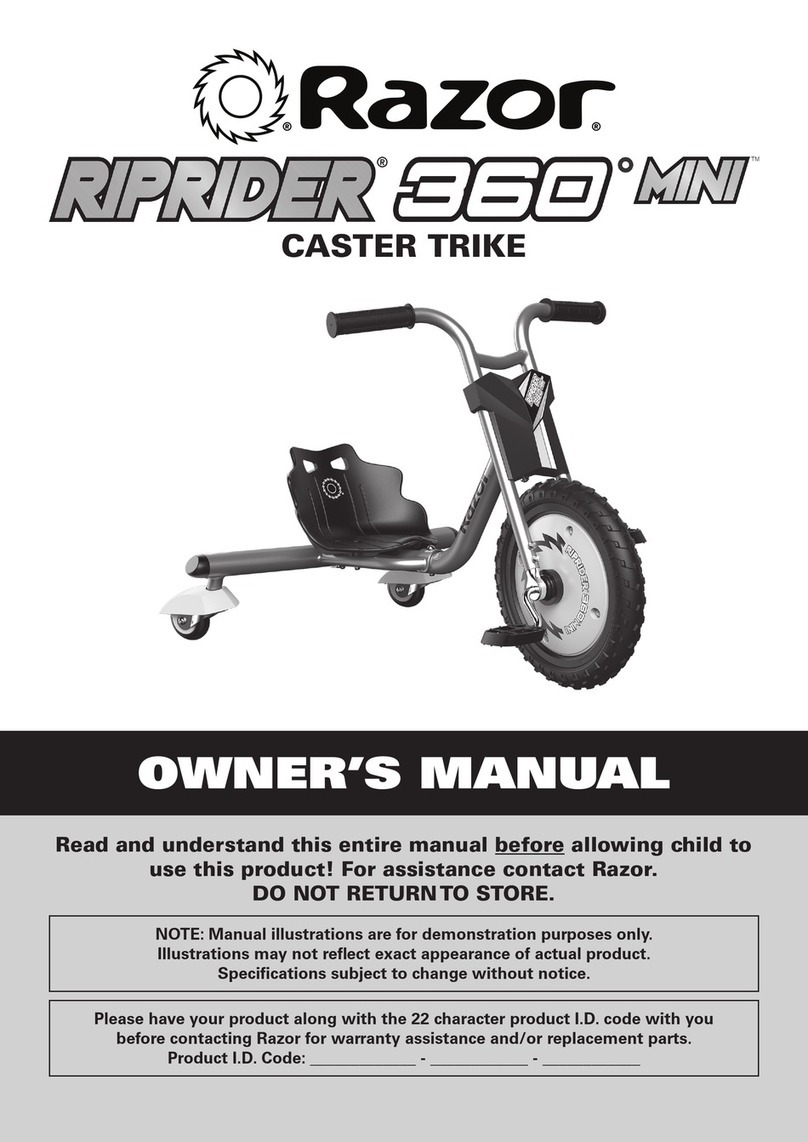
MINI PEEL PART LIST
ITEM
PARTS DESCRIPTION QTY.
ITEM PARTS DESCRIPTION QTY.
NO. NO. NO. NO.
119914 CRANK3-1/2" 117 18175 GRIP HANDLE YLW & BLK 3
211697 CRANK SET COMPLETE 118 12208 SCREW 5/16-18X3/4HHCS 2
311679 CHAIN CONNECTING LINK 119 11065 NUT5/16-18 NYLON INSERT 2
418729 CHAIN/CL M/P 59 PITCH 120 12240 WASHER SPACER 1X41/64X.062 4
511718 DECAL TM HEAD 121 11070 PIN COTTER 3/32X1 2
611934 SPROCKET 36T 122 19153 NUT CB SHIMANO 4
718909 SPROCKET 21T 123 19169 SCREW BRAKE STRAP SHIMANO 1
812102 FLAG SAFETY W/O BRACKET 224 19168 NUT BRAKE STRAP SHIMANO 1
912188 SCREW 10-32X3/8 SLTD HWH 225 12279 CLAMP BRAKE STRAP SHIMANO 1
10 19947 FENDER 12" M/P ASSY 126 19931 SEAT M/P YELLOW 1
11 19953 WHL 12" MAG M/P W/CB & HDW 127 19325 DECAL "DO NOT STAND ON CYCLE" 1
12 19894 WHL 12" MAG REAR 5/8" BORE 228 12236 WASHER 5/16 SAE 2
13 19942 FRAME M/P FRONT ASSY 129 12197 SCREW 1/4-20X1/2 1
14 19943 FRAME M/P REAR ASSY 130 12172 NUT1/4-20 FLANGED 1
15 19948 CHAINGUARD M/P ASSY 131 12260 SPRING AXLE FANCYCLE/B/P 2
16 19915 PEDALS MINI TIKE 132 19962 WHL CAP BLACK PLASTIC 2
MINI PEEL
ASSEMBLY INSTRUCTION
1. Preparation (AIR PUMP, AIR GAUGE)
Remove all parts from the carton. Do not remove protective wrapping until necessary.
Check tire air pressure and inflate to 30 P.S.I. Make sure tires are properly seated on rims.
2. Front and Rear Frame (TWO 1/2” WRENCHS)
Assemble front (13) and rear frame (14) sections together (see illustrated parts breakdown ) Insert bolts (18)
into tabs on frames sections. Secure with washers (28) and lock nuts (19). Tighten nuts so that the frame
sections are securely held together, but not so much to cause binding when pivoted.
3. Rear Wheels (PLIERS)
Slide springs (31) and washers (20) onto ends of rear axle. Slide rear wheels onto rear axle
(flat side inside). NOTE: If wheel does not slide freely onto axle, lightly oil and try again.
Do not force wheel onto axle; this may damage the hub. Secure with washer (20) and cotter pin (21)
(wheel must rotate freely). Install wheel caps (32). Push on the center of cap to lock.
4. Pedals (5/8” or 14mm WRENCH)
Install pedals (16) by threading the pedal marked “R” into the right side of the crank (clockwise) and the
pedal marked “L” into the left side of the crank (counterclockwise). Tighten securely.
5. Seat and Seat Adjustment
Place seat (26) on back rest, with the wide flap at top. Install flaps around front frame and buckle from top to
bottom and side to side (see parts breakdown). Have the rider sit in the seat, adjust tension until comfortable.
6. Final Check
Complete by installing safety flags (8) in the holders. Check frame connections and readjust the seat
as necessary.
