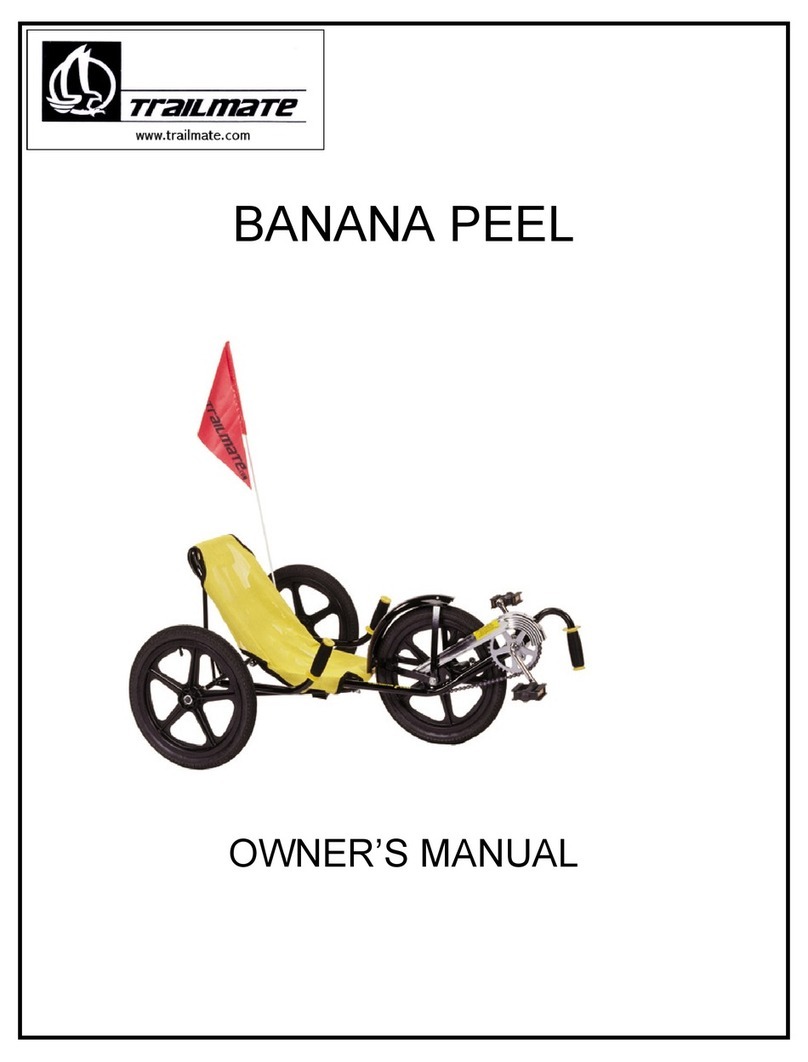
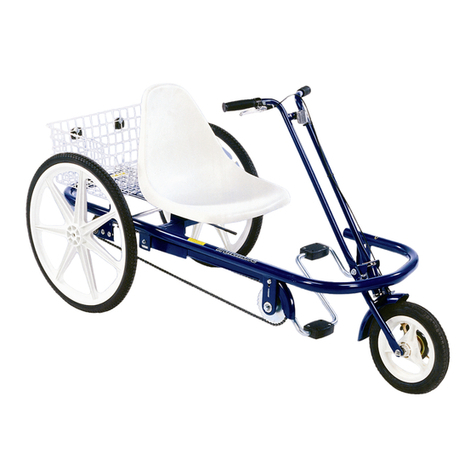
TRAILMATE DOUBLE JOYRIDER User manual

OWNER'S MANUAL
DOUBLE
JOYRIDER

Joy
RIDER
57 48
To eliminate rattling of reflector,
install as indicated below.
COASTER BRAKE
Trailmate
66
69
63
65
61
62
26
46
52
48
50 68
67
64
27 11
39
37
2
44
26
71
57 48
56
59
39
9
40
40
31
15
34
28
6
5
4
11
58
60
25
8
7
7
826
14
20
9
23
21 22
40
70
53
53
70
22
74
73
72
35
35
41
43
10
57 48
56
11
27
28
57
354
55 36
47
55a
49
16
13
57
38
24
42
16
1
55
3
54
16
57
29
17
36
19
49
47
51
38
45
16
1
55
3
54
29 36
49
47
51
45
24
73
57
76
75
76
75
57
55a
55a
60a
58
60
60a
17
33
32
30
17
33
32
30
74
18
18
19
59a
17
12
13
37
42
61

DOUBLE JOY RIDER PART LIST
ITEM NO. PART NO. DESCRIPTION QTY. ITEM NO. PART NO. DESCRIPTION QTY.
1 20339 STEM TWO BOLT 2 41 11061 NUT 1/4-20 NYLON INSERT 1
2 11949 FREEWHEEL 22T & ADAPTER ASSY 1 42 17778 BRAKE CABLE 46.5 X 55.5 2
3 12301 WASHER 3/8 FLAT SAE 5 43 11361 SCREW 1/4-20X3-1/2 HHCS 1
4 18287 CRANK JOY RIDER/DJ PLATED 2 44 18335 DECAL JOY RIDER/DOUBLE JOY 2
5 19181 PEDAL HALF JOY RIDER 8 45 20448 FORK 12" DJ 2
6 19361 SPROCKET 32T W/ ADAPTER 2 46 19325 DECAL "DO NOT STAND ON CYCLE" 2
7 19391 CHAIN/CL JR/DJ 161 P FW 1 47 12279 CLAMP (BRAKE STRAP) 2
8 20413 CHAIN/CL DJ 133 P LONG CB 1 48 12069 BASKET HOLD DOWN 12
9 20412 CHAIN/CL DJ 49 P SHORT CB 1 49 12170 NUT 10-32/STAR 3
10 13860 CHAINGUARD D/JOY ASSY LEFT 1 50 12172 NUT 1/4-20 FLANGED 8
11 11642 BEARING AXLE ASF107.5 8 51 12193 SCREW 10-32X1 PAN M/S 2
12* 20404 DOUBLE JR SPOILER ASSY 1 52 16699 SCREW 1/4-20X5/8 FLANGE HD 8
13 11654 BRAKE LOCKING LEVER 2 53 19720 NUT 5/8 - 18 NYLON INSERT 2
14 11667 HUB CB TRIKE W/22T WELD SPKT 1 54 19002 NUT 3/8-24 FLANGED 4
15 11718 DECAL TM HEAD 1 55 11078 WHL 12" WHT W/TIRE,TUBE,BRAKE 2
16 11801 GRIP BLACK DC 7/8-1 ONLY 4 55A 20436 WHL 12" BLK W/TIRE,TUBE,BRAKE 2
17 11821 HEAD BEARING 3/16 X 15 B 4 56 11639 BASKET COATED TRIKE 2
18 11827 HEAD LWR FORK STATIONARY CONE 2 57 20320 REFLECTOR KIT DOUBLE JOY 2
19 11830 HEAD CUPS 4 58 19590 TIRE 24 X 2.125 BSW/TUBE K52A 2
20 18909 3SPCB/5SPD FWL - 21T SPROCKET 1 59 18206 SEAT JOY RIDER/DJ WD140LS710 2
21 11952 SPROCKET 22T SOLID W/ADAPTER 1 59A 11900 SEAT REGAL TRACTOR BLACK-REG 2
22 12241 SET COLLAR 5/8" 9 60 18239 WHL 24" MAG WHT TRIKE REAR 2
23 12246 KEY SQUARE 3/16X5/8 4 60A 20374 WHL 24" MAG BLK TRIKE REAR 2
24 12269 TIE CABLE 8 X .18 4 61* 11748 FENDER 24" MWT TRIKE REAR 2
25 19723 CHAINGUARD D/JOY ASSY RIGHT 1 62* 18306 BRACE REAR FENDER JR 4
26 20415 FRAME DOUBLE JOY 1 63* 12170 NUT 10-32/STAR 8
27 20016 AXLE DOUBLE JOY REAR W/THRD 2 64* 12175 NUT 5/16-18 FLANGED 4
28 13900 BALL JOINT ROD END DBL JOY 2 65* 12208 SCREW 5/16-18X3/4 HHCS 4
29 20181 FENDER 12" FRT JR\JUNR\DBL 2 66* 20281 SCREW 10-32 X 3/8 PAN M/S 8
30 11824 HEAD LOCK NUT 2 67 19868 CHAINGUARD D/JOY ASSY REAR 1
31 16353 SPACER PLATE BEARING HGR DJ 1 68 12188 SCREW 10-32X3/8 SLTD HWH T/F/S 4
32 11825 HEAD KEY WASHER 2 69 12102 FLAG SAFETY W/POLE W/O BRKT 1
33 11829 HEAD ADJUSTING CONE 2 70 12240 WASHER SPACER 1X41/64X.062 7
34 20394 TIE ROD DOUBLE JOY 1 71 20012 KEY SQ 3/16 X 1-1/4 2
35 20403 BASE JR/DJ SEAT SLIDE 14" ASSY 2 72 12215 SCREW 5/16-18X3/4 CARRIAGE 4
36 17851 BAND BRAKE BARREL & NUT ADJ 2 73 12178 NUT 3/8-16 FLANGED 2
37 18196 PLUG TUBE OD 1-1/2" VVRT12P018 4 74 12220 SCREW 3/8-16X1 3/4 HHCS 2
38 20419 HANDLEBAR DOUBLE JOY 275 12239 SPACER 1/2 2
39 20401 BASE JR/DJ SEAT SLIDE 24"ASSY 2 76 12195 SCREW 10-32X1-1/2 RHMS 2
40 18220 AXLE BEARING HLD RR JR/JUNR/DJ 5 *OPTIONAL PARTS ONLY
4/17/2012

TOOLS REQUIRED
3/8” Wrench 5/32” Allen wrench ½” Socket Wrench Hammer
1/2” Wrench Common Screwdriver Adjustable Wrench Air Pump
9/16” Wrench Phillips Screwdriver 15/16” Wrench Pliers
1. Preparation
Remove all parts from the frame and wheel cartons.
Inflate (or have inflated) tires (55 and 58) to pressure
recommended on sidewalls.
Make sure tires properly seated on the rims.
2. Rear Wheels
Lift up the rear of the frame assembly (26) and slide the
rear wheels (60) onto the axles shaft.
Note: Wheel hub faces in.
Align wheel-axle keyways and tap 1-1/4” key square, (71),
into keyway. Install washer (70), and secure the wheels on
axle with 5/8” nylon lock nut (53).
Important: Make certain the axle thread fully engages the
nylon locking portion of nut.
3. Handlebar Assembly
Loosen stem bolt and insert handlebars (38) into fork head
tube. Line-up handlebars with wheel and tighten stem bolt.
4. Front Wheels:
Place front wheels (55) and brake assembly between the
fork with the axle bolts fully into the slots on the end of the
fork. Secure with washers (3) and nuts (54). The brake arm
must be on the left side and in front of the fork blade.
5. Hand Brake
Loosen the lock nut on the brake cable bracket (at the
front wheels). Push the brake cable bracket upward as
much as you can while pulling as much cable as possible
through the hole in the bolt. Be sure the brake cable is
seated properly in the brake lever (13) and that the
adjustable “barrel nut” (36) at the fork is protruding below the
fork plate as far as possible. Secure the lock nut on the
brake bracket to hold the cable in place. NOTE: The hand
brake may require further adjusting before riding.
6. Seat
Position the seat (59) over the mounting holes in the base
seat/basket (39). Insert screw into bottom of the seat and
secure seat.
7. Basket
Position the basket (56) onto seat/basket base. Place the
four basket brackets (48) over the basket wires and secure
with the bolt (52) and flanged nut (50).
8. Reflectors
Install the red reflectors on the back of the basket. Insert
the screw provided with the reflector on the basket so the
clip will capture the corner of the vertical and horizontal wires
and tighten the screw. Repeat for the other side. The
basket reflectors should be about one foot apart. Install
clean reflector on each handle cross bar. Slide plastic
holder on handle cross bar. Tighten with the screwdriver
and install reflector. On plastic MAG wheels install reflectors
on tabs using screw and nut. On MAG wheels without tabs,
use spacer (75) behind reflector with longer screws (76).
9. Final Check
Install safety flag in holder. Review the instructions again
and check connecting bolts and screws for tightness, and
readjusting the seat and handlebar as necessary.
To eliminate rattling of reflector,
install as indicated below.

Double Joy Rider MAINTENANCE
AND INSPECTION
REGULAR MAINTENANCE: Bi-Monthly
1. Keep all painted parts cleaned and waxed for a long-lasting luster.
2. Lubricate the following:
- Axle shafts
- Chain-rotate pedal crank and spray freely with a good quality spray lubricant, wipe off any excess.
3. When storing over prolonged periods, turn upside down to prevent flats from occurring on the tires.
If storing outside, cover to protect finish and moving parts.
PREVENTIVE MAINTENANCE: Every Six Months
These are services that should be performed by your local bicycle shop. A fee may be charged.
1. Check tires for wear, rim cuts and valve core alignment (usually caused by improper air pressure).
2. Check wheels for cracks and alignment.
3. Check brakes for proper operation.
4. Check and repack all bearings and adjust all cones.
5. Check for worn bearings, cones and cups.
6. Check chain for proper tension and clean as needed.
7. Check for loose bolts and nuts.
Attention: While your unit is new, some noises may occur during the break-in period. Should the
y
continue
for more than 30 days, see local bike shop.
INSPECTION
Check the following, as it applies to your cycle, on a regular basis:
1. Wheels: Check wheels for alignment.
2. Pedals: Inspect pedals and make sure pedals are tightly attached to crank.
3. Handle grips: Replace worn or loose grips.
4. Chain: Check for proper tightness. Replace damaged chain immediately.
5. Seat: Adjust seat for ride comfort and safety.
6. Tires: Keep tires inflated to the recommended tire pressure, as indicated on the tire’s sidewall.
7. Frame: Replace damaged frame immediately.
Double Joy rider
This is a recreational unit, not designed for excessive speed or misuse.
Careless operation may cause rider to lose control and result in serious injury.
Do not brake or turn at high speeds; this may cause cycle roll-over and rider injury.
Tings to know before riding your cycle:
1. Know your local bicycle laws and wear a helmet.
2. Do not exceed the recommended weight limit of 250 lbs. on one seat 350 total capacitiy.
3. Do not stand on unit.
4. Wear light-colored clothing and protective gear.
5. Do not ride at night.

For service or to order
replacement parts
please contact your
local Trailmate dealer.
DOUBLE JOY RIDER
This is a recreational unit, not designed for excessive
speeds or misuse.
Do not brake or turn at high speeds. This may cause cycle
to roll over. Careless operation may cause rider to lose
control and result in serious injury.
Things to know before riding your cycle:
1. Know your local bicycle laws and wear a helmet.
2. Do not exceed the recommended weight limit of 250 lbs per seat or
350lbs total
3. No more than one rider at one time.
4. Do not stand on unit.
5. Be sure to install safety flags.
6. Wear light-colored clothing and protective gear.
7. Do not ride at night.
8. Children must be supervised by an adult at all times.
Table of contents
Other TRAILMATE Bicycle manuals
TRAILMATE
TRAILMATE FUN CYCLE User manual

TRAILMATE
TRAILMATE DESOTO HAULER User manual
TRAILMATE
TRAILMATE Worker User manual

TRAILMATE
TRAILMATE Desoto Hauler User manual

TRAILMATE
TRAILMATE Mini Peel User manual
TRAILMATE
TRAILMATE Desoto Classic User manual
TRAILMATE
TRAILMATE Meteor User manual
TRAILMATE
TRAILMATE JUNIOR LOW RIDER User manual

TRAILMATE
TRAILMATE FUN CYCLE User manual

TRAILMATE
TRAILMATE Low Rider User manual
