TRANSFLO DASHCAM User manual

2. Mount the camera
1. Insert SIM and SD Cards
surfsight.net| info@surfsight.net
WARNING: This type of installation should be performed by aqualified individual or professional only.
Working with your vehicle's power system can be dangerous to both you and your vehicle if you do not
know what you are doing! If you have any doubts, please consult aprofessional.
For up to date support articles and installation guides please visit our support web pages at surfsight.net
under Docs.
In case the camera is not pre-installed with an SD and SIM cards, please follow
the following step to insert the SD and SIM cards. Using the specialty screwdriver
supplied with the product, unscrew the safety screw that locks the tamper proof
case of the SD card and SIM cards on the side of the camera.
WARNING Do not install the product in a location where it can obstruct the drivers field
of vision.
The camera should be placed as high as possible on the driver side of the vehicle. Make
sure the glass is clean & dry before attaching the 3M adhesive mount to the windshield.
PACKAGE CONTENTS
AT A GLANCE
INSTALLATION STEPS
The following diagrams provide an overview of the Surfsight AI-12 Dashcam
AI-12 Camera Optional: OBD
Power Adaptor
USB CableMounting Bracket Optional:
Hardwire Kit
Specialty
Screwdriver
1080p 140°wide cabin
facing
Power and auxiliary inputs
with locking screws
Rotating and
locking ring
SOS
button
Touch
screen
Mounting bracket
slot
1080p 140°
wide road
facing camera
Tamper resistant
cover for SIM and
SD crad slots
DASHCAM Quick Installation Guide
3. Connect the camera to a power source
The Surfsight AI-12 may only be connected to a power source using the supplied
cables. The power cable connects to the round connector located on the side of the
camera.
•If using the USB cable as the power source, it must provide 5V DC and at least 2A.
•In order to utilize the AI-12 full features such as the Active Standby mode, the camera must be
connected to a constant 12v power source.
The dash cam has 3 options to connect a power source (listed on the next page) using
the supplied USB cable, OBD cable or hardwire kit.
1. Attach the mounting bracket to the camera,
2. clean and dry windshield,
3. remove the 3M adhesive tape cover and
4. mount the camera to the windscreen.
After Power is connected, run the power cable along the headliner of the truck along
the A-Pillar to the power source.
4. Direct the cameras at the road and driver
Follow the following steps to direct the road and cabin facing cameras.
1. Dismount the AI-12 camera from the mounting bracket on the windshield. Make sure
that the mounting bracket is not attached, as it locks the camera into position.
2. Use the screwdriver to loosen the three security screws on the round side of the camera.
Do not remove the screws fully.
3. Adjust the viewing angle by rotating the body of the AI-12 and lock the three side screws
when finished.
4. Mount the camera back onto the windshield.
5. Connect the camera to a power source.
6. The camera will turn on automatically.
7. To unlock the camera touch screen enter a default PIN number 3333.
8. On the main screen enter the ‘Live View’ mode
9. Use the ‘Live View’ to direct the road facing camera and the cabin facing camera to the
proper direction. You can use the arrow keys to switch between the views.
10. Dismount the camera from the windshield and screw in the security screws all the way.
11. Mount the camera back on the windshield.
surfsight.net| info@surfsight.net
DASHCAM Quick Installation Guide
CALIBRATE DASHCAM ACCELEROMETER
IMPORTANT
The dashcam contains an internal accelerometer that detects dangerous driving behavior to
automatically create video events. The accelerometer is not calibrated in advance as the installation.
1. Before you start, make sure that the vehicle is parked on a level surface.
2. Turn on the vehicle’s ignition.
3. Check that the camera is on, working and that the in-cab camera is pointed at the driver.
4. Press the touchscreen and enter the default PIN code –8888.
5. Enter into the ‘Settings’ menu.
6. Select ‘Calibrate’.
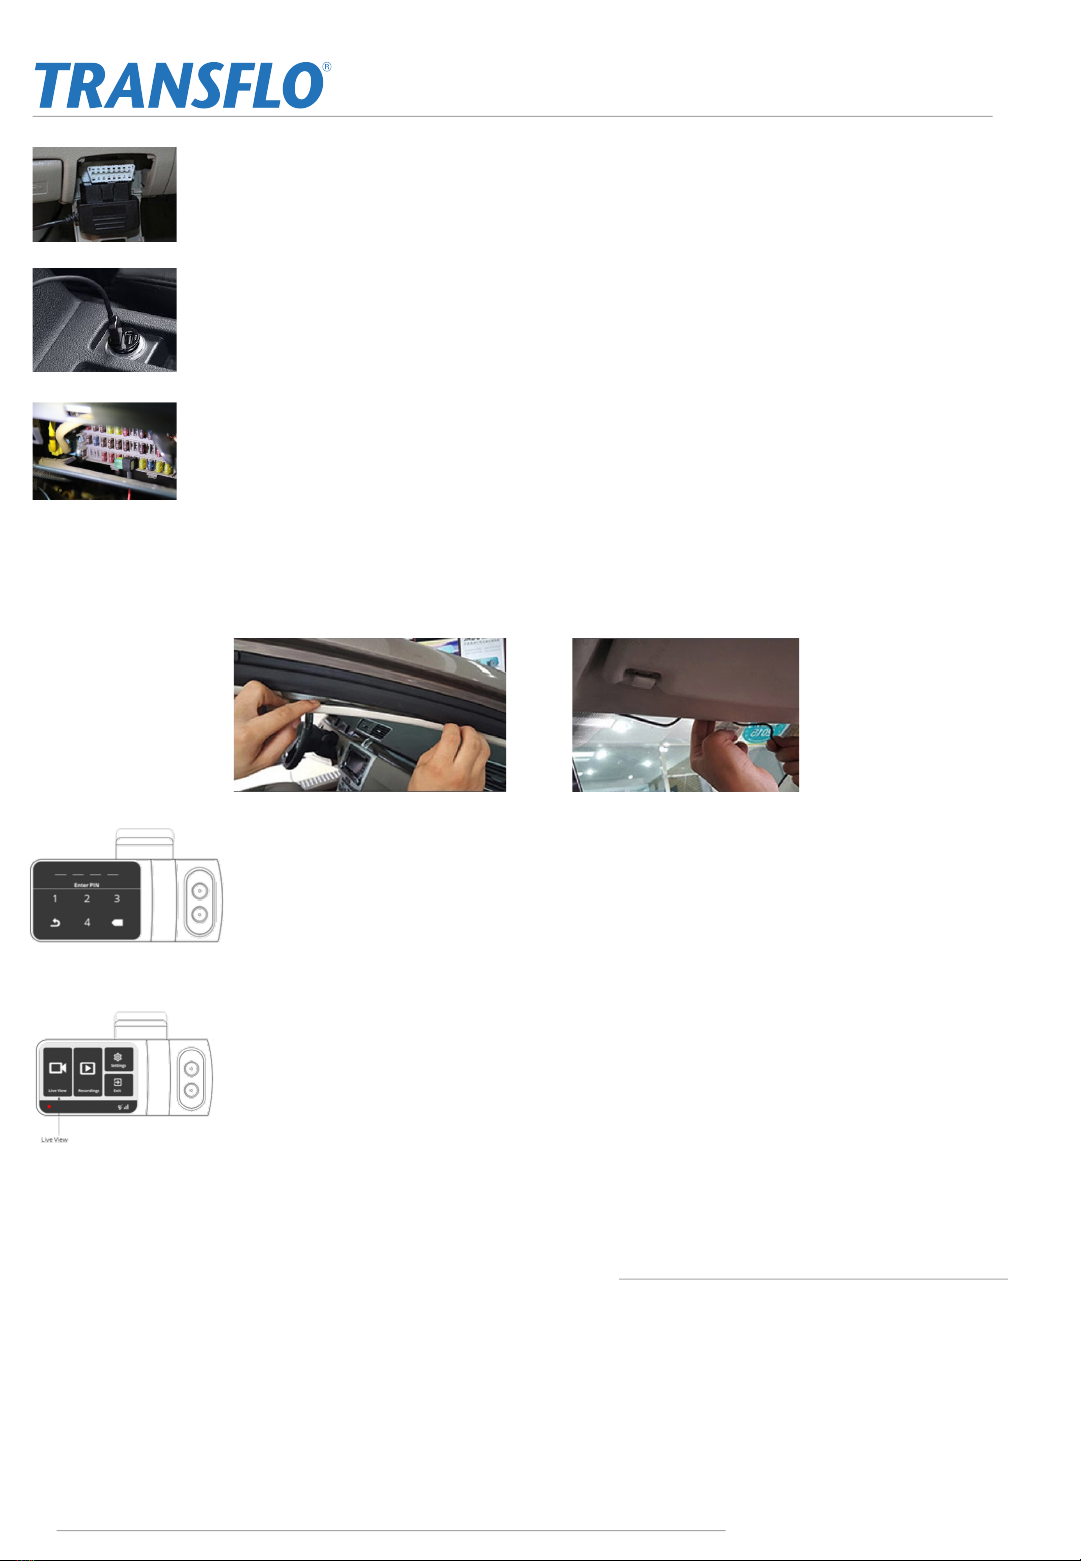
Option 3: Hardwire Kit
Open the vehicle fuse box and connect as follows:
•Red Color Wire –Ignition Power, connect it to a fuse port that has power only when the car
is turned on (verify this during installation)
•GND –Find a reliable iron port to connect affix the ground wire to the iron port.
Option 1: OBD Cable
Connect to the OBD port in your vehicle
Option 2: USB Cable
The power source should be able to supply 5V 2A.
Table of contents
Popular Digital Camera manuals by other brands


Sony
Sony DSLR-A330L Features & specifications

Eneo
Eneo VKC-1358A/IR Installation and operating instructions

Nytech
Nytech DS-8310 User manual and service information

Panasonic
Panasonic Lumix DMC-FS15 manual

Kodak
Kodak M863 - MANUALE PER L'UTENTE COMPLETO manual

First Light
First Light C-RED One user manual


